When I was planning our self-catered wedding reception, I started experimenting with meringues because they're "cool," colorful, and they keep. I knew I wanted some traditional flavors (chocolate and classic made the dessert table), but a couple unusual flavors, too.
These airy lavender meringues were one of my fun flavors! The meringues at our wedding were a huge success - I had people telling me for the next year how much they enjoyed them! You can use the recipe to create classic meringues, too - just leave out the lavender and they'll still be super delicious.

This post may include affiliate links, which means I may make a commission on purchases made through these links at no additional cost to you.
Adding food coloring is totally optional, but if you decide to use it, I recommend using a gel food coloring. Liquid, 'grocery store' food colorings can alter the meringues' texture and make them turn out poorly. Craft stores, culinary shops, and (of course) Amazon have great gel food coloring options. I have the AmeriColor Student Set and love it.
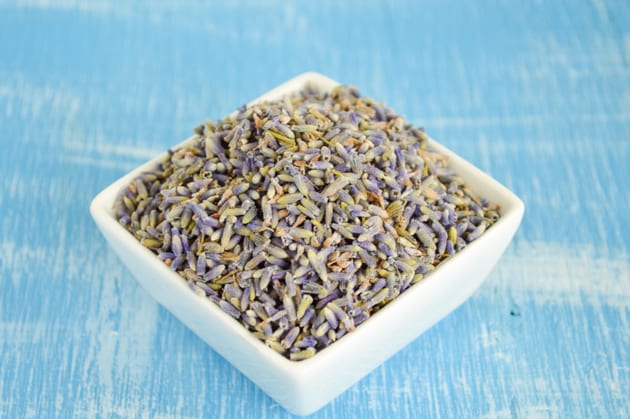
The internet can also help you find culinary lavender, but it's usually available at specialty shops and high-end grocery stores. I've also found some delightful lavender at farmer's markets. Make sure you use culinary lavender - please don't just break open a scent sachet! A little goes a long way, so use more or less in the recipe based on how fresh and potent your flowers are.
I have to admit that I practiced piping meringue quite a bit before I got it turning out this nice! I tried various piping bags and tips, but found I liked a large, round tip best. In my opinion, it's easiest to create pretty meringues with a ¾"-1" round tip. If you don't have a piping bag, you can always spoon the meringue into a ziplock bag and then cut the corner off to create an opening for 'piping.' If that doesn't appeal to you, either, just use a soupspoon to create large dollops! If you do use a piping bag, I recommend checking out Sweet Sugarbelle's advice on how to make icing pods. I use this technique when making meringues and it makes things faster and cleaner. Anything that keeps raw eggs off my hands is good!
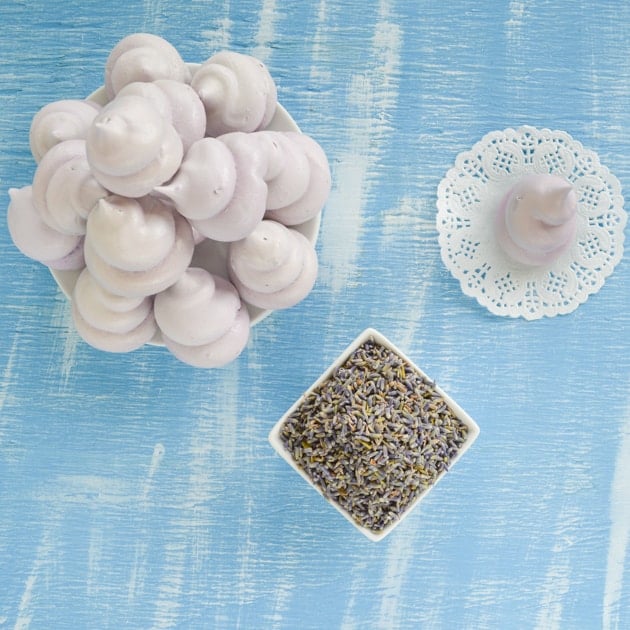
Airy Lavender Meringues

Ingredients
- 2 large egg whites, at room temperature
- ⅛ a teaspoon of cream of tartar
- ½ cup of sugar
- ¼ teaspoon of vanilla extract
- 2-3 teaspoons of culinary lavender
- Purple food coloring, if desired
Instructions
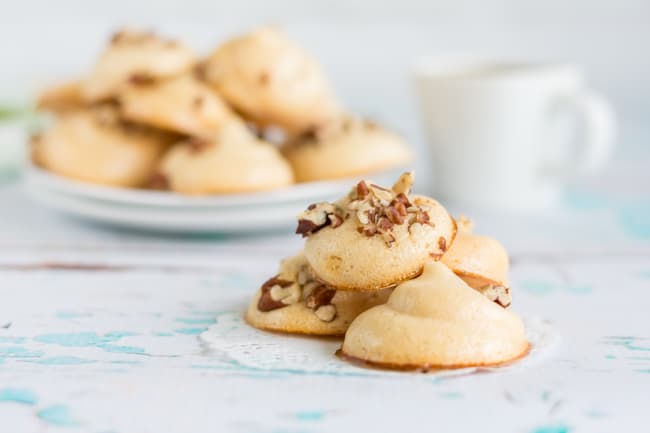
Don't feel like you need to stop after eating just one of these deliciously crunchy but melt in your mouth meringue cookies. While the exact calorie count for your cookies depends on how big they are, most plain (non-chocolate) meringues are only 5-10 calories each. How cool is that? If you love meringues as much as I do, you may also like these pecan meringue cookies:
People say meringues are hard to make, but I think they just require a bit of patience; don't open that oven door and hold off on digging in until they've cooled in the oven for several hours!
Have you ever made meringues? What's your favorite flavor?
More Related Posts
[catlist search="recipe" numberposts=4 orderby=rand excludeposts=this]
Kelley
These look awesome! I bought two small bags of culinary lavender and I needed a good recipe for them! Thanks for sharing this one 🙂
natashalh
Awesome! It's so much fun to cook with. I actually like it on chicken, too. Thanks for stopping by!