There is something so luxurious about using an extra creamy, deliciously scented bar of soap.
It can turn an everyday necessity into a delightful experience! Plus it's so nice to walk away from the sink with hands that feel soft and conditioned, not dried out and completely stripped by harsh chemicals!
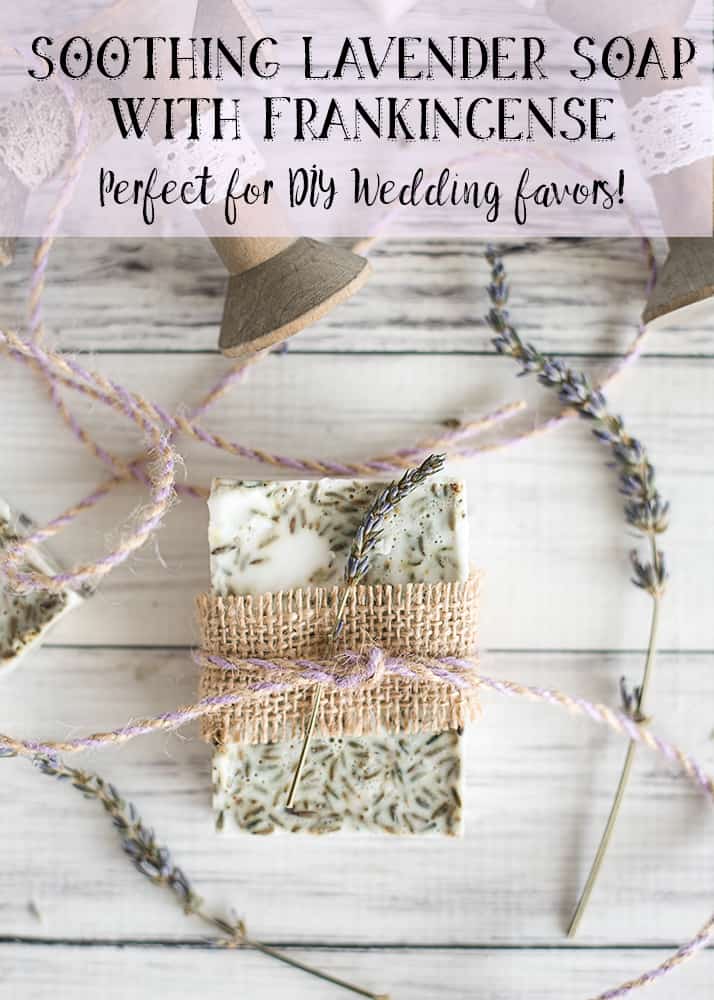
That's why today I'm sharing this soothing lavender soap recipe with frankincense. It's fantastic for everyday use, but it also makes a nice non-food Valentine or a great DIY wedding favor!
This post may include affiliate links, which means I may make a commission on purchases made through these links at no additional cost to you.
There are many wonderful essential oils available - use the brand you are most comfortable with, but please make sure it is a pure essential oil and not cut with other oils or altered with chemical scents.
Words like "perfume oil" and "fragrance oil" can indicate the presence of synthetics, so make sure to read labels. =)
The frankincense is totally optional, but I love it in combination with lavender. Frankincense can be calming and is believed to be beneficial for the skin, plus it smells great!
To keep things simple, I used a melt and pour soap base for this lavender soap.
I chose a goat milk base because it's extra creamy and soft, but there are a variety of options available. Shea butter, honey, and oatmeal soap bases also tend to be creamy and can be great choices.
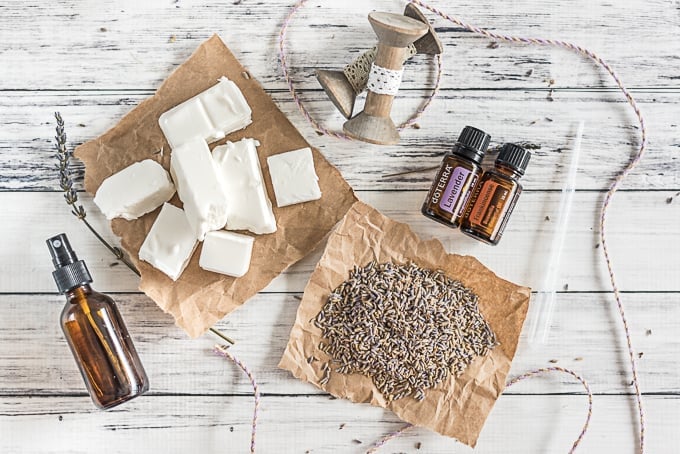
Materials needed for melt and pour lavender soap
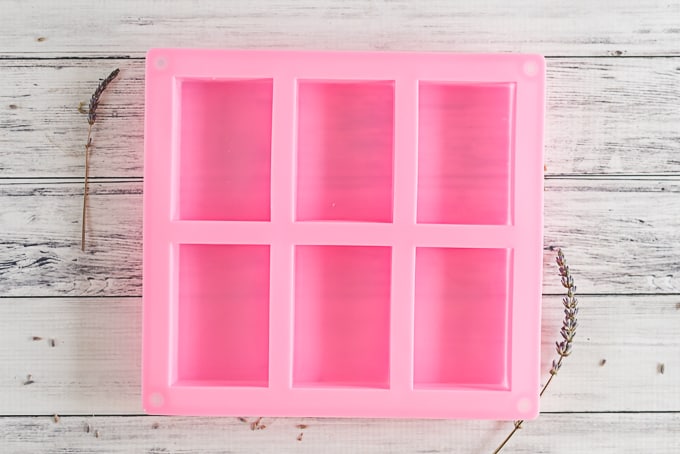
- A soap mold! You can use a loaf pan and cut the bars apart, but if you're just getting started with soap making it can be easier to buy a mold with pre-formed cavities like this one I used
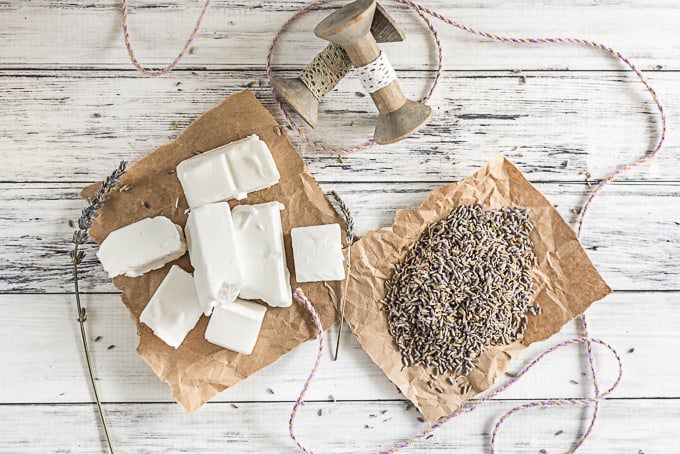
- Melt and pour soap base (please see below for my favorite choices!). I used 18 ounces of goat milk soap base; the oil and lavender quantities given are for 6 bars of soap that are approximately 3 ounces each.
- 2 mL lavender essential oil. The Now Foods lavender comes with a dropper, which is awesome!
- Frankincense essential oil - just a few drops
- A disposable plastic pipette or eyedropper, optional
- ¼ cup culinary lavender buds
- Ribbons, burlap, twine, etc. to decorate or small small decorative bags, if you're making favors
- A kitchen scale (this makes getting the soap base quantity correct much easier!)
- Small spritzing bottle with rubbing alcohol, optional
The amount of soap base you need will depend on how much soap you're making.
Each cavity in the mold I used takes about 3 ounces, but you don't have to fill each cavity all the way to the top.
"Mini" soap bars, bars that have been cut in half, are quite popular for favors, so you can always choose to make half as many bars as you ultimately need, then cut them. Just scale the essential oils and lavender quantity needed based on how much soap you're making!
If you need to make a lot of soap, you might want to consider this two pack of individual molds or just go for a loaf pan/cutting set.
Lavender Soap Recipe - Melt and Pour
1. Measure out your needed quantity of soap base.
Only measure out as much as you can use at one time. If you need to make 18 bars but only have a 6 cavity mold, just go with the 18 ounces you can use now. For 6 "standard" 3 ounce bars, you'll need 18 ounces of soap base.
2. Cut your soap base (it should cut fairly easily with a large knife) into ½" chunks. This will help it melt quickly and evenly.
3. Transfer the soap base to a microwave safe bowl and microwave for 45 seconds.
Stir and then continue to microwave in 15 second intervals, stirring after each 15 seconds, until the soap is fully melted.
4. Add your essential oils, using a pipette or eyedropper for the lavender, and stir to combine. If you don't have a pipette, add 50-75 drops of lavender. If the soap base has already started to solidify, microwave for 5-10 more seconds.
5. Working quickly, fill each cavity in your soap mold.
Sorry there aren't photos of these steps - the soap started too cool too quickly when I tried to take photos!
6. Sprinkle the lavender buds on top.
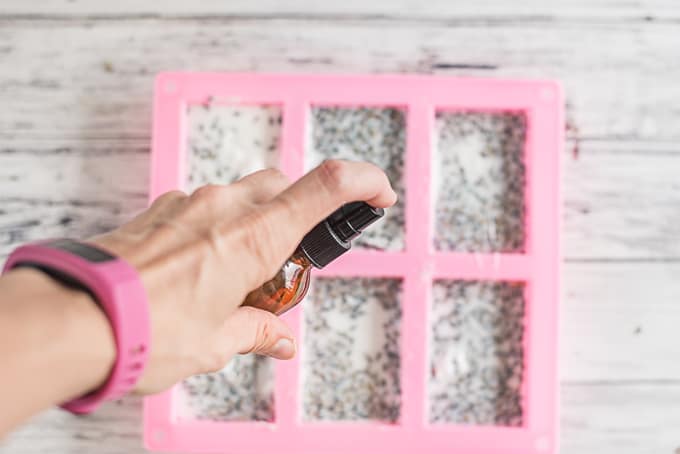
7. Lightly spritz each soap with rubbing alcohol.
This will help surface bubbles pop and improve adhesion so you lavender buds don't fall off the soap as easily.
8. Allow the soap to sit, undisturbed, until fully cooled.
I recommend letting it sit overnight if you're using an individual cavity mold or 24 hours if you're using a loaf pan.
9. Turn the soap out of the molds.
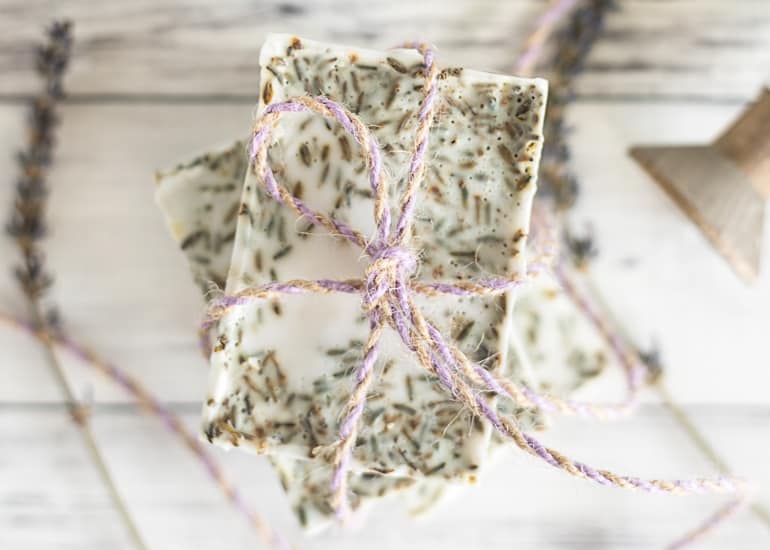
10. Package and enjoy!
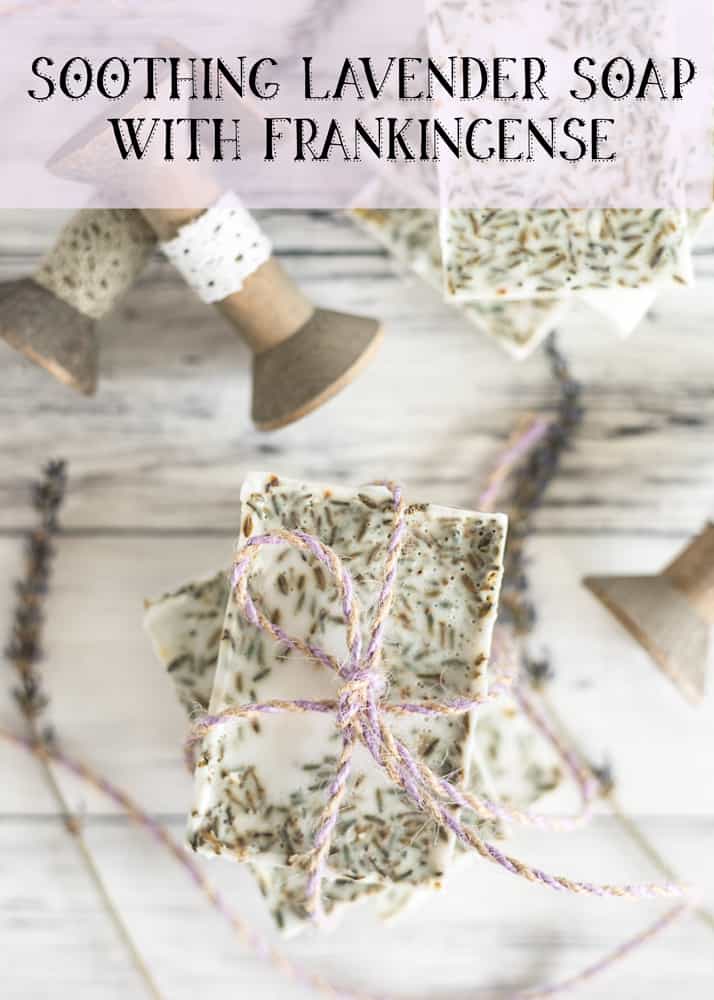
Ribbons, twine, and burlap are all super cute ways to package the soap for use as favors. It can also look nice in glassine, organza, or muslin bags, especially if you're cutting the soap into half size bars.
If you're planning to keep the soap for yourself, let the soap rest for 3-4 days before using it.
Letting it rest under a running fan is even better. This helps the soap harden and cure, which means it will last longer when you use it.
As a very important note - if you mix the lavender buds into the soap, they may eventually turn brown and discolor the soap.
Sprinkled on the surface, they will also eventually fade, but are less likely to discolor the soap.
Although I haven't personally tried it, there is a BrambleBerry product that is supposed to stabilize soap and prevent this browning. You can read about this fragrance stabilizer right here.
If you're concerned about browning soap and don't want to add any more ingredients to your shopping list, I highly recommend just using the lavender essential oil and packaging your soap with a sprig of lavender instead of mixing it into the soap.
Whether you intended your homemade lavender soap for personal use or for favors or gifts, I hope you enjoy the project! =)
This lavender melt and pour soap is so easy to make and wonderful to use! 1. Measure out your needed quantity of soap base.Easy Melt & Pour Lavender Soap Recipe
Materials
Tools
Instructions
Only measure out as much as you can use at one time. If you need to make 18 bars but only have a 6 cavity mold, just go with the 18 ounces you can use now. For 6 "standard" 3 ounce bars, you'll need 18 ounces of soap base.
2. Cut your soap base (it should cut fairly easily with a large knife) into ½" chunks. This will help it melt quickly and evenly.
3. Transfer the soap base to a microwave safe bowl and microwave for 45 seconds.
Stir and then continue to microwave in 15 second intervals, stirring after each 15 seconds, until the soap is fully melted.
4. Add your essential oils, using a pipette or eyedropper for the lavender, and stir to combine. If you don't have a pipette, add 50-75 drops of lavender. If the soap base has already started to solidify, microwave for 5-10 more seconds.
5. Working quickly, fill each cavity in your soap mold.
Sorry there aren't photos of these steps - the soap started too cool too quickly when I tried to take photos!
6. Sprinkle the lavender buds on top.
7. Lightly spritz each soap with rubbing alcohol.
This will help surface bubbles pop and improve adhesion so you lavender buds don't fall off the soap as easily.
8. Allow the soap to sit, undisturbed, until fully cooled.
I recommend letting it sit overnight if you're using an individual cavity mold or 24 hours if you're using a loaf pan.
9. Turn the soap out of the molds.
10. Package and enjoy!
More Related Posts
[pt_view id=“15d429e15n"]
[catlist search="tutorial" numberposts=4 orderby=rand excludeposts=this]


Linda Pruitt
I love homemade soaps, but rather than buy them from artisans than make them myself. Lovely pics and recipe tho.
Natashalh
That's like me with knit and crochet items. Technically I can do both, but they take me forever and I prefer to not do them myself!
BeadedTail
I love homemade soaps! I've never made it before but you make it sound easy so I might try it.
Natashalh
The melt and pour soap base is super easy! I'm sure you could make it. =)