Do you remember making woven paper baskets as a kid? Or maybe placemats or coasters or something else like that.
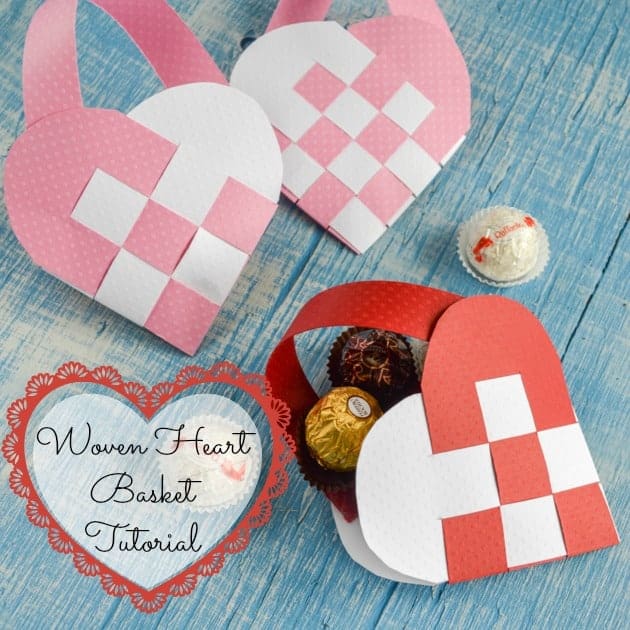
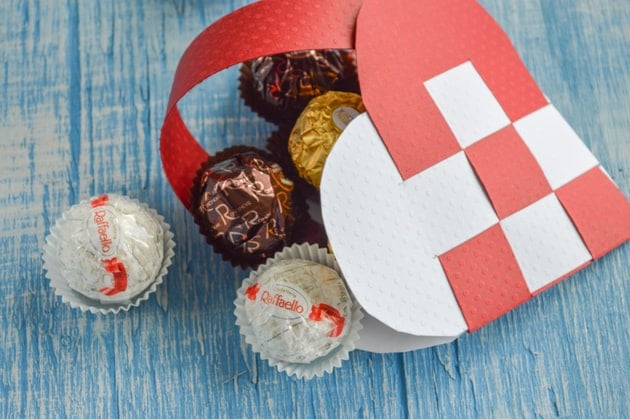
This week's tutorial is looking ahead to Valentine's Day and shows you how to make deceptively simple woven heart baskets. These baskets make wonderful goodie bags or decorations, and they're both inexpensive and easy to customize.
Ready? Let's grab some paper and make a woven Valentine's heart basket!
This post may include affiliate links, which means I may make a commission on purchases made through these links at no additional cost to you.
If you've never made paper baskets before, or if it's been since about the first grade, I highly recommend practicing once or twice with some plain computer paper or sheets from an unwanted magazine.
It isn't difficult, but it may take you a minute to figure out how to weave the sheets without bending them, especially if you ultimately use card stock, and you may want to experiment with the width and number of your cut strips.
Speaking of card stock and scrapbooking paper, they are nice, but they are slightly more tricky to work with.
The examples were made from scrapbook paper, so it's totally doable, but you may want to stick to a basic 3 strip design, as shown, until you feel really comfortable!
I did make a 4 strip basket from the scrapbook paper, but it wasn't easy and I nearly bent it irreparably.
These baskets are also easy to make with upcycled paper bags, magazines, catalogues, or even book pages.
How cute would book page baskets be as a Valentine for the book lover in your life?
No matter what paper you choose to use, I hope you enjoy creating these baskets and please leave any questions in the comments section!
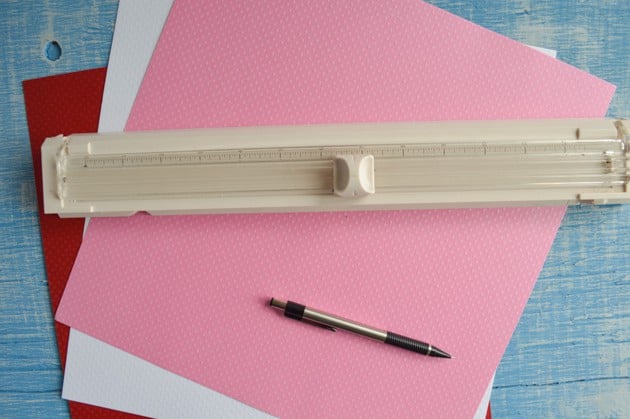
Materials for woven heart baskets
- Two colors of paper or scrapbook paper
- A paper cutter. This paper trimmer is the best because the guide wire shows you exactly where you're cutting.
- A ruler
- A pencil
- Scissors
- Tape or glue
How to weave a paper heart basket
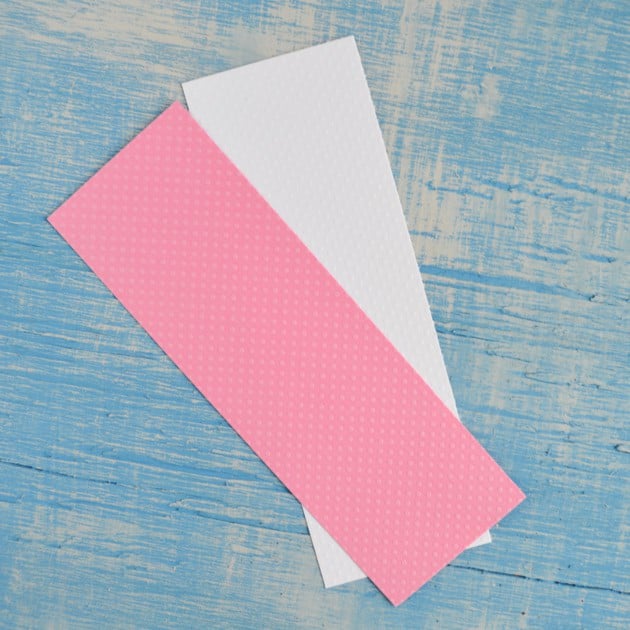
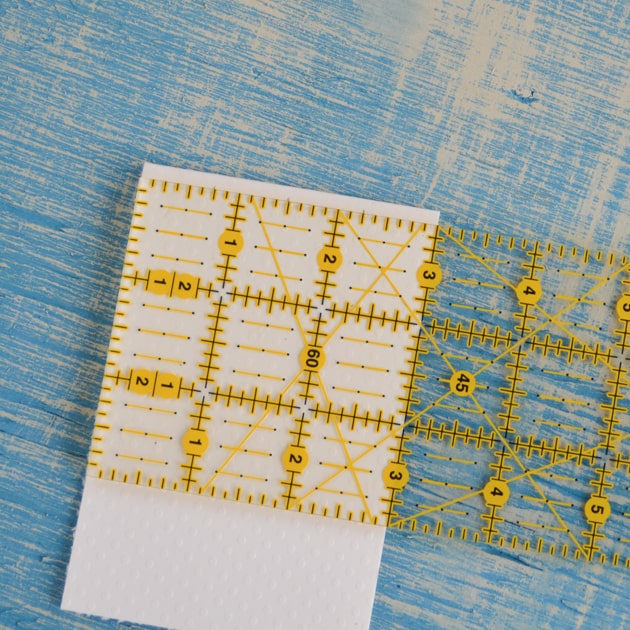
1. Cut your two contrasting papers down to size.
The example baskets were made from strips 3" x 9" and I think those are good dimensions because they're easy to work with and the finished baskets are a usable size.
Cut 1 rectangle from each color and make sure the length is three times the width. For this tutorial, I will assume your paper is 3" wide so, if you decide to use something different, modify the instructions accordingly!
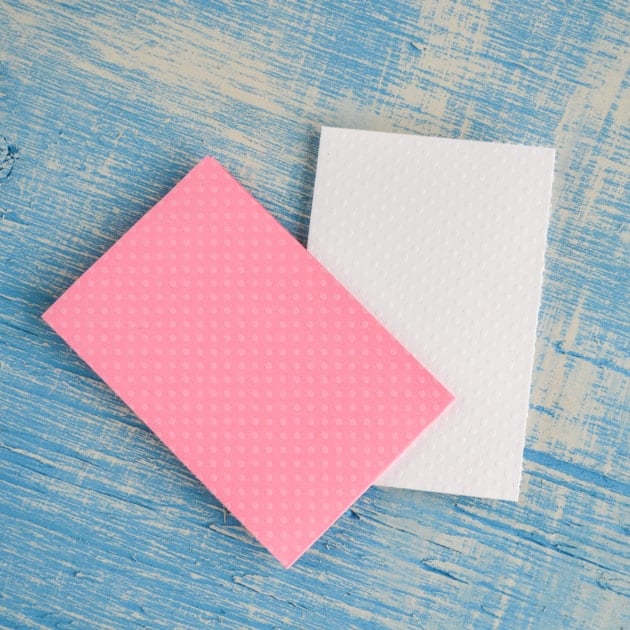
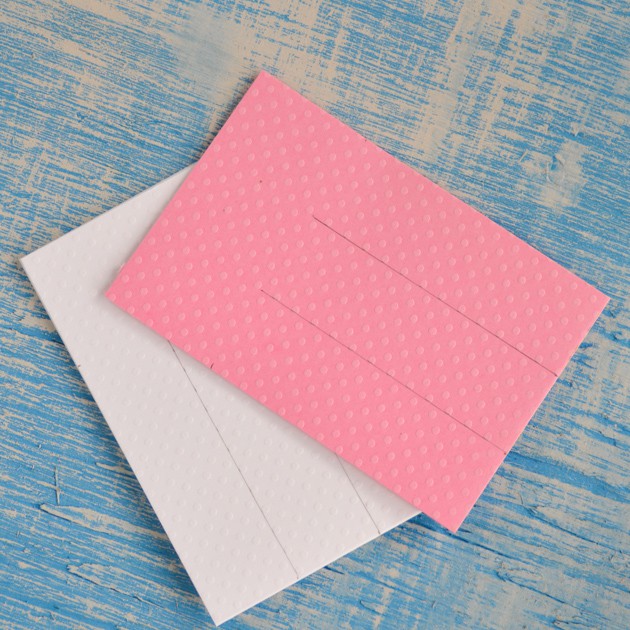
2. Carefully fold each rectangle in half to create a 3" x 4.5" rectangle and crease firmly.
3. Decide how many strips you want and how wide you'd like them to be. I recommend starting with 3 1" strips. Use your ruler and pencil to make small tic marks along the folded edge on one side of a rectangle.
4. Measure about 3.25" up on each edge and make a small mark. This little bit of extra space helps you weave the strips and ensures they all fit, but more space than about of a quarter of an inch tends to create funny gaps and holes.
5. Using the two tic marks from step 4 as your guide, mark off the top end of your strips.
6. Use your ruler to connect the top and bottom tic marks and then trace a straight line with your pencil to create the 1" wide strips.
7. Repeat steps 3-6 for the other paper rectangle, but you do not need to mark both sides of each rectangle.
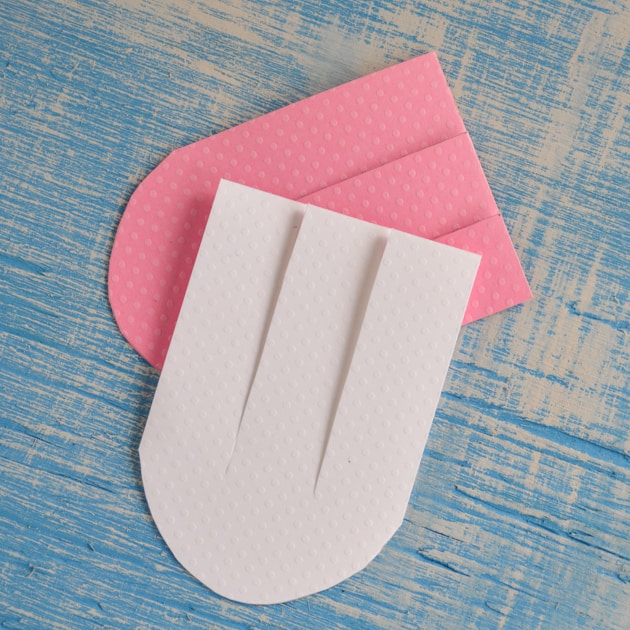
8. Trace or draw a semi-circle shape on the 'open' end of each rectangle. I usually draw my first curve, cut that rectangle to shape, and then trace it onto the second rectangle.
If you can find a bottle or glass that's the right size for your heart, go ahead and trace it to create your curve.
9. After both rectangle's open ends are cut into a semi-circle shape, hold one 'rectangle' firmly folded and cut the marked lines to create your three strips.
Cut through both thicknesses at once and hold the paper as tightly as possible to prevent the layers from slipping across each other and and creating uneven strips.
10. Repeat step 8 for the other piece of paper.
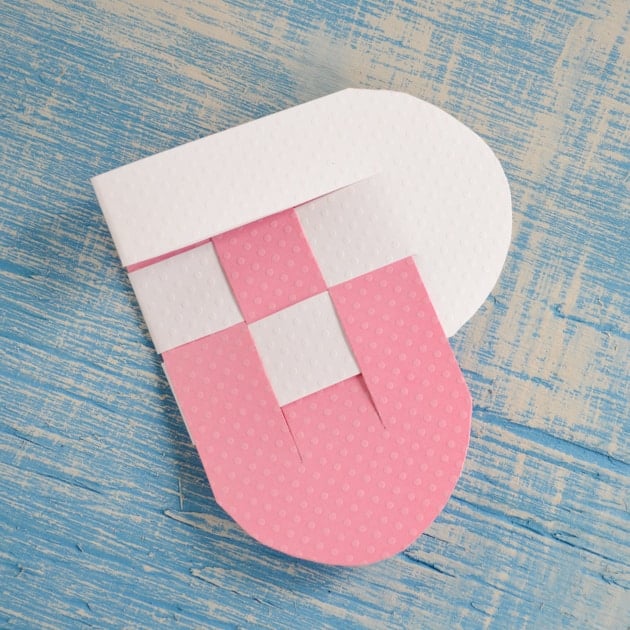
11. Now you're ready to weave! This step will involve a bit of experimentation to determine what works best for you and your paper.
I've discovered it's usually not easiest to weave the first strip completely and then move on to the second, and so on.
When weaving, do not simply go over and under - the strips need to actually pass through one another in order to make a usable basket. Look at the picture below:
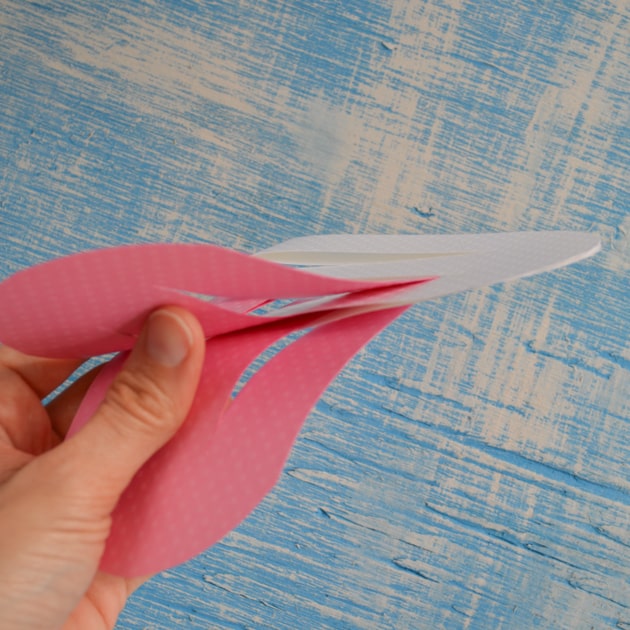
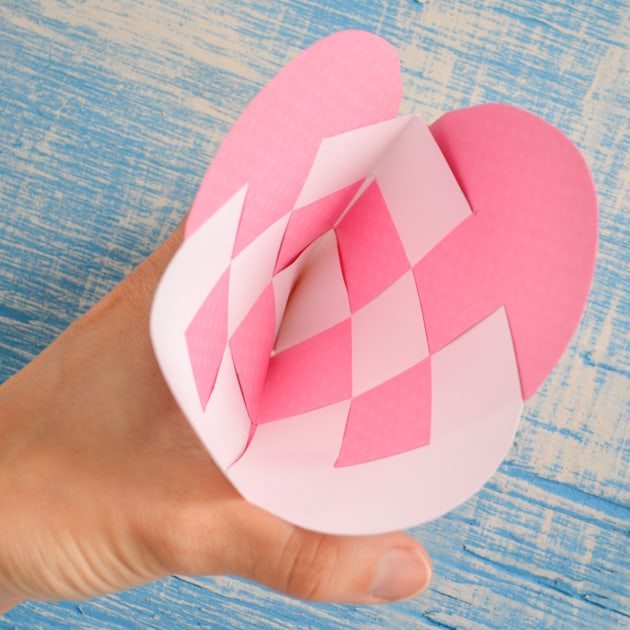
See how both thicknesses of the white strip go between the pink layers? Then both pink thicknesses pass between the white strip's layers. Here's another shot of the basket after a little more weaving:
Continue weaving until you're finished.

12. Open your basket and marvel at your creation. =)
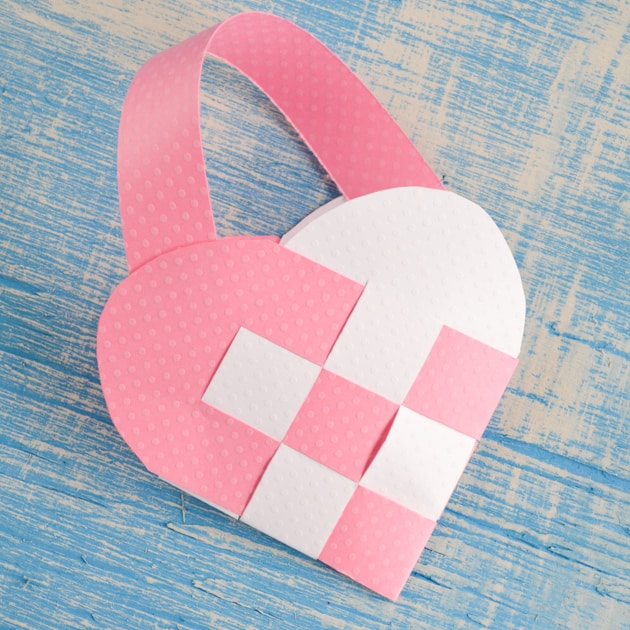
13. If you'd like, you can easily add a paper handle.
You can either anchor both ends to one side of the basket to create something that hangs flat against, say, a wall, or create a basket that basically holds itself open that would hang well filled with treats from a mantel.
I used a 1" x 7.5" strip of paper for the handles on these baskets, but you can play around with its the shape and size.
I used tape to secure the handle's ends, but glue would be more sightly and durable - you'll just need something to hold the handle's ends in place while the glue dries.
And there you have it! These baskets are fun and easy, especially once you've made a couple.
As I mentioned above, I experimented with creating more than 3 strips and discovered it is possible, but more difficult.
If you want to make anything more than four strips across, you may want to use printer-weight paper instead of card stock or scrapbook paper.

claire
Great project !!
I would love you to come and share @ Craft, Create & Inspire linky party !!!
Look forward to seeing you there 🙂
https://livel0vecreate.blogspot.co.uk/2014/01/craft-create-inspire-linky-party_11.html
Claire x
Natashalh
Thank you for inviting me! I will definitely stop by.