If you’ve stepped into a toy store or scrolled through TikTok lately, you know that squishies are taking the world by storm. But did you know you don’t have to spend a fortune on store-bought foam versions?
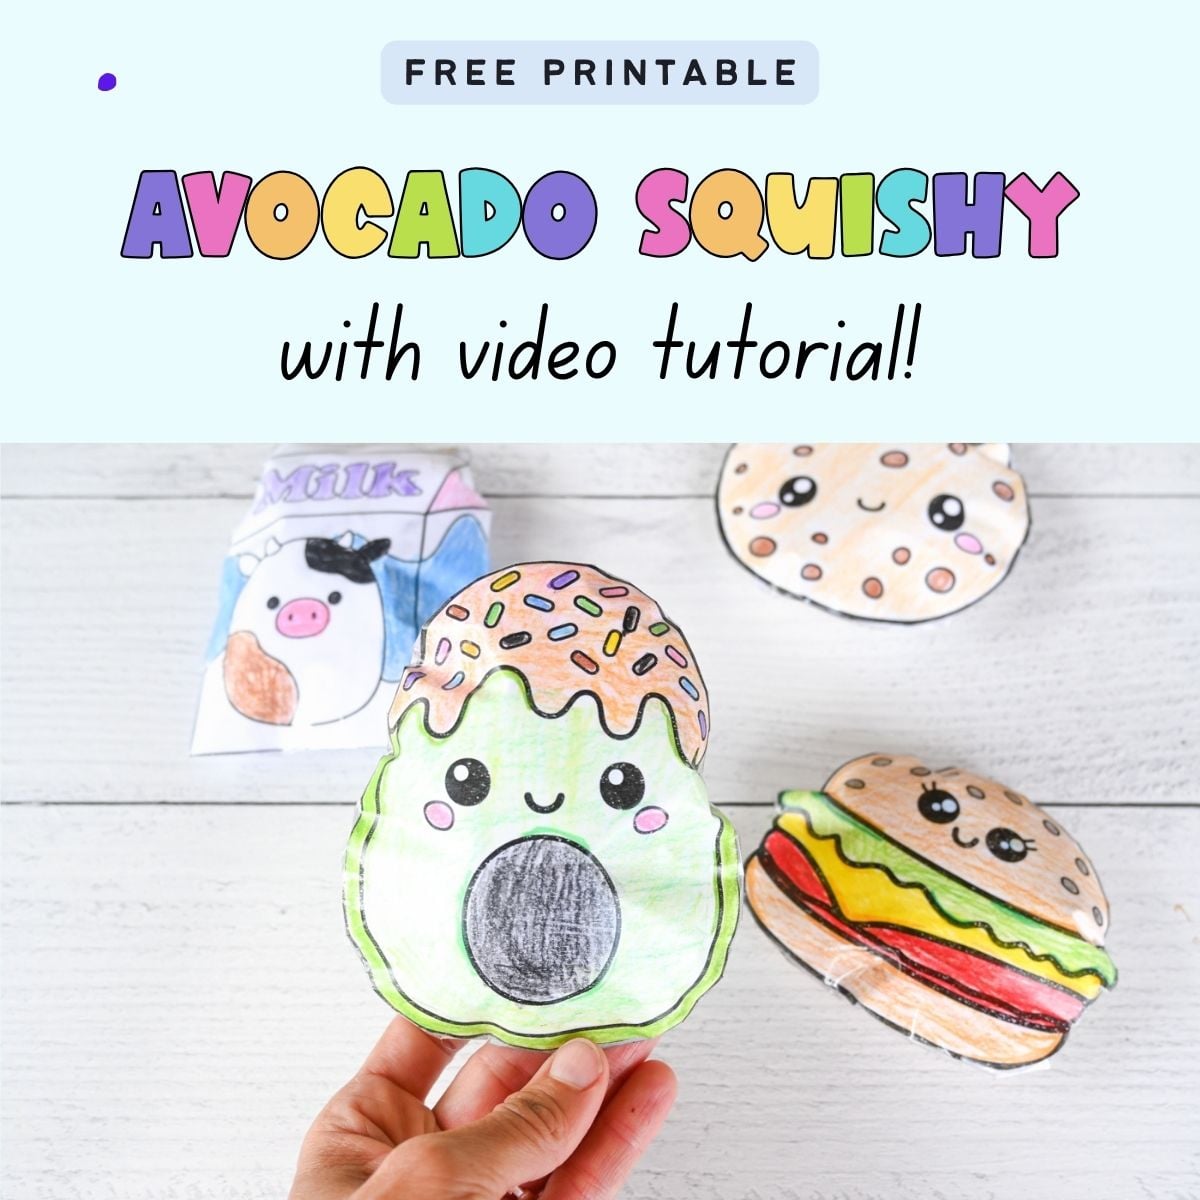
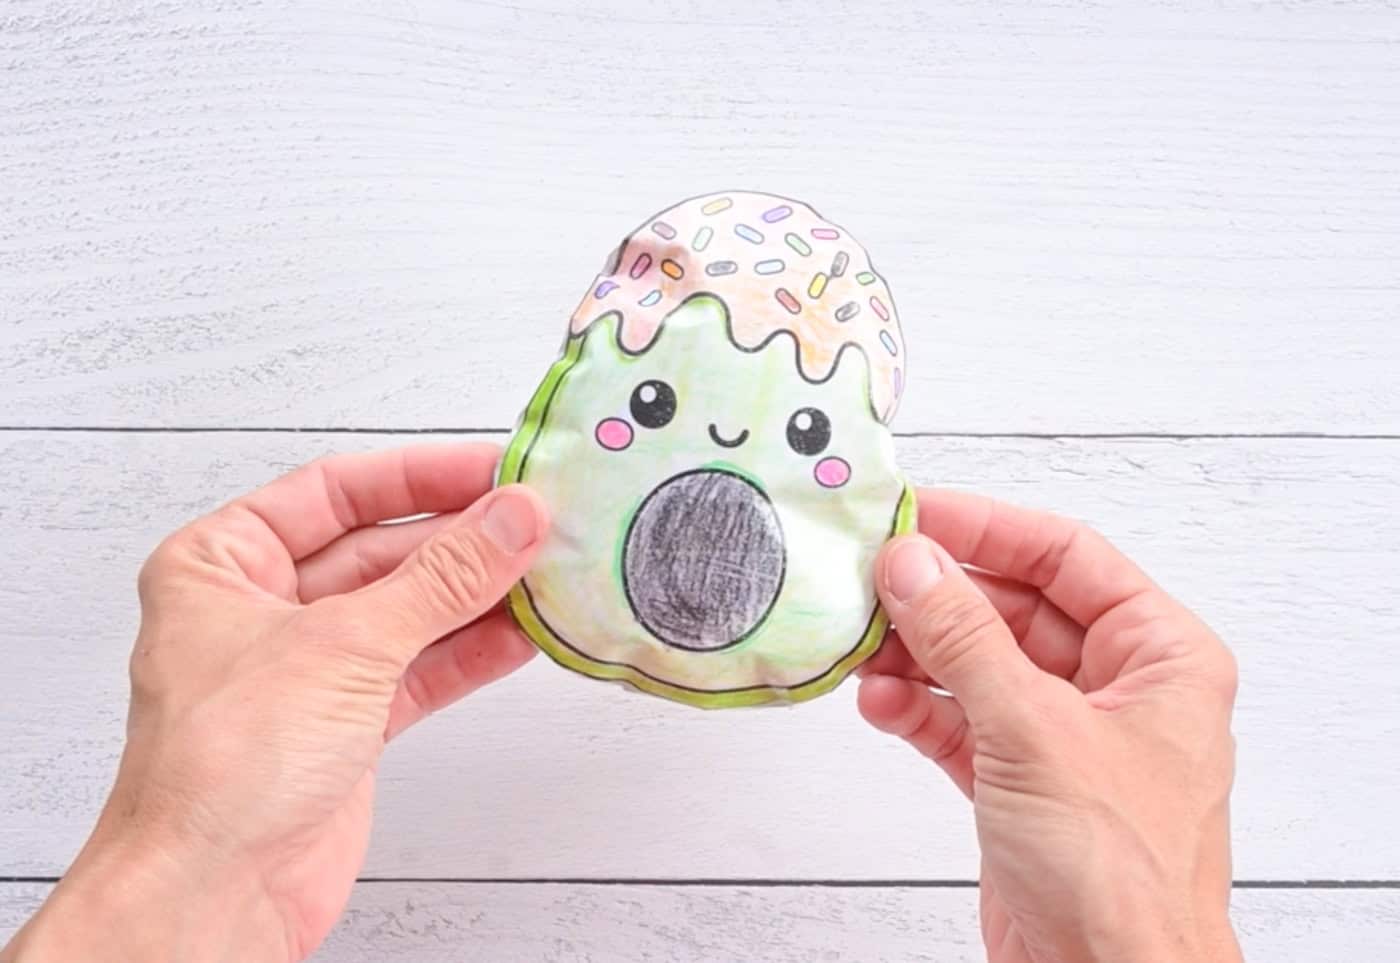
Today, I’m showing you how to make your very own DIY avocado paper squish using a free printable template. It’s the perfect "crafternoon" project for kids, teens, and even adults who need a little bit of stress relief!
Why Are Squishies So Popular?
Squishies are essentially "slow-rise" toys that you can squeeze, crush, and watch as they slowly return to their original shape. Their popularity boils down to a few things:
- The sensory experience. There is something deeply satisfying about the tactile feel of a squishy. It’s often linked to the "ASMR" trend. Playing with paper squishies feels and sounds good!
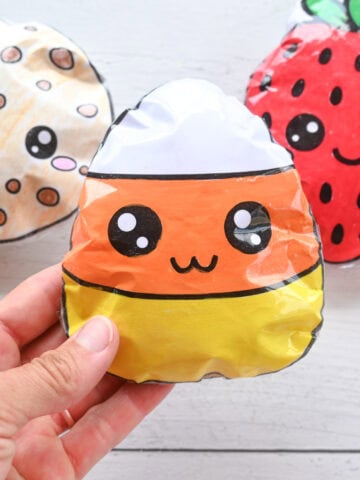
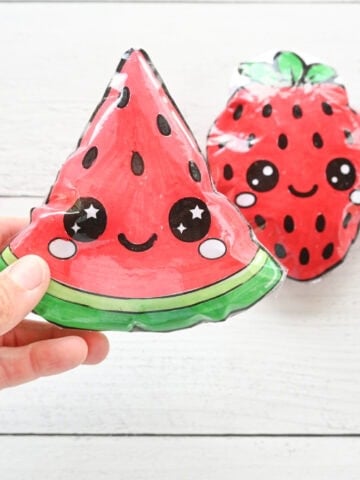
- They're collectible . Many squishes are kawaii food items or super cute animals that beg to be collected.
- The DIY factor. While you can buy foam squishies, making paper squishies has become a massive trend because they are budget-friendly and allow you to be the designer.
The Benefits and Uses of Squishies
Beyond just being cute, squishies actually serve a purpose!
They're great for relaxing. Much like a stress ball, squeezing a squishy can help release tension and provide a calming outlet during a long day.
They make fun fidget tools. For kids (and adults!) who have trouble focusing, a squishy provides a quiet way to keep hands busy.
They're cute desk decor. An avocado with a smiley face looks adorable sitting on your workspace.
Adorable handmade gifts. These make amazing, personalized party favors or "just because" gifts for friends. May daughter is trying to sell them to her friends. Wish her luck!
This post may include affiliate links which means I may earn a commission on qualifying purchases at no additional cost to you.
How to Make an Avocado Paper Squishy
Ready to make your own "Avocuddle" friend? Follow the steps below!
Supplies Needed:
- Your avocado template (Download link below)
- White paper(Standard printer paper works great)
- Markers or colored pencils
- Clear contact paper (optional but recommended)
- Clear packing tape
- Scissors
- Stuffing (You can use polyester fiberfill, cotton balls, or even crumpled-up plastic grocery bags for a "crunchy" squishy feel!)

- Polyfill stuffing:Crafted from premium polyester fiber fill, fine and dense fiber, good warmth retention, no clumping and strong resilience.This...
- Versatile Weight Options:Choose from polyfill stuffing Versatile sizes to perfectly match your creative needs! Small weight polyfill stuffing is...
- Reusability:Unlike messy loose fill, our polyfill stuffing stays neatly contained until needed. Unused material Put it back into its...
How to Make a Paper Avocado Squishy Step by Step
The best way to learn how to make your own paper squishy is by watching and listening to the tutorial video below. I talk you through everything and show the process, too!
Written steps with some photos are also included in the post. =)
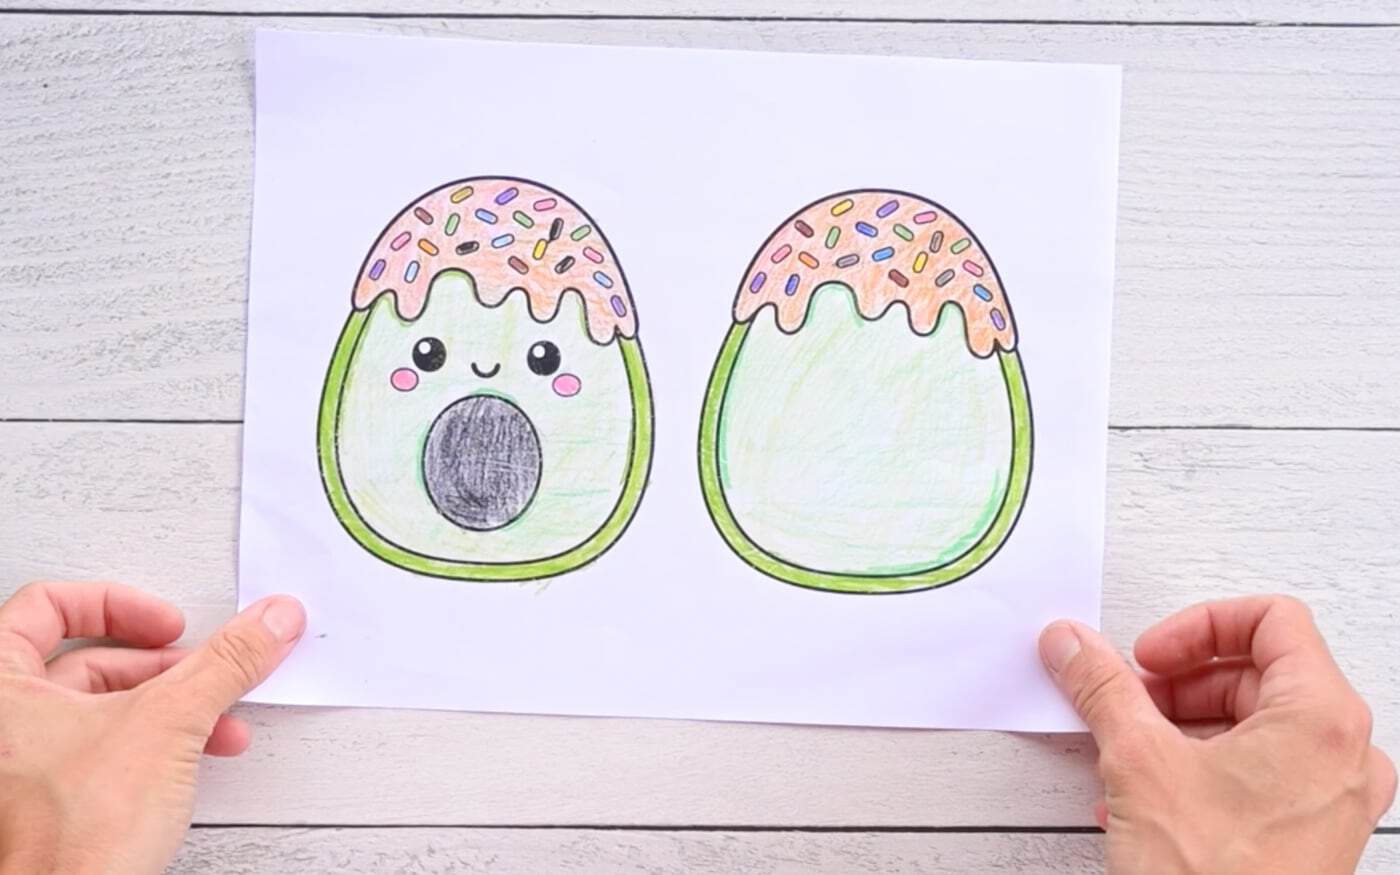
Download and print your free avocado template. There is a pre-colored version if you're in a hurry, but I recommend using the black and white coloring page!
Both versions of the template have a separate front and back image.
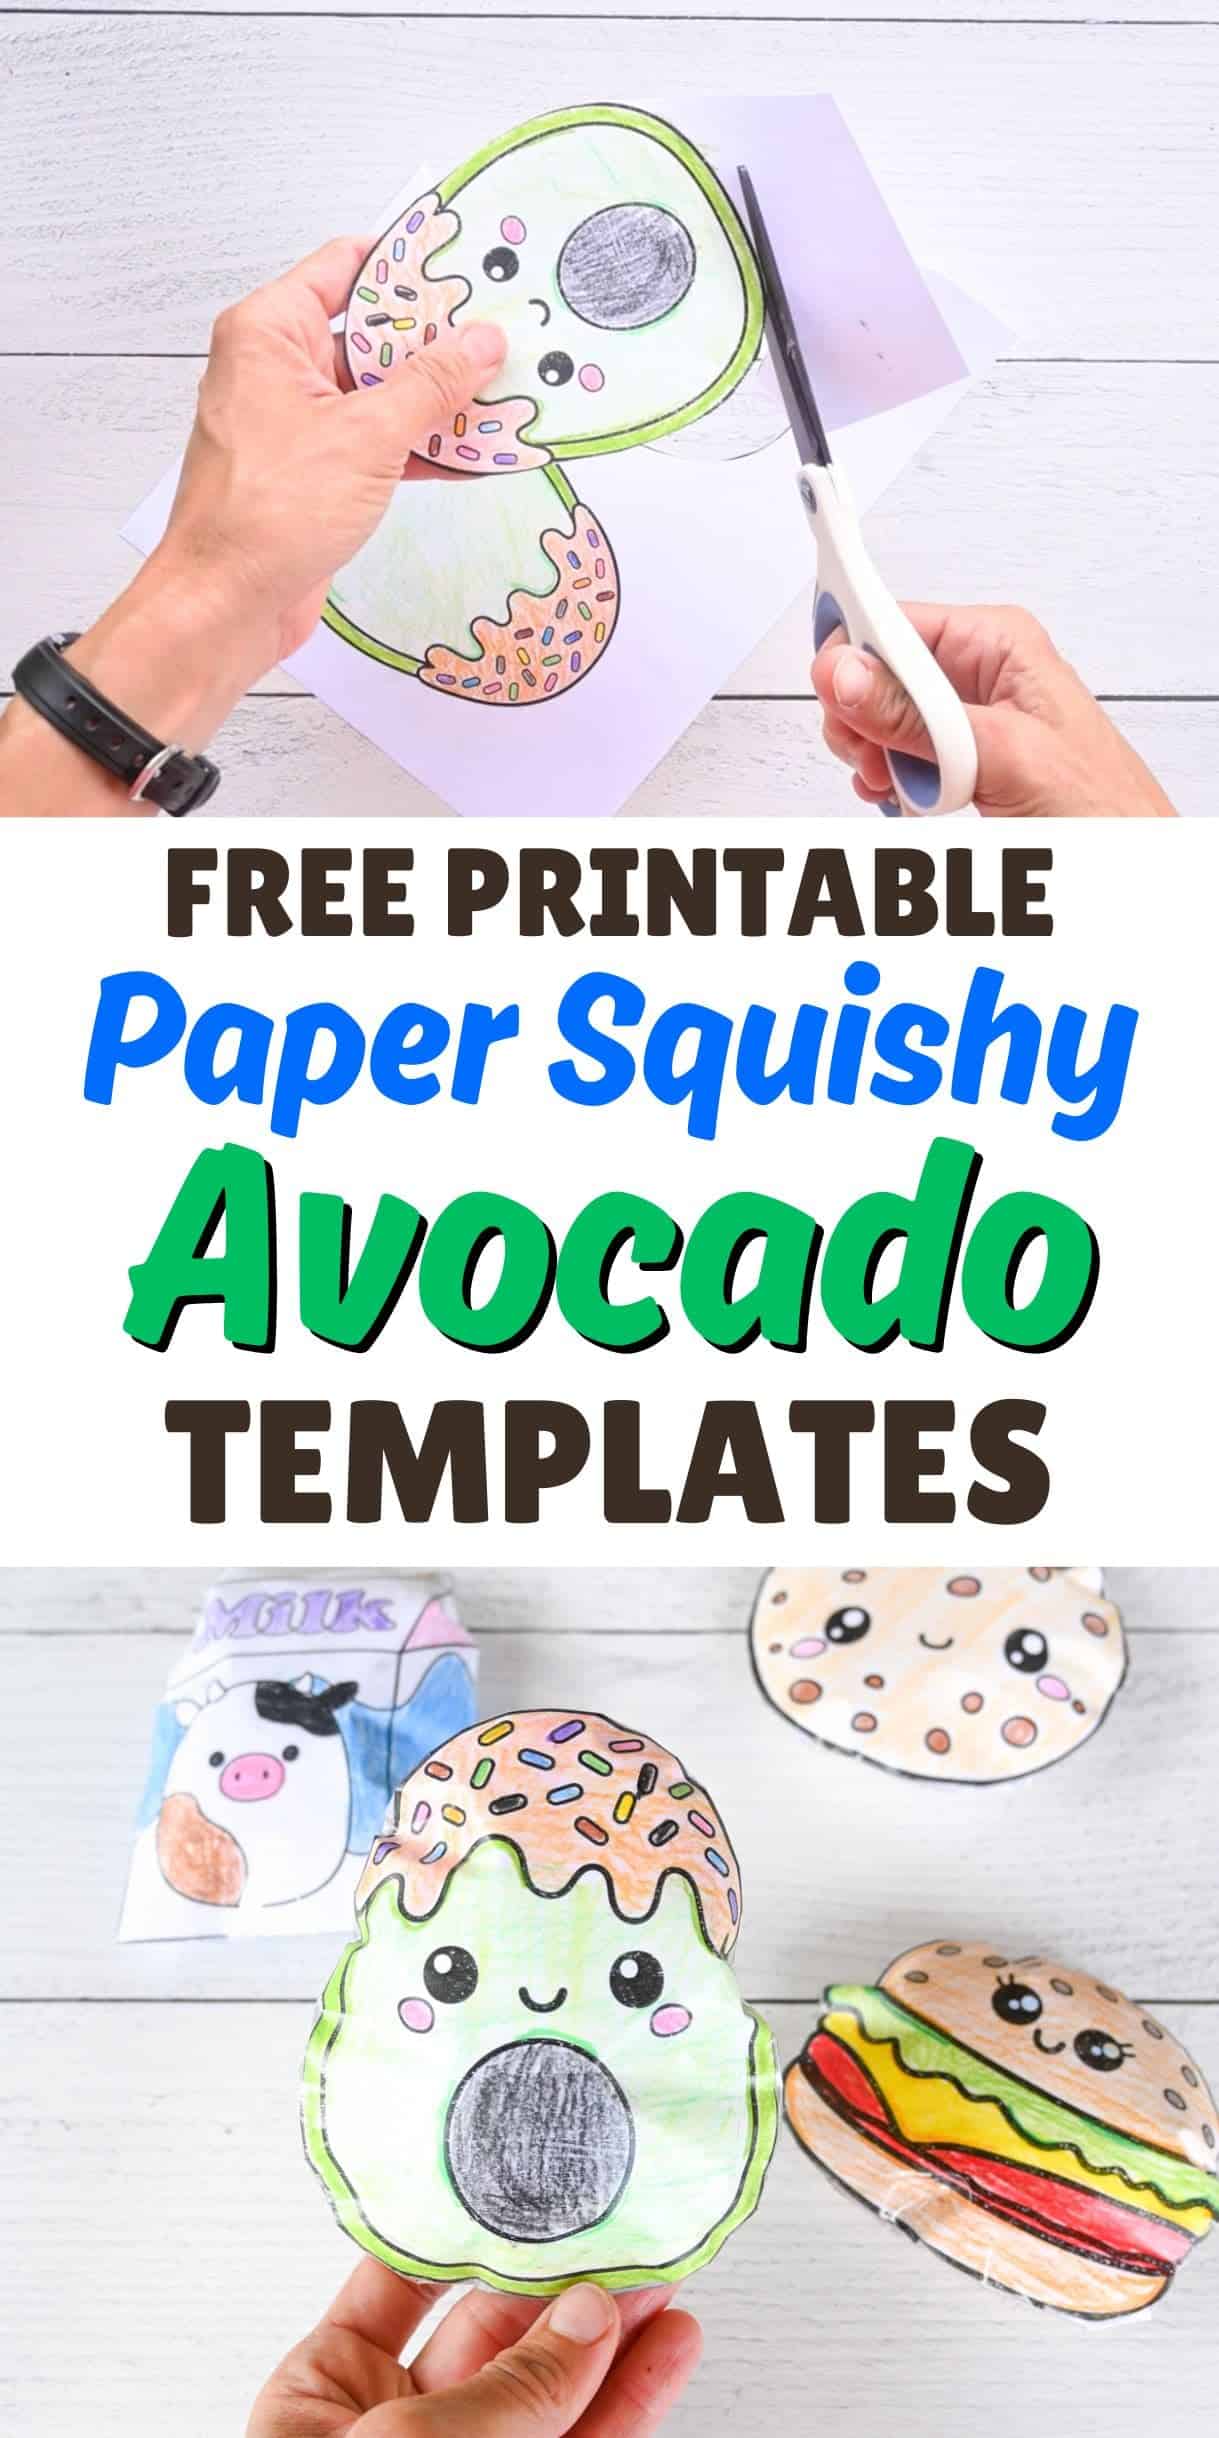
Carefully cut out your avocado shapes (the front and the back).
"Laminate" with tape or contact paper.
This is the most important step!
I like using contact paper because of the smooth appearance, but you can use clear packing tape.
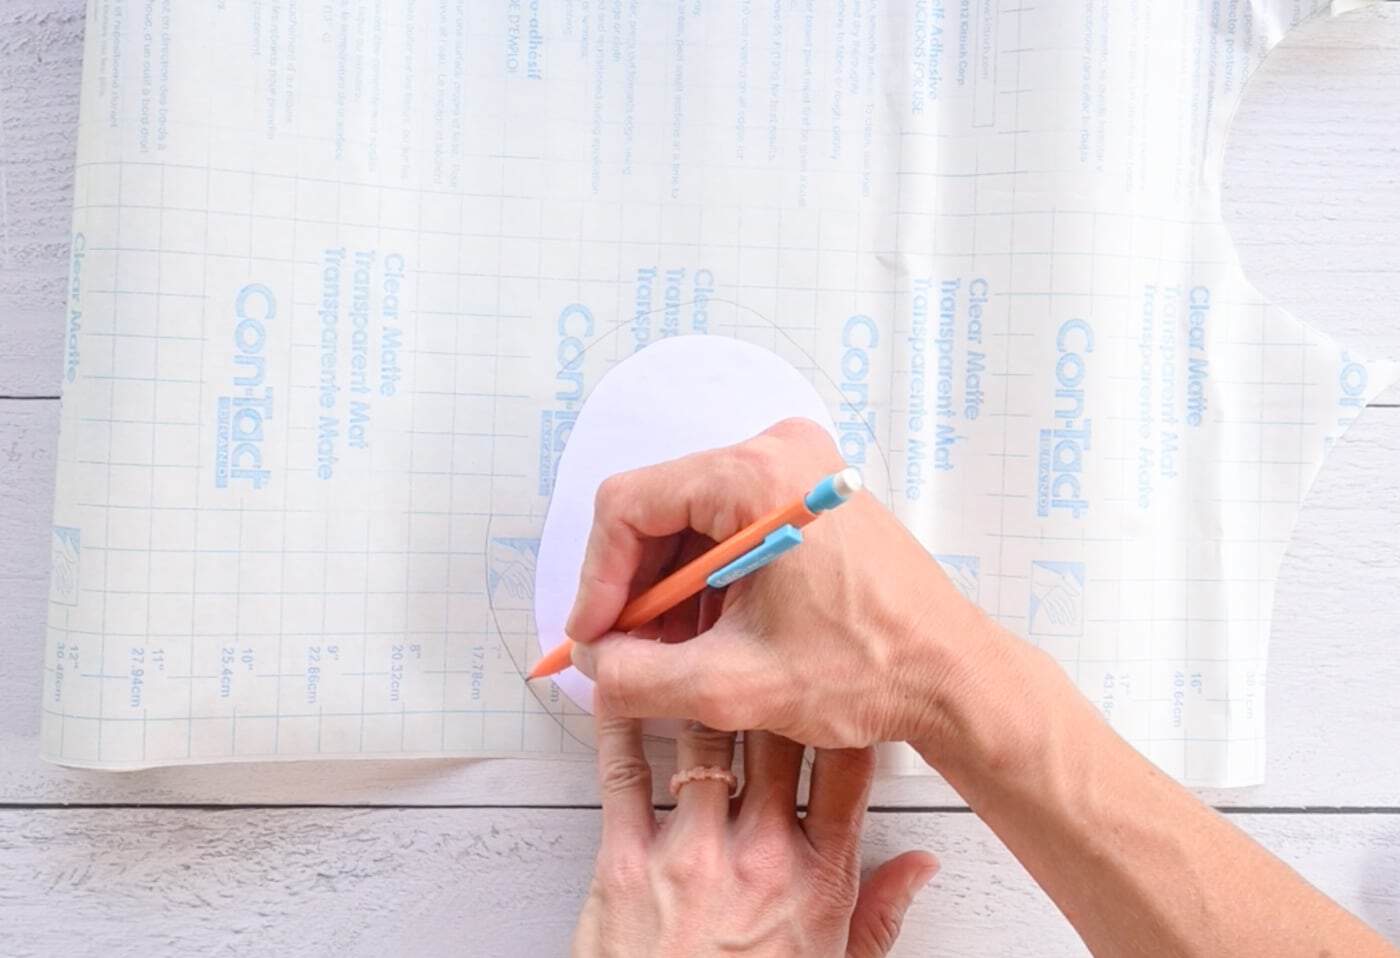
If you're using contact paper, place the templates face down on the back of the paper.
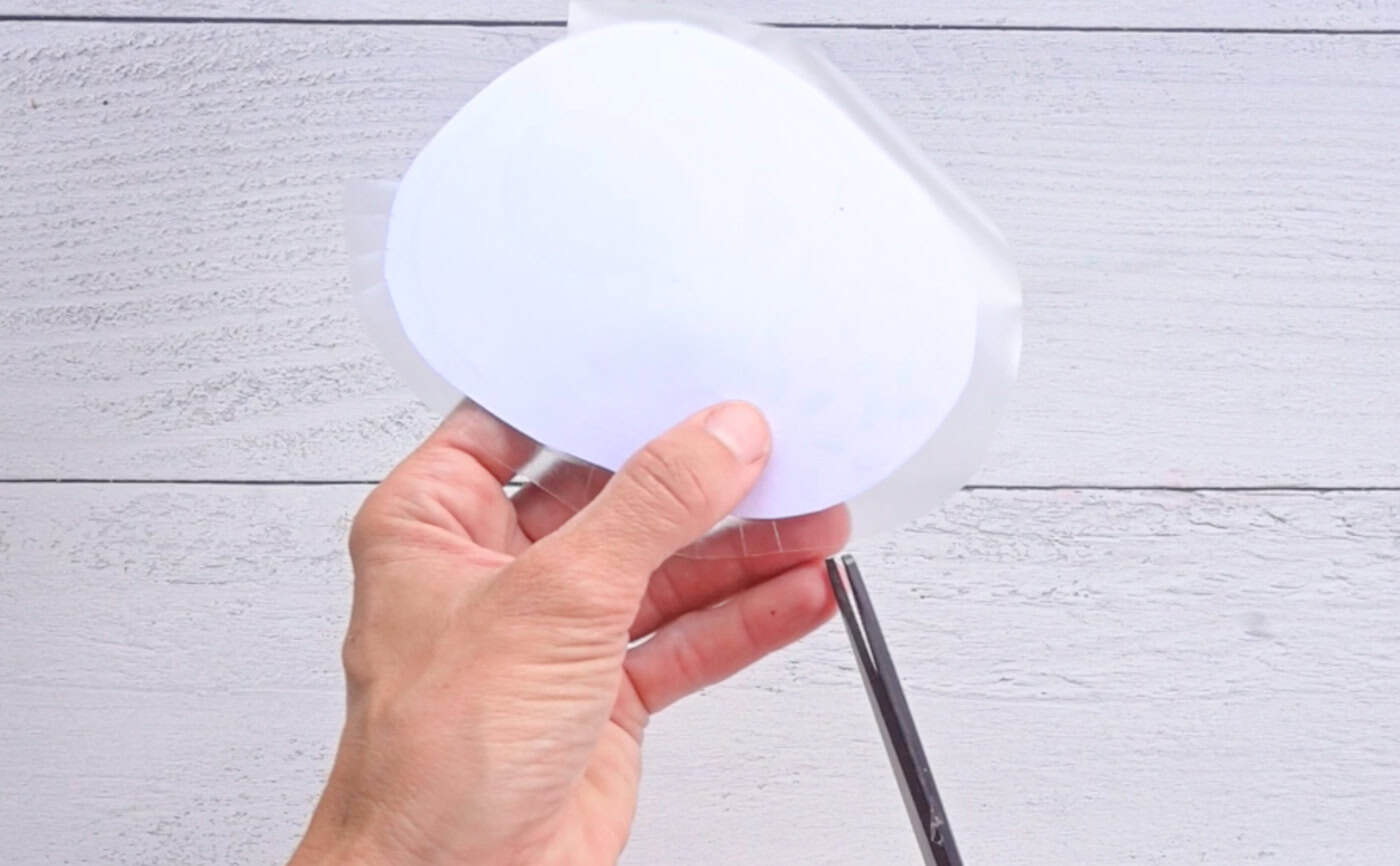
If you're using tape, place strips of packing tape across the front face of your avocado, leaving an overhang of at least .5". Do not cover the back portion yet.
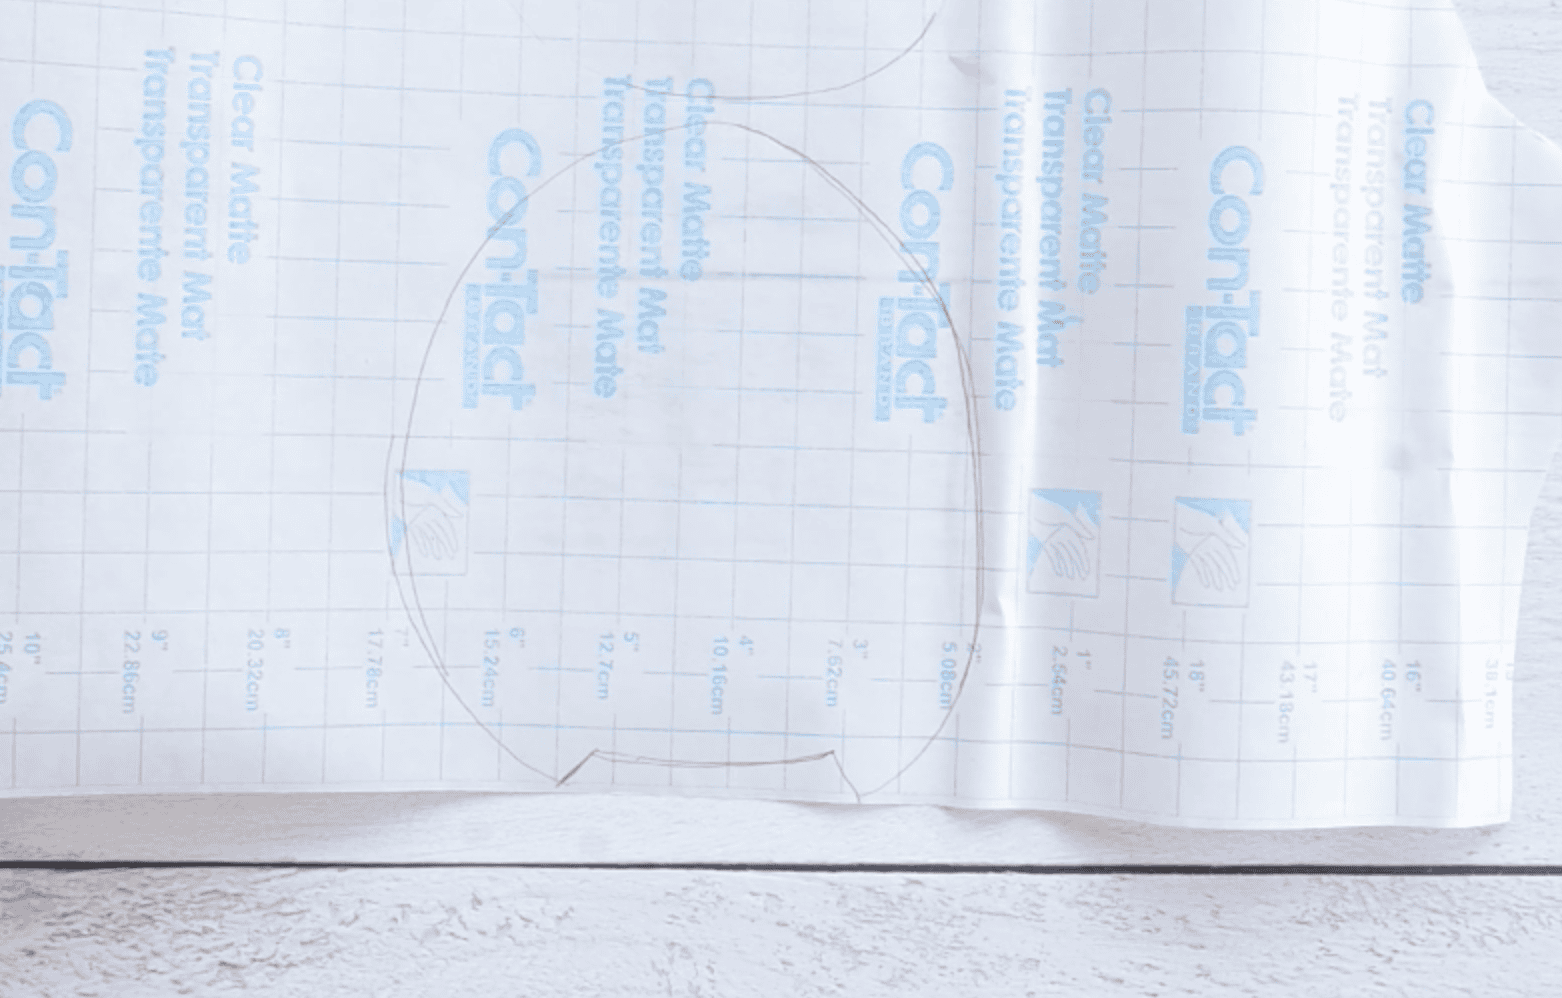
Trace about ¾" - 1" away from the outside of the front of the avocado except for one area 2-3" wide. In one area you'll need to leave a gap. I leave the bottom open for simplicity's sake.
Here's a look at what I mean by leaving a gap for stuffing. The contact paper cuts in so that there's nothing extra along the bottom of the avocado.
Trace directly around the back piece of the avocado without any extra.
Cut out both contact paper shapes.
Carefully peel the backing paper off of the front piece. Keep the contact paper as flat as possible to avoid creases.
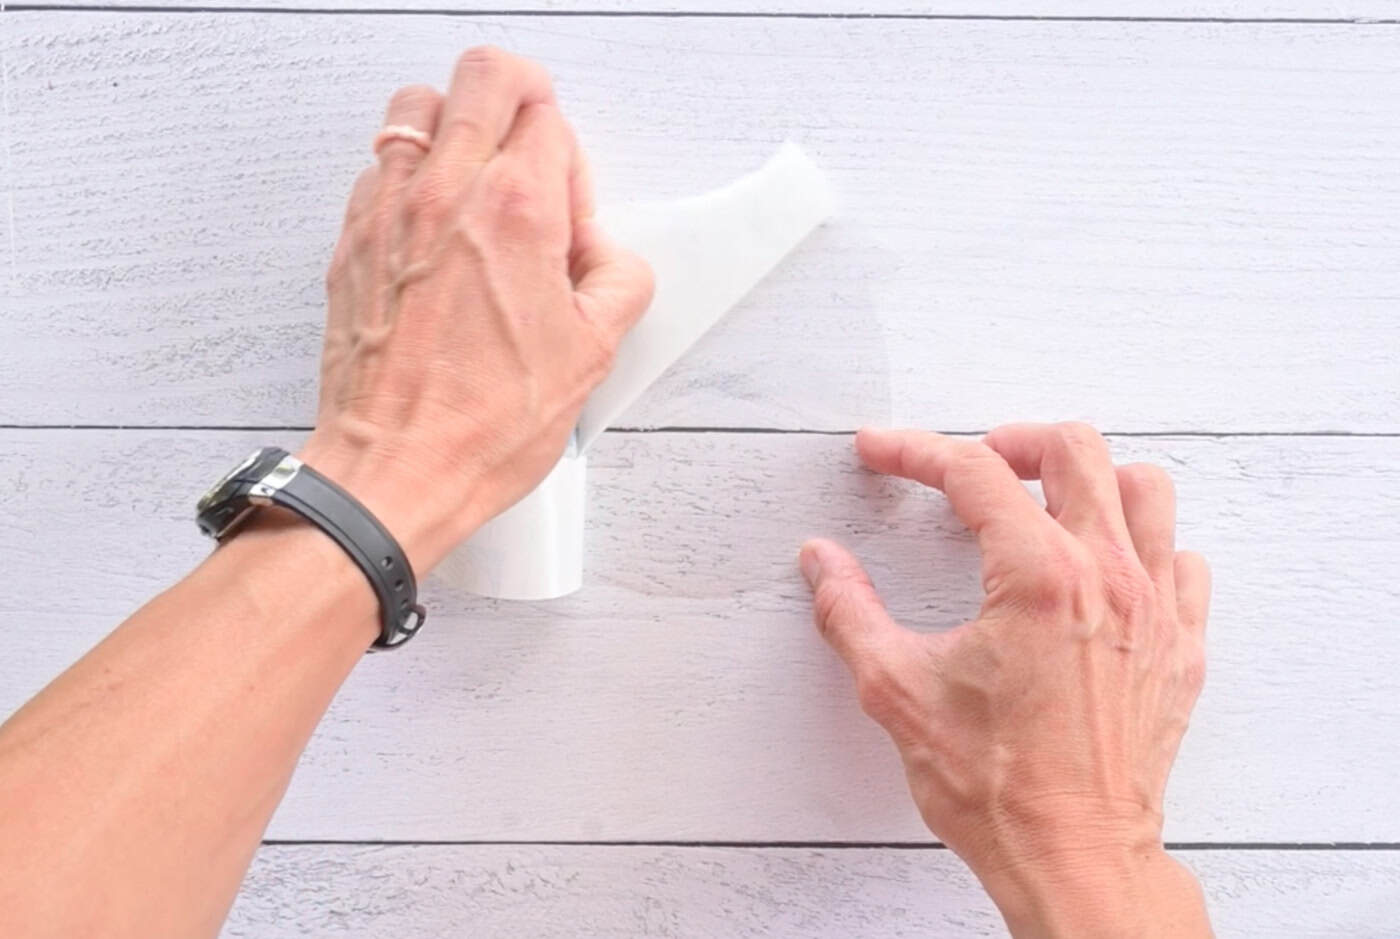
Place the front of the avocado face down on the contact paper. Make sure it's aligned with the edge in one location but that there is plenty of extra the rest of the way around.
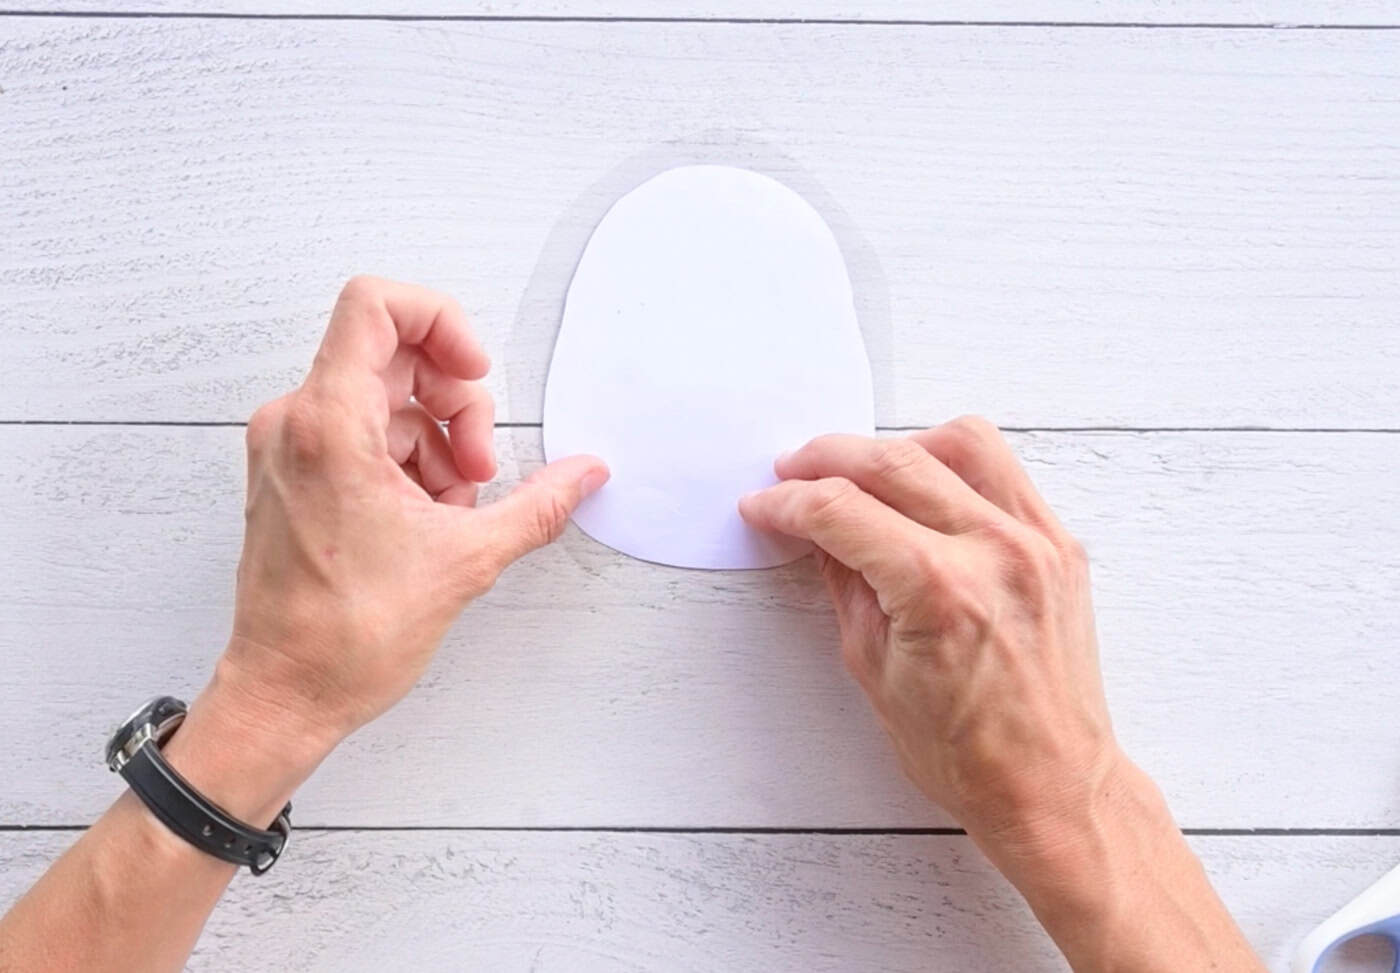
Rub the paper to make sure the contact paper is adhered fully.
Use scissors to cut little tabs into the contact paper all the way around. I like to make mine small, no more than .5".
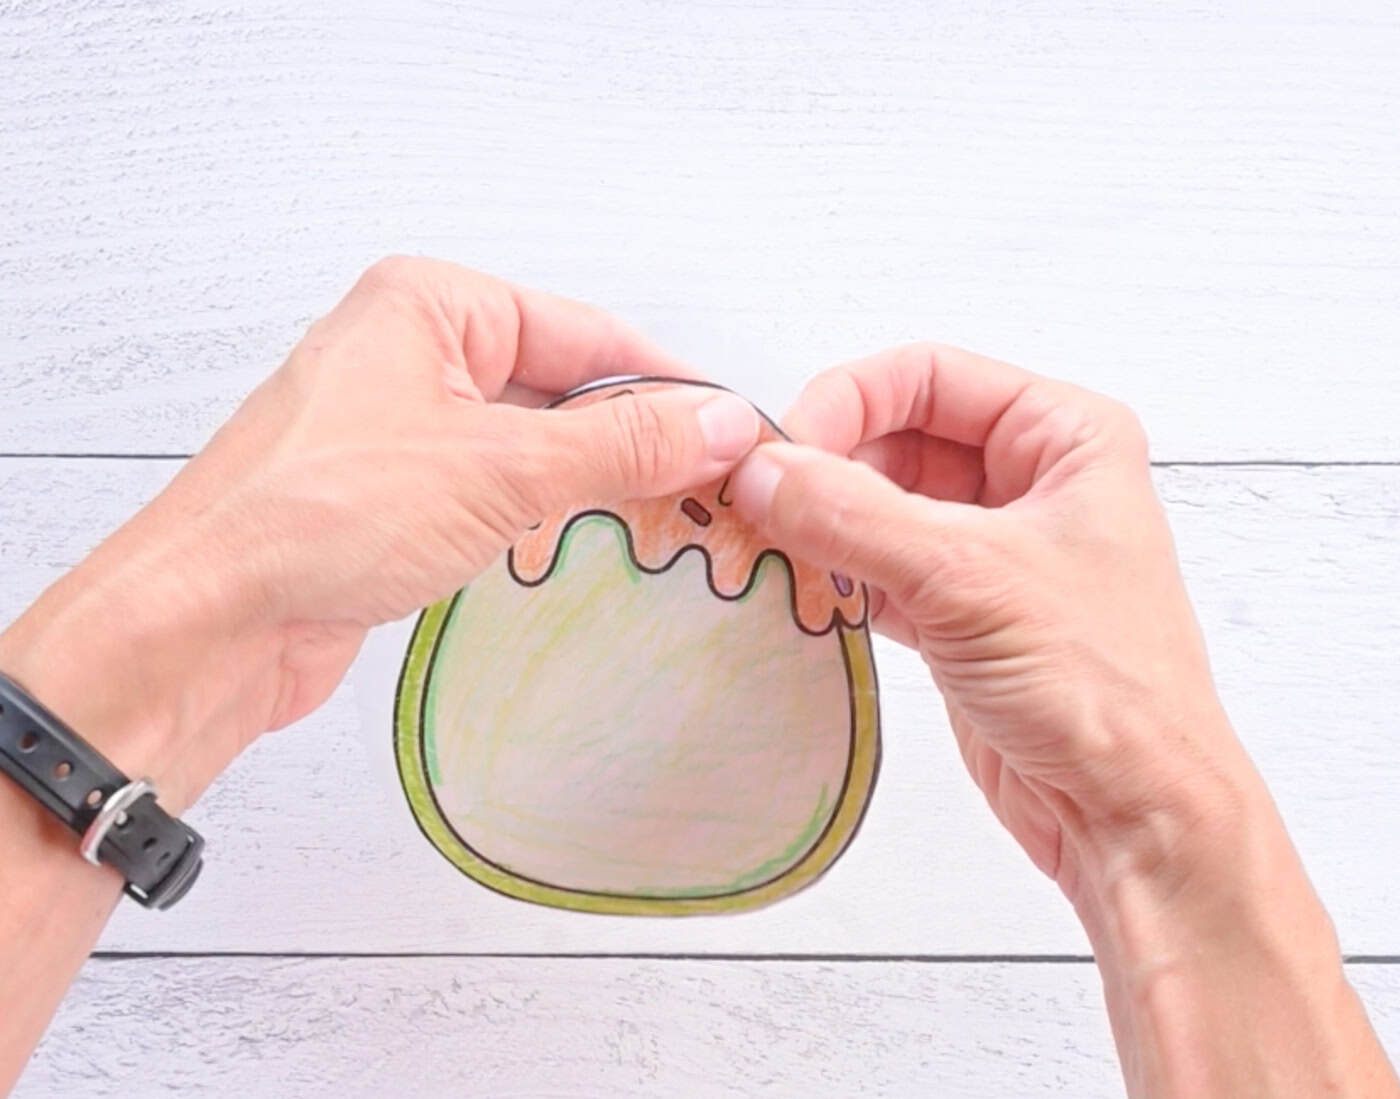
Next, place the back of your avocado "wrong sides together" on top of the front piece. Both blank sides should be together, both colored sides facing out.
Carefully fold the contact paper tabs over to stick the front to the back.
Continue doing this all the way around except for in your designated stuffing gap area.
Peel the backing off of your second piece of contact paper. Position it carefully and press it into place.
If you're using tape, "laminate" the back of the avocado with strips of packing tape and trim them carefully to shape.
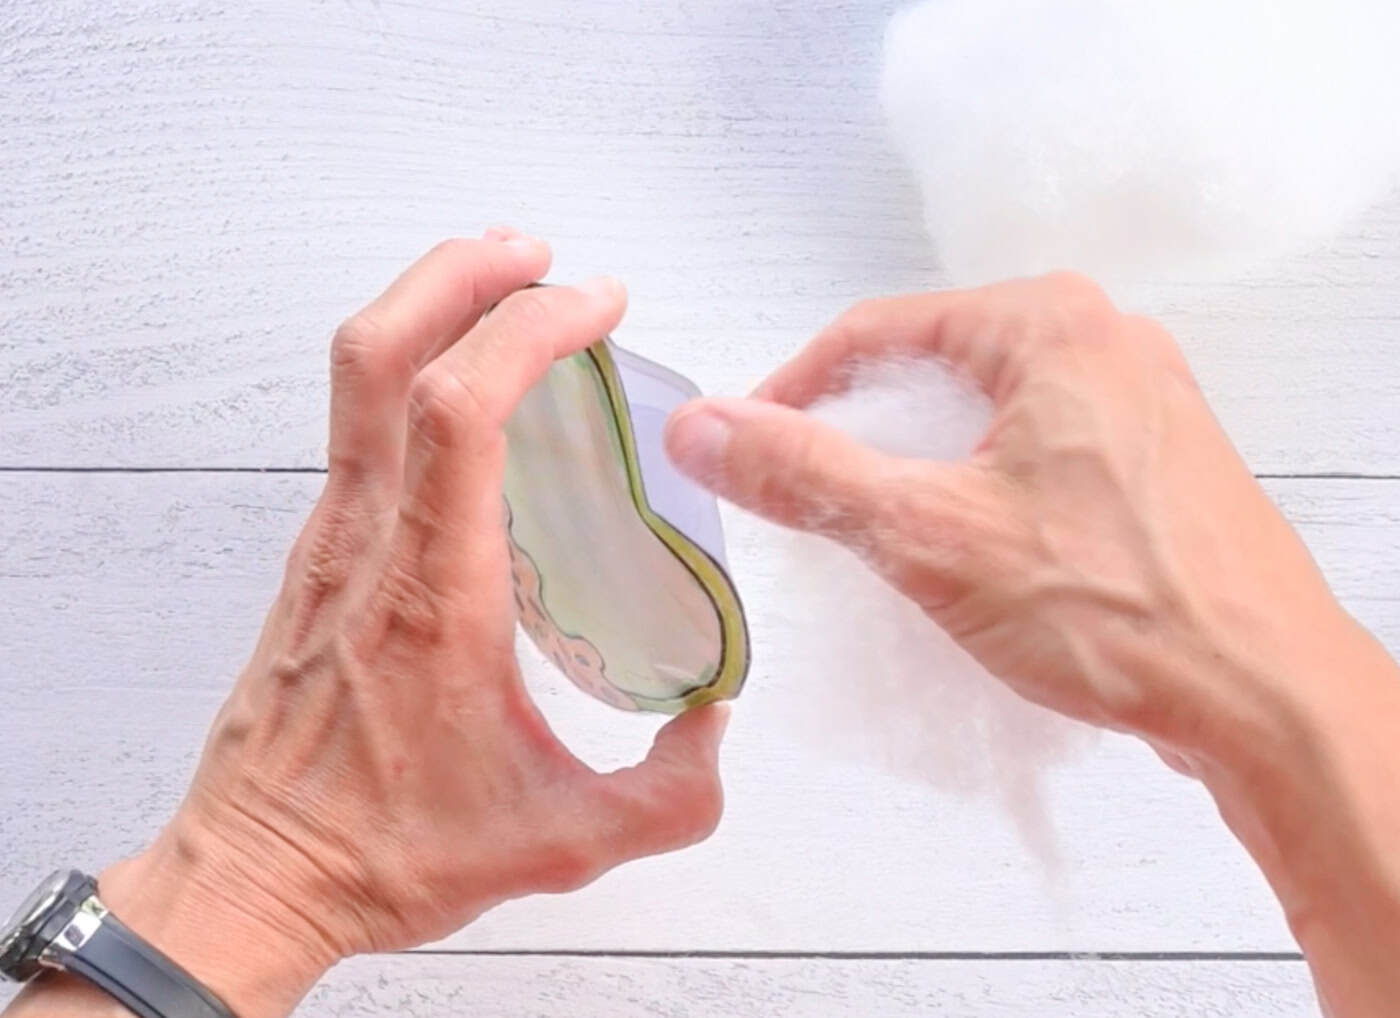
Now it's time to stuff your squishy!
Push your stuffing of choice through the gap. You want it to be firm but not so packed that the tape seams pop. If you want a "slow-rise" effect, polyester fiberfill works best.
Once it’s nice and plush, tape the remaining hole shut. Hold the edges as flat and close as possible while you tape.
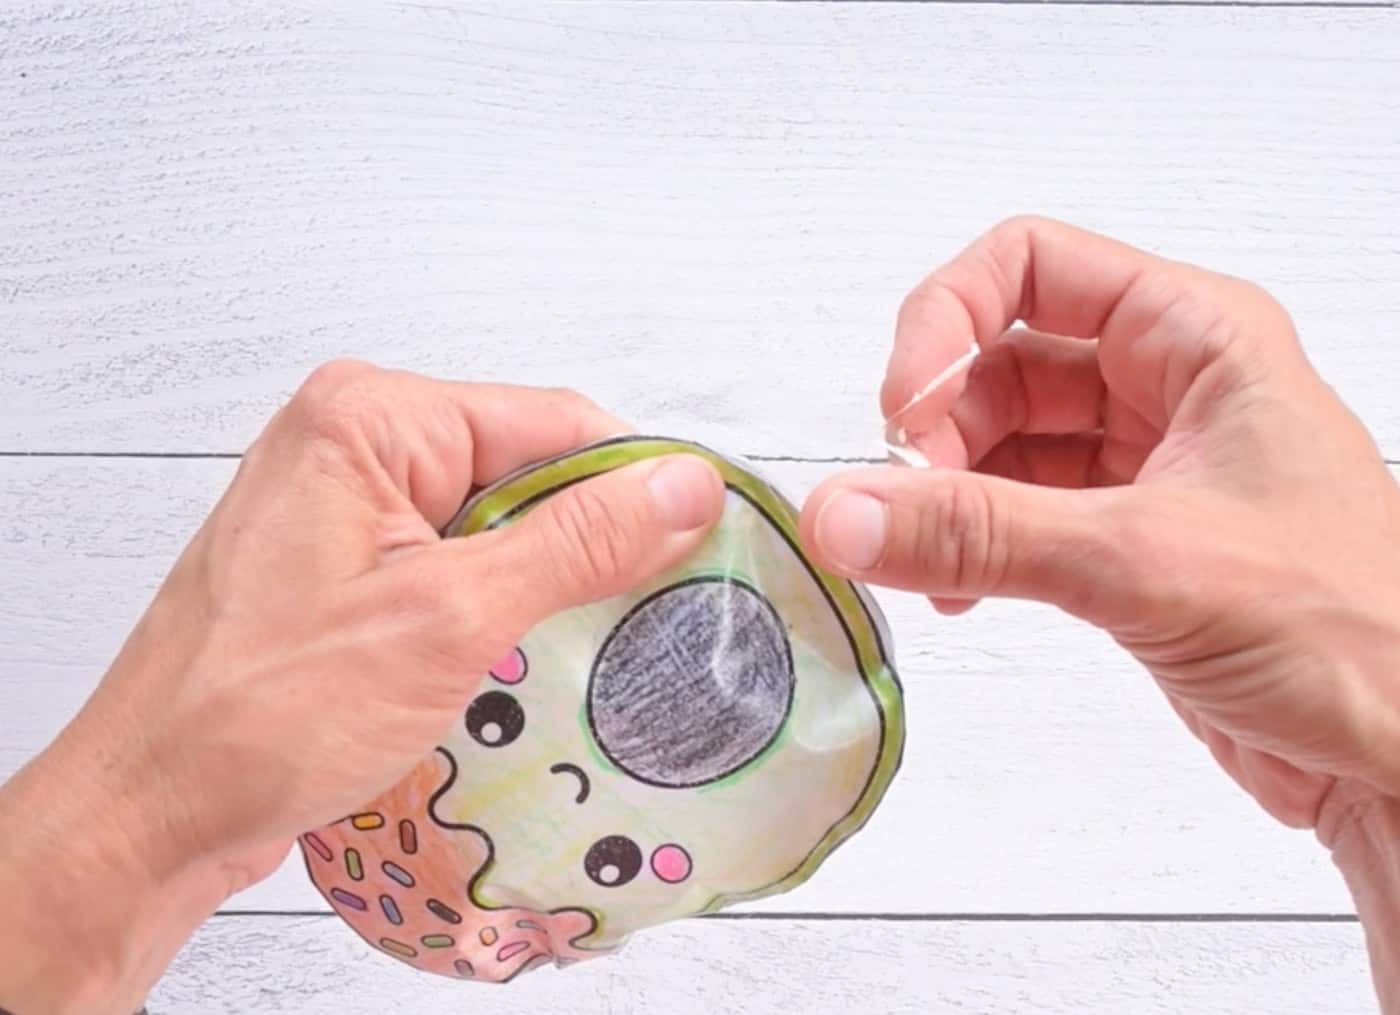
Check for any air gaps and reinforce them with extra tape if needed.
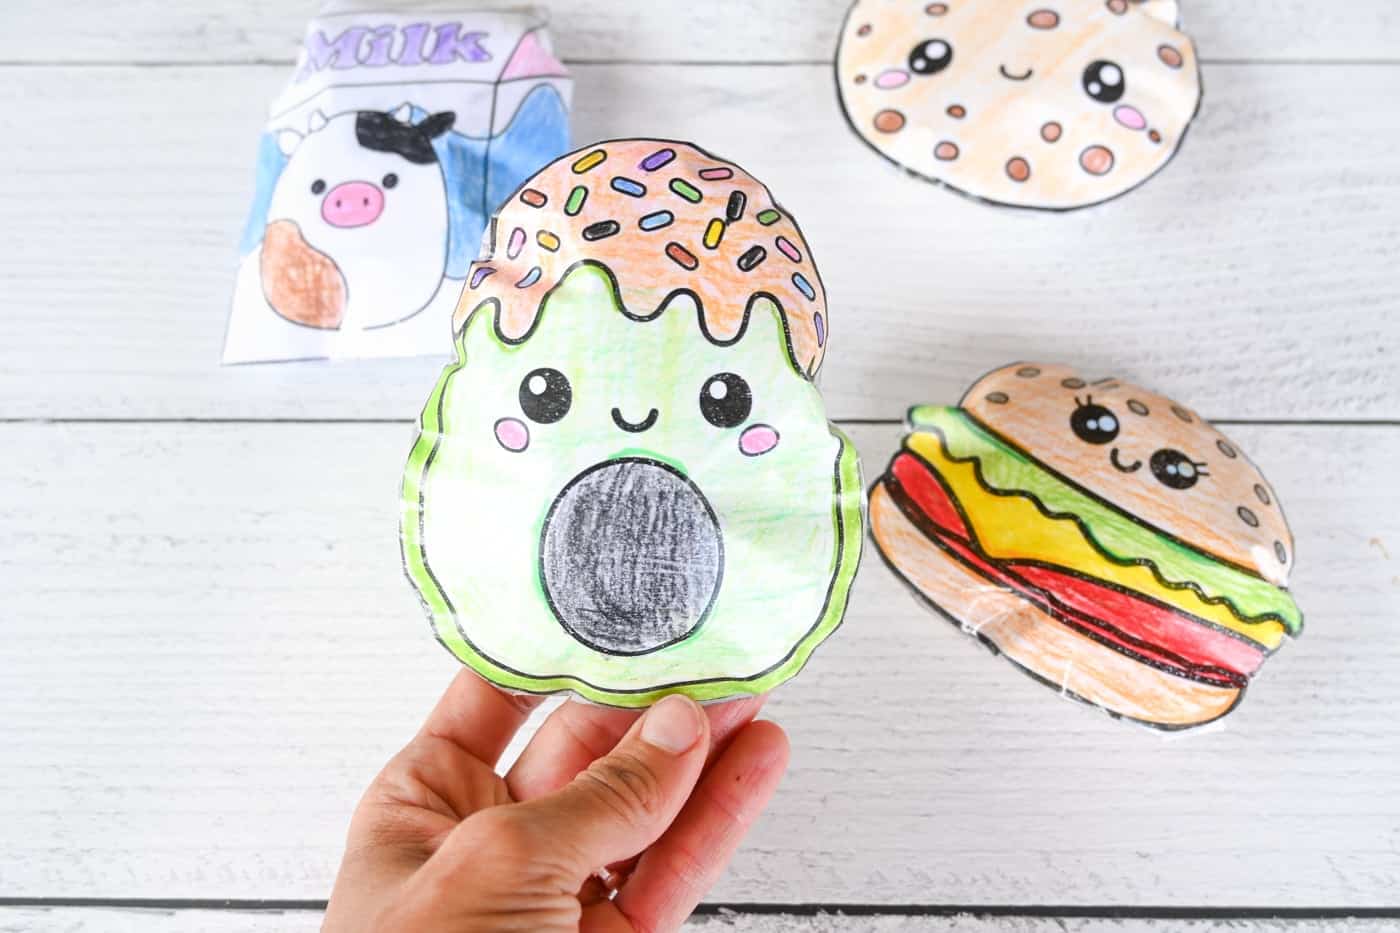
Now your cute avocado squishy is ready to enjoy!
Download Your Free Avocado Template Here!
These free printable avocado templates are licensed for personal and single classroom use.
You are not licensed to redistribute or sell the print outs or files. (But you're welcome to sell the completed squishes if you can find someone who wants to buy them!).
If you agree to these terms of use, you may click below:

I hope you enjoy this DIY paper squishy avocado as much as my family does! Stay tuned because there are many more paper squishy templates on the way. =)
Leave a Reply