• Skip to main content
  • Skip to primary sidebar
The Artisan Life
  • Dot Marker Pages
  • Learning Center
  • Free Printables
    • Free Printables for Summer
    • DIY Squishies
    • dramatic play printables
    • Printable Calendars
    • Fall printables
    • Winter Printables
    • Valentine's Day printables
    • St. Patrick's Day printables
    • Earth Day
    • Easter printables
    • Mother's Day
    • Thanksgiving Printables
    • Christmas Printables
  • Preschool + K
    • Alphabet Tracing Worksheets
    • Dot Marker Pages
    • Cut & Paste Crafts
    • Preschool Math
    • Fine Motor Practice Pages
    • Spanish Preschool Pages
  • Coloring Pages
  • Recipes
    • Healthy dessert recipes
    • main dish recipes
    • Side dish recipes
    • sourdough recipes
    • Drink Recipes
  • Gardening
  • Wood Working
    • Timber Framing Classes in South Carolina
    • Timber Framing Tools and Resources
    • Mrs Claus Wood Carving Tutorial
    • Easy Scandinavian Inspired Wood Santa Carving Tutorial
    • How to Carve a Wood Christmas Tree
    • How to Carve a Wood Jack O'Lantern
  • Shop
menu icon
go to homepage
  • Dot Marker Pages
  • Free Printables
    • Preschool worksheets
    • Free Printable Coloring Pages
    • Printable journals & planners
    • Shape Templates
  • Recipes
    • breakfast recipes
    • Drink Recipes
    • main dish recipes
    • sourdough recipes
    • breakfast recipes
  • Crafts
  • Learning Center
  • Shop
    • Instagram
    • Pinterest
  • search icon
    Homepage link
    • Dot Marker Pages
    • Free Printables
      • Preschool worksheets
      • Free Printable Coloring Pages
      • Printable journals & planners
      • Shape Templates
    • Recipes
      • breakfast recipes
      • Drink Recipes
      • main dish recipes
      • sourdough recipes
      • breakfast recipes
    • Crafts
    • Learning Center
    • Shop
    • Instagram
    • Pinterest
  • ×
    Home » craft tutorial

    Mrs Claus Wood Carving Tutorial

    Published: May 17, 2026

    • Share

    The holiday season always feels a little brighter when you can add something handmade to your Christmas decor. If you’ve already carved a classic wooden Santa, it’s only right that he gets some company!

    Today I'm showing you how to carve a Mrs. Claus character figure.

    This project can be carved out of a corner block or fully in the round. It’s full of character, texture, and holiday charm. Grab your tools, put on your safety glove, and let’s get whittling!
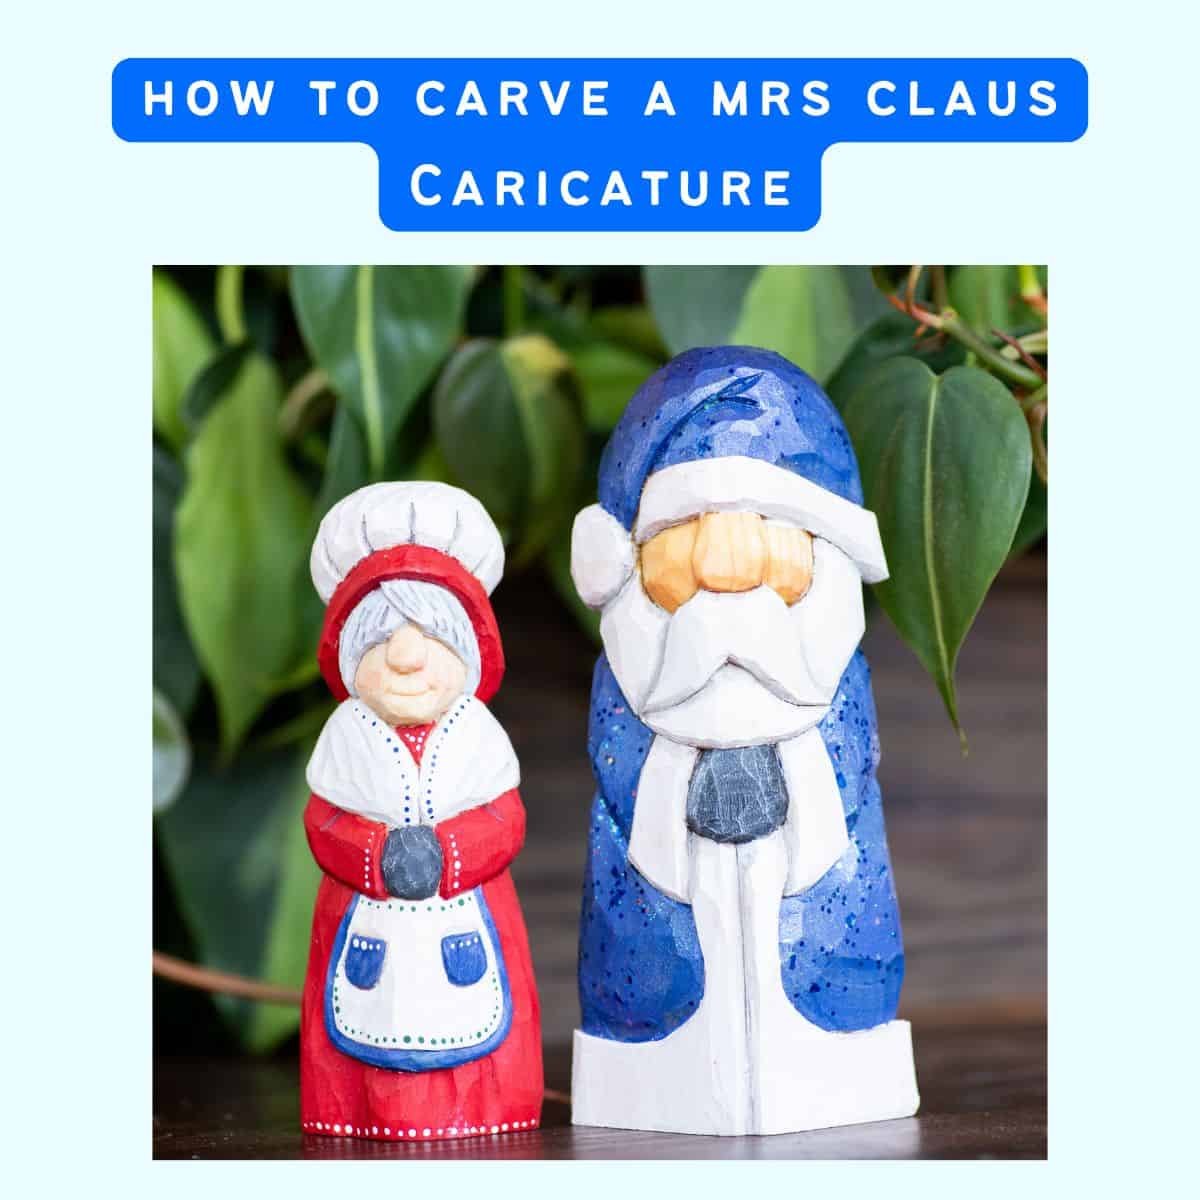
    text "how to carve a mrs claus caricature" with a photo of mr and mrs claus woodcarvings

    This post may include affiliate links which means I may earn a commission on qualifying purchases at no additional cost to you.

    This Mrs Claus figure is carved using a wood carving stencil. The stencils are available in 1", 1.5", and 2" sizes. The stencils are available on both Etsy and Amazon.
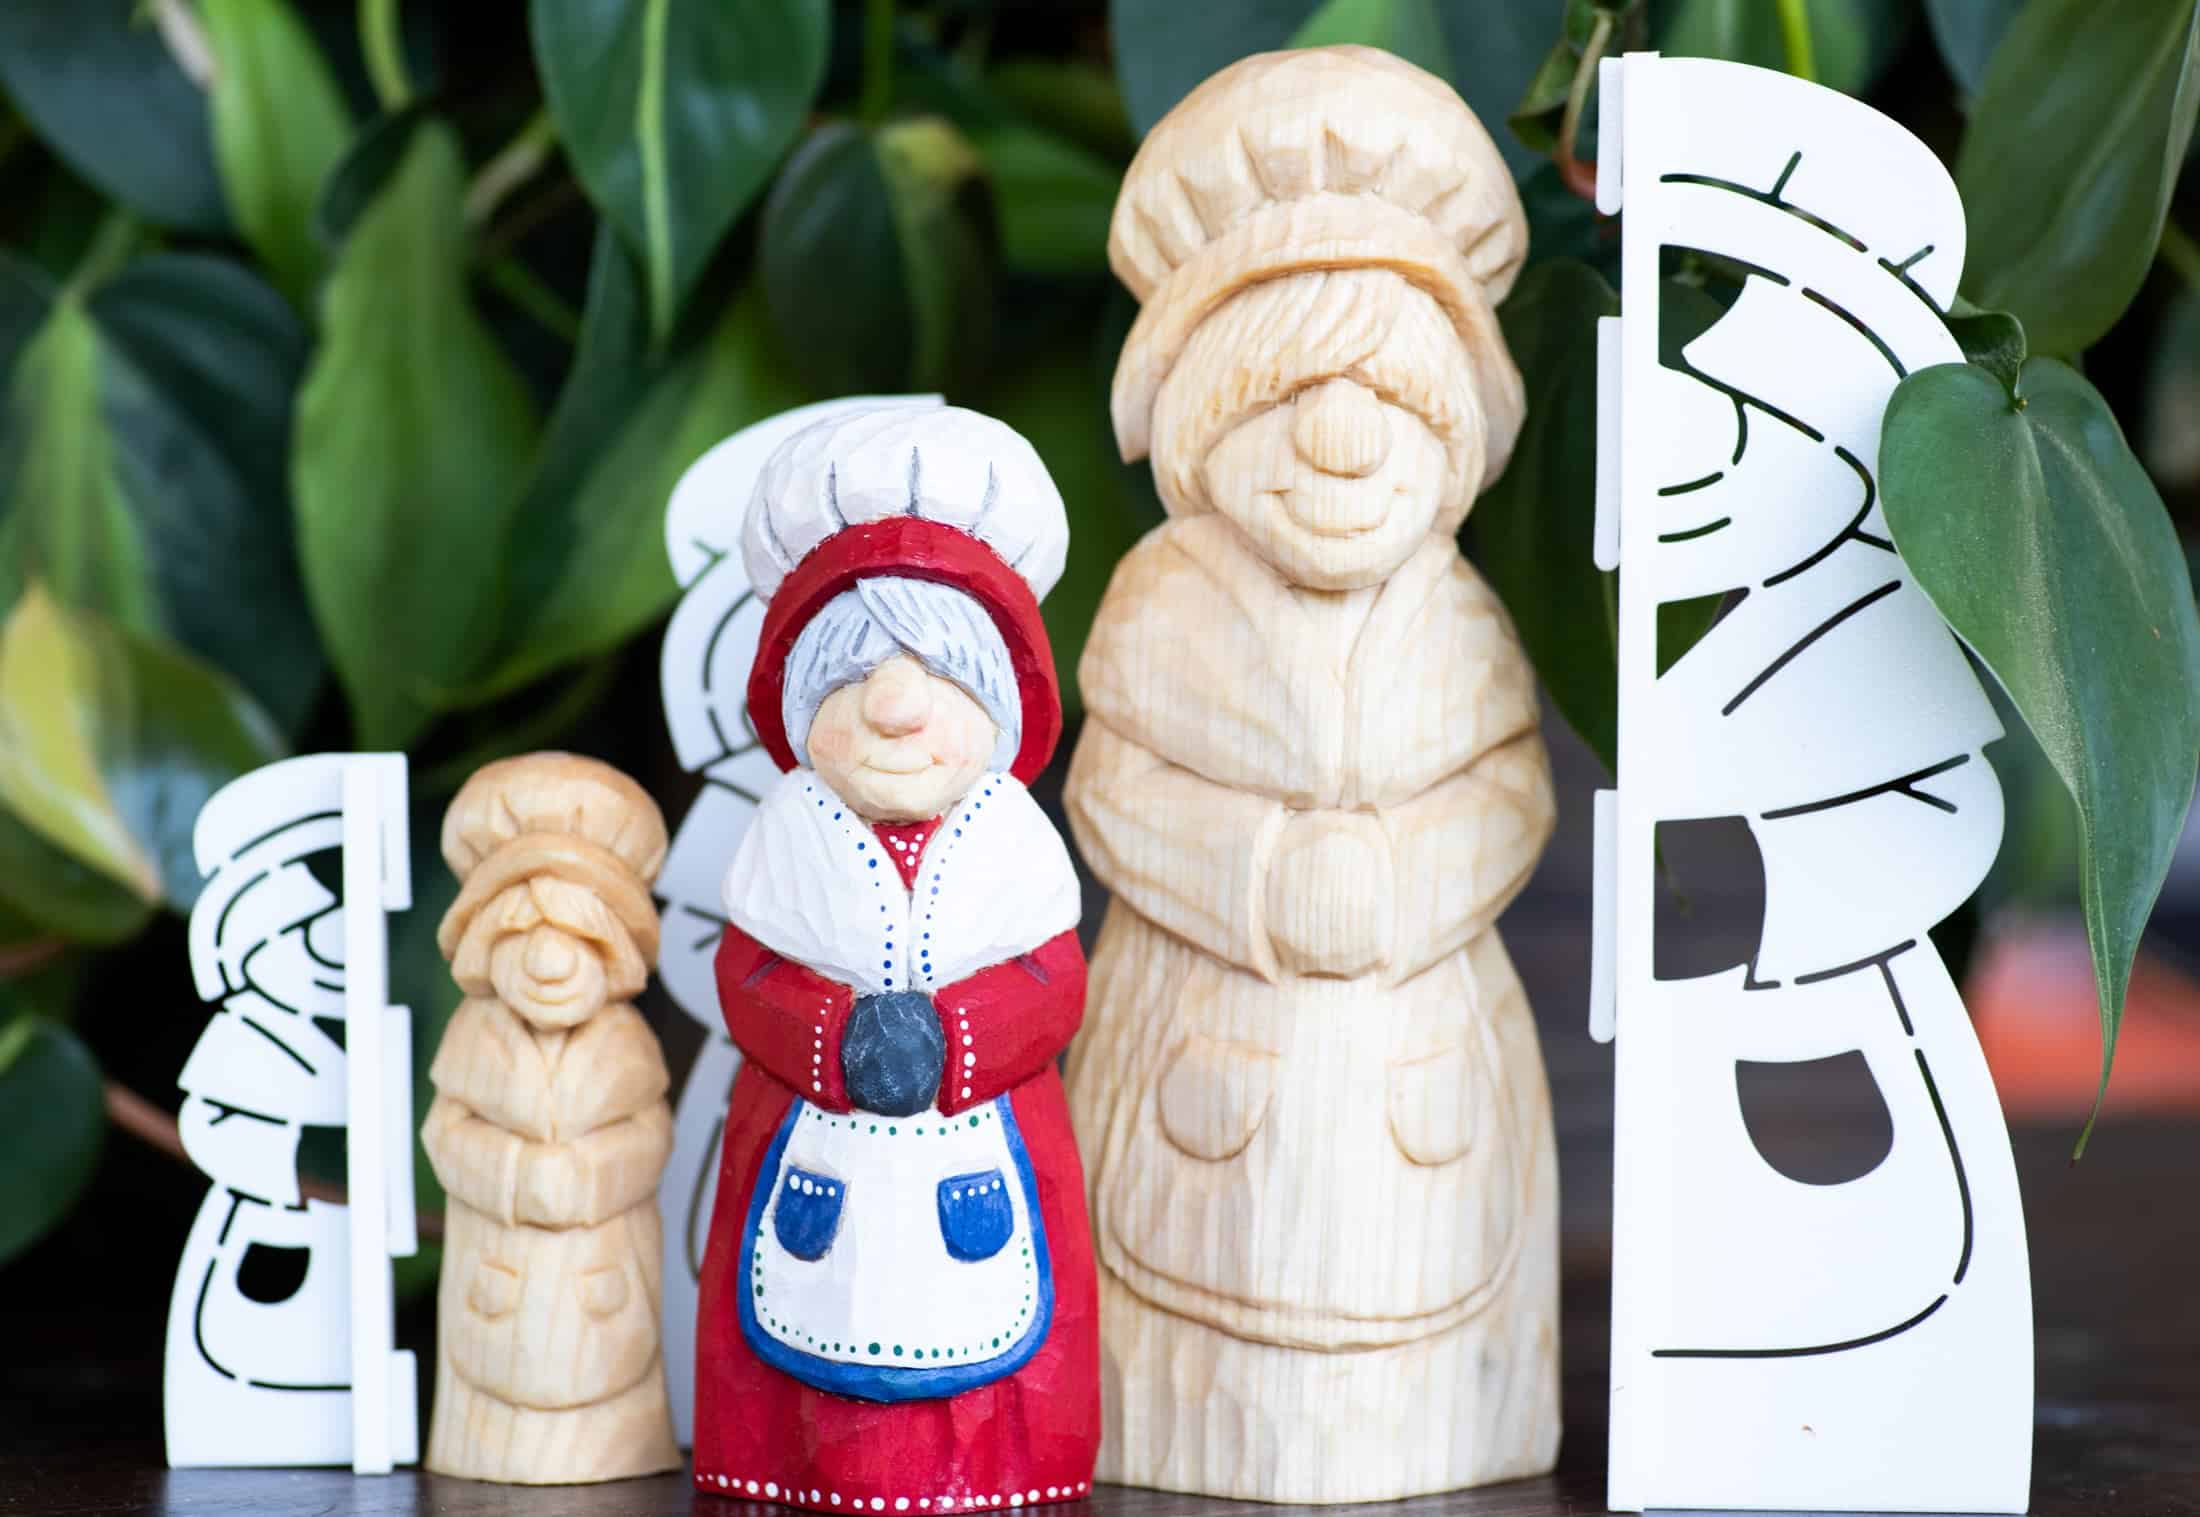
    mrs claus wood carvings next to stencils used for layout

    You don't have to use a stencil if you'd rather freehand draw, but a stencil helps you quickly and easily lay out your design so you a can get to carving!

    The stencil sizes refer to the blank size used, not the finished height.

    No products found.

    Supplies Needed

    Before we begin, make sure you have your workbench set up with these essentials:

    • Basswood blank
    • Stencil
    • Mechanical pencil. It needs to be a mechanical pencil to get into the openings on the stencil. This is the pencil I use.
    • Carving knife. A Flexcut roughing knife is shown.
    • V-Tool
    • Palm gouge
    • 1mm #11 veiner
    • 3mm #11 veiner
    • Cut resistant gloves. I use the No Cry brand
    NoCry Premium Cut Resistant Gloves Food Grade — 100% Food Safe — Level...
    NoCry Premium Cut Resistant Gloves Food Grade — 100% Food Safe — Level...
    • 4X MORE CUT-RESISTANT THAN LEATHER — Safety gloves made from the highest level of cut resistant material on the market. These mandolin gloves cut...
    • 100% FOOD SAFE — Cut gloves food grade with superior grip and a snug fit keep sharp blades securely in your hand so you can prepare food with...
    • AMBIDEXTROUS — These cut resistant work gloves can be worn on either hand, making these chef gloves for food prep or knife gloves a top choice for...
    Check current price

    If you have any questions, or want to share your work, make sure to stop by The Carving Club, our free Facebook carving community with 30k+ member!
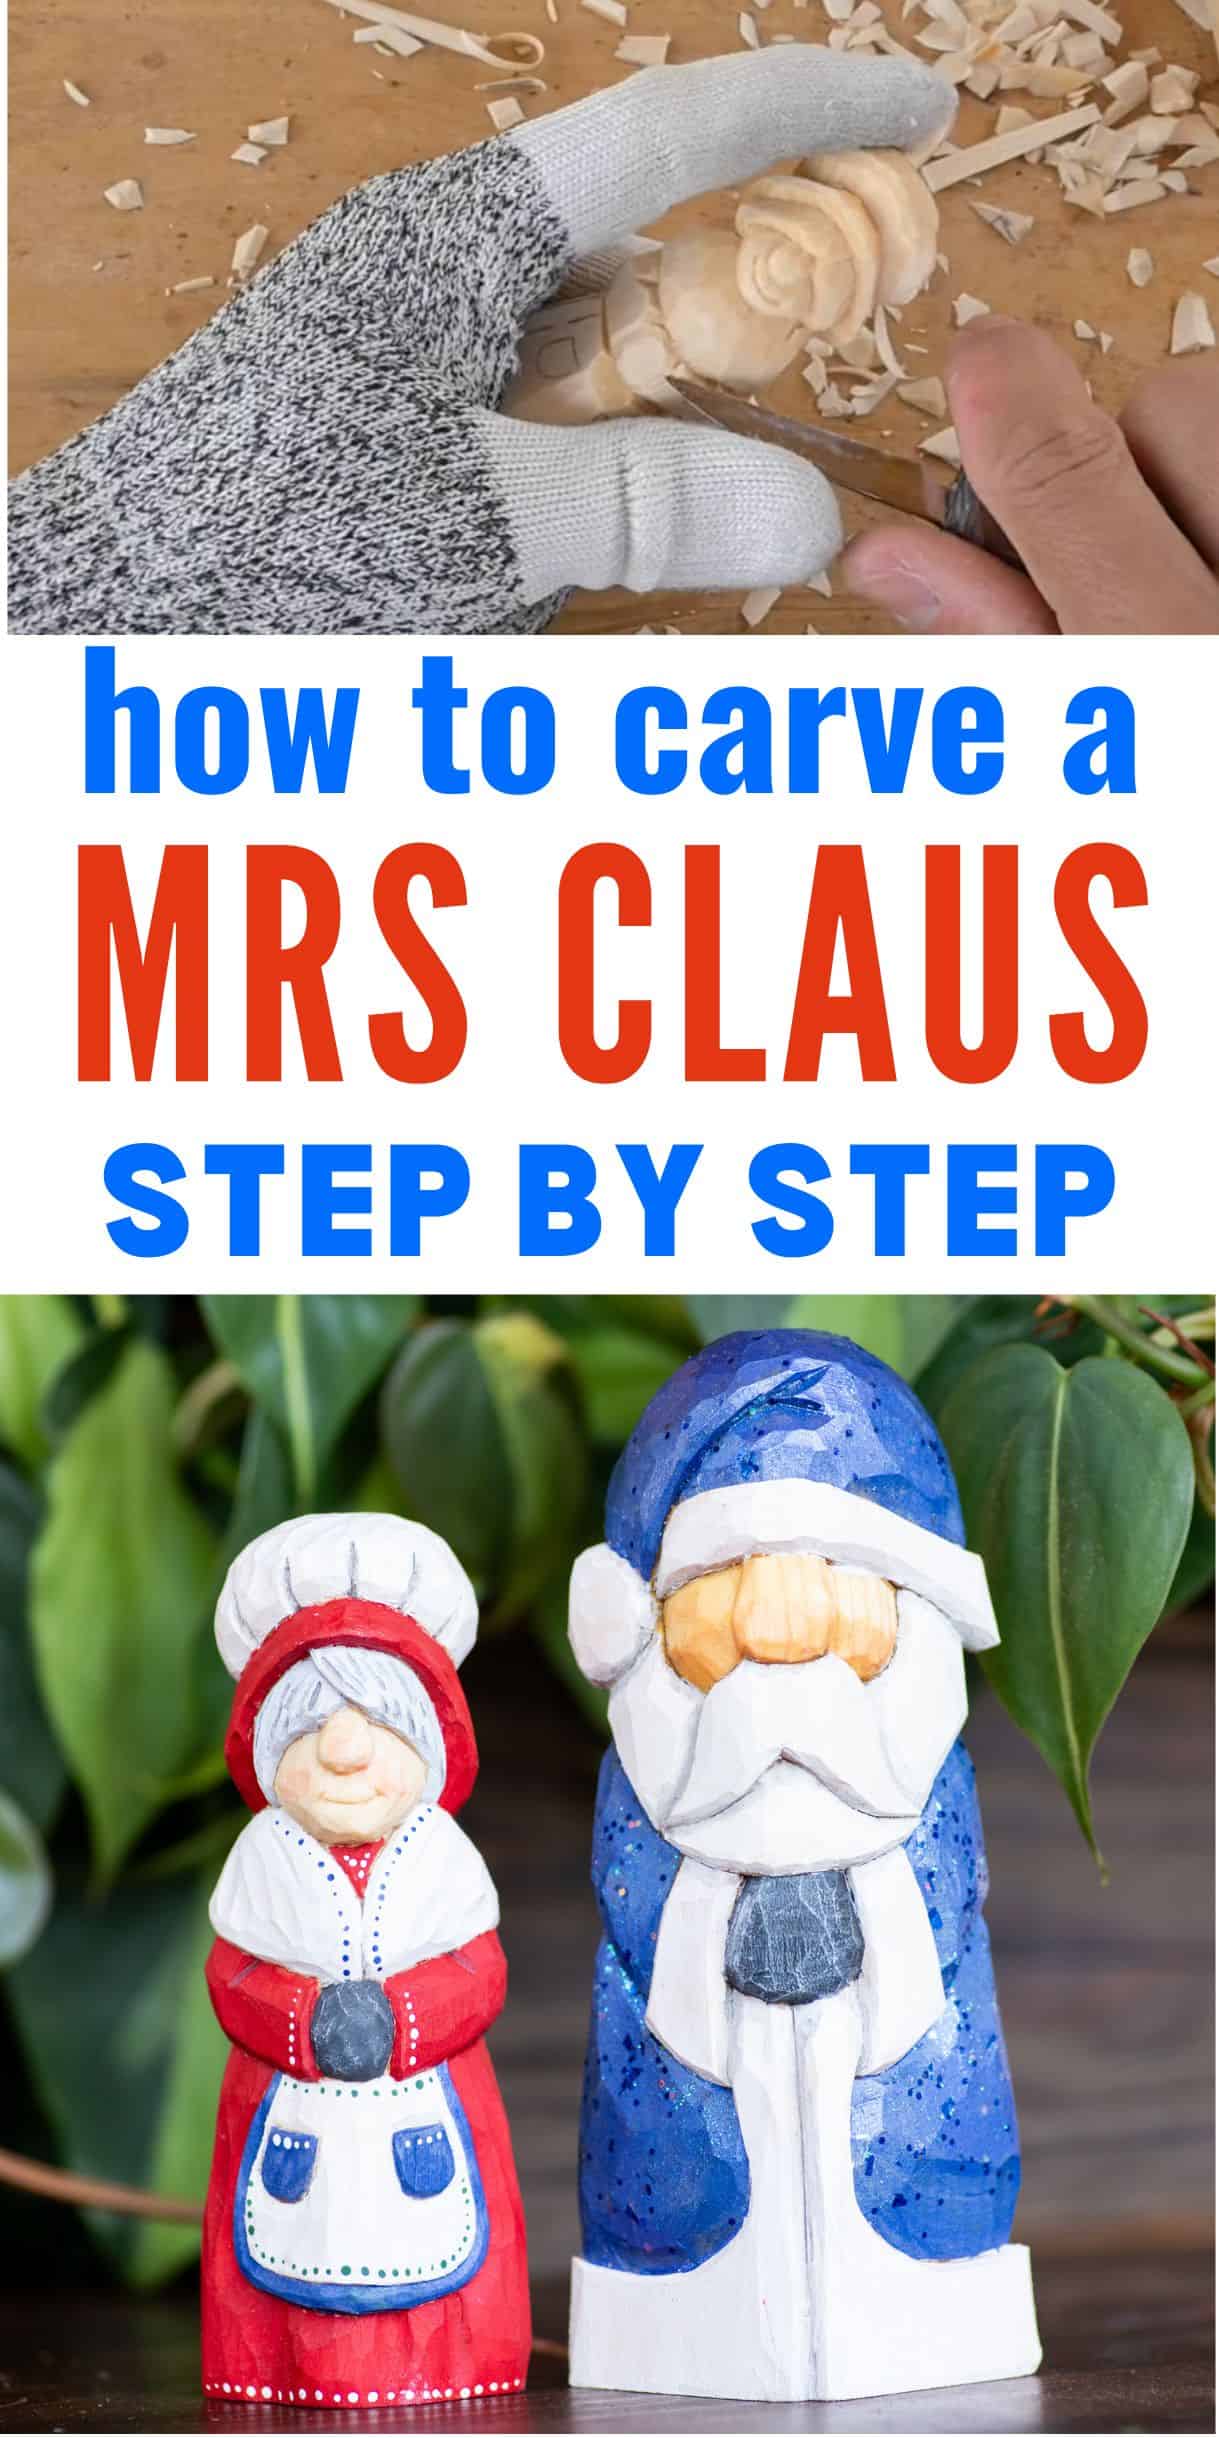
    text "how to carve a mrs claus step by step" (with photos of carving a mrs claus figure and a painted mr and mrs claus)

    How to Carve Your Mrs. Claus Figurine

    These are very basic written steps that give you a general idea of how to carve the figure. For a step by step tutorial with lots of tips, make sure to watch the carving tutorial video.

    Prep the Block and Trace Your Outline

    Start by getting the correct block of wood for your stencil. Use the stencil's height to mark how tall you need to make your blank. Cut the blank to height by hand or with a bandsaw, if needed.

    If you are using a 3D-printed stencil template, align it to the front and side profiles of your basswood block and trace the basic silhouette of Mrs. Claus with a pencil.
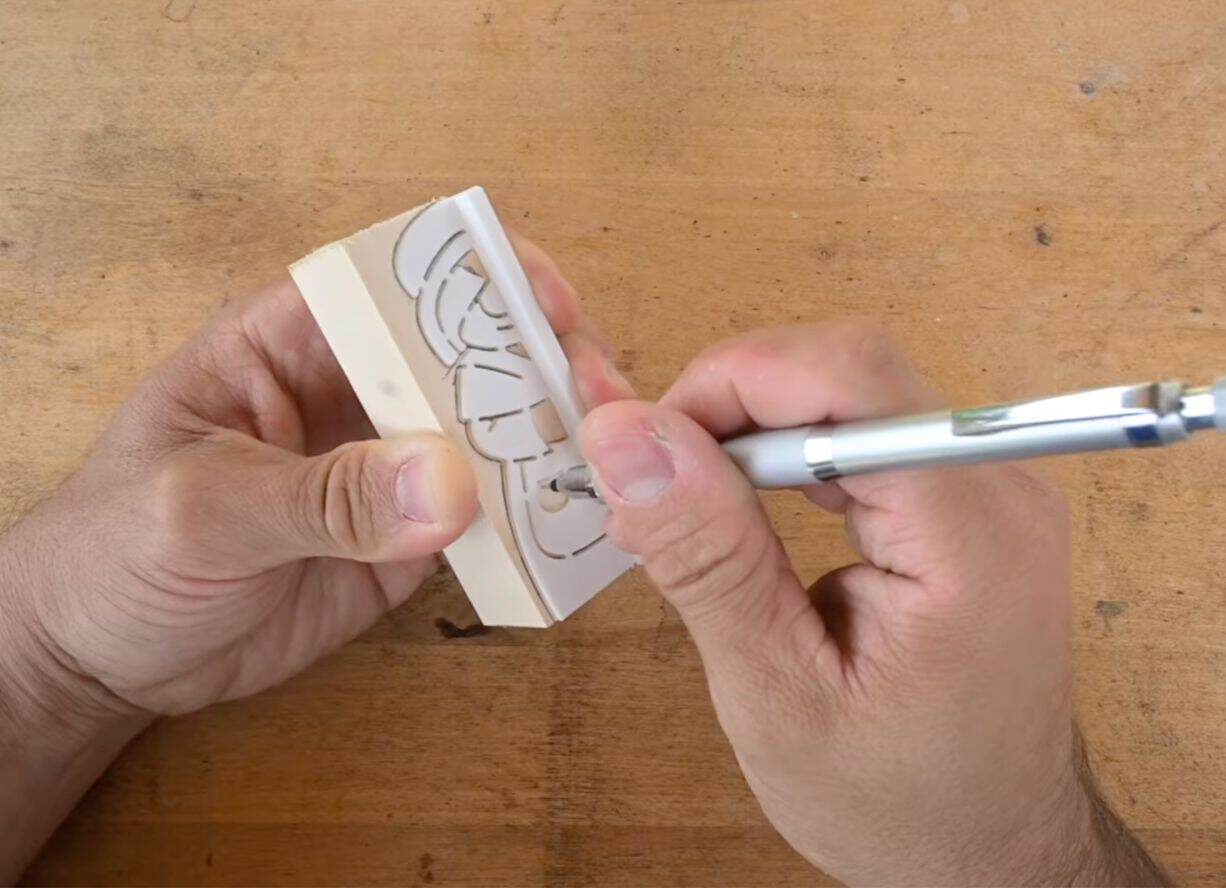
    tracing a mrs claus stencil onto wood

    You will need to trace the design, flip the stencil, the trace again.

    If you're making a figure in the round, trace the appropriate lines on the back, too. She doesn't need an apron or face on the back!
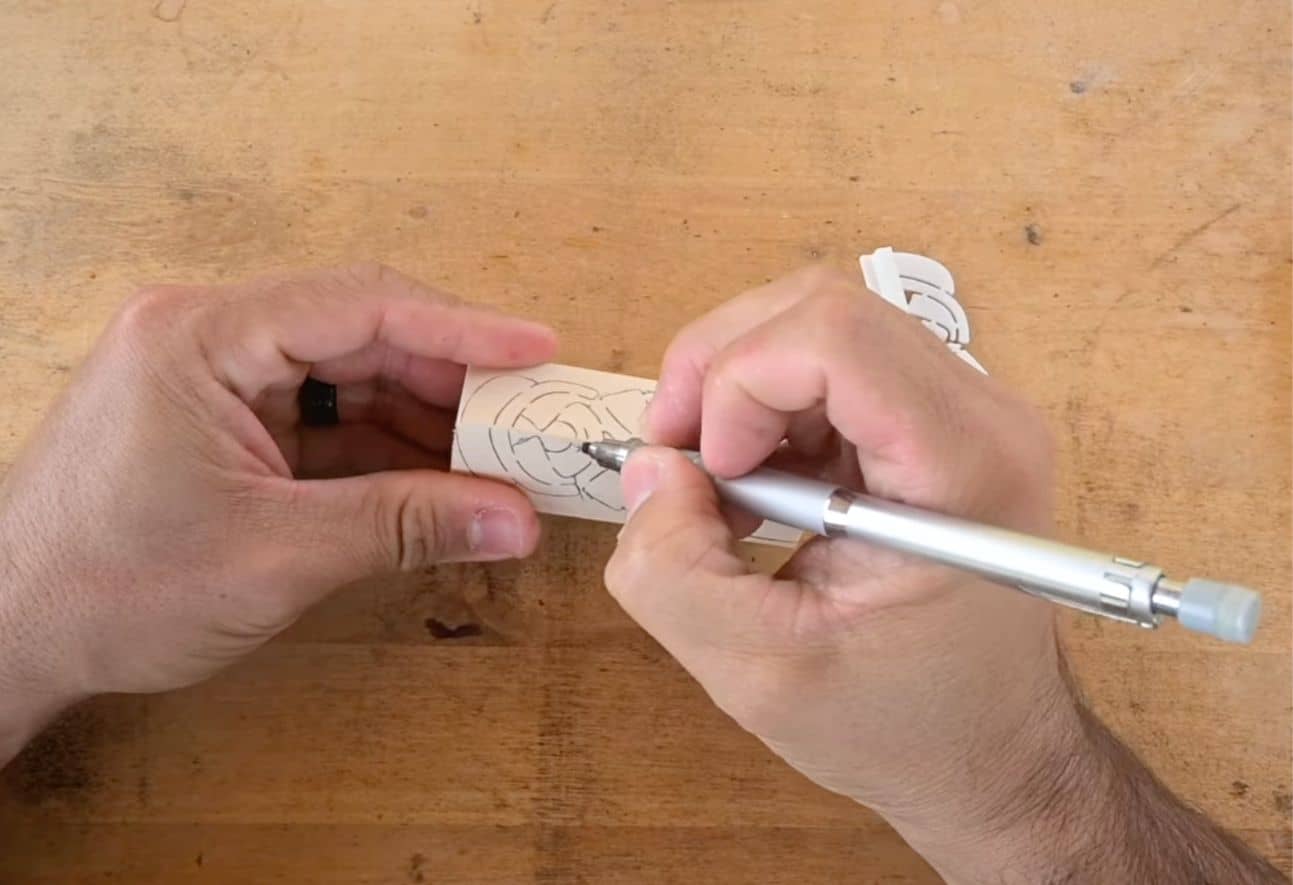
    a mrs claus design drawn on a basswood blank

    Rough Out the Profile

    Using your primary carving knife, rough out the block to match your traced lines. Remove the major corners and excess wood to create your 3D "blank."

    Don't worry about any fine details yet. Focus on getting the general shape of her head, bun, and flaring skirt established.
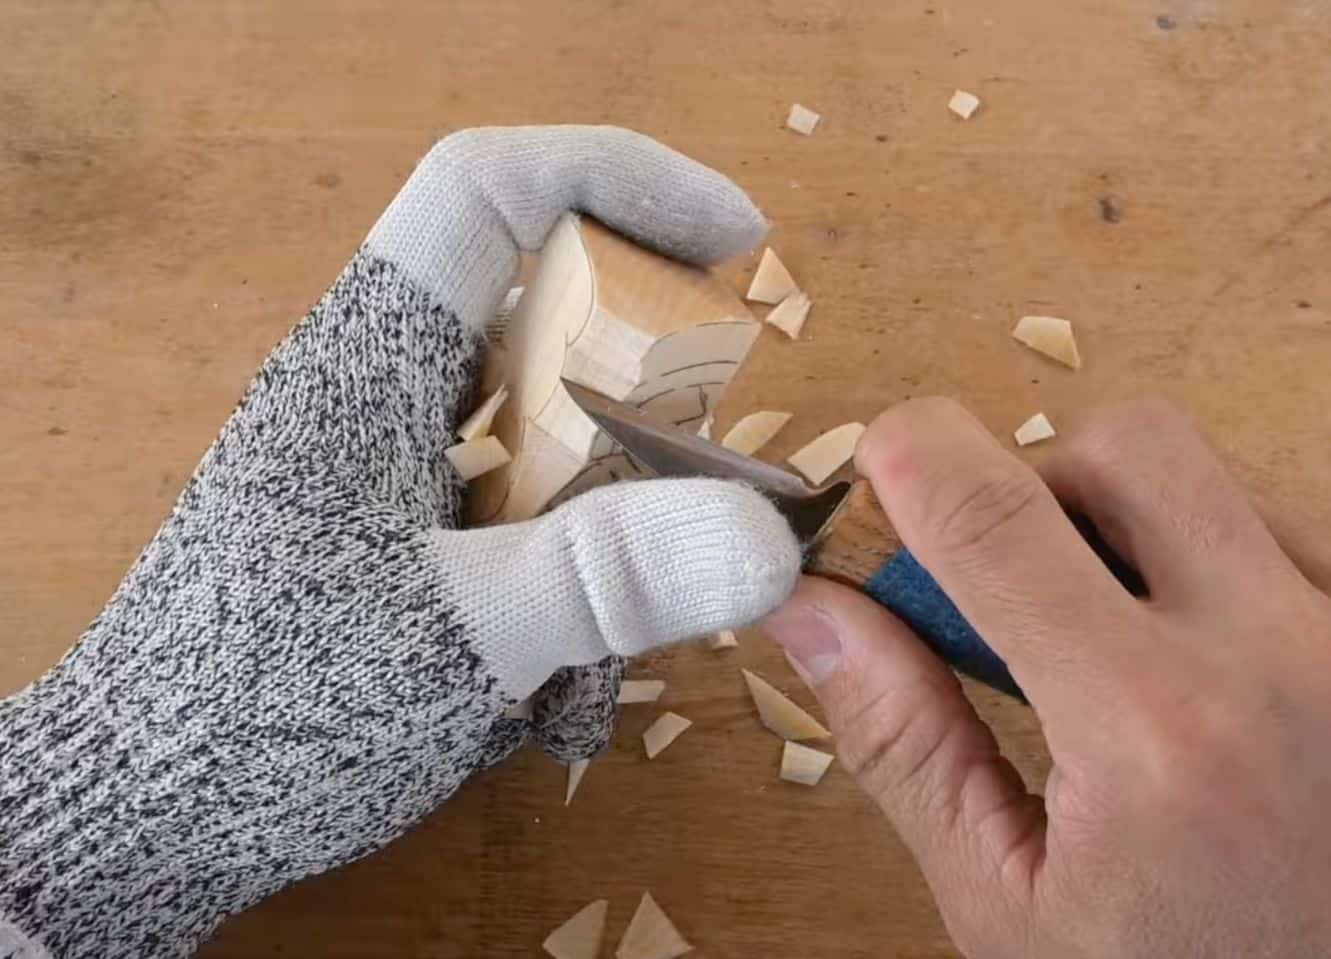
    roughing out a mrs claus wood carving

    Establish the Head and Hairline

    I work from top to bottom on the figure. The bonnet and face are the first things to carve.

    In the video, I came back to the kerchief at the end, but you can carve it now, instead.
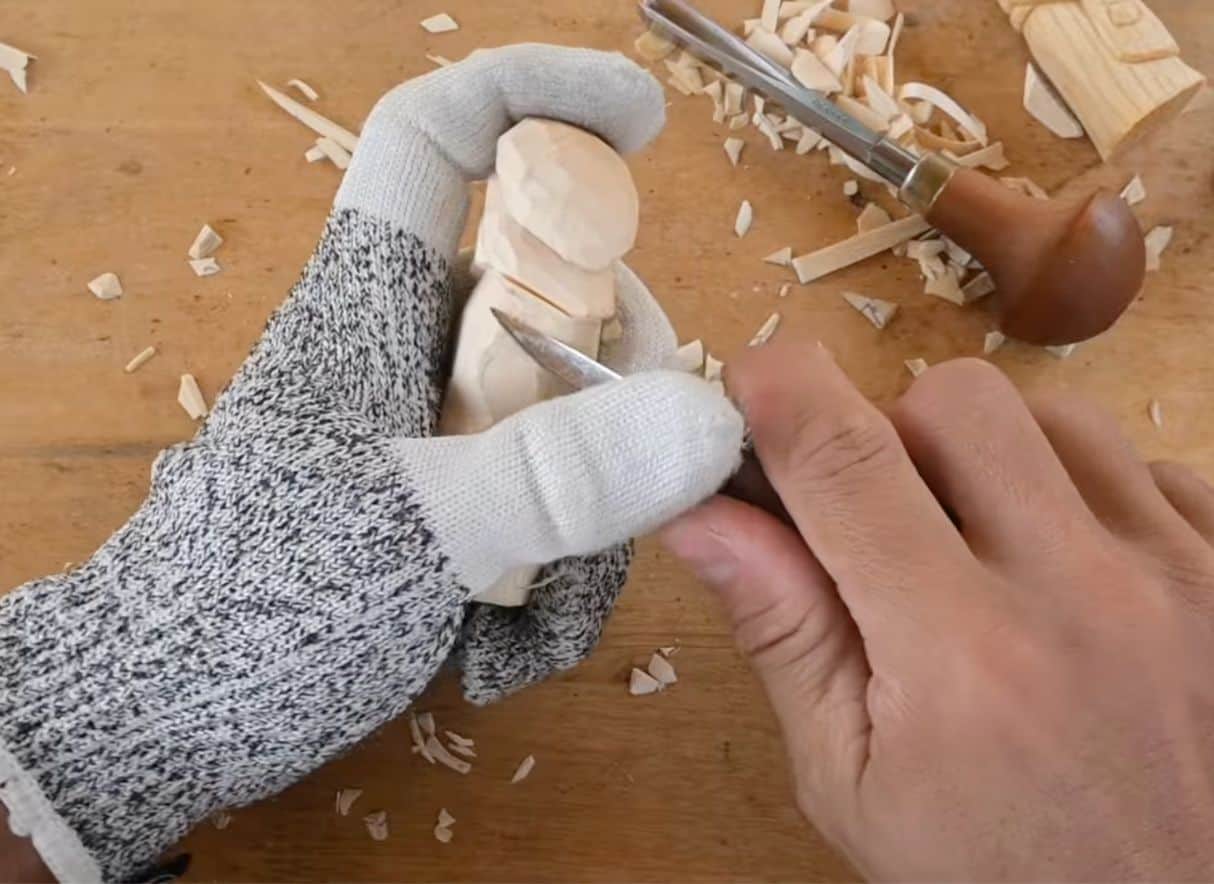
    carving the hat on a mrs claus figure

    Carve the arms and hands

    After the head, the arms and head come next.
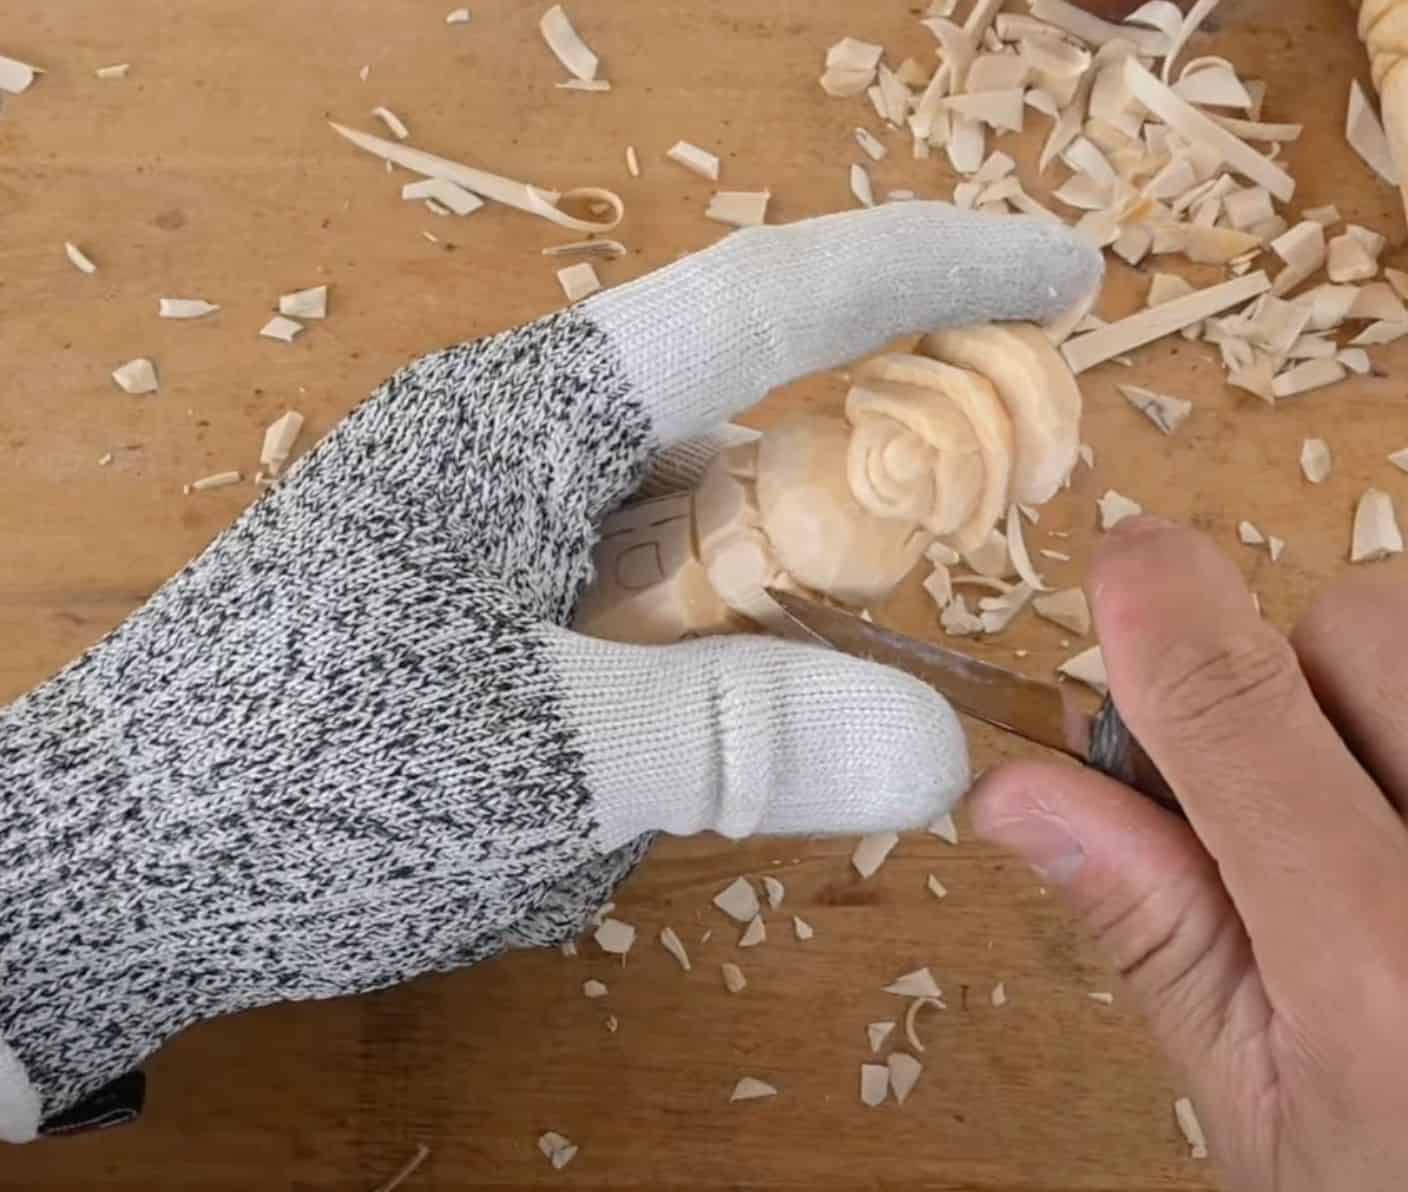
    carving the arms on a mrs claus figure

    Carve the apron

    Working out way down the figure, the apron is the next thing to carve.
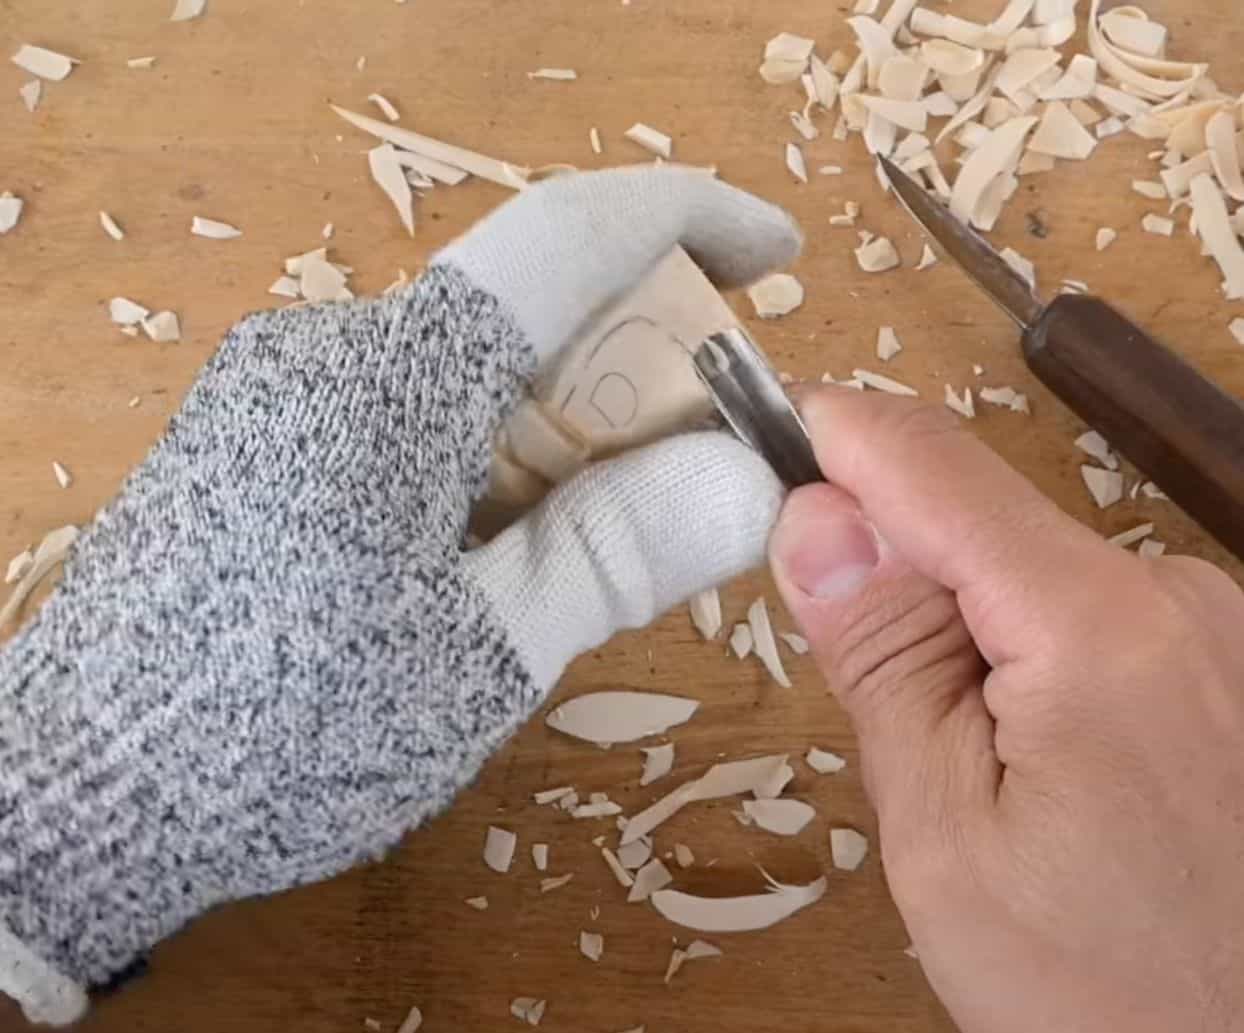
    carving an apron on a mrs claus figure

    Add details

    The last step is adding details. I used a gouge to add texture on the skirt and a veiner for areas that needed smaller texture, like on the hair and kerchief.
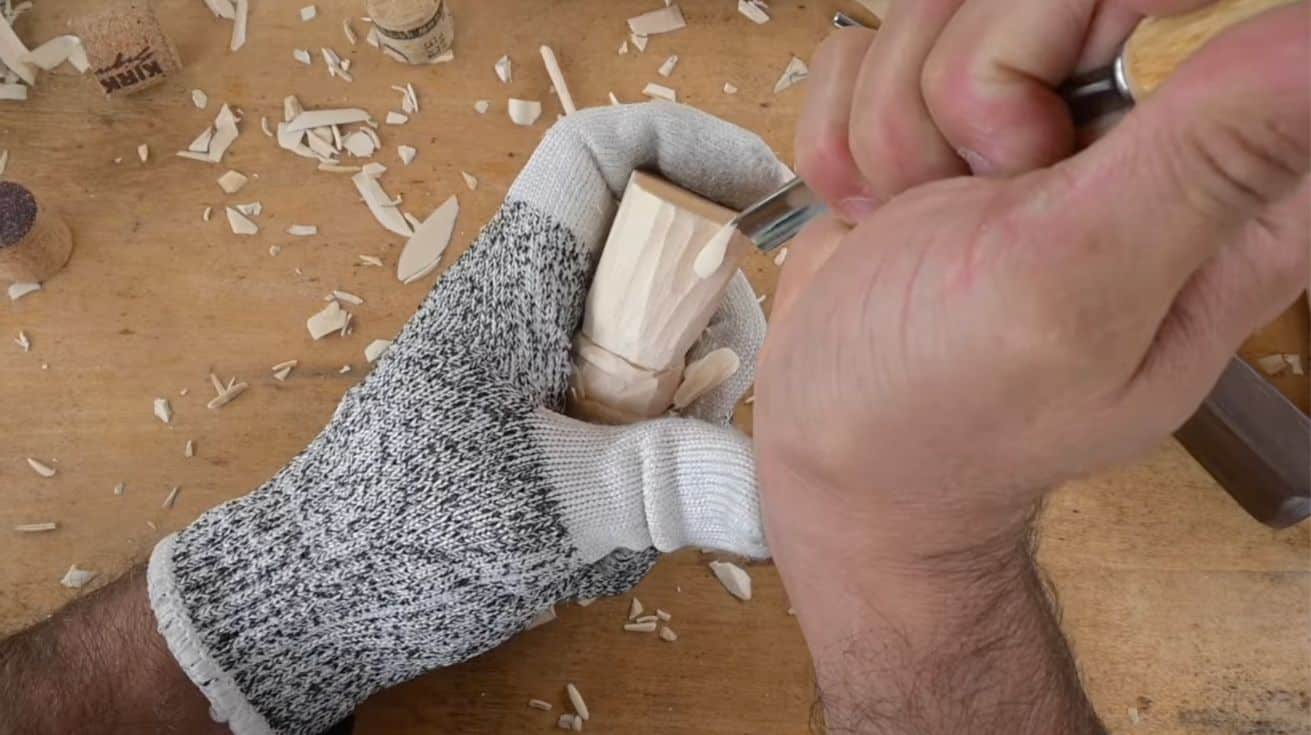
    gouging details into the skirt of a mrs claus figure

    Oil the carving

    We always coat carvings with boiled linseed oil. After the oil has cured, you can paint your carving. You can also leave the carving un-painted or use the oil of your choice.

    For this figure, my wife used Folk Art brand craft paints in Titanium White, Imperial Red, and Galaxy Blue mixed with Pearl White. This color makes what she calls "magic blue" and can be seen on many of our wood carvings.

    She also used a pale grey on the hair and added a light wash to draw out the details.
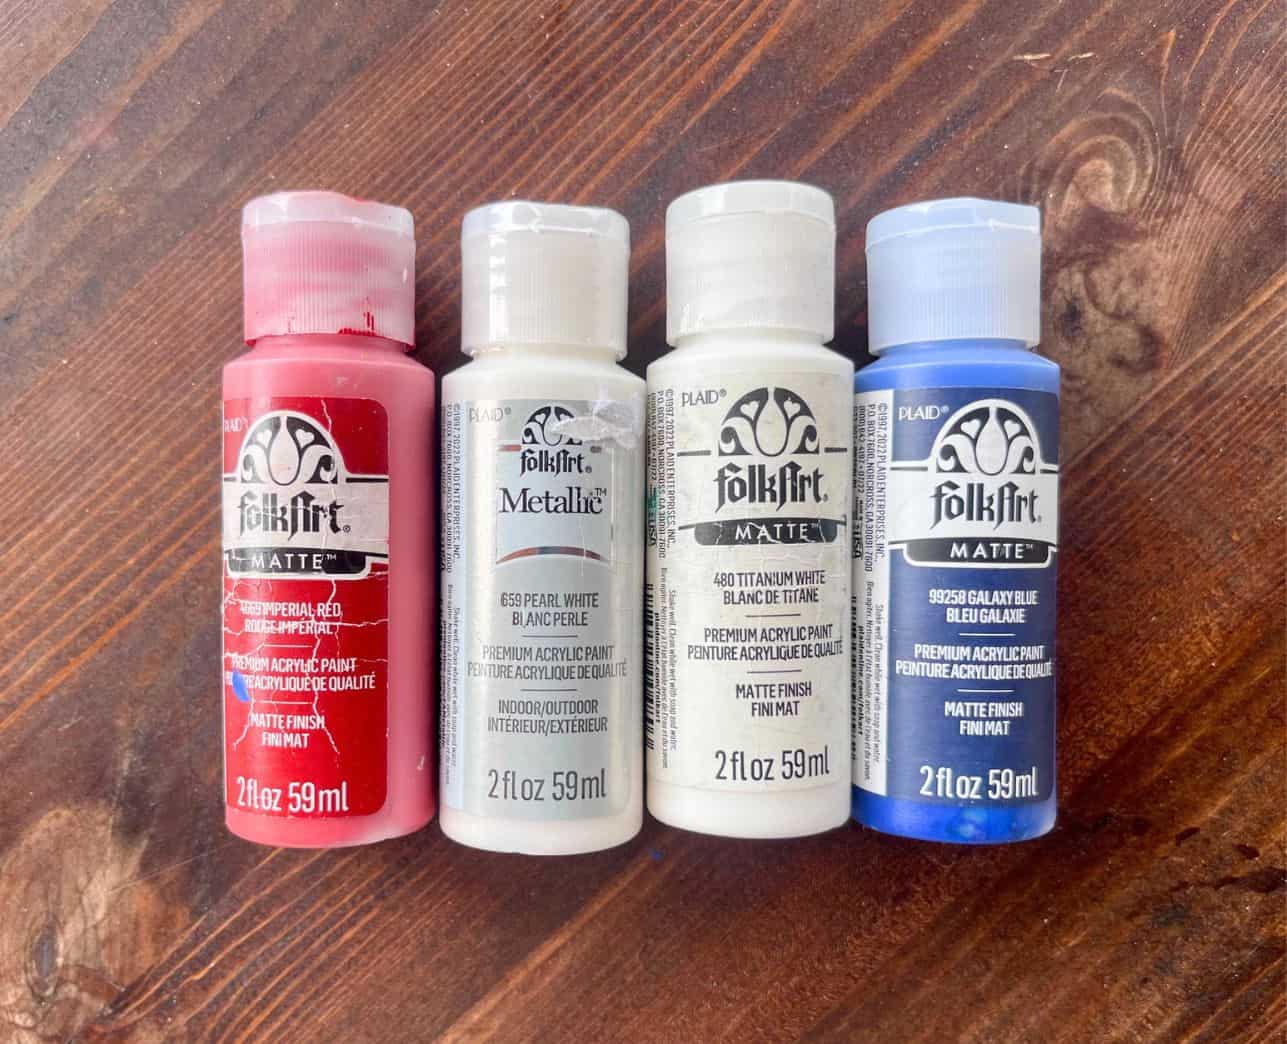
    four bottles of folk art paint on a wood table

    She also used small dotter tools to add details to the figure.

    No products found.

    Happy carving! Make sure to share your work over in The Carving Club.
    • text "free printable august 20206 calendars" with printable august calendars with a camping theme
      Free Printable August Calendar for 2026
    • text "free printable unicorn color by number sheets" with a preview of three unicorn color by number pages
      Unicorn Color by Number Sheets
    • text "free printable airplane color by numbers" with a preview of three airplane color by number sheets
      Free Printable Airplane Color by Number Pages
    • text "halloween color by number pages" with preview of 9 halloween color by number sheets with a visual key
      Halloween Color by Number Sheets

    More craft tutorial

    • a hand holding a paper mushroom squishy in front of a box of herbs
      Cute Mushroom DIY Squishy
    • a hand holding a box of crayons paper squishy with a paper strawberry and a paper candy corn in the background
      Kawaii Box of Crayons Squishy
    • a hand holding a candy corn DIY paper squishy. A cookie and strawberry squishy are visible in the background
      DIY Paper Squishy Candy Corn
    • a hand holding a paper squishy watermelon with a strawberry squishy in the background
      DIY Paper Squishy Watermelon
    • Share
    text "access hundreds of printables now"

    Reader Interactions

    Leave a Reply Cancel reply

    Your email address will not be published. Required fields are marked *

    This site uses Akismet to reduce spam. Learn how your comment data is processed.

    Primary Sidebar

    Text "Hello! I'm Natasha!" with an image of a woman a blue shirt

    Hi, I’m Natasha! I'm so glad you're here.

    I'm a former classroom teacher with a Masters of the Arts in Teaching turned homeschooler. I share educational & planner printables for busy parents and teachers. Simplify your life when you discover how to instantly access 700+ printables here!

    More about me →

    Popular

    • a white bowl of slow cooker beef stew
      Slow Cooker Beef Stew Dump Bag
    • a close up of a plate with slow cooker salsa chicken and limes
      Salsa Chicken Slow Cooker Dump Recipe
    • text "free printable back to school coloring pages" with preview of four back to school coloring sheets for kids
      Free Printable Back to School Coloring Pages
    • text "free printable vintage goose coloring pages" with a preview of three goose coloring sheets
      Vintage Goose Coloring Pages

    The Artisan Life is a participant in the Amazon Services LLC Associates Program, an affiliate advertising program designed to provide a means for sites to earn advertising fees by advertising and linking to Amazon.com.

    The Artisan Life also uses affiliate links for other sites. For a full look at my policy, please visit its page here.

    Footer

    ↑ back to top

    About

    • Privacy Policy
    • Disclaimer

    Save Time

    • Join the Learning Center for quick & easy access to hundreds of printables

    Contact

    • Contact

    If you have any questions feel free to contact me directly here: natashalh(at)stalkingthewildsnark(dot)com. I do not accept guest posts and will not respond to unsolicited requests for guest posts or links. Stock images by Depositphotos

    COPYRIGHT © 2012 – 2025 The Artisan Life · ALL RIGHTS RESERVED