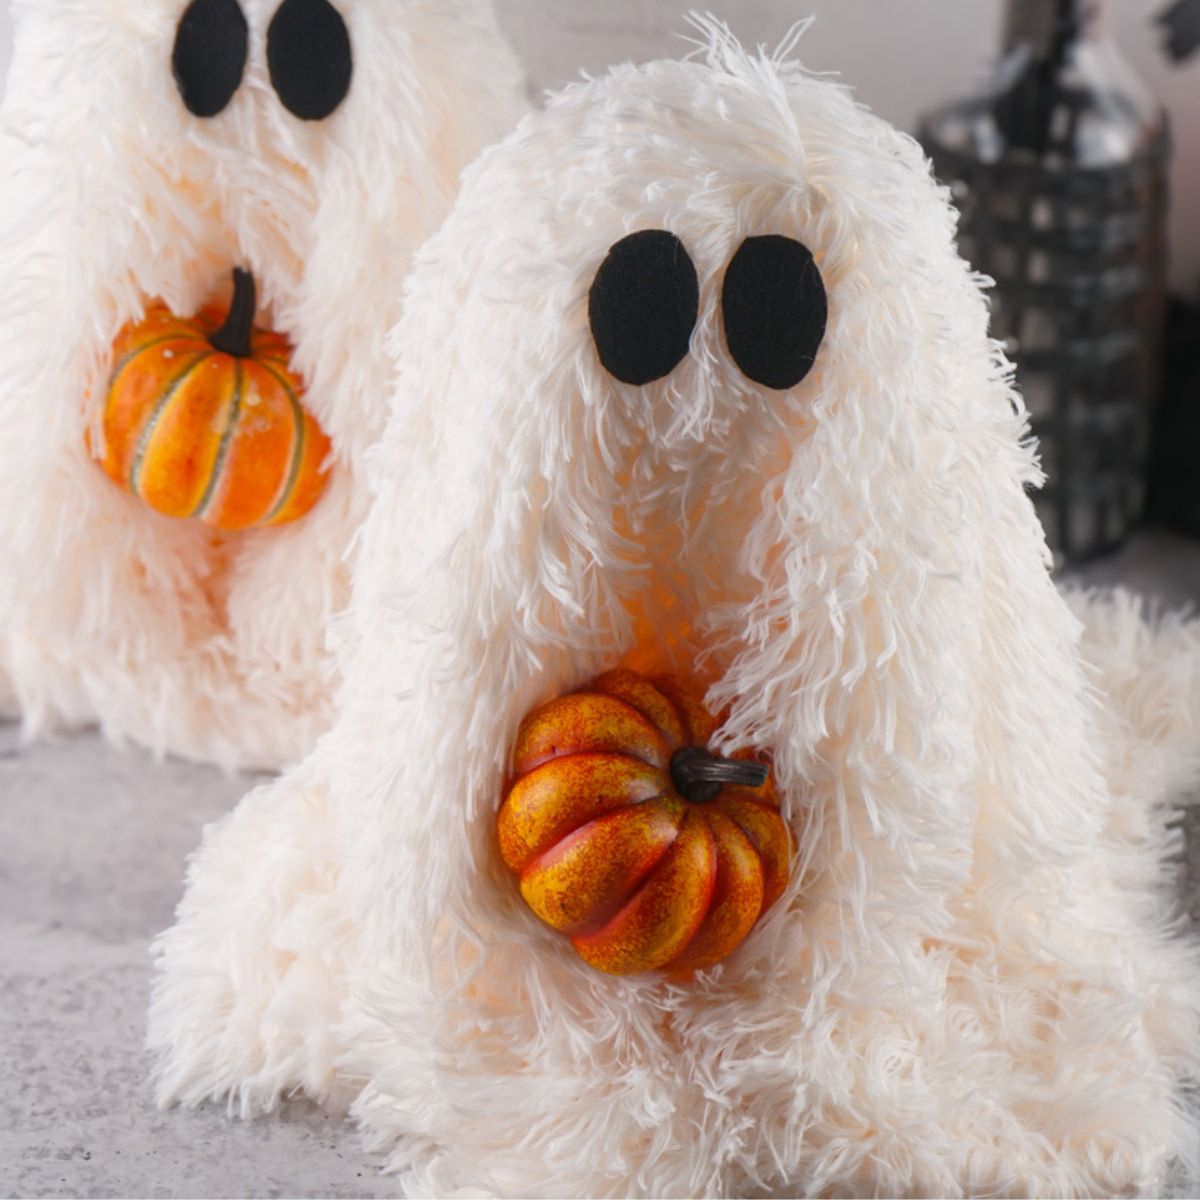
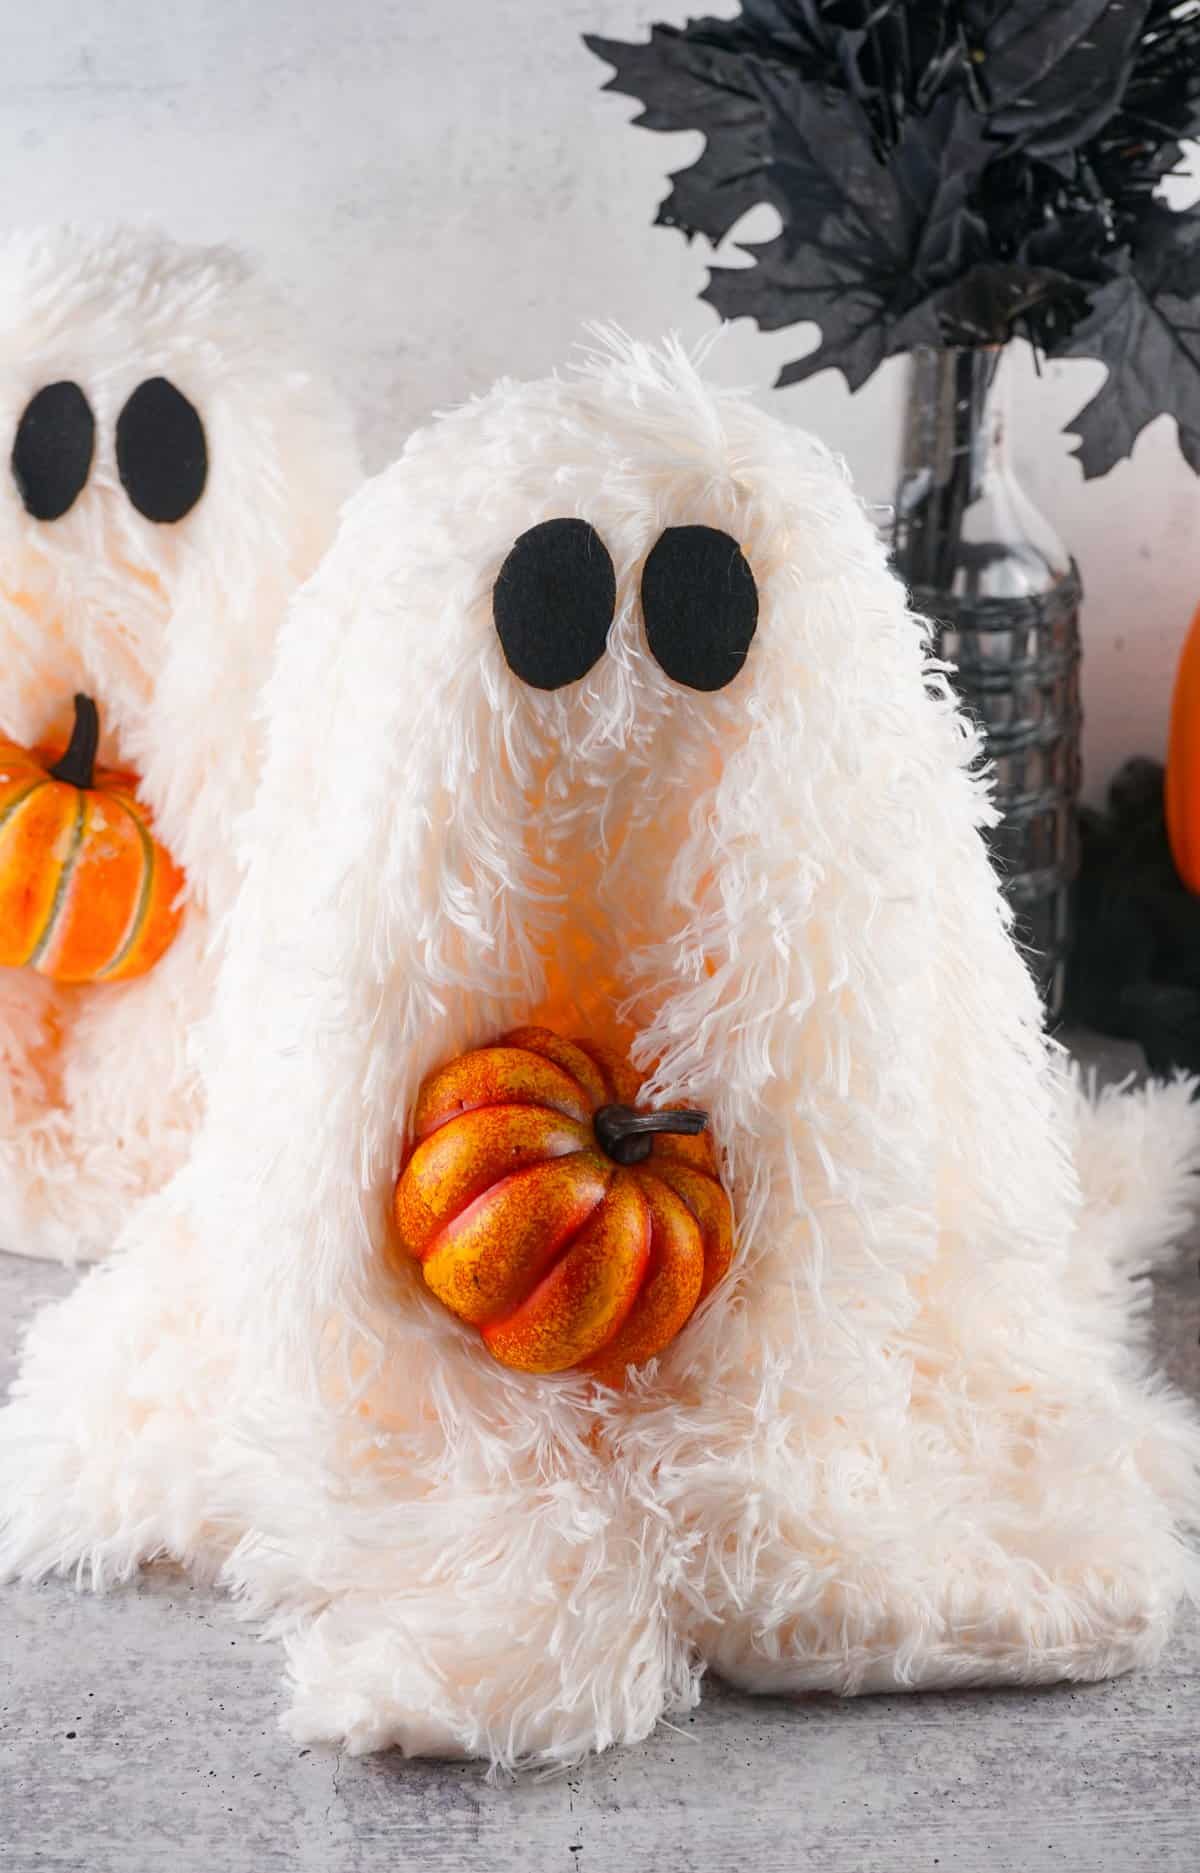
This adorable easy DIY sherpa ghost craft is super cute, quick, and simple to make. This easy DIY sherpa ghost craft is a low cost way to decorate your home or classroom for Halloween.
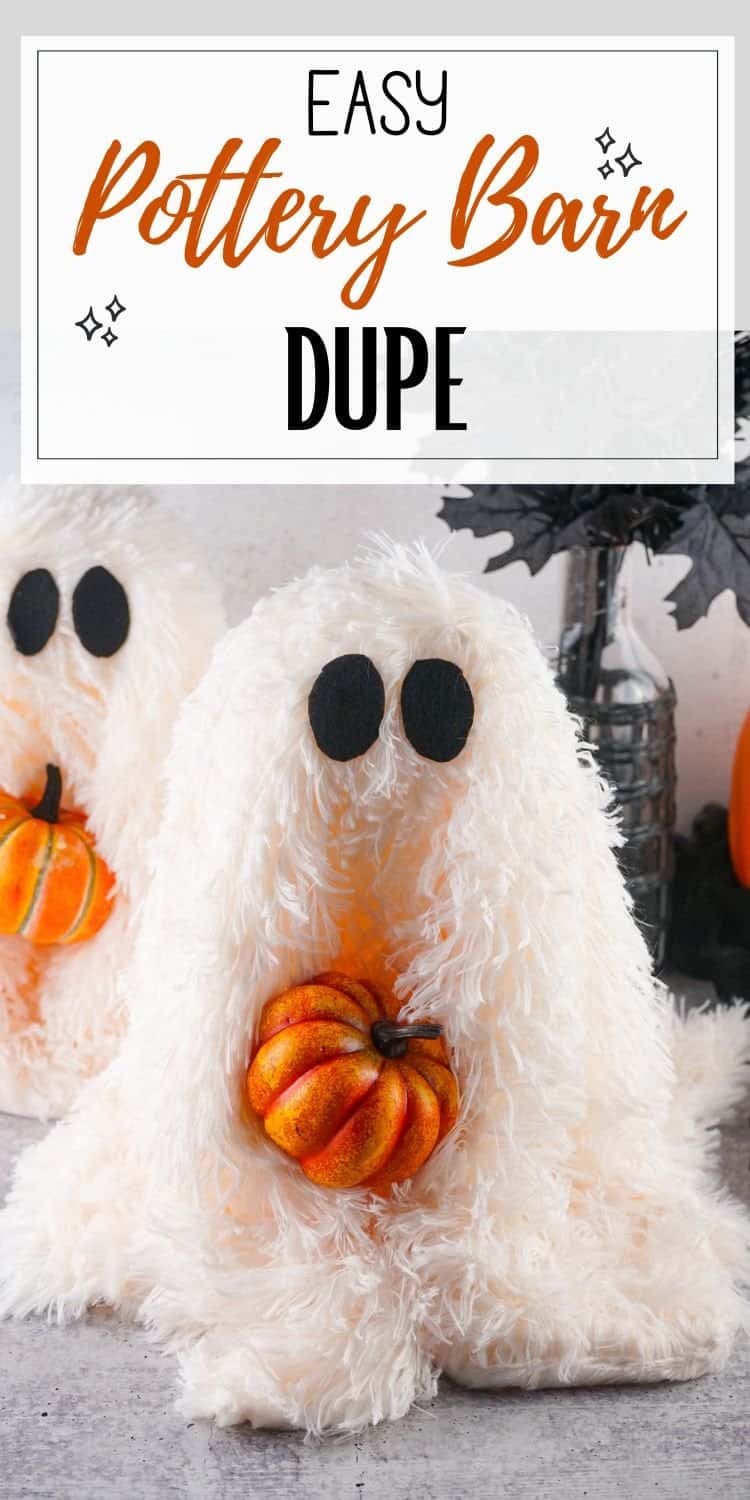
I hope you enjoy this Pottery Barn dupe sherpa ghost craft!
This post may include affiliate links which means I may earn a commission on qualifying purchases at no additional cost to you.
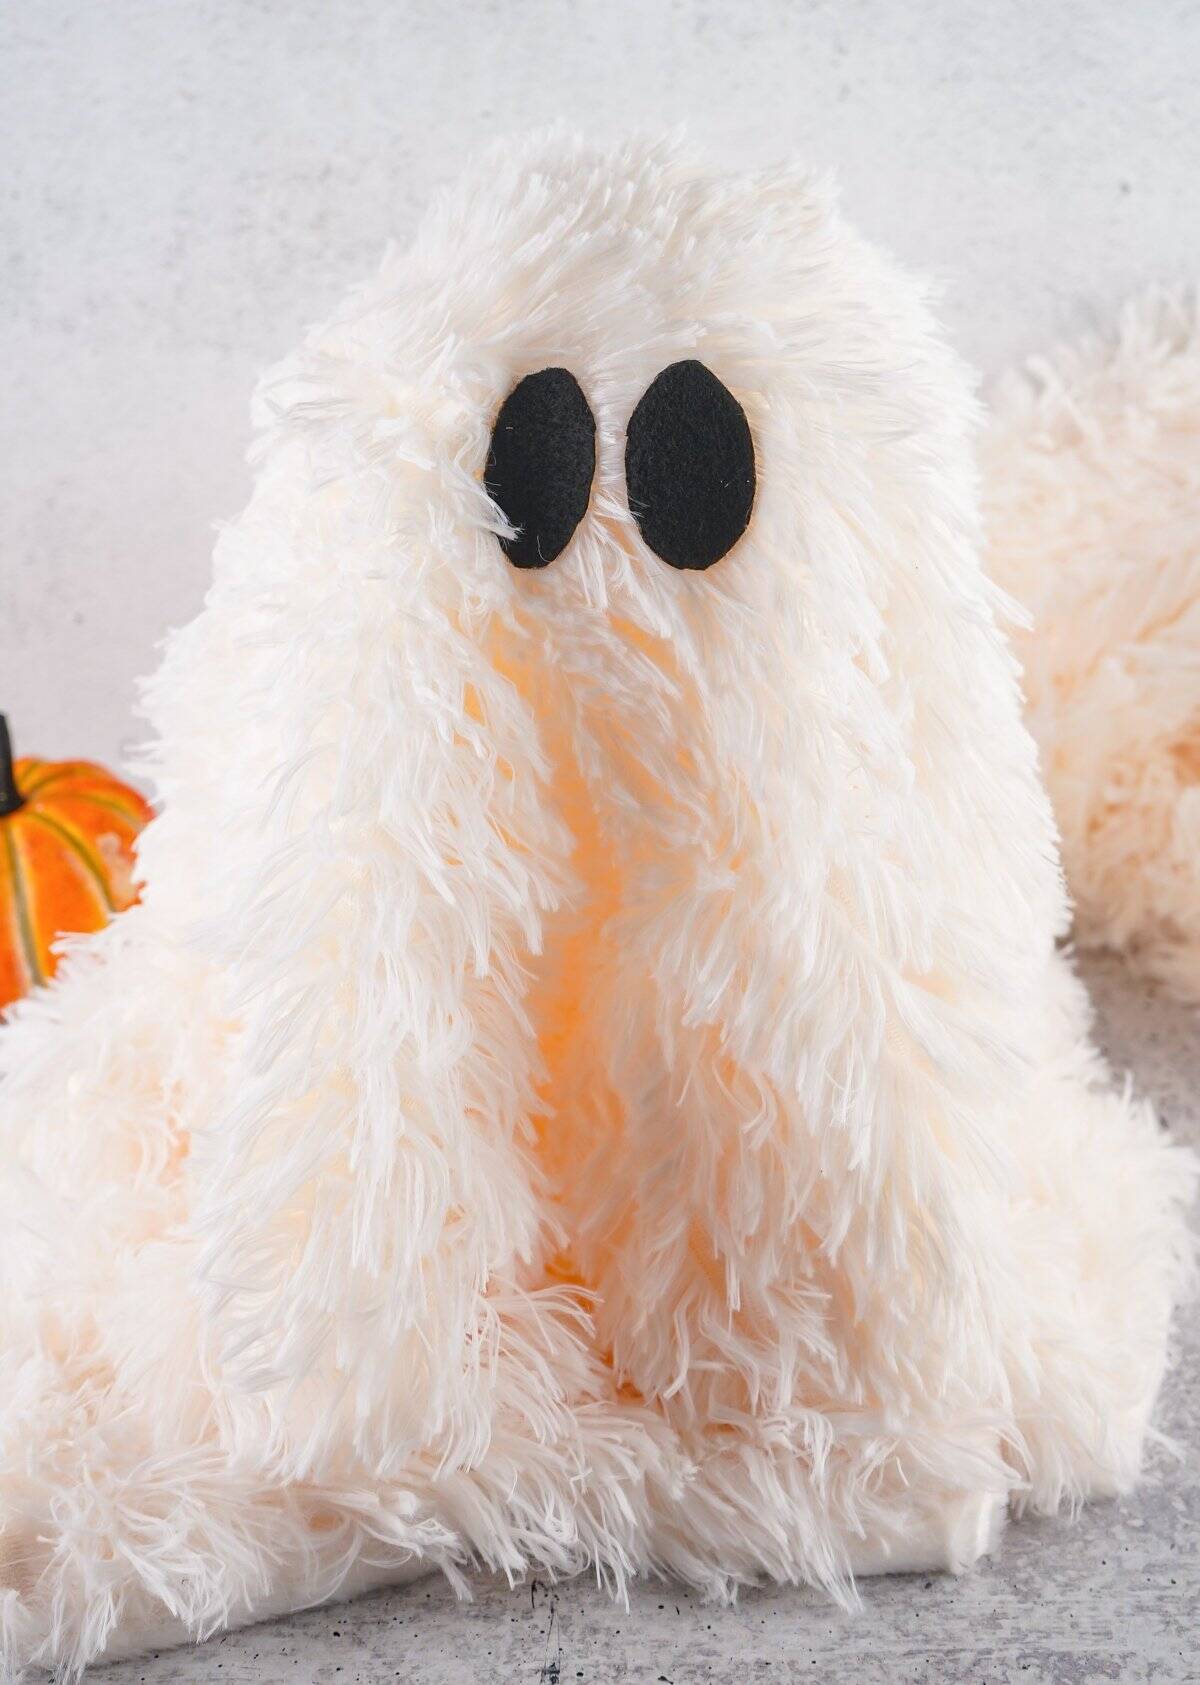
This DIY ghost craft will make one ghost that's just under 10 inches tall. It's so adorable and perfect as a DIY home decoration for Halloween. You can also make these cute ghosts as a classroom craft!
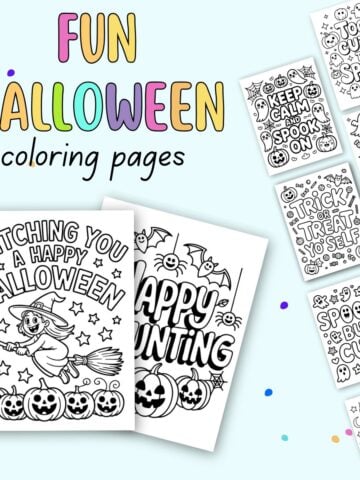
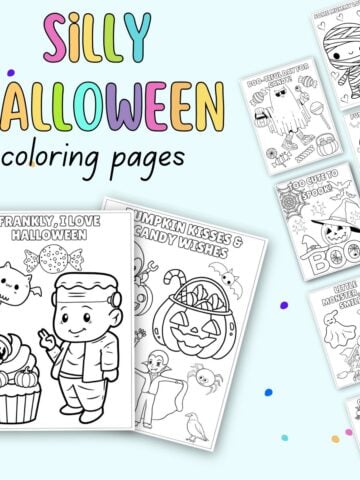
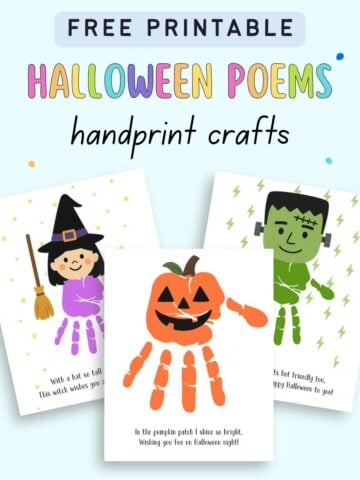
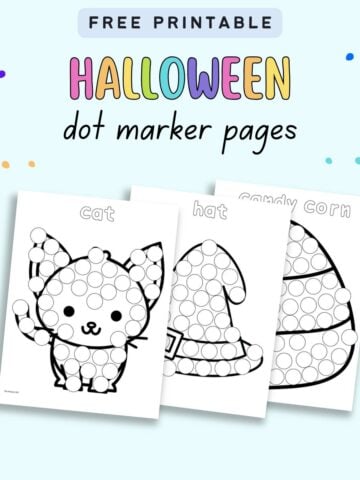
If your little learners are looking forward to Halloween, make sure to check out these free printables:
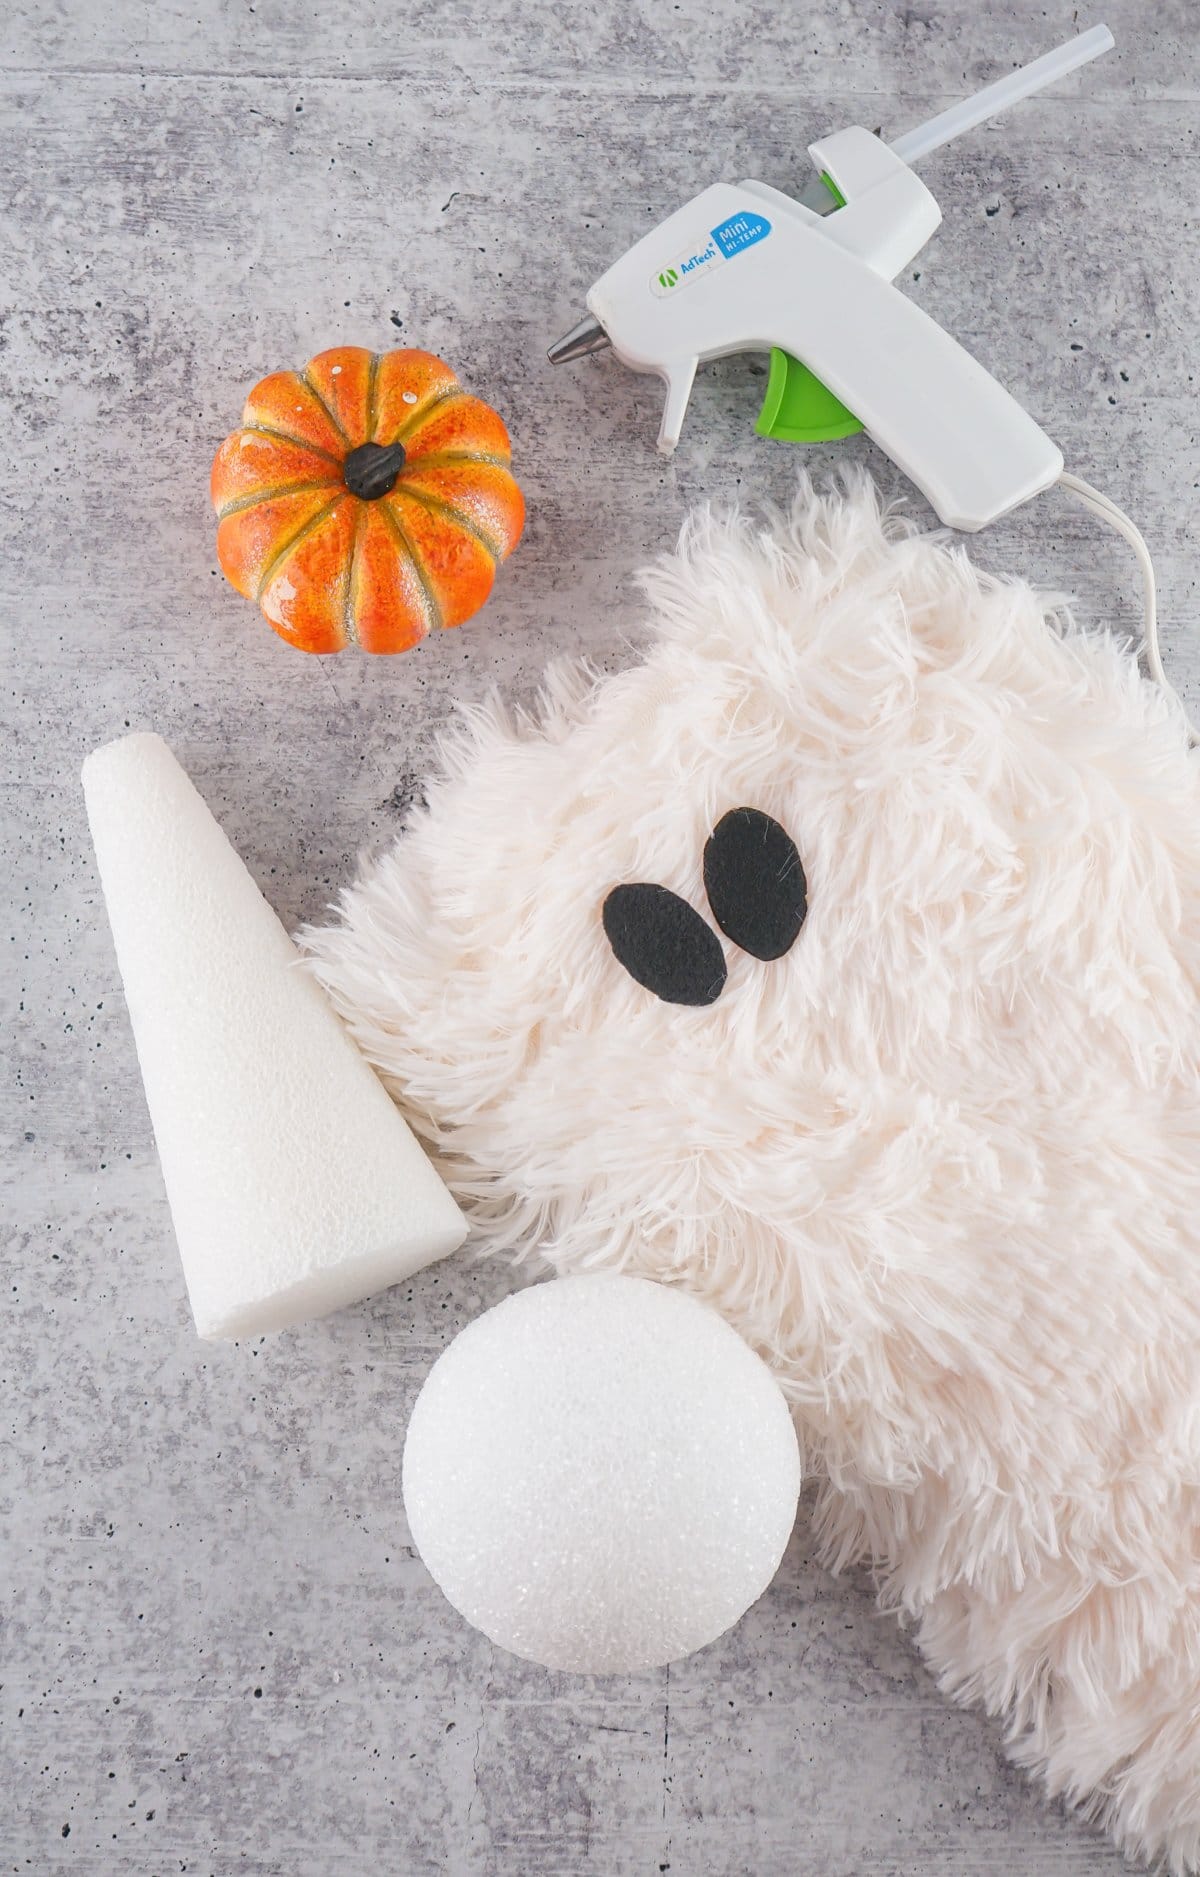
Materials needed to make a sherpa ghost
The materials needed are per ghost. If you want to make multiple ghosts, you'll need the foam, sherpa, and pumpkin for each ghost.
You can use a larger ball and cone, but you'll also need more material. Please see the note below the supplies list!
- 1 6-inch styrofoam cone
- 1 3.8” or 4" styrofoam ball
- 26” X 26” white sherpa fabric. You can use faux fur or minky for a slightly different, but similar, effect
- You can get a cheap sherpa blanket and cut it up, just buy pre-cut material, get sherpa towels from the dollar store, etc. All of it works for this craft.
- 1 fake small pumpkin
- (2) 1 ½ -Inch Black Felt Ovals (cut them from a sheet of craft felt)
- 1 glue stick (for glue gun)
- Hot glue gun
- Finger protectors - optional but recommended. We've had the same Mr Pen brand set for about two years and they're still working great.

- This package includes 48 finger protectors in 16 colors, providing a selection to suit your preferences. Each pack contains 3 different sizes,...
- Mr. Pen finger protectors are crafted with high-quality silicone material, offering flexibility without compromising finger mobility. The soft and...
- These finger sleeves are designed for a wide range of applications. Whether working with hot glue, wax, resin, or other adhesives, engaging in crafts,...
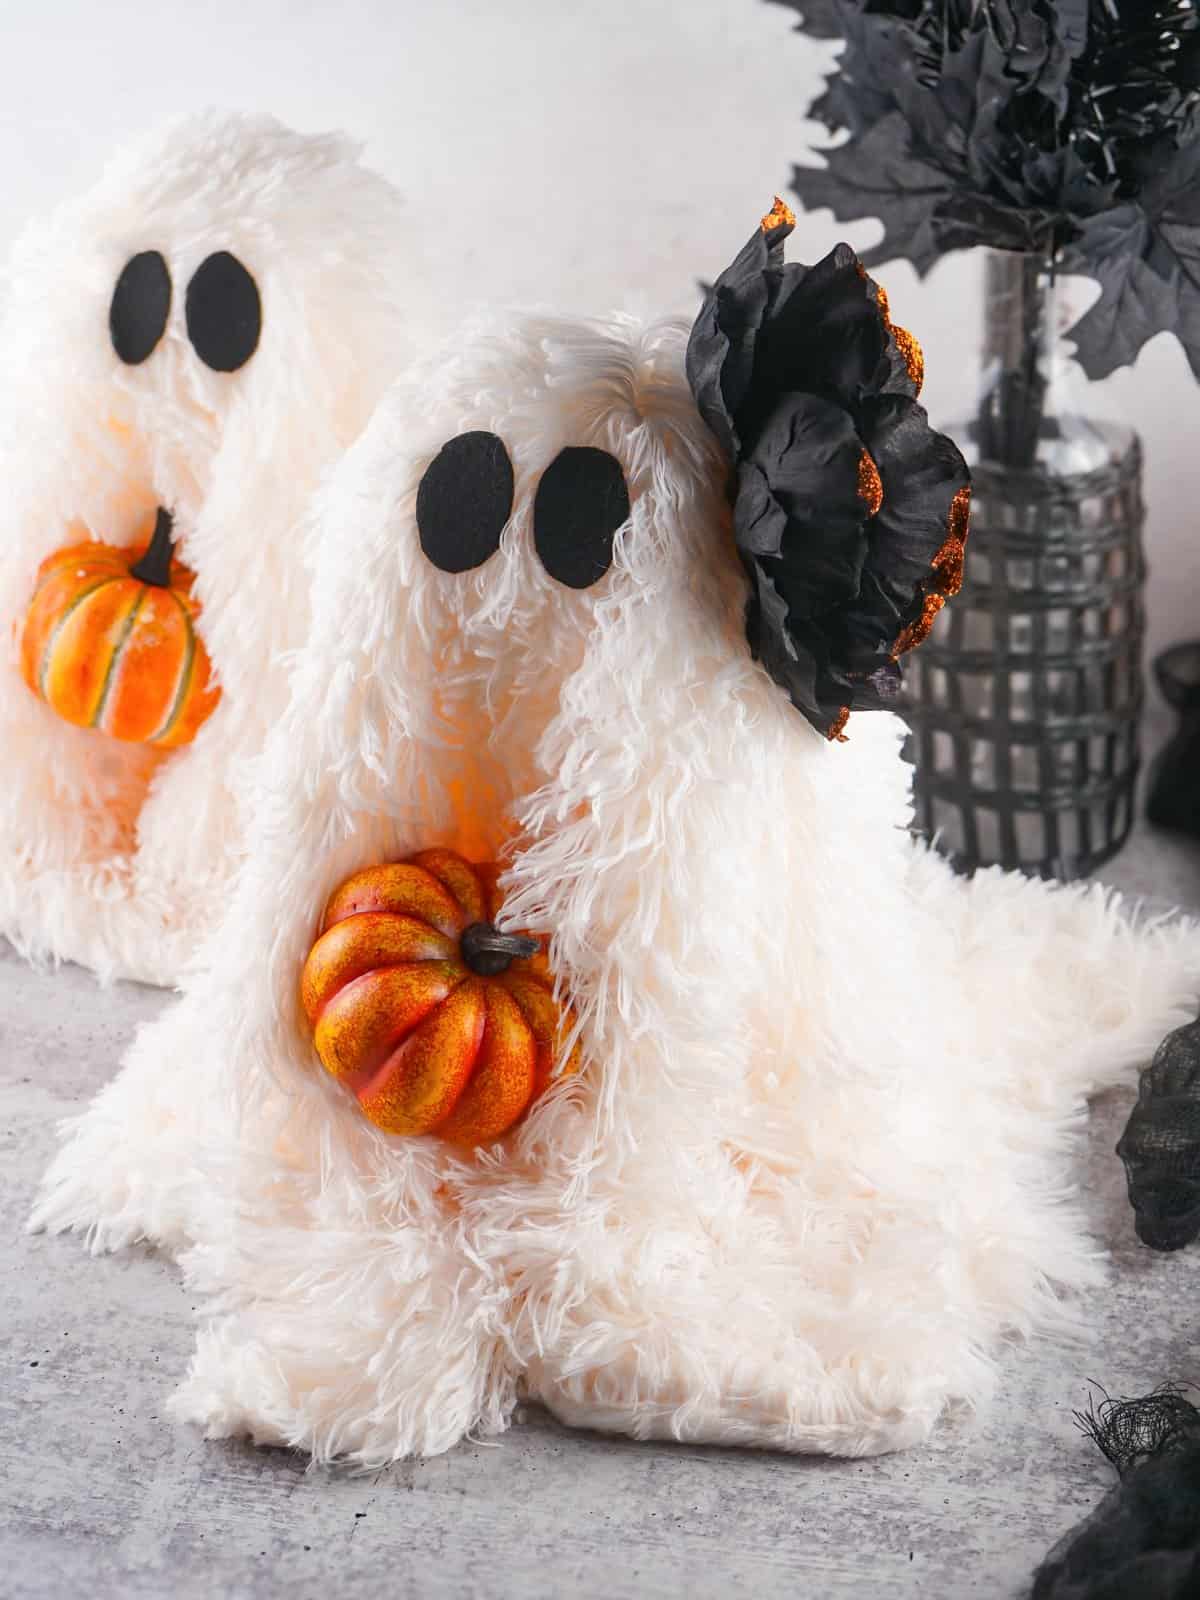
You can swap the pumpkin with other items such as a wooden spoon, a small stuffed animal for pet lovers, etc. Adding flowers, hats, and bows to your ghost is a fun way to change up the look, too!
*note* You can use a taller cone, but you’ll need longer material. Once you glue the ball to the top of the cone. Measure from the top middle of the ball to the bottom of the cone. Add an inch to that number, then double it, and that’s the square size you’ll want for your ghost.
How to make a PB dupe ghost craft
Cut out your 1-inch black felt ovals for the eyes.
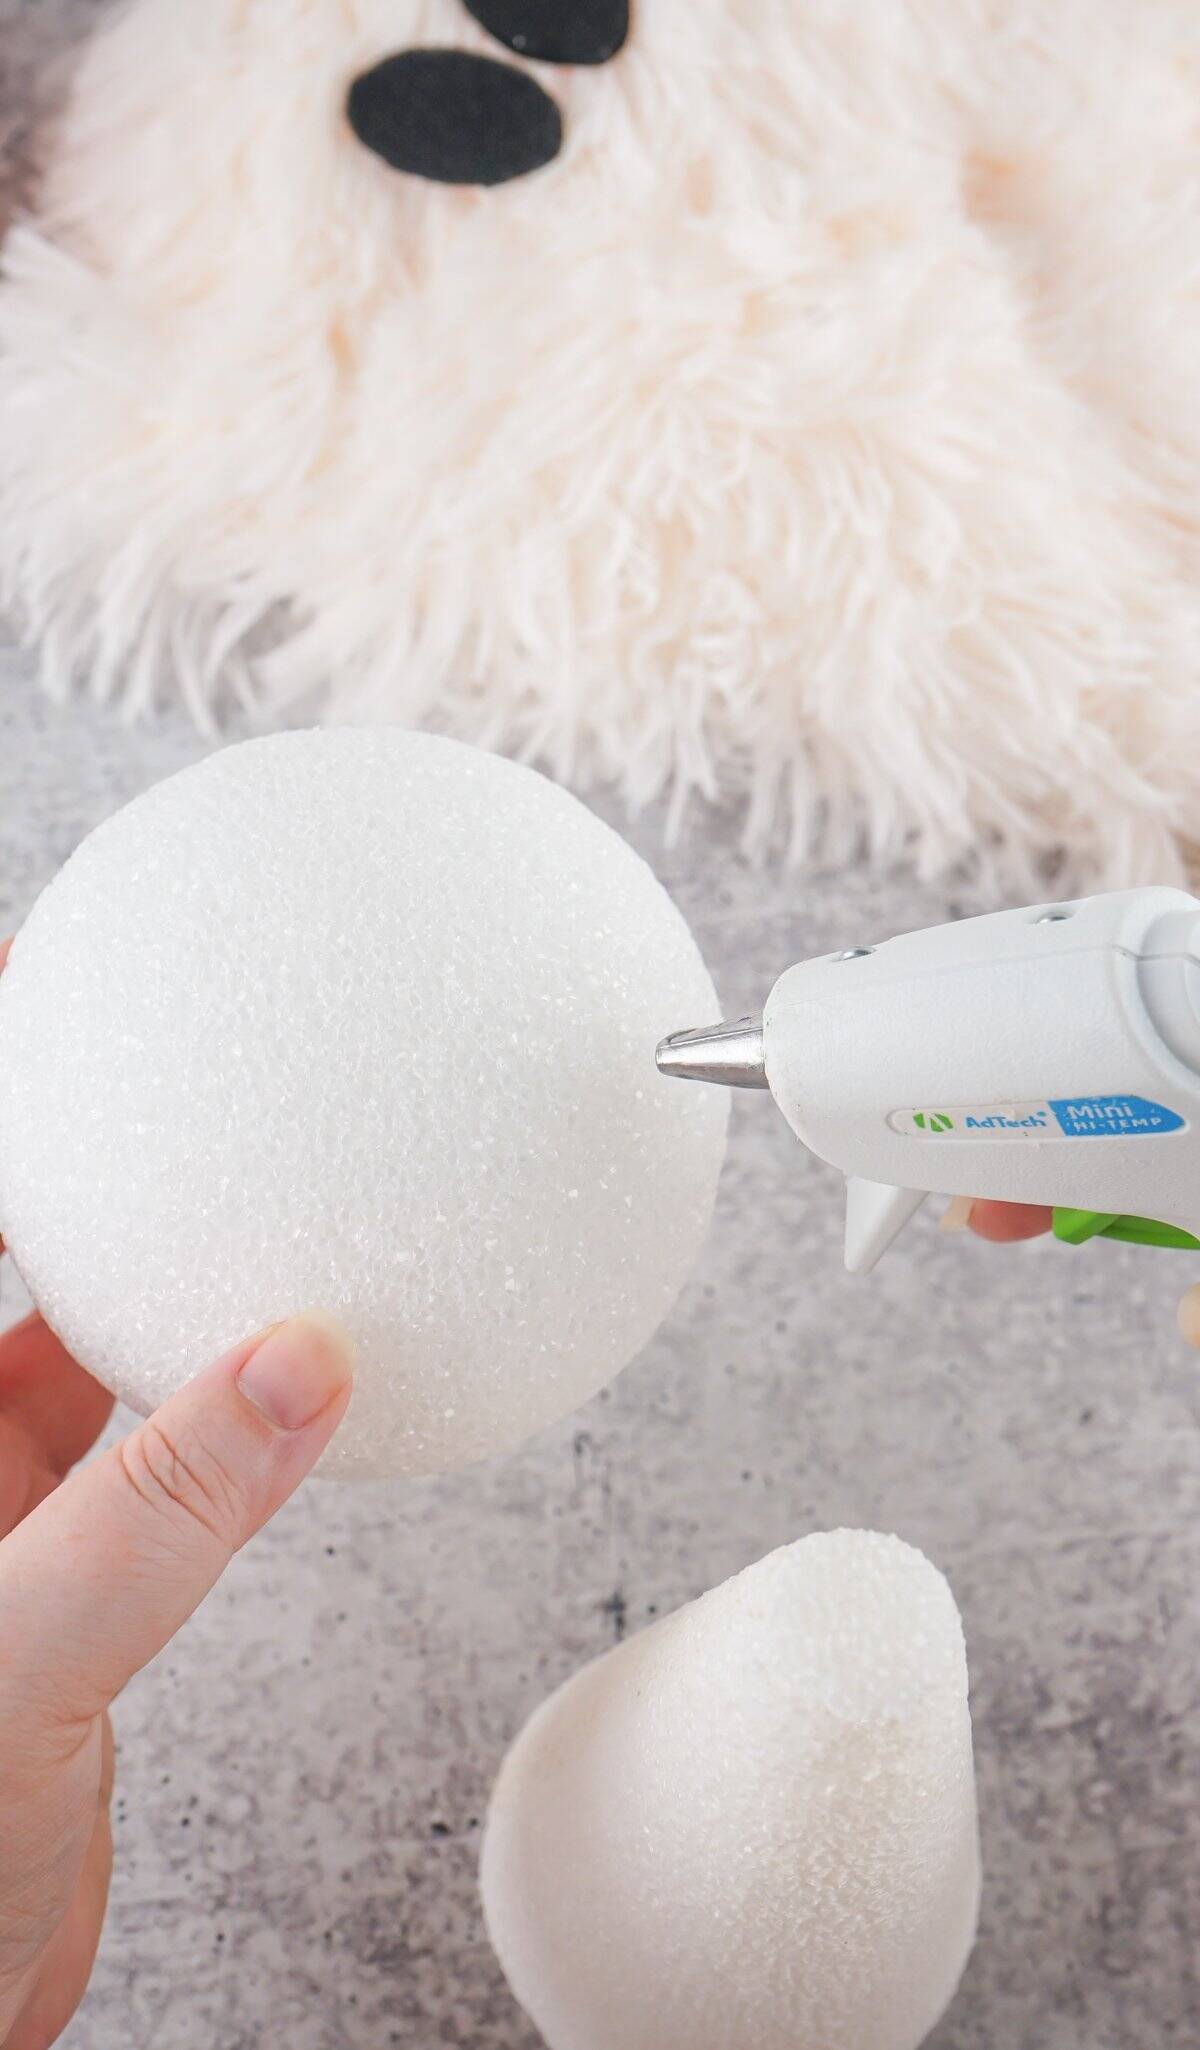
Plug in your glue gun, insert a glue stick, and let it heat up.
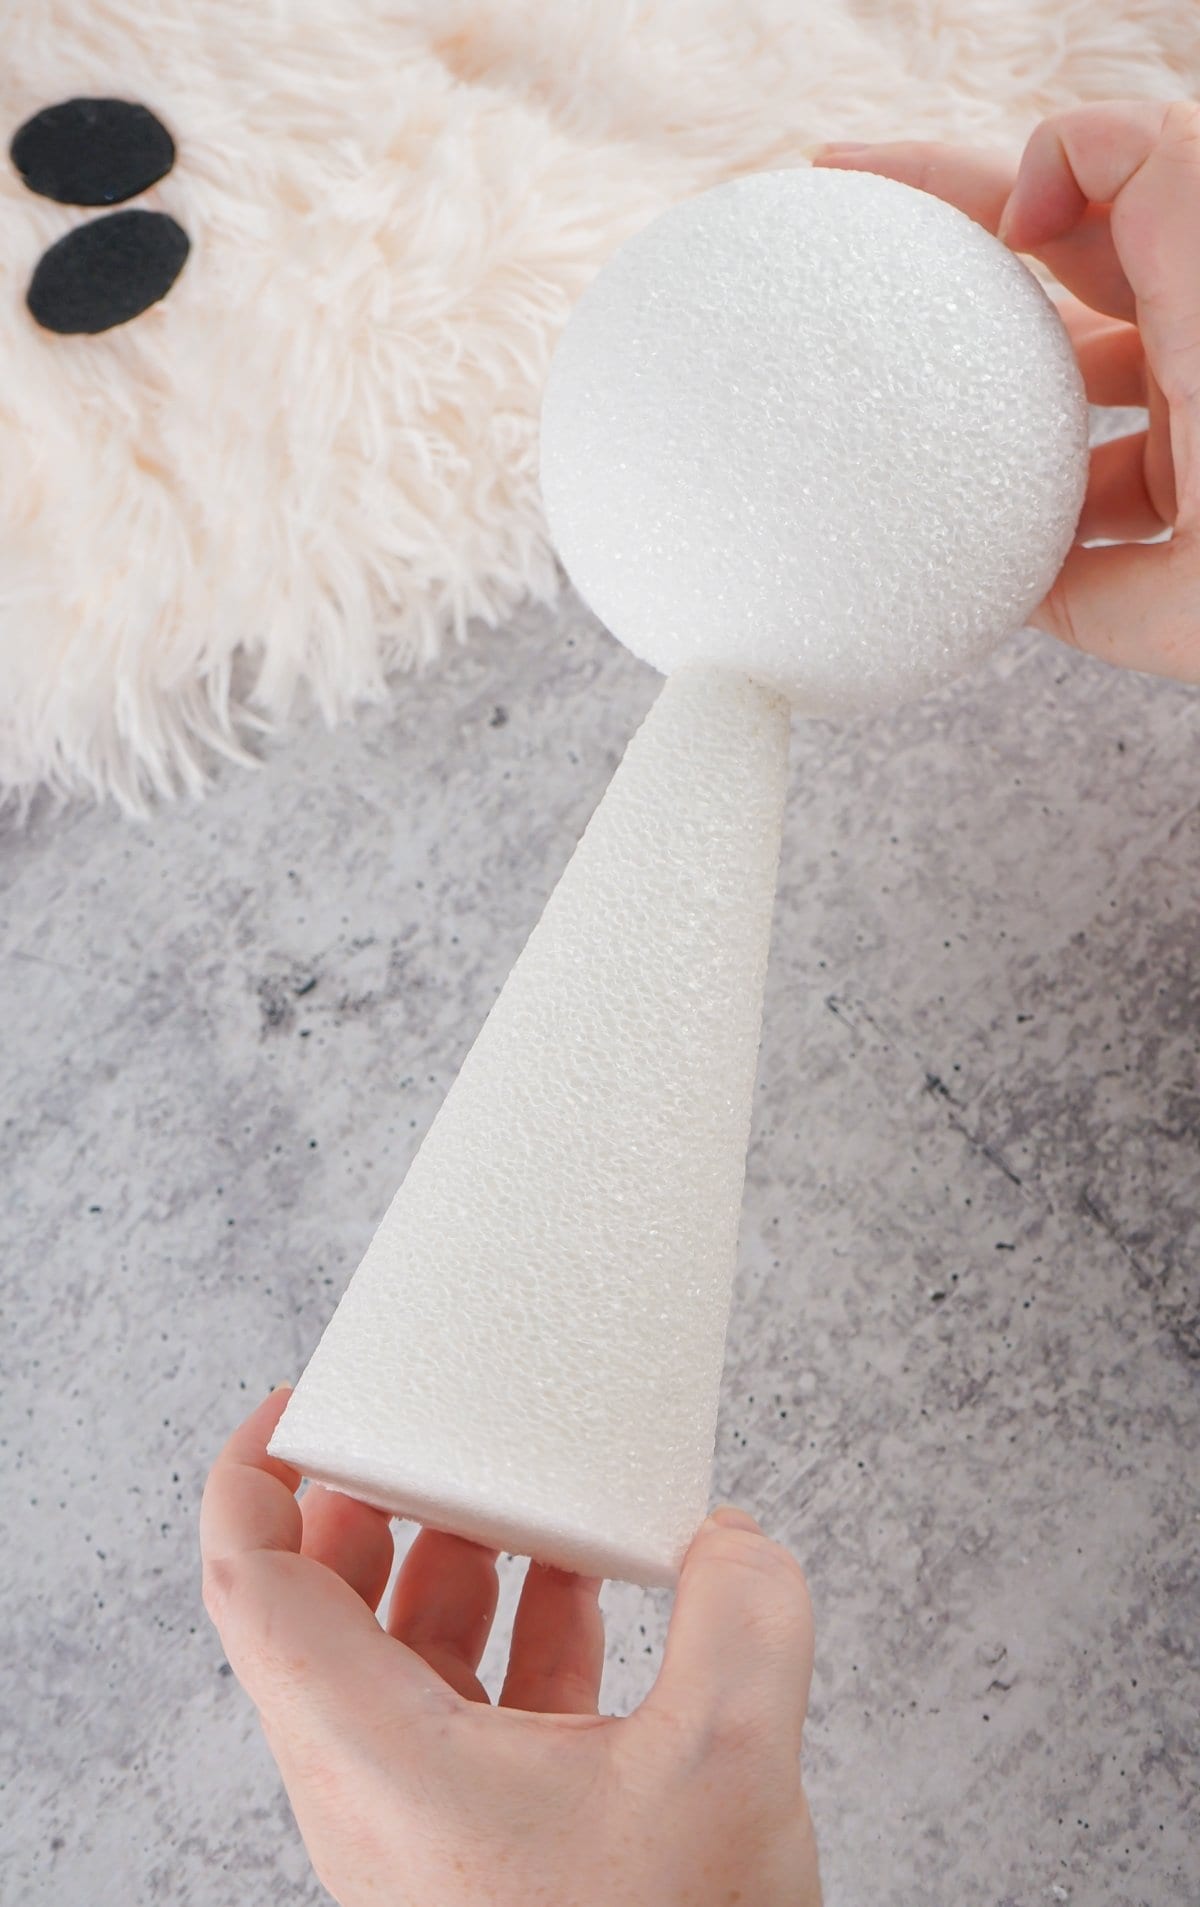
Once you have everything out and ready to assemble, glue the styrofoam ball to the top of the cone. Make sure it’s centered as well as possible.
If your cone has a pointed top instead of a slightly flat one, use a knife to cut the top flat to help the ball stay in place.
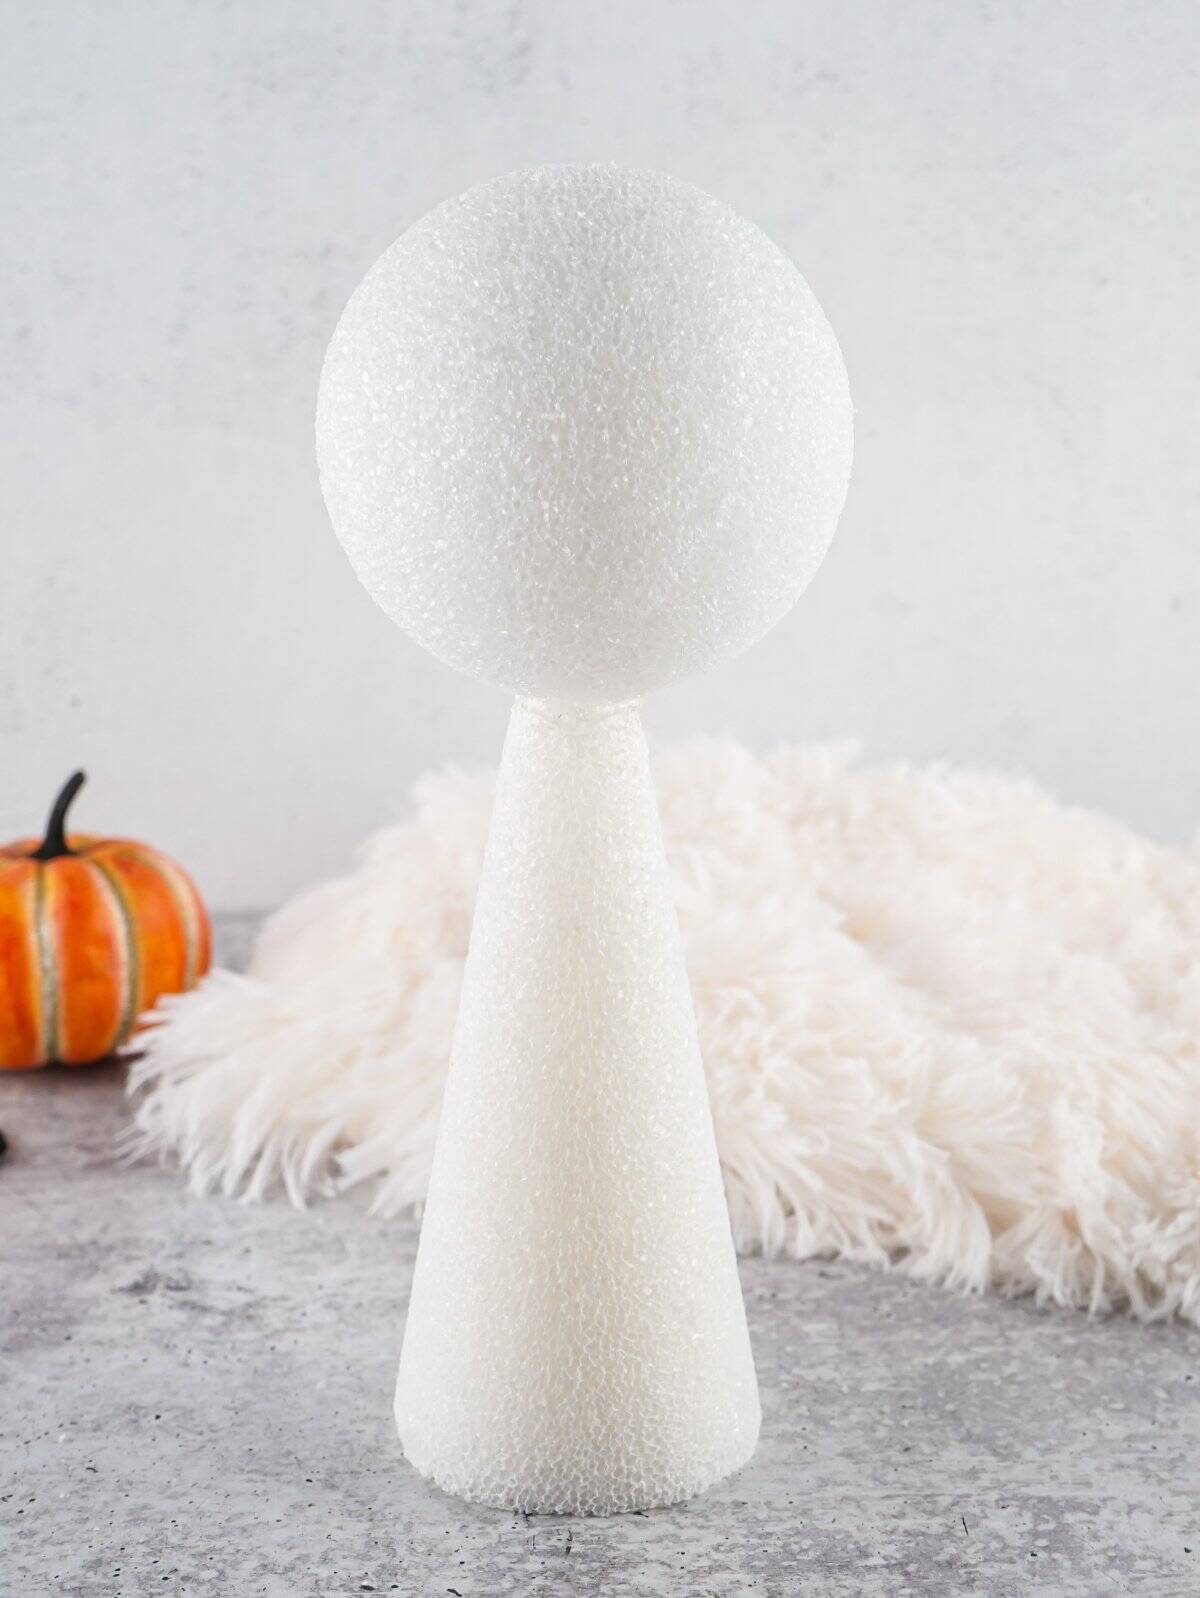
Press down on it gently for about 30 seconds to help it set more securely. Let it sit for about a minute before moving the ghost so the glue sets up fully.
Evenly drape the piece of sherpa material over the top of the ball and cone. It should be hanging evenly on all sides.
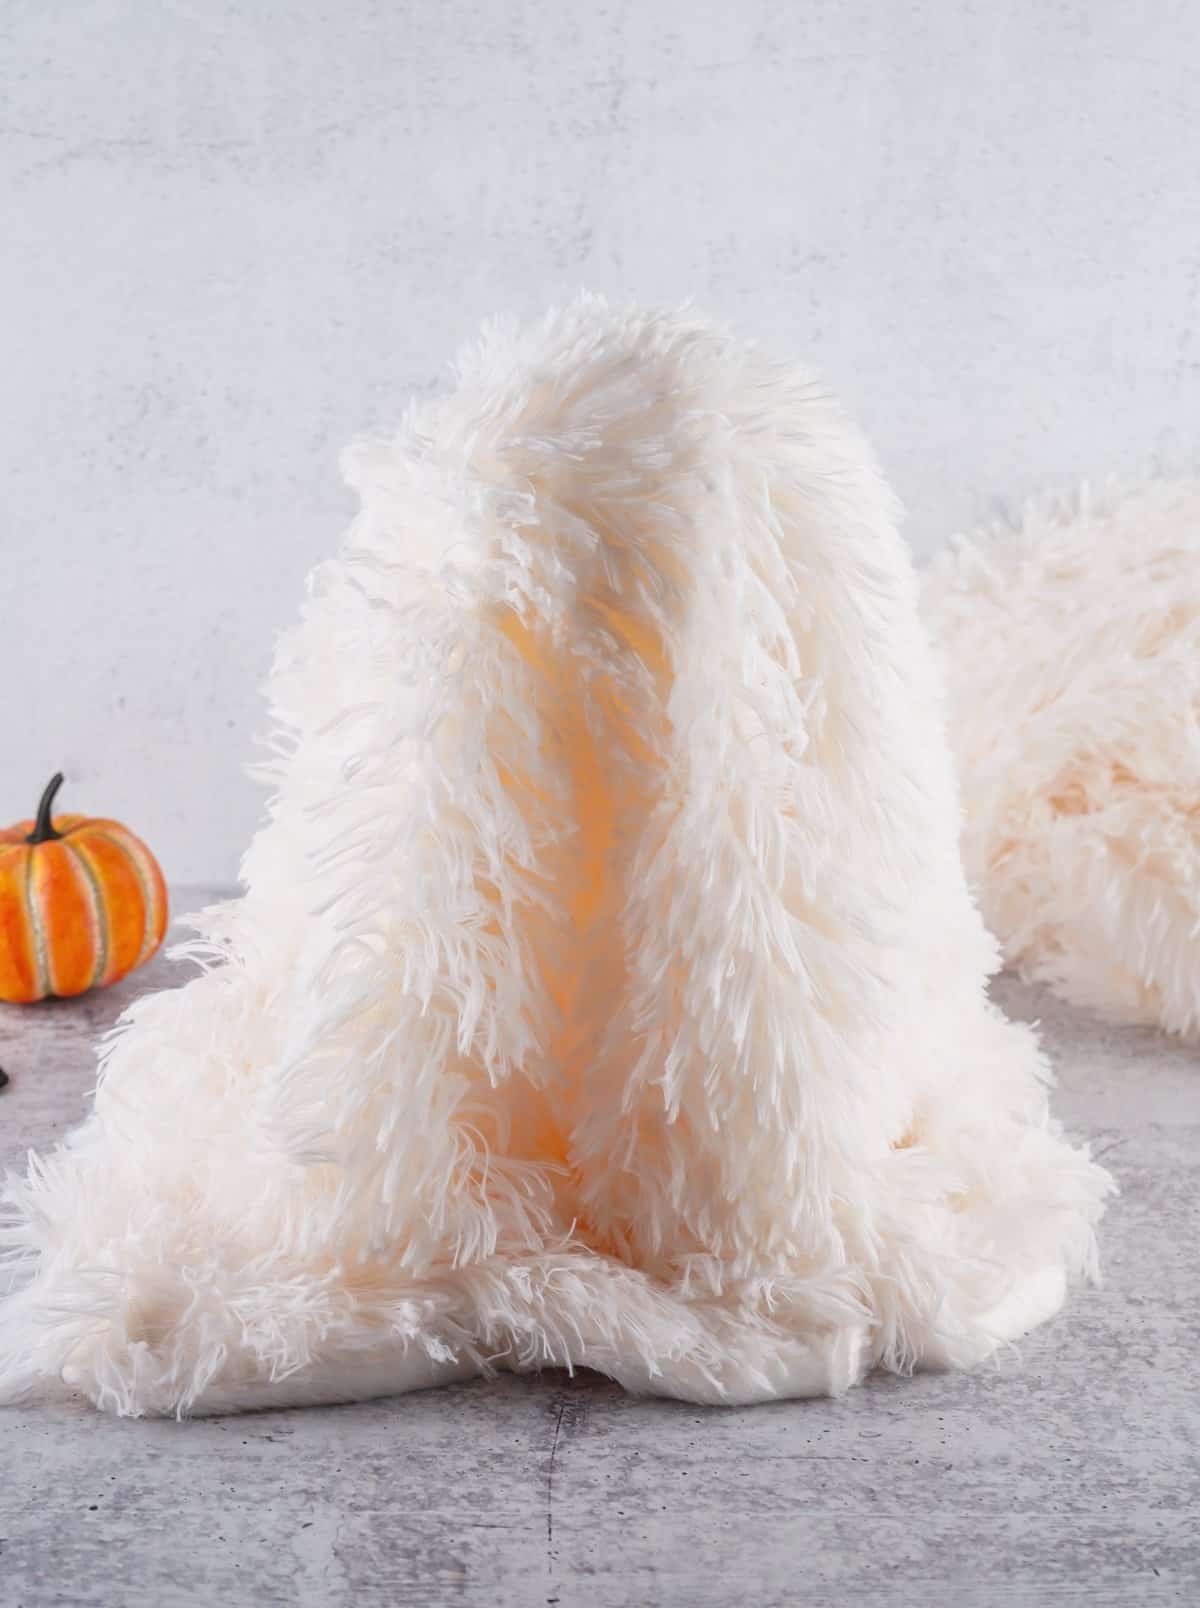
While adjusting the material, be careful to not yank around the styrofoam parts too hard.
I don't secure the material in any way as it’s heavy enough not to move once it's been set and makes things easier for storage after the season is over.
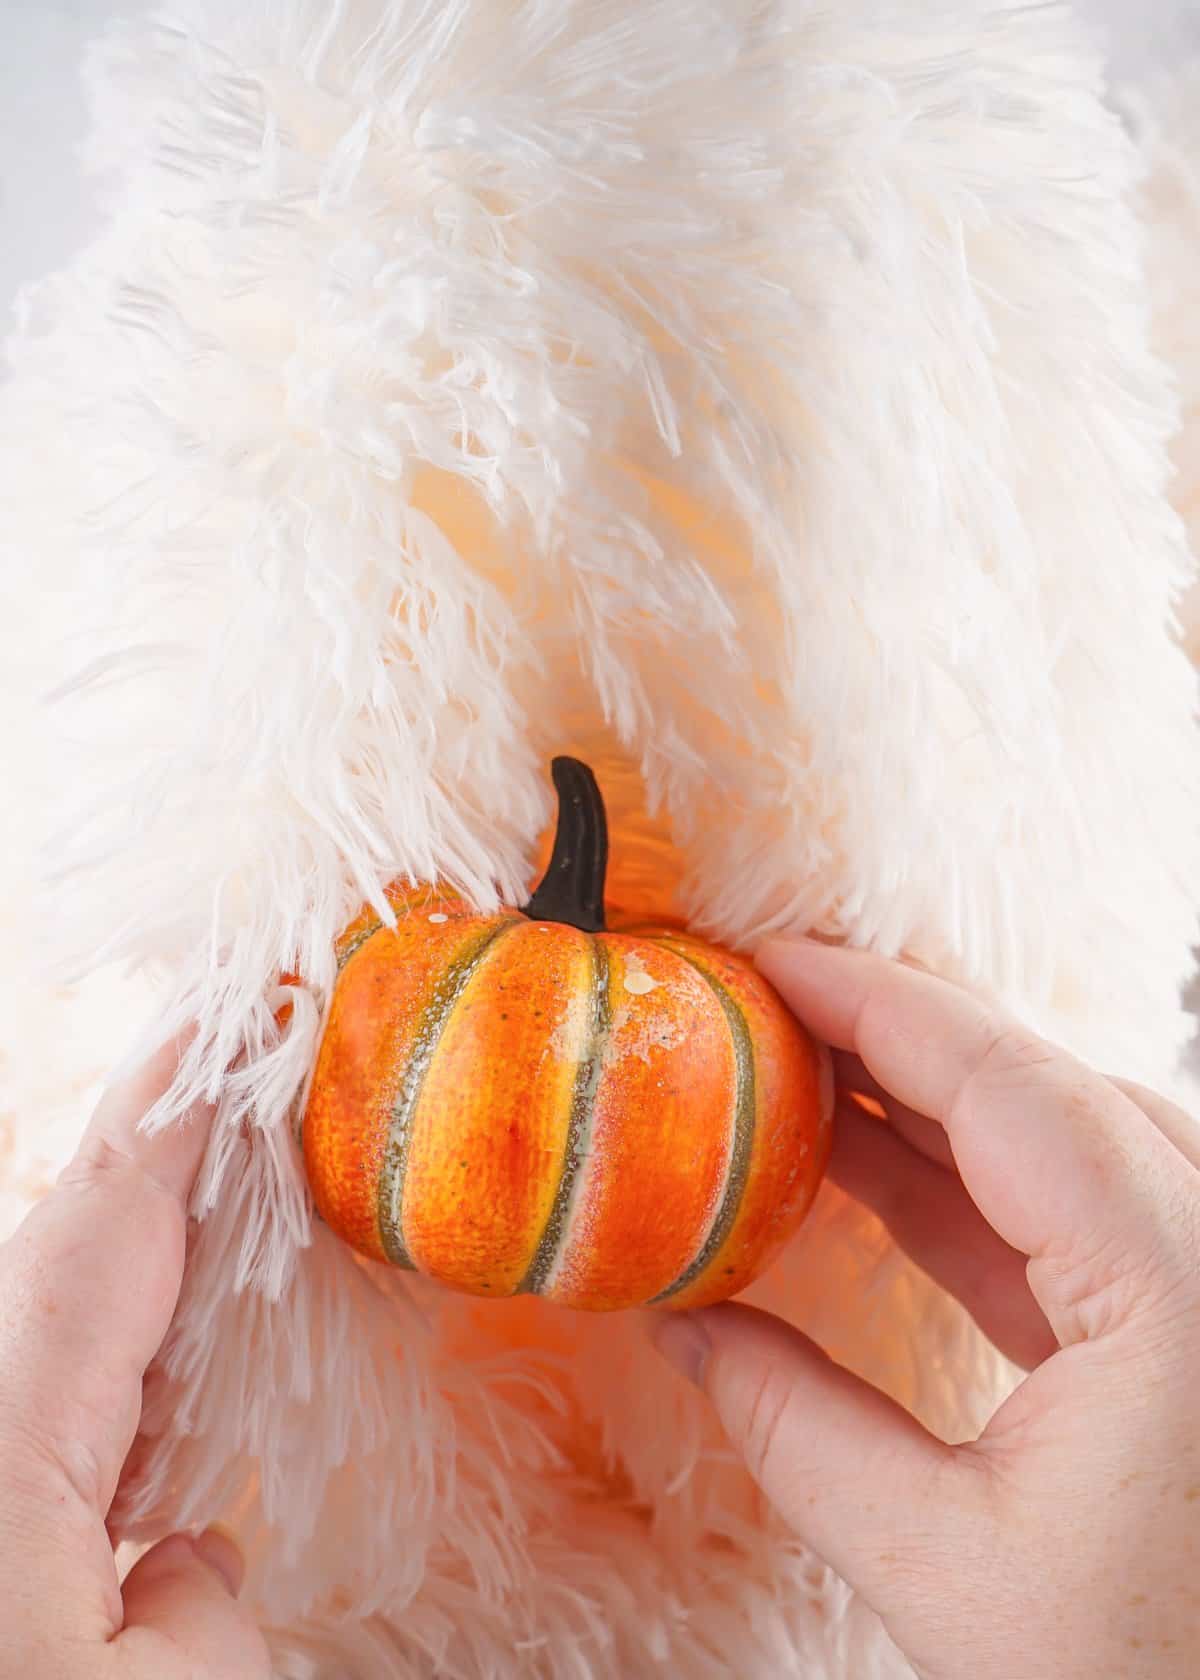
Make two folds in the material down both sides, but in the front of the ghost. These will act as hands to hold the pumpkin and don’t need to be glued in place. You’re just rearranging the fabric to position the pumpkin properly.
Place the pumpkin in between the folds, like the ghost has hands and is holding the pumpkin.
Once you’ve found how you like the pumpkin positioned, place glue on one side of the pumpkin at a time.
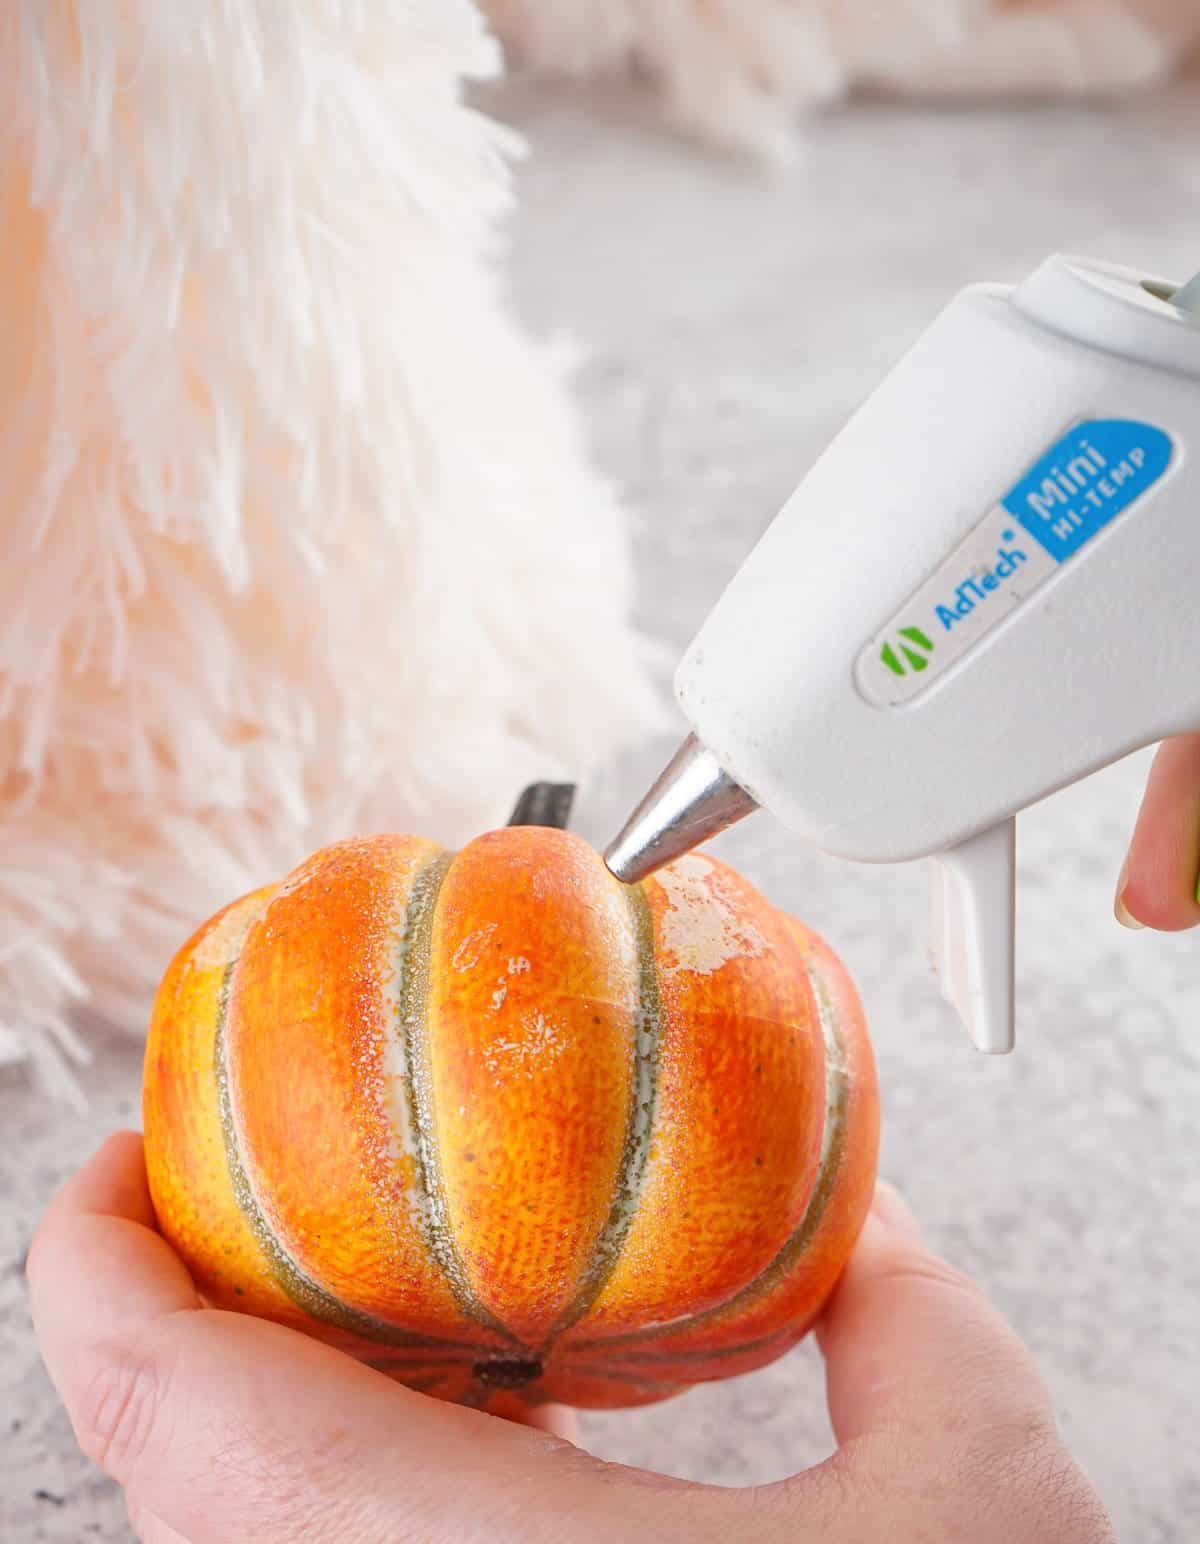
Press it into the spot where you want the pumpkin to rest. Repeat with the other side of the pumpkin.
Place a dab of glue on the back of one black felt oval at a time and press the glued side onto the sherpa material, near the top middle of where the styrofoam ball sits.
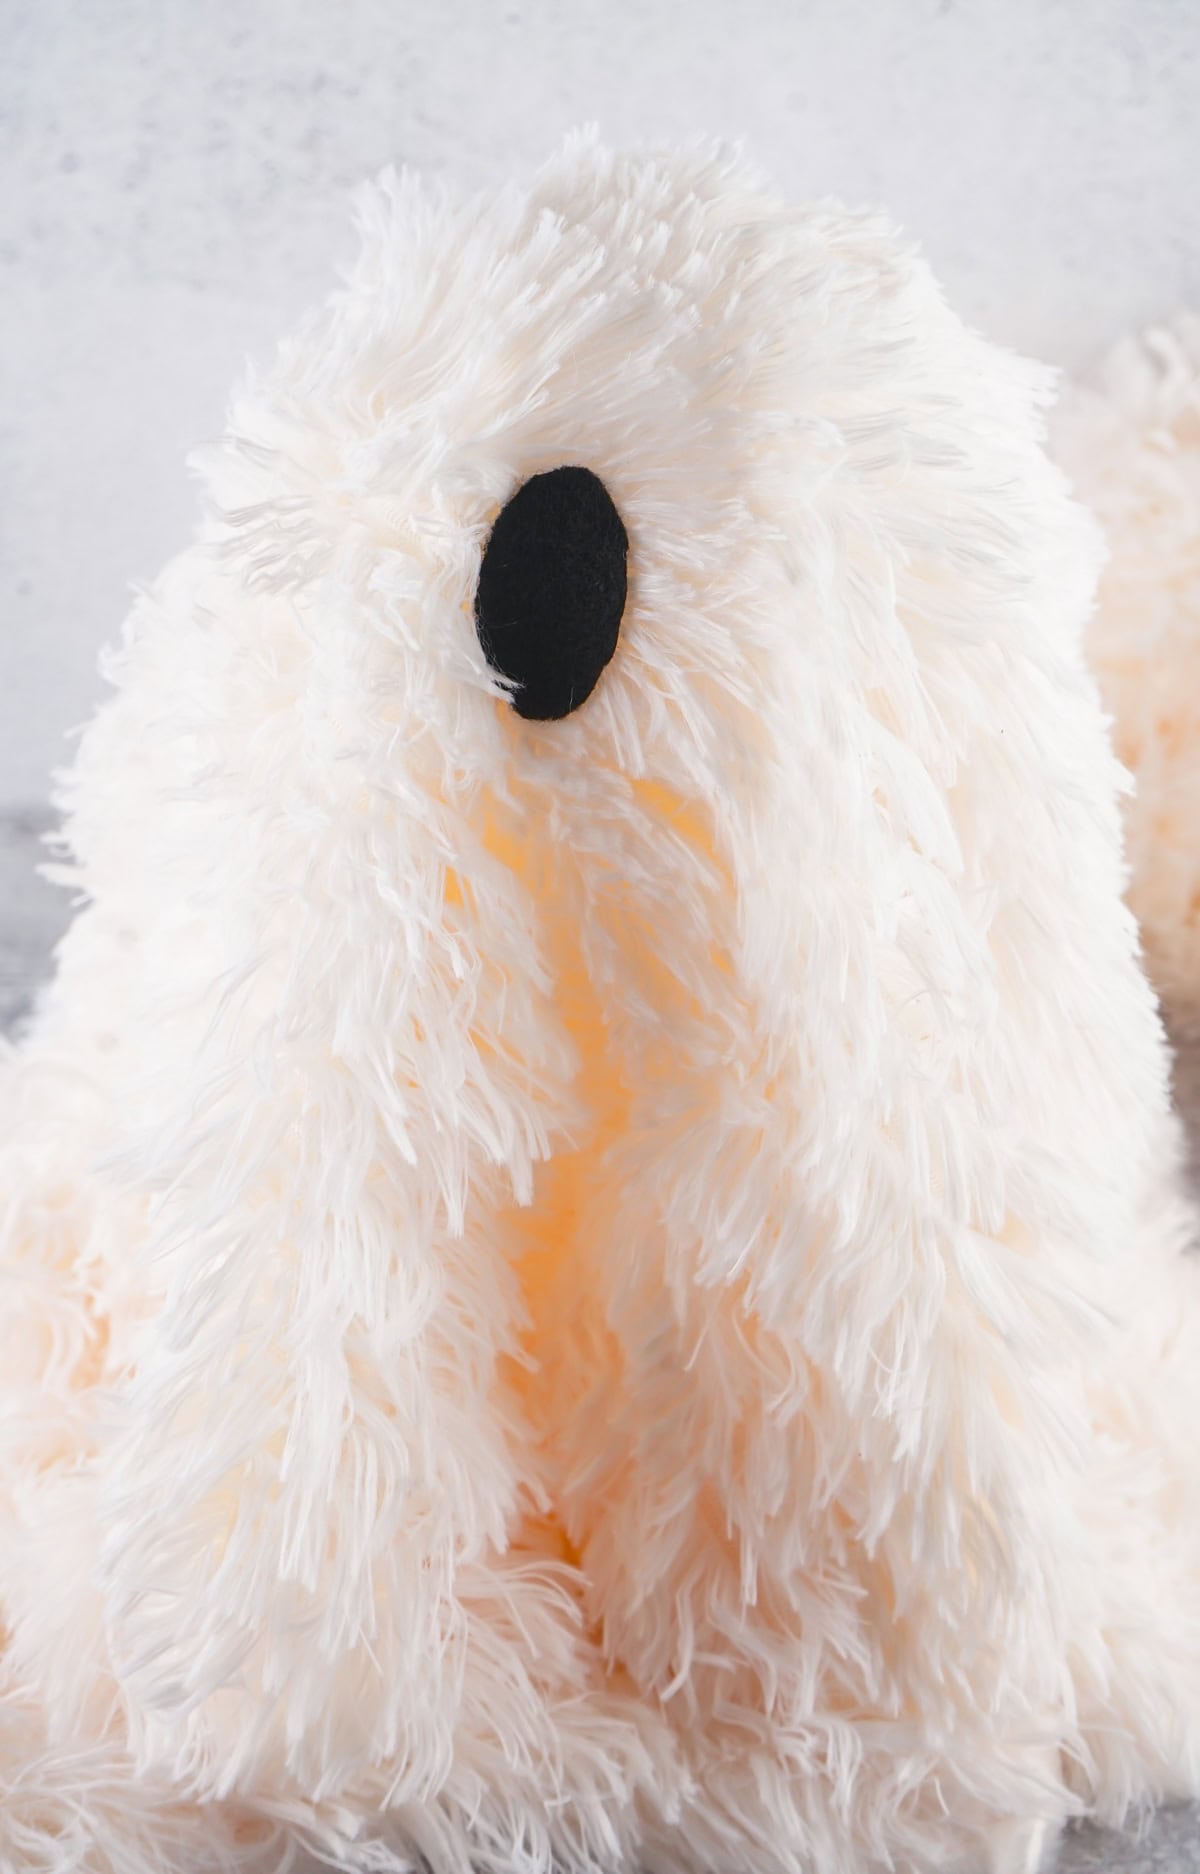
Repeat with the other eye. As you glue each eye, be sure to press and hold it for the first 20-30 seconds of cooling.
The eyes and pumpkin can be placed in either order as long as they all end up the correct places. I did it both ways, as you can probably tell from the photos.
Tips for making your sherpa ghost
For storage, I place the styrofoam pieces into a storage tub with my other seasonal decor.
For the sherpa material, I fold it neatly and place it in a baggie before laying it flat inside the storage tub. This helps your fabric stay fresh and ready to use for next year with no stains or wrinkles.
There are sherpa car rags at the dollar store that are big enough for this craft. This seems to be the most popular route, but I didn’t like it very much. It looked ok in videos online, but in person, it wasn't that great looking to me. You may like the way they look - you'll have to see for yourself.
I hope you enjoy your cute ghosties! Make sure to check out the posts below for free printables for Halloween.

Leave a Reply