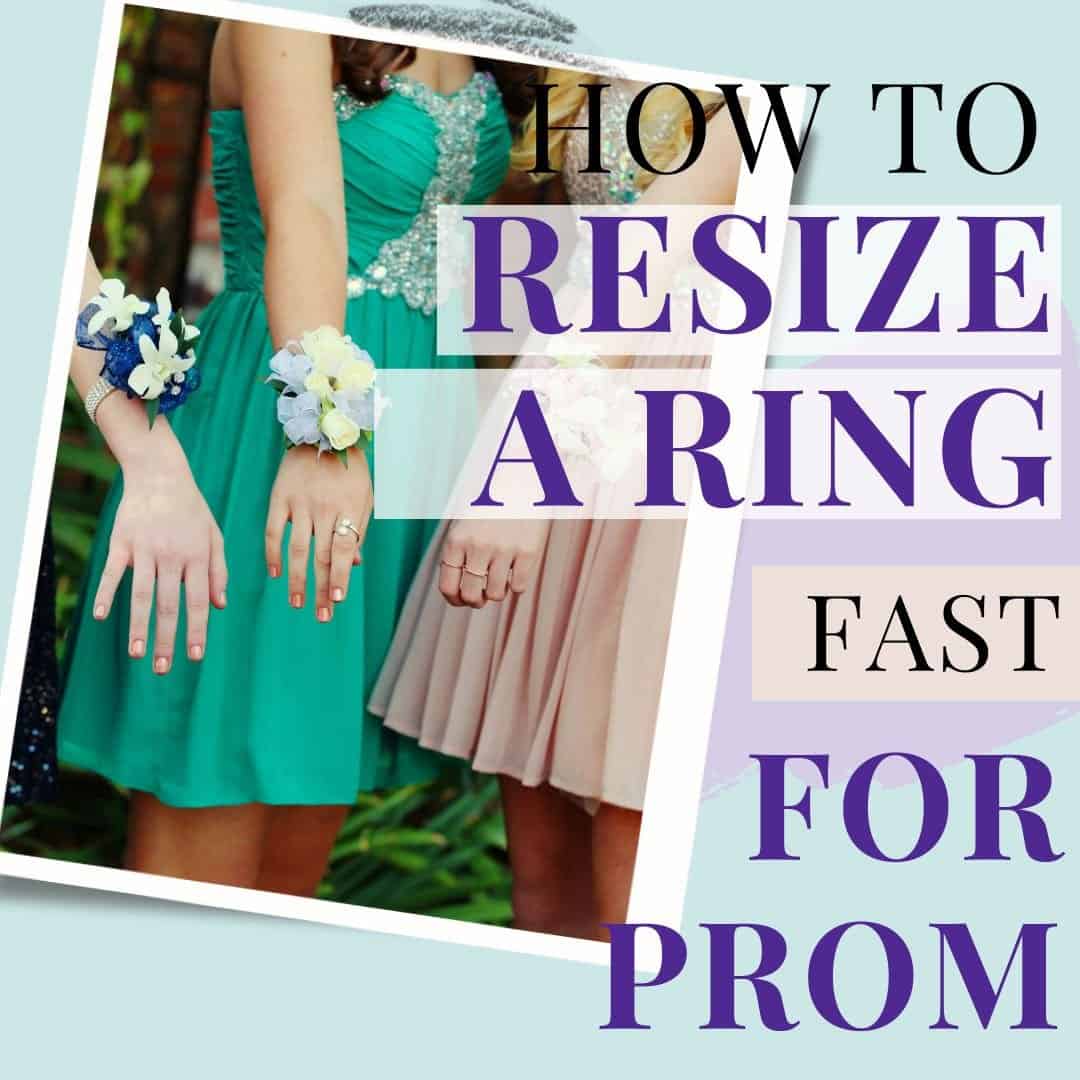
This super easy way to raise your ring so it fits is perfect for prom accessories or wearing a piece of jewelry to a wedding or other spring event!
This technique for making your ring smaller at home is completely reversible. It is also pretty durable and, unlike some other methods of making loose rings fit, isn't noticeable and ugly.
You can use this method to make your ring half a size smaller, or even a couple of sizes smaller. It's perfect for making larger rings, like maybe someone else's class ring, fit.
This post includes affiliate links, which means I may make a commission on purchases made through these links at no additional cost to you.
When I say you will "resize your ring at home" I'm speaking figuratively. There will be no damage or permanent alterations to your ring - yay!
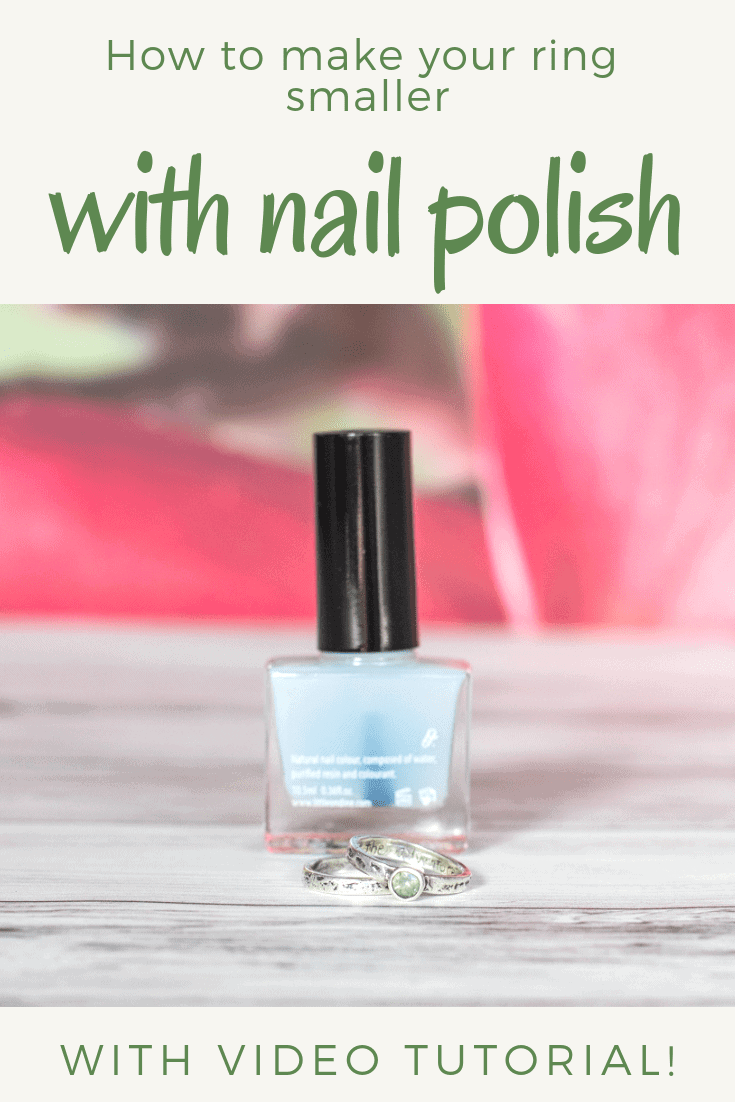
In this tutorial, we will reversibly resize your ring using clear-drying, food grade silicone adhesive. It sounds strange, I know, but it works and I'm here to show you how in this tutorial!
An entire tube of silicone costs less than any other "temporary" ring resizing option I've seen, it actually works, and it doesn't damage your ring.

Materials needed to make your too big ring fit
- A food grade silicone sealant (clear).
- Try something like the food grade safe option shown below, or just search Amazon for food or "aquarium" grade silicones.
- These silicones should be almost 100% pure silicone with an agent that evaporates during the curing process.
- A coffee stir stick, small popsicle stick, or another relatively small, flat applicator
- A paper towel
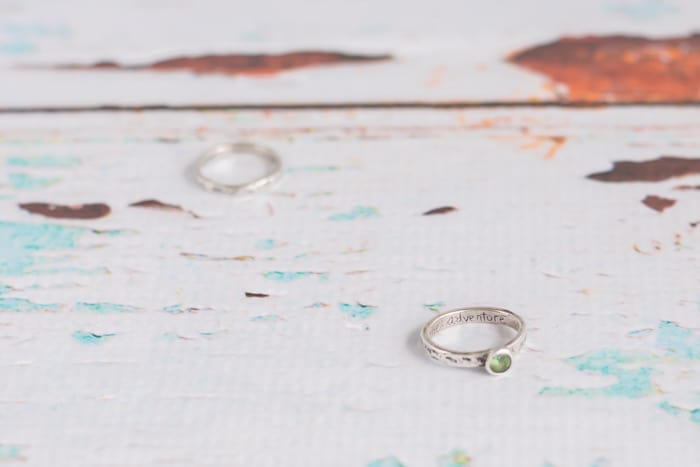
- Your ring
- Rubbing alcohol

- 100% RTV Silicone is a non-slump sealant and can be applied to vertical or overhead surfaces without flowing or sagging
- one-part, moisture-curing RTV (room temperature vulcanizing) silicone that cures to a strong, silicone rubber that maintains long-term durability and...
- excellent resistance to weathering including ozone, ultra-violet radiation, freeze-thaw conditions and airborne chemicals
I highly recommend using a food safe pure silicone adhesive.
Food grade silicone sometimes comes in colors (white, red, etc.), so make sure you get clear if you want it to, well, dry clear!
Because metal is nonporous, the silicone is ultimately removable.
After it dries, you can peel it away with your fingernail.
If you want to know exactly how the silicone behaves on metal and how "difficult" it is to remove, experiment first on the back of a spoon or inside a random ring for you own peace of mind.
Allowing the silicone to cure fully is important.
If you start wearing the ring when the outside is dry but the silicone still looks foggy, it will probably come loose in just a few days.
Allowing it to cure until it's fully clear (which can be overnight or longer) creates a layer that can stay in place for weeks. Most food safe sealants need to cure 24-48 hours before they become non-leaching, so that is something to keep in mind, too.

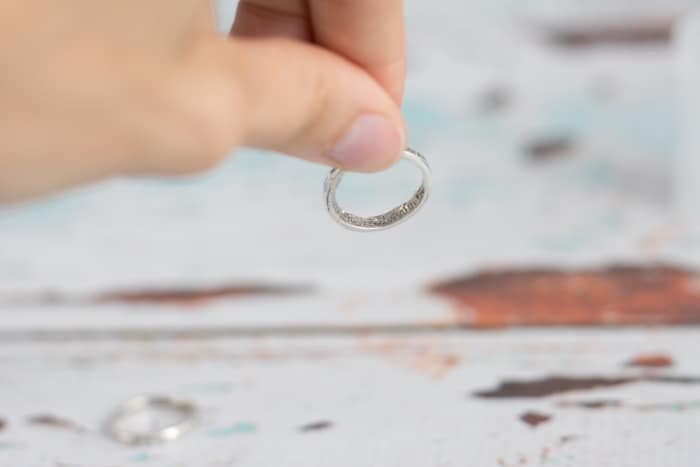
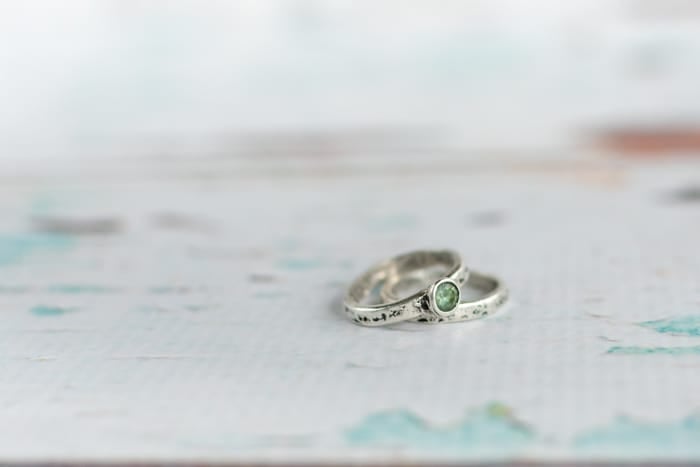
How to resize your ring at home
- Clean your ring with rubbing alcohol. Stay away from the setting if you have a pearl or paste gems.
2. Using your applicator (coffee stir stick), dab a small amount of the silicone adhesive inside your ring.
Generally you want the inside portion furtherest away from the stone to have the thickest silicone application.
Apply a small, tapering amount of silicone up the ring's sides. Because the silicone is clear, it is difficult to see. You can tell the texture is there if you look at the photo closely, though!
3. Smooth the silicone adhesive as much as possible using your applicator or a finger.
4. Clean any extra adhesive from the outer portion of the ring using a paper towel, wetting it slightly with water if needed.
5. Allow the silicone to cure (check your package for curing times!), try your ring on, and reapply additional layers of silicone, as needed. It may shrink slightly as it cures.
6. Try to refrain from wearing your ring (or wear it as little as possible) for 24 hours to allow the silicone to cure. The tube says it takes 24 hours to cure fully, but go by how your silicone looks and feels.
7. In order to remove the silicone, loosen it with your fingernails and simply peel it away! It is easy to remove and doesn't leave a residue behind.

The silicone is very durable - it doesn't come off when you wash your hands or remove your ring (a common complaint about commercially-available ring resizing solutions).
Please note, however, that some lotions, sunscreens, and perfumes could degrade the silicone. I haven't had this personally happen, but it seems to have happened with some folks in the comment section.
With time, the silicone will get sort of dirty looking and will eventually loosen at the ends, but it's easy to peel off and apply again!
This hack only lasts a long time if you let the adhesive cure fully before wearing the ring. Wearing it too soon loosens the seal and results in a layer that peels off within days. This might not matter to you if you're just wearing the ring to prom.
This technique is an easy way to resize a ring for everyday wear or to eliminate ring spin on a special piece of jewelry for a party or event.


Leave a Reply