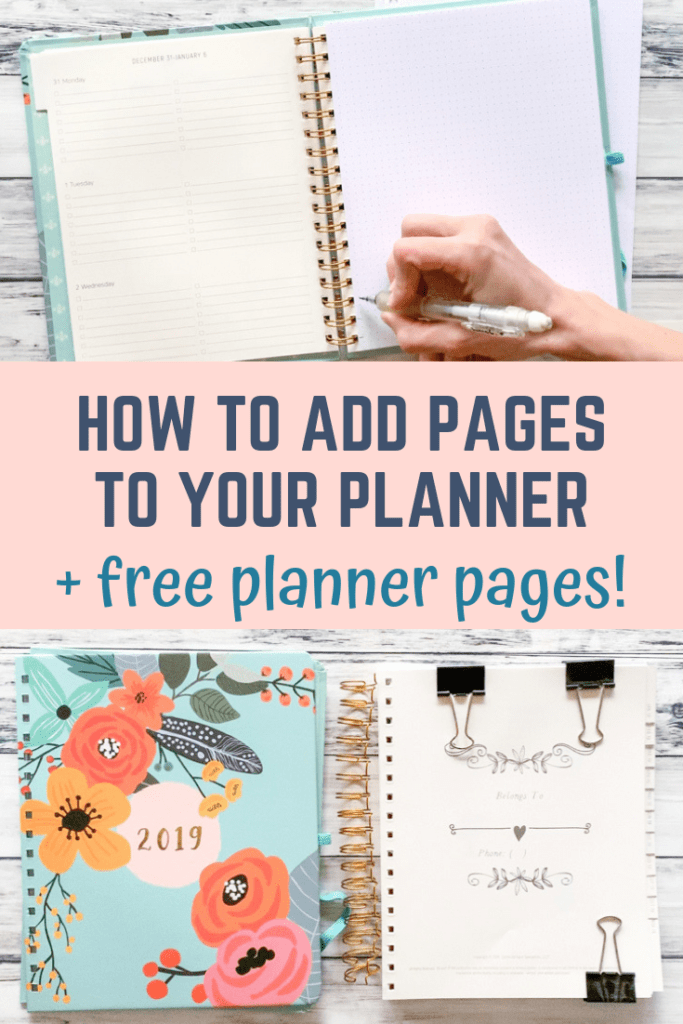
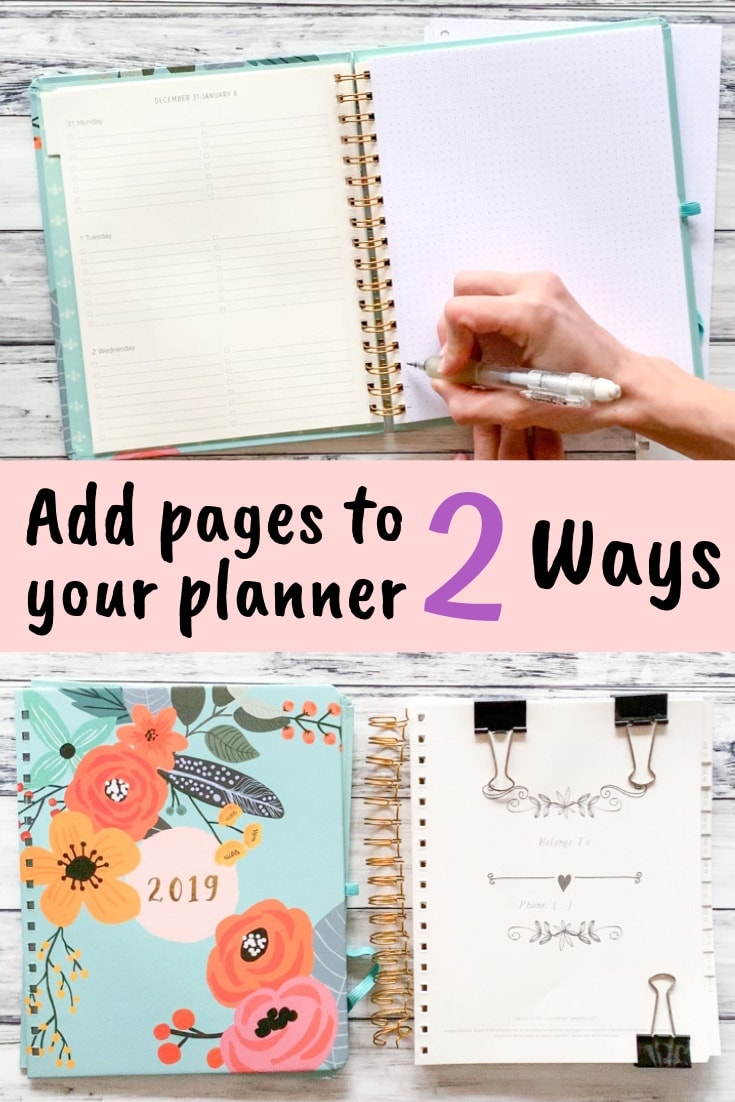
Plan your best life with these free planner printables for 2020!
In this post you'll find free 2020 planner printables, and a bonus video showing you how to insert more pages in your coil bound planner. How cool is that???
This post may include affiliate links, which means I may make a commission on purchases made through these links at no additional cost to you.
I recently put a gigantic monthly dry erase wall calendar up and it's awesome! I love seeing everything important happening for our family in one place. I also needed somewhere to plan ahead, so I bought a planner.
So what's that have to do with your free planner printables?
In past years, I've only made letter sized printables. I used to keep my blog planner pages in a three ring binder. I started 2019 with a 7x9 coil bound planner, which is why the 2019 printables also have 7x9 planner printables!
That's why I'm showing you to add pages to a spiral bound planner or notebook in this post!
*Please note that I switched to a Happy Planner part way through the year, so the 2020 planner printables are in letter size with tips on how to resize the pages for your Happy Planner.*
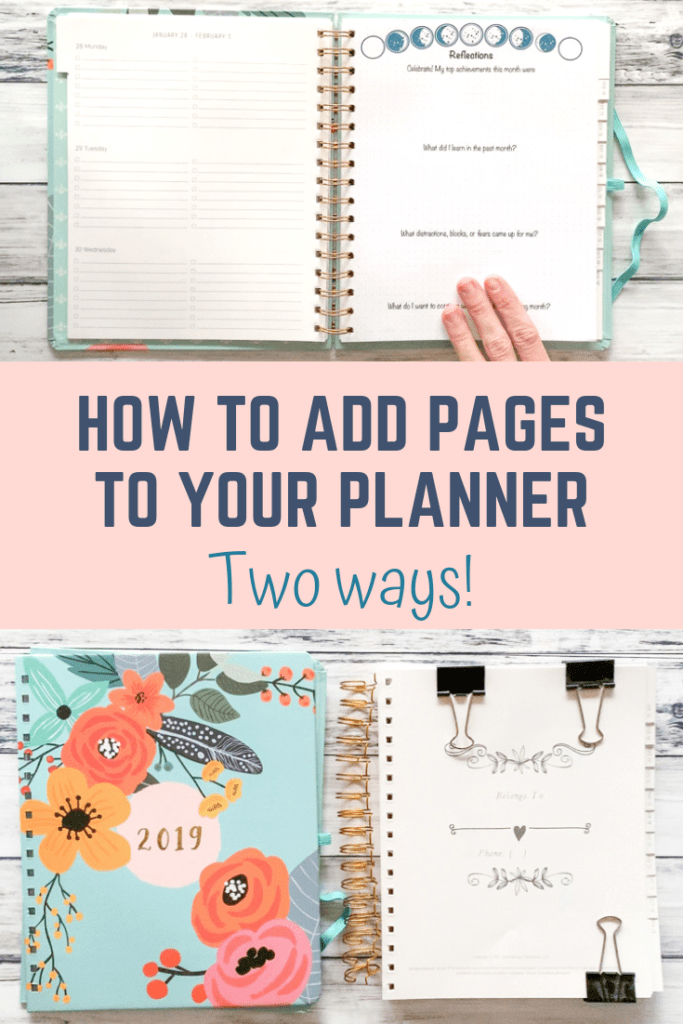
How to add pages to a coil bound planner
Do you need a special hole punch or binding machine to add pages to a planner?
No!
Yes, these tools make it easier (I worked at a copy center so I'm a pro at making books!), but it's totally possible to add pages to your coil/spiral bound planner with materials you already have at home.
In fact, there are two easy ways to add pages to your planner!
What you need to add pages to your planner:
- Your planner!
- A single hole punch
- A pencil
- The pages you want to add
- If you're cutting them down to size, I highly recommend a paper trimmer instead of scissors.
- This paper trimmer is my favorite because the guide wire shows you exactly where you'll be cutting and the arm folds in for easier storage!
- If you're printing the pages, I encourage you to use nice paper or cardstock. My pick for planner printables is presentation paper. It's way nicer than printer paper but thiner than cardstock, which means you can add more pages to your planner!
- Ruler (optional)
- 2-4 binder clips
- Optional: packing tape or washi tape & scissors (for method #2)
How to add pages to your coil bound planner
There are two ways to add pages to your spiral planner. Either way, you need to start by preparing your pages!
First measure your planner's pages. Don't assume that because it was sold as an A5 or a 7x9 or whatever size that the pages are actually that exact size!
If you have ready-made inserts and they're the correct size, you're good to go.
If you're using printables that you need to cut down or if your purchased inserts are a little too large, you'll need to trim them down.
To make sure everything was lined up like I wanted, I ripped the table of contents page out of my planner! I didn't want it, anyway, so why not? I simply lined the removed page up with one of my printables and traced around it. Then I cut down my first page, taking note of the measurement on the paper trimmer for each side as I cut. I used these measurements for my remaining pages instead of tracing again.
If you're using printables, you'll need to make holes. You can do this one of two ways:
Using a ripped out page as a template, make a mark where each hole needs to be.
-or-
Place an insert page on top of your planner, bottom and top aligned with an original page and left edge along the coil. Use a pencil to make a tick mark where each hole needs to be.
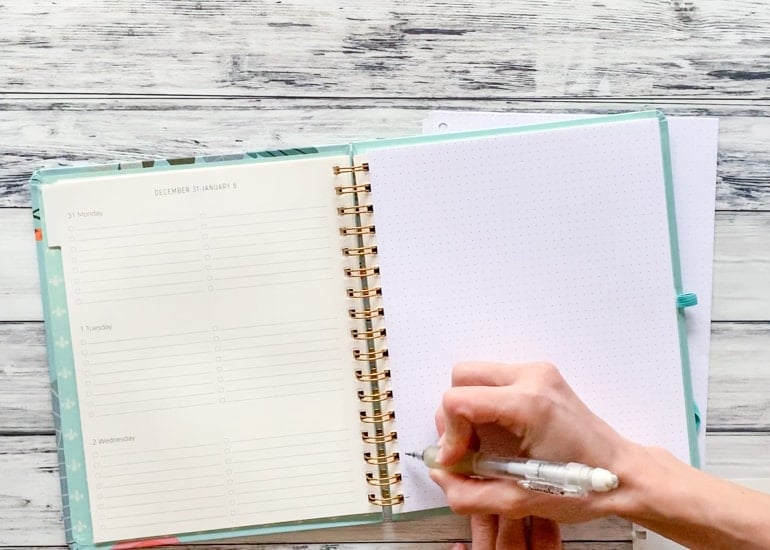
Punch a hole for each mark, making sure to make them as close to in a line as possible! If you're using the second method, where you press the pages into place instead of opening the binding, you may want to line the edge with packing tape or washi tape for added thickness.
Here's where the two methods diverge.
The first way to add pages to your planner:
You will open up your planner's binding to add new pages.
This is my favorite method, but you can only do it safely once or twice per planner. Metal becomes brittle the more it's bent, so if you try this method every week you may end up snapping the coil. You may also eventually warp the coil binding to the point where it's unusable.
This video demonstrates both methods, beginning with the binding-opening way to insert planner pages. I recommend watching the video, but you'll find writing instructions below if you prefer.
I am *very* sorry for the weird colors. It's been so dark lately with all the winter weather! Filming in low light always looks a bit off.
Carefully bend open your planner's metal coil. Don't bend them all the way flat - just enough to work out the pages.
Remove the original planner pages.
Add your planner inserts wherever you'd like them.
Make sure all the holes are aligned as well as possible, then binder clip the pages in place.
Re-insert the coil and bend it closed again.
Voila! You've put more pages in your planner!
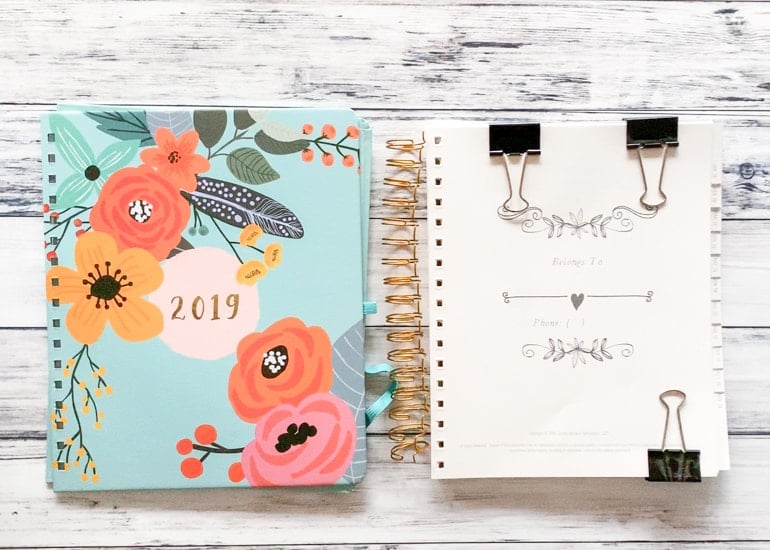
The second way to add pages to your planner:
Cut a slit from the edge to each hole to form tabs.
Press the page into place.
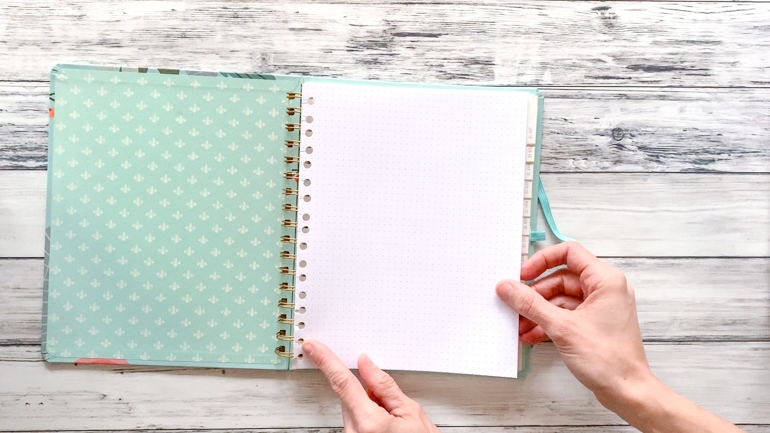
That's it! Please watch the video to see what I mean. =) Tune in starting around 7:10 to see this technique.
This second way is easier and has less commitment, but all the added bulk of tape can really detract from the amount of pages you can add. I also find that the pages are more likely to come loose at some point. I only like to add pages this way if there's something I want to add later in the year, not if I'm adding a bunch of pages at once.
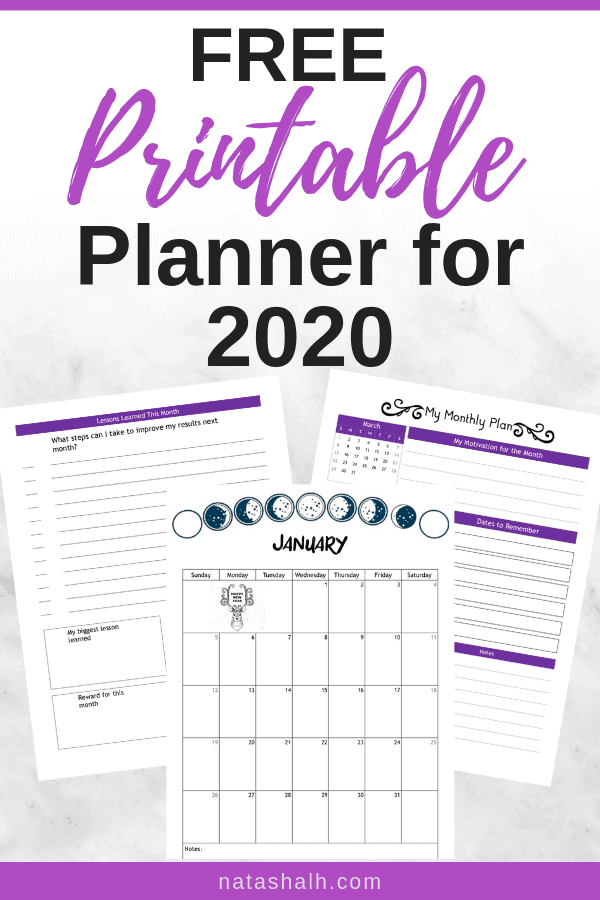
Free planner printables for 2020
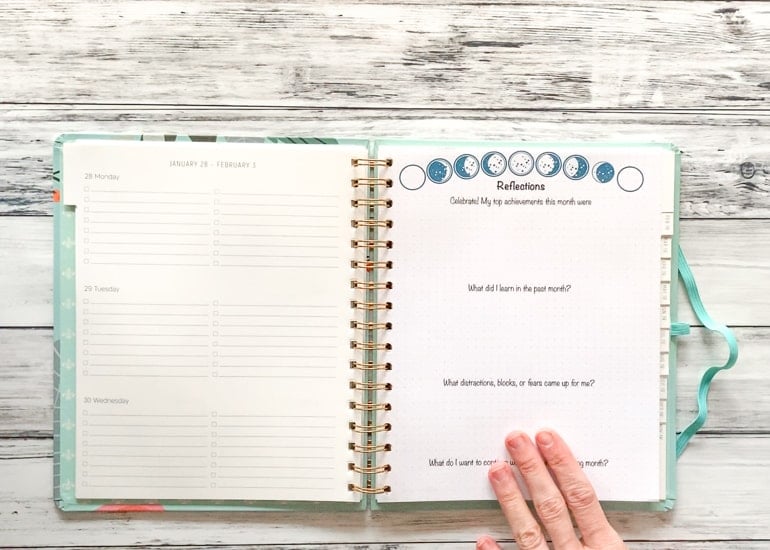
For each month, this planner includes:
- A monthly calendar page.
- A page for setting intentions and goals for the month
- A page to reflect on why each goal is important.
- A page for action steps to take towards your monthly goals.
- A blank page for notes.
- A goals check-in sheet to record which goals you did and didn't meet.
- A page for reflecting on what went well and what lessons you can learn from the month.
- A lunar mind map.
- A 5 mm grid dot.
Please look below the section on using your planner printables for the download info!

How to resize letter printables for the Happy Planner
If you have a classic Happy Planner, resizing letter sized printables is very easy!
It might seem silly, but I do add extra pages to my Happy Planner. I like the monthly and weekly spreads, but I also add the extra pages from my printables for goal setting and accountability.
If you want to do the same (or just skip buying new planner inserts and use your arc rings with this printable planner!), all you need to do is print at 84%.
Print one page and test it before printing everything - on rare occasion some printers may do better off with printing at 83%.
How to use your planner printables
Step one - download and print them! I recommend a nicer paper, like presentation paper or even a resume paper. It really helps your planner feel special!
If necessary, trim your sheets down to size. A paper trimmer makes this a zillion times easier than trying to use a pair of scissors.
If you resized your pages for a Happy Planner, you will need to trim them down and add holes.
The mind map printable is your place to free style. You can use it to map out personal or work projects, blog posts, plan your work/life balance, or however else feels right to you.
How to get your free planner printables
Alright, so how do you get your printables? It's very easy - I just ask that you provide your preferred name and best email so I can send you the download links!
Oh, and did I mention that you'll also receive instant access to a bonus 30 day coloring book gratitude journal? It's one of my favorite things I've ever created (apart from my daughter, of course!)
Grab your planner printables by using the box right here to become an Artisan Life member:
More free printables
There are so many valuable resources for you here on The Artisan Life! As a gratitude coach, I love sharing information to help you live a more creative, conscious life. Here are a few posts you may enjoy!
Free printable gratitude journal page

I hope that you enjoy your free planner printables and adding new pages to your existing planner!

traci
I love your pintables, thank you! The problem is I am not very tech savy and cannot figure out how to adjust so they print for a half sheet journal.
Natasha
If you need to print half the size of a 'regular' sheet of paper, then printing 2 up should work. This is a step by step explanation of how to do that https://www.cedarville.edu/help/Adobe-Print-PDF-Files-in-Multiple-Pages-Per-Sheet-Mode I hope that's helpful!
Natasha
I'm sorry you're having trouble! I just sent you an email with the download links. =)