This oatmeal honey soap for dry skin is easy to make with a melt and pour soap base! Make this homemade soap for yourself or give it as a handmade gift.
Although I’m calling his honey oatmeal soap for dry skin, oatmeal and honey are also beneficial for acne-prone skin. All you need to do is swap out the soap base for something less rich to make a great soap for oily or acne prone skin! This moisturizing soap recipe is also great for sensitive skin, especially when you chose gentle, soothing essential oils.
People always love receiving handmade soap as a gift or stocking stuffer, and using a melt and pour base makes this project easy enough to do with your kids (with careful supervision, of course!). Melt and pour soap doesn't need any additional curing time, so you can package and gift it as soon as it cools!
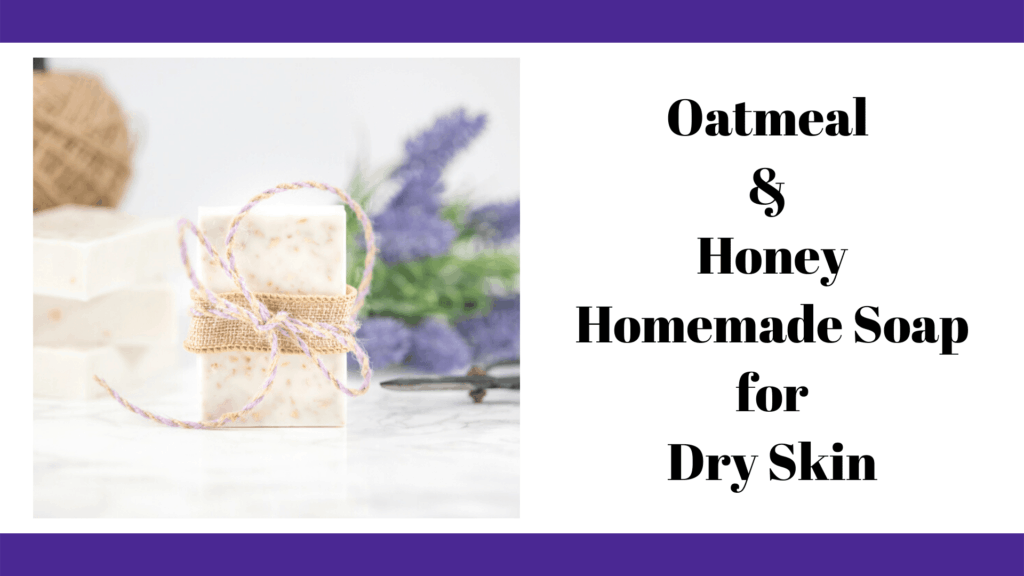
Let's get started with a look at the ingredients in this honey oatmeal soap recipe. People always want to know about substitutions or what to do if they don't have a particular ingredient. This section is a great place to start if you have questions about ingredients or swaps you might want to make. Also, feel free to leave a comment if you have any questions! I'm happy to help.
This post includes affiliate links, which means I may earn a commission on purchases made through links at no additional cost to you.
Oatmeal's benefits for skin
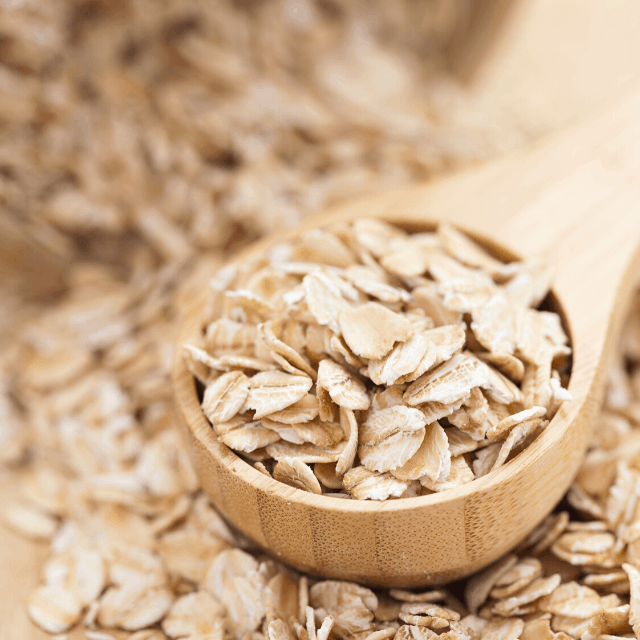
The oatmeal in this homemade soap provides several benefits for your skin.
Oatmeal provides gentle mechanical exfoliation to scrub away old, dead skin. It is beneficial for both acne-prone skin and dry, flaky skin.
Oatmeal is soothing and can help calm itchy, flaky, or irritated skin
Oatmeal also contains natural saponins, which are cleansing agents that help cleanse your skin gently without drying it out.
The natural fats and proteins in oatmeal help protect your skin’s natural barrier and form an occlusive layer that helps your skin stay hydrated.
Honey’s benefits for skin
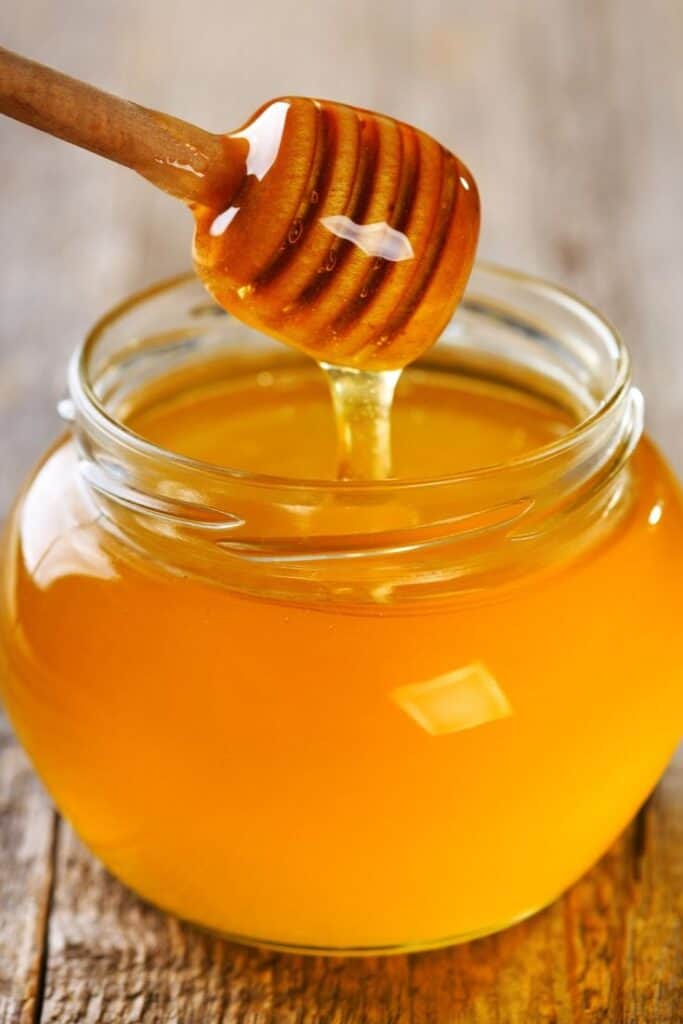
Honey is another fantastic, natural ingredient to have on hand for your homemade skincare products!
Honey is incredibly beneficial for your skin. It is full of antioxidants and is a humectant, which means it draws water to your skin to keep it hydrated.
Honey helps even skin tone and can reduce irritation, which makes it great for both dry skin and acne-prone skin.
Raw honey is also a gentle, natural exfoliant.
If you don’t have real honey, you can omit it from the recipe.
Honey is truly amazing stuff. If you want to know more, read about the benefits of honey on Healthline.
Essential oils for dry skin
Essential oils are not mandatory, but can add a pleasant scent and additional nourishing properties to your soap.
I added 30 drops, about 1 gram, of total essential oil. You can mix and match your favorite essential oils to create a combination you enjoy for your soap!
These are a few essential oils that are beneficial for dry skin:
- Chamomile is a classic calming and soothing herb and the essential oil is perfect for dry skin.
- Geranium is another great balancing essential oil that can help sooth irritated, dry skin. It smells kind of like roses, so most people like its scent.
- Ylang yang is a calming, soothing essential oil that can work well in soap.
- Rose is a traditional oil for soothing dry or inflamed skin.
- Frankensense. Frankincense is wonderful for dry and mature skin.
- Lavender. Lavender is a cleansing and soothing essential oil that works well for dry and oily skin. Lavender and frankincense is my favorite combination!
Many other essential oils are beneficial for dry skin, so feel free to use something else.
Melt and pour soap base
Melt and pour soap base is an easy way to get started making your own soap.
There are several types of soap base. Some commonly available soap bases are goat milk, shea butter, olive oil/Castile, plain glycerine, oatmeal, aloe, and honey.
For this recipe, I used a shea butter soap base because it is creamy and moisturizing. Any quality melt and pour soap base will work, so feel free to use another one if you’d prefer.
Many people with oily or acne-prone skin like an aloe soap base.
Some melt and pour soap bases have easy to cut cubes, but high-quality soap bases are easy to cut with a large kitchen knife even if they don't have these cubes/lines.
When shopping for a melt and pour soap base, make sure to check the ingredients if you want to avoid specific things like palm oil or non-vegan ingredients like goat's milk or honey. You can also find specifically vegan formula soap bases if you don't want to scrutinize a million labels.
Ingredients for honey oatmeal melt and pour soap
- 1 lb melt and pour soap base
- ¼ cup old fashioned oats (approximately 38 grams/1 ounce by weight)
- 2 teaspoons honey (approximately 28 grams/1 ounce by weight)
- 30 drops of essential oils (approximately 1 gram)
- A spritz bottle of rubbing alcohol (optional but helpful)
- Silicone soap mold
- Large, microwave safe bowl or measuring cup
- I used a 4 cup Pyrex measuring cup
- You could also make a double boiler with two pots for use on the stove instead of melting the soap in the microwave
- Small silicone spatula
- Measuring spoons/cups
How to make oatmeal soap with honey
Pulse your oats in a food processor, blender, or spice grinder to grind them roughly. You don’t need a uniform fine powder - a few larger pieces are fine!
Cut your soap base into chunks and place the pieces in your bowl or measuring cup. If you don’t have a large enough bowl/cup that can go in the microwave, you can melt the soap in batches and transfer it from a smaller, microwave safe container into a larger bowl. You can also make a double boiler and melt your soap base on the stove if you don't want to use the microwave.
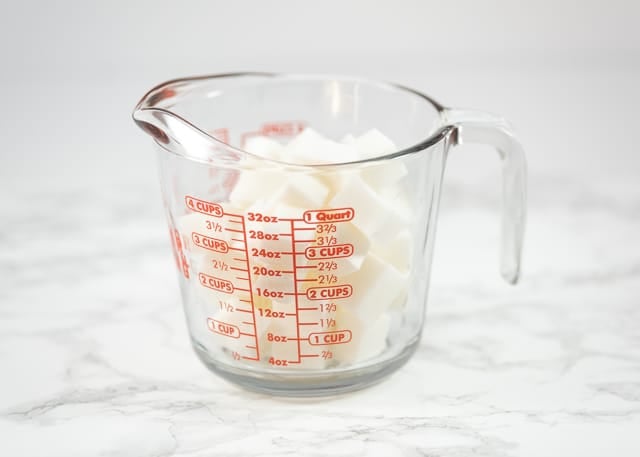
Microwave the soap pieces for 30 seconds. Stir and return the microwave. Heat in 10 second increments, stirring as needed, until the soap base melts.
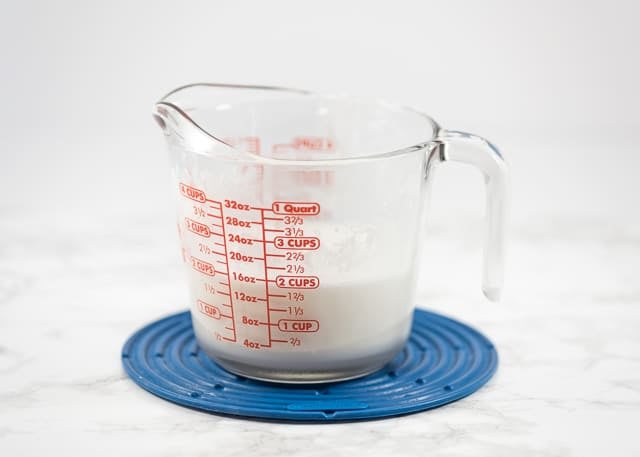
Allow your melted soap to cool for a few minutes. It should form a “skin” on top. I like to stir it after a skin has formed and then let it cool for a few additional minutes.
Stir in honey and essential oils. Mix thoroughly.
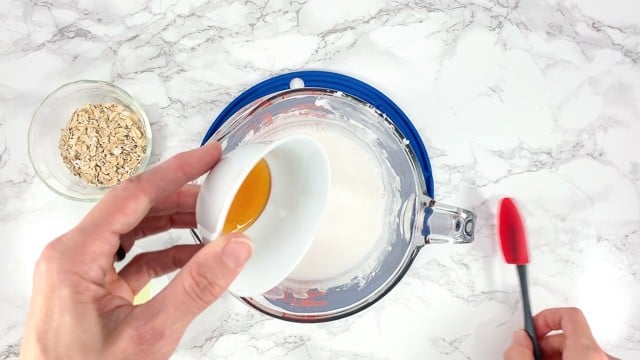
Pockets of honey may become sticky blobs on the finished soap, so make sure it’s completely mixed in!
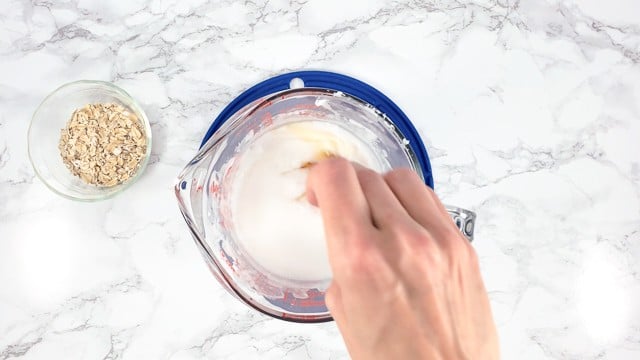
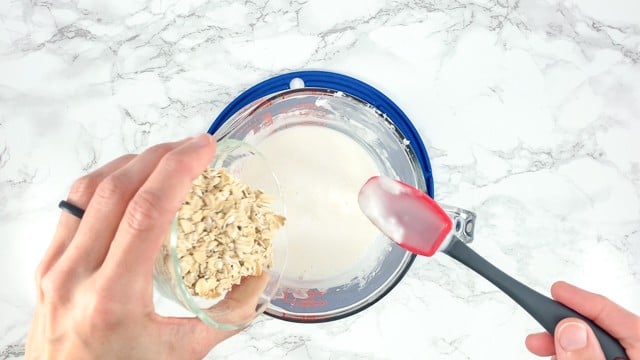
Add your oats and stir throughly to combine. If your soap is too hot when you add the oats, they will all sink to the bottom. If you see your oats sinking, allow the soap to cool more then stir again to reincorporate the oats.
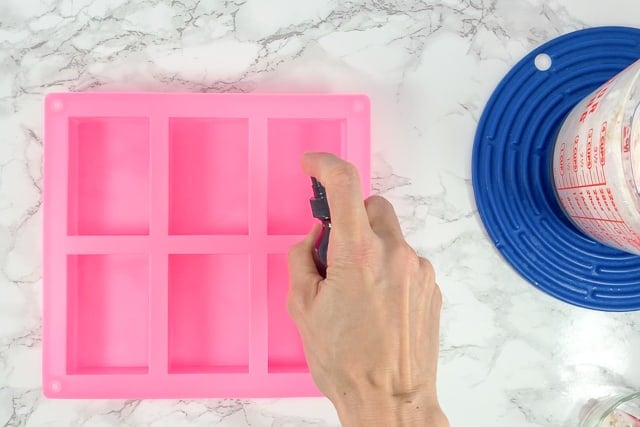
Spritz your soap mold with rubbing alcohol. This helps prevent unsightly bubbles from forming. If you will need to move your soap before it's cool, place the mold on a tray, cookie sheet, or something else rigid.
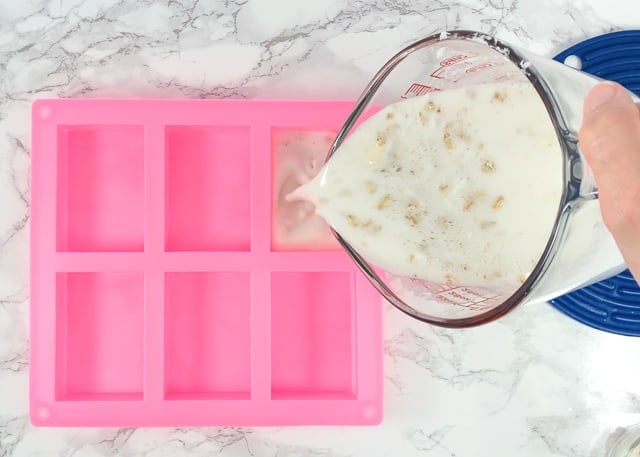
Pour your soap into the mold cavities.
Spritz the soap with rubbing alcohol again to prevent bubbles.
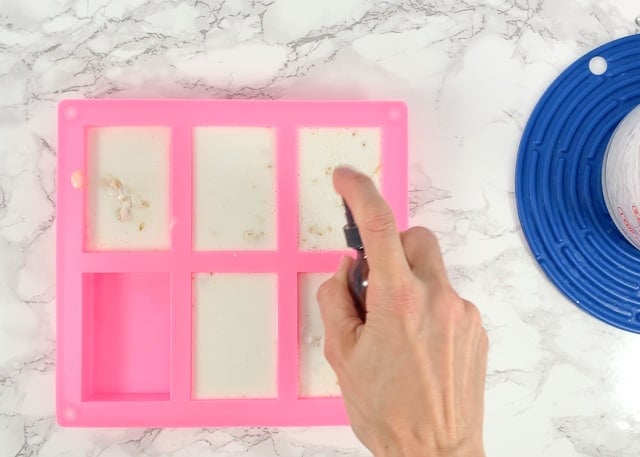
Allow the soap to cool fully, undisturbed. I like to leave it overnight to be safe! You can speed up the cooling process by placing it in the oven or freezer, but be careful. Disturbing the soap when it's partially cooled can cause ripples, lumps, and cracks.
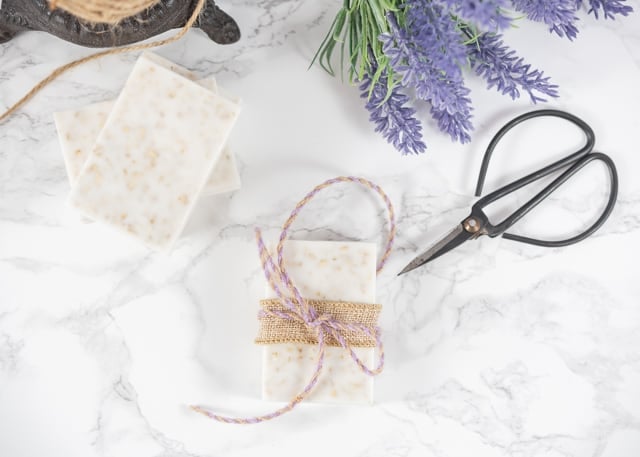
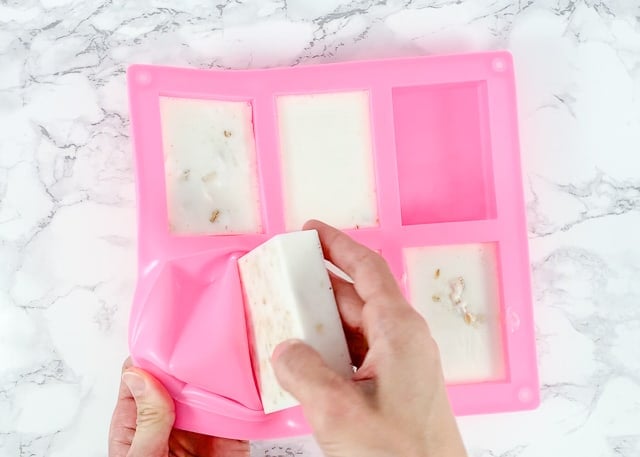
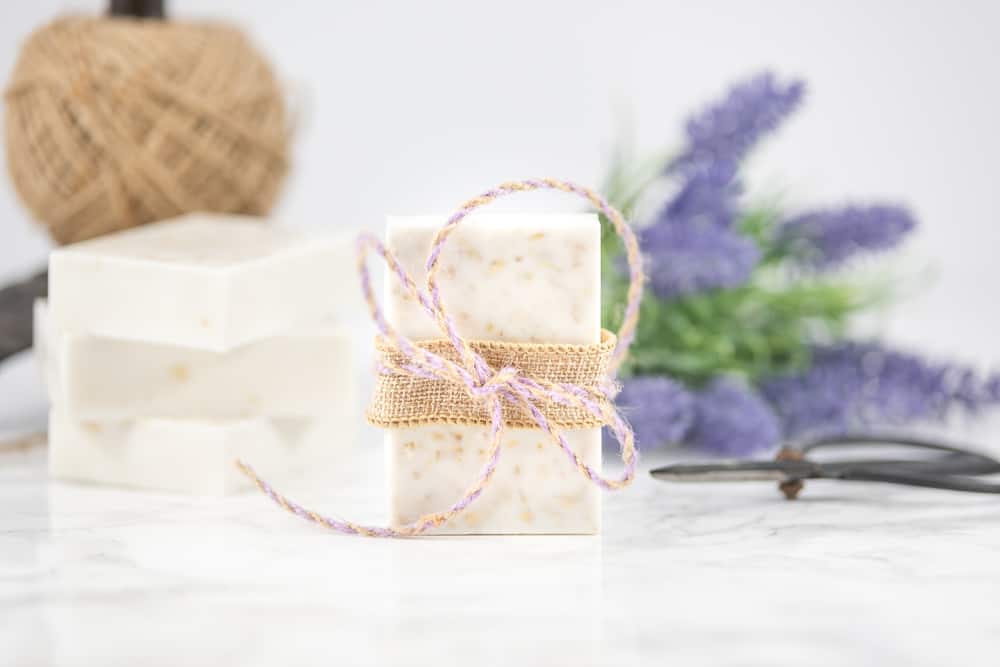
Unmold your soap and enjoy! It's ready to use for give as a gift!
Oatmeal Honey Soap Recipe
This oatmeal soap with honey is easy to make using a melt and pour soap base!
Materials
- 1 lb melt and pour soap base
- ¼ cup old fashioned oats (approximately 38 grams/1 ounce by weight)
- 2 teaspoons honey (approximately 28 grams/1 ounce by weight)
- 30 drops (1 gram) essential oils
Tools
- A spritz bottle with rubbing alcohol
- Silicone soap mold
- Large, microwave safe bowl or measuring cup
- Small silicone spatula
- Measuring spoons/cups
- Food processor, blender, or spice grinder
Instructions
Pulse your oats in a food processor, blender, or spice grinder to grind them roughly. You don’t need a uniform fine powder – a few larger pieces are fine!
Cut your soap base into chunks and place the pieces in your bowl or measuring cup. If you don’t have a large enough bowl/cup that can go in the microwave, you can melt the soap in batches and transfer it from a smaller, microwave safe container into a larger bowl.
Microwave the soap pieces for 30 seconds. Stir and return the microwave. Heat in 10 second increments, stirring as needed, until the soap base melts. You can also make a double boiler and melt your soap base on the stove if you don’t want to use the microwave.
Allow your melted soap to cool for a few minutes. It should form a “skin” on top. I like to stir it after a skin has formed and then let it cool for a few additional minutes.
Stir in honey and essential oils. Mix thoroughly.
Add your oats and stir throughly to combine. If your soap is too hot when you add the oats, they will all sink to the bottom. If you see your oats sinking, allow the soap to cool more then stir again to reincorporate the oats.
Spritz your soap mold with rubbing alcohol. This helps prevent unsightly bubbles from forming. If you will need to move your soap before it’s cool, place the mold on a tray, cookie sheet, or something else rigid.
Pour your soap into the mold cavities. Spritz the soap with rubbing alcohol again to prevent bubbles.

Unmold your soap and enjoy! It’s ready to use for give as a gift!


Susan
What is the best way to package my soap. Plastic wrap or tissue paper?
Natasha
People usually wrap soap in plastic wrap or place it in cello bags.