
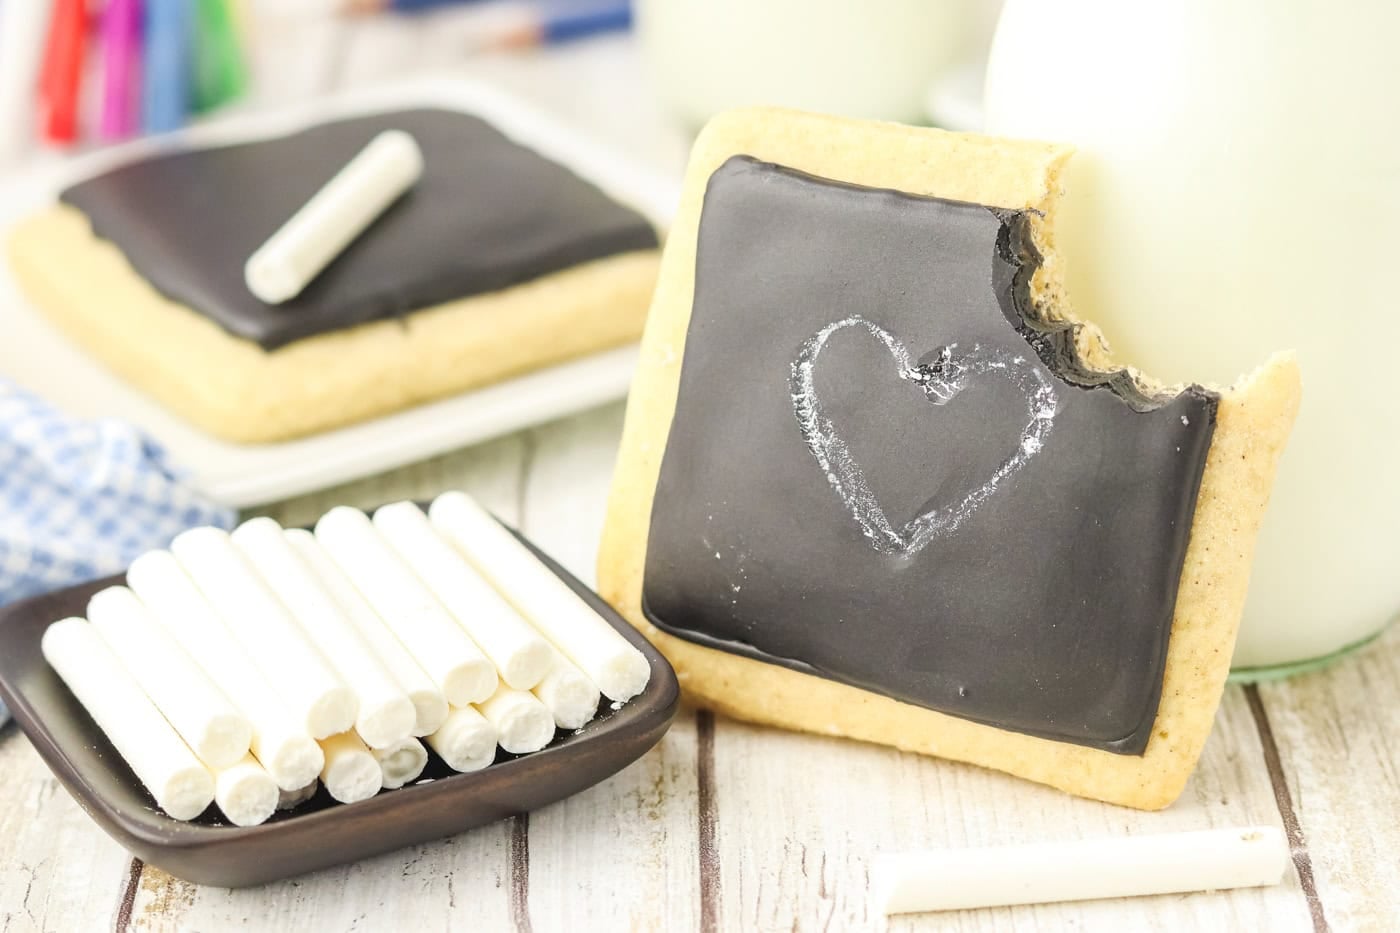
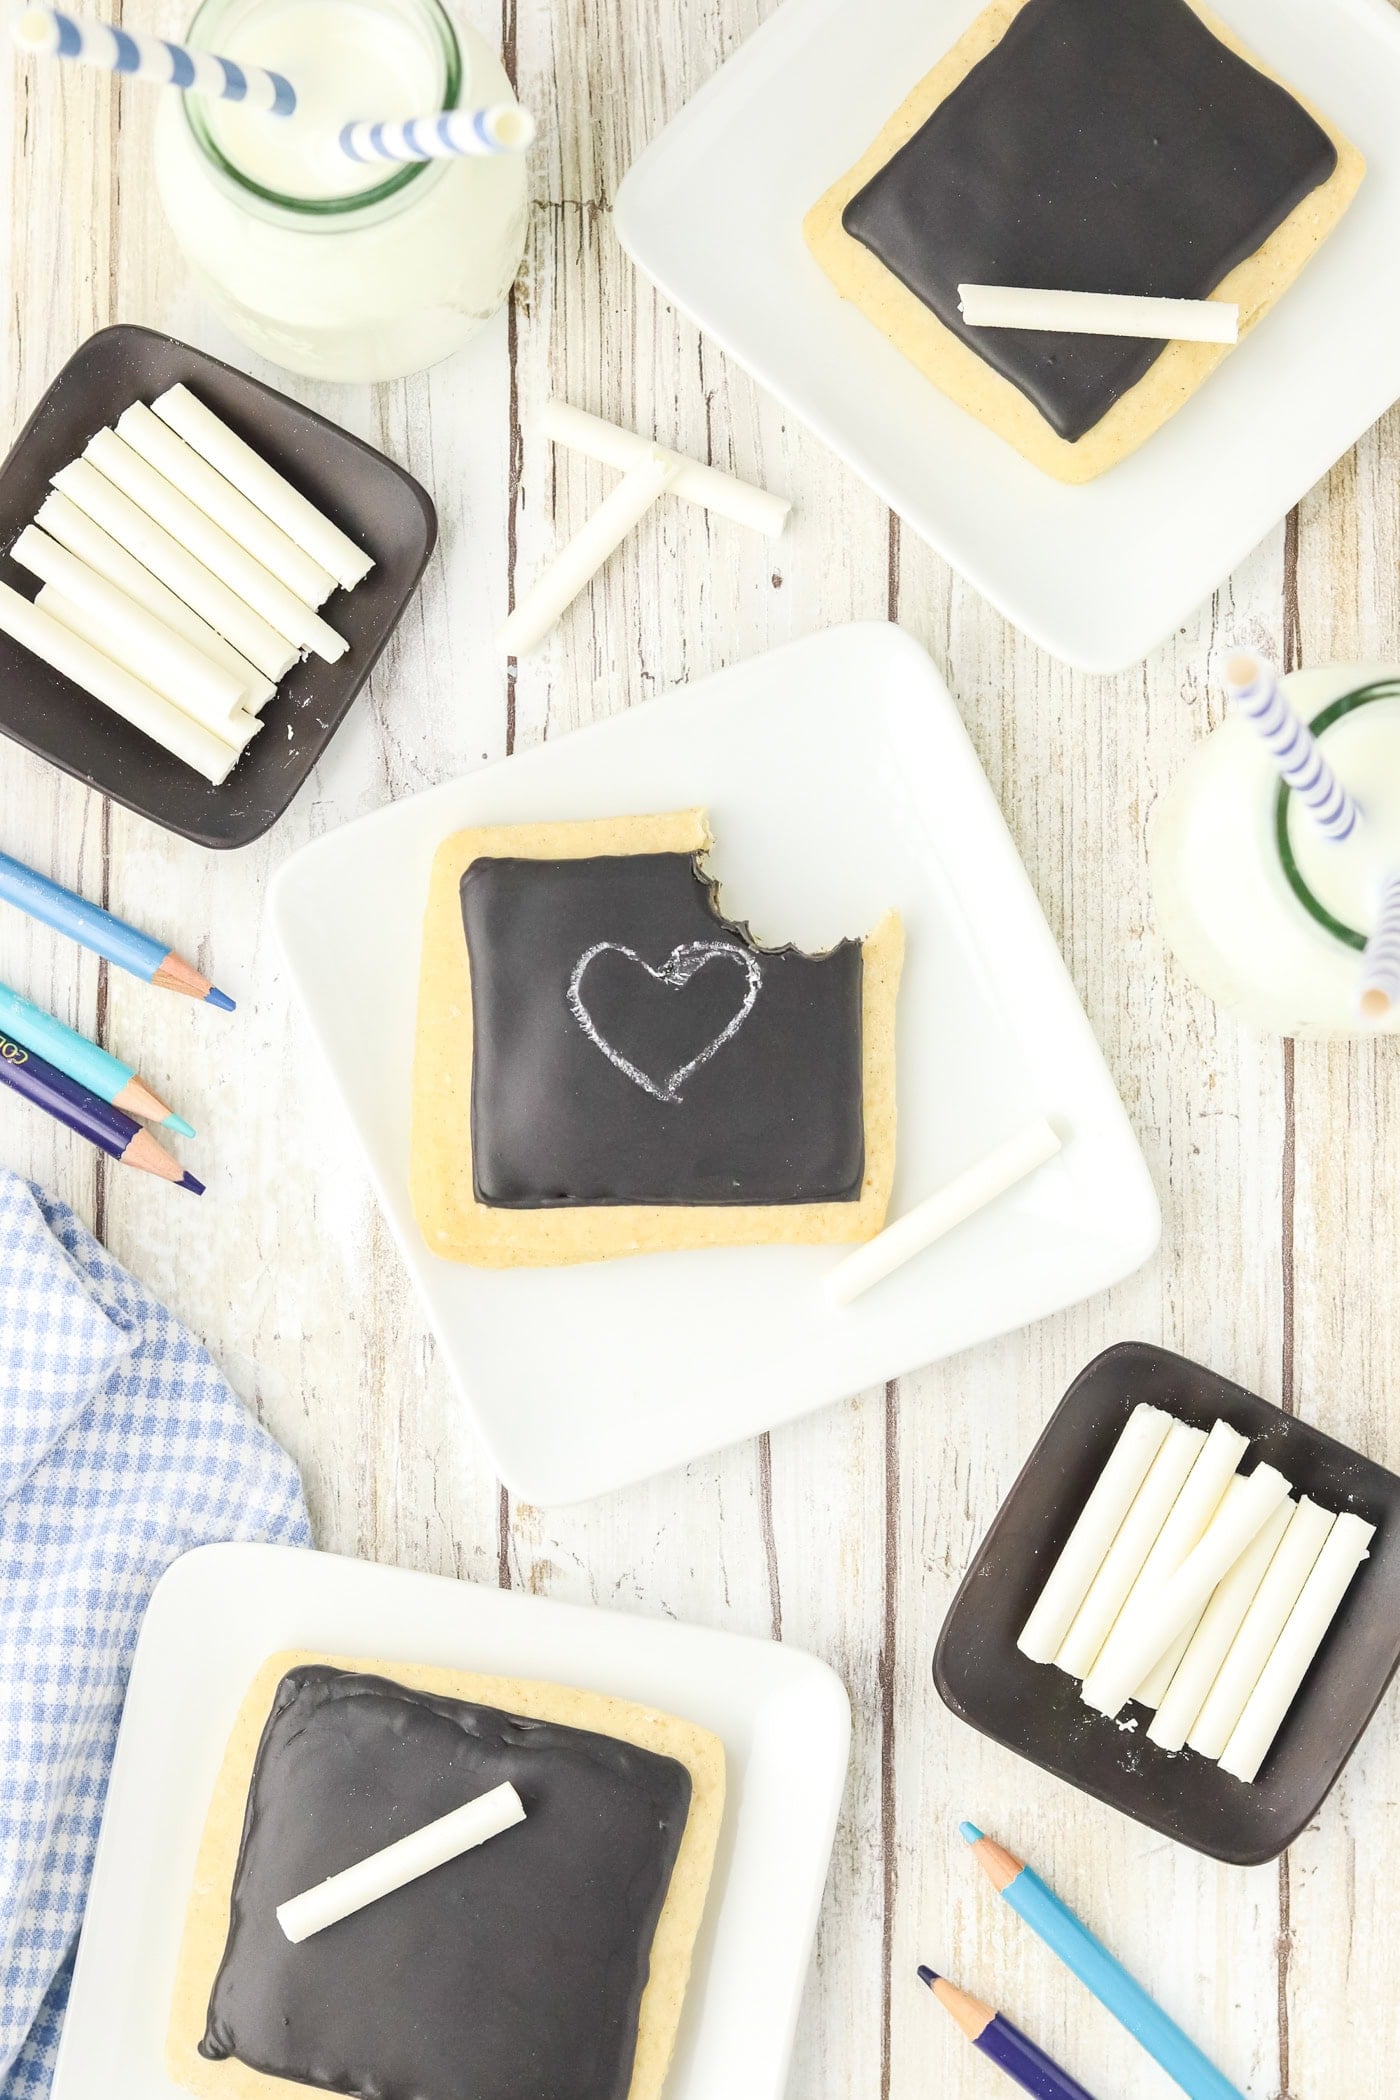
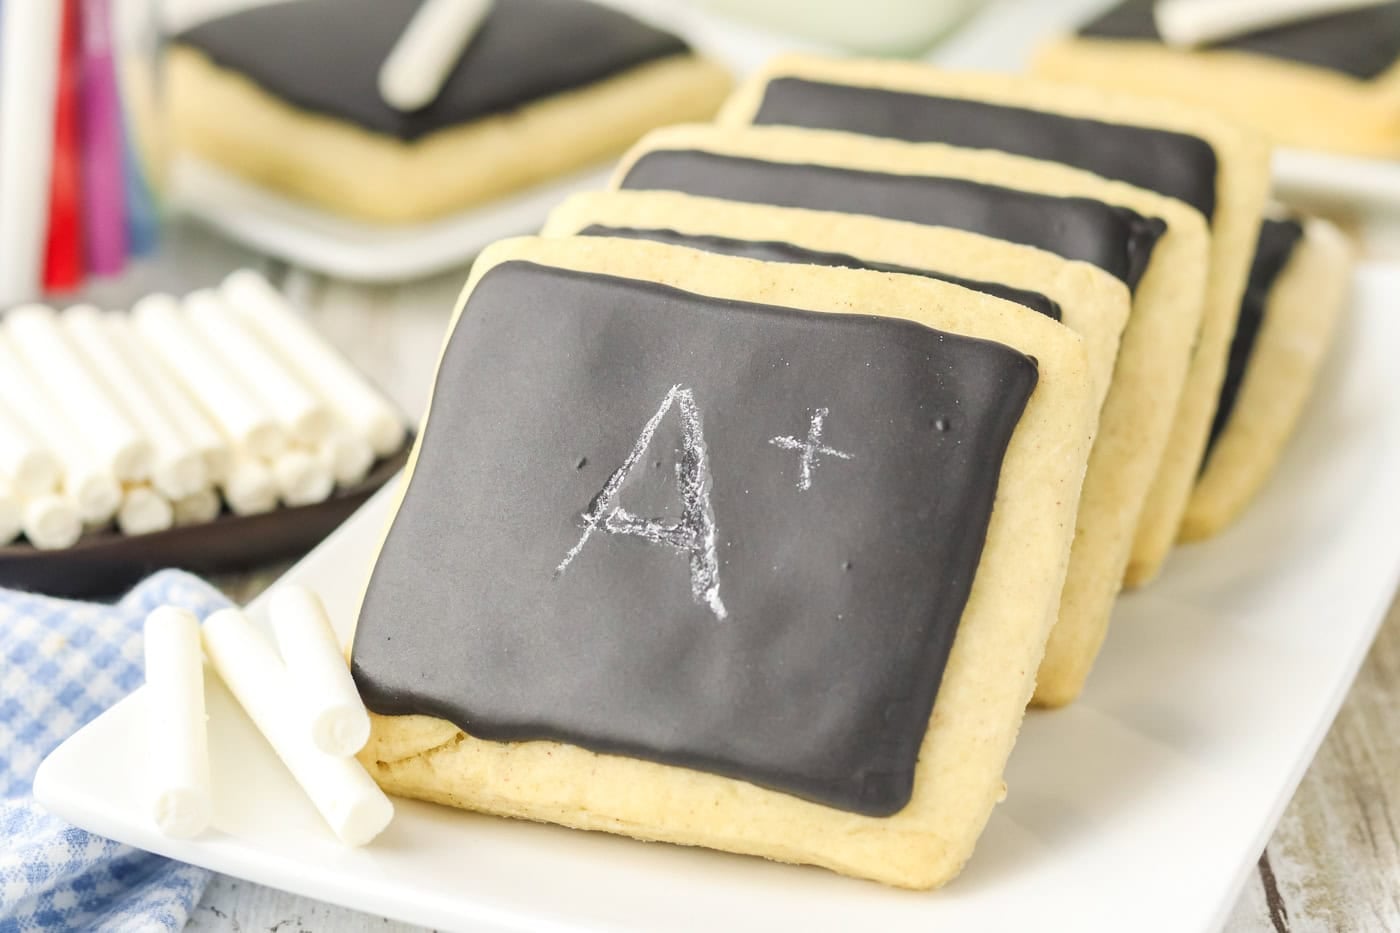
These chalkboard sugar cookies with edible chalk icing are so cute for back to school, Teacher Appreciation Week, or anytime fun! You can also use them as an edible craft at a birthday party or for a special get together.
Instead of piping the white icing onto the cookie, this recipe shows you how to make your own edible “chalk” that your child or students can use to draw on their cookie!
The sugar cookies are so tasty and hold up well to decorating, so you can use the same cookie dough to make any shape of sugar cookie you’d like and decorate to your heart’s content.
Tools and Ingredients needed for chalkboard sugar cookies
This post may include affiliate links which means I may earn a commission on qualifying purchases at no additional cost to you.
Royal icing sugar cookies are less scary than they seem. These chalkboard cookies are especially forgiving. I hope you give them a try!
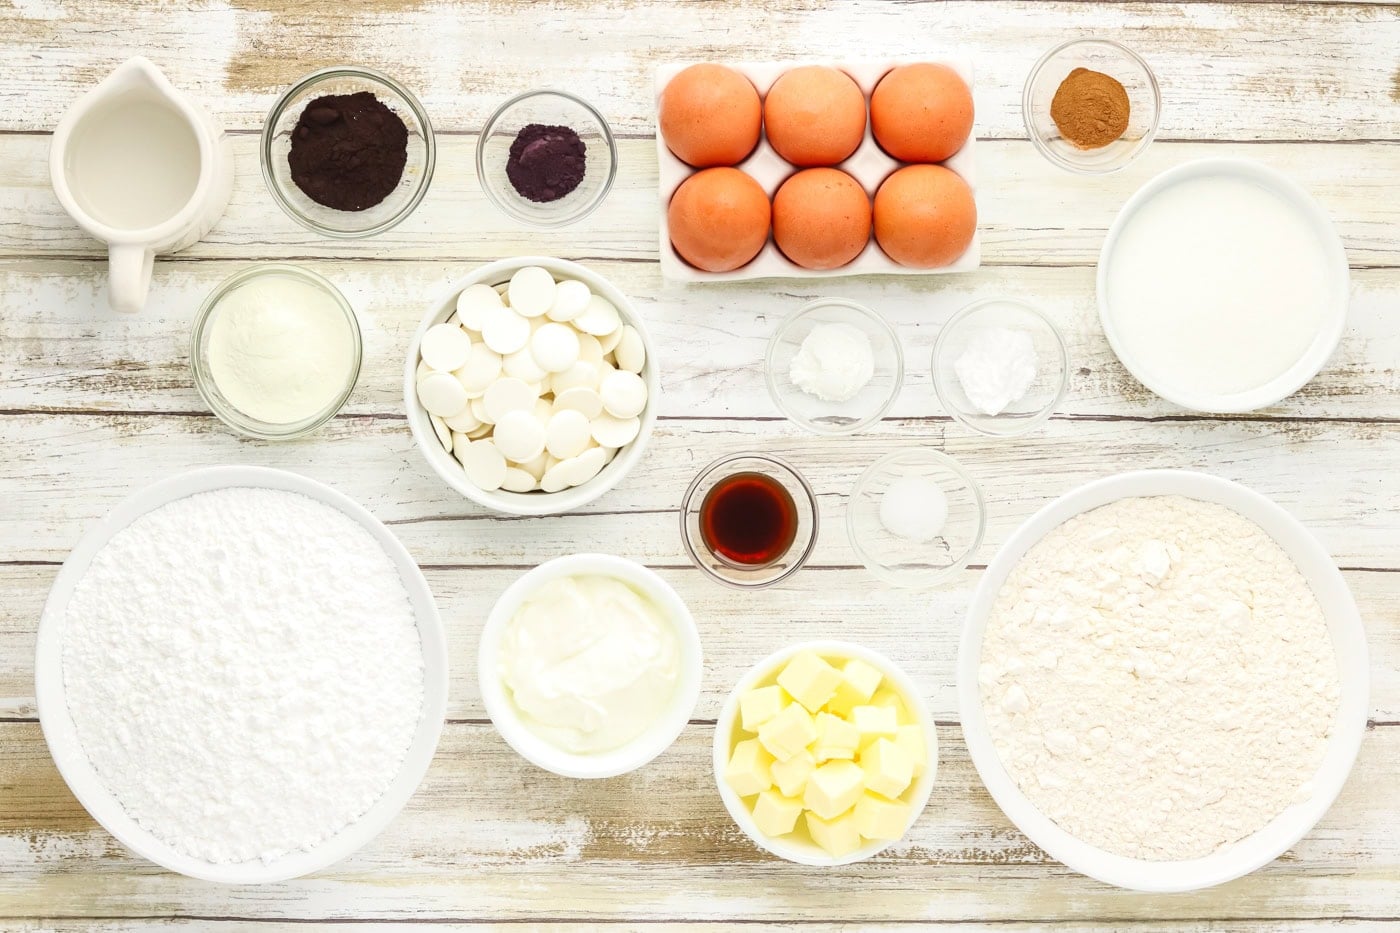
Sugar cookie ingredients
- all purpose flour
- ground cinnamon
- salt
- baking soda
- baking powder
- butter
- granulated sugar
- 1 egg
- vanilla extract
- sour cream or plain Greek yogurt
Black royal icing ingredients
- powdered sugar
- meringue powder
- black cocoa powder
- black powdered food coloring (recommended) or black gel food coloring
- warm water
Edible chalk ingredients
Tools Needed:
- medium mixing bowl
- stand mixer with paddle attachment (you can use a hand mixer, instead)
- plastic wrap
- rolling pin
- cookie cutter (You can use any shape you’d like but square or rectangular looks more chalkboard-like. You can also simply cut the dough if you don’t have a cookie cutter).
- This recipe shows a 3" square cookie cutter.
- cookie sheet. I use stainless instead of aluminum.
- parchment paper. I use If you Care brand because it’s not bleached or coated
- small, microwave safe mixing bowl or Pyrex mixing cup
- 2 x disposable piping bags (no tip needed). If you don’t have piping bags, you can use ziplock bags.
- plastic straws, clear work best
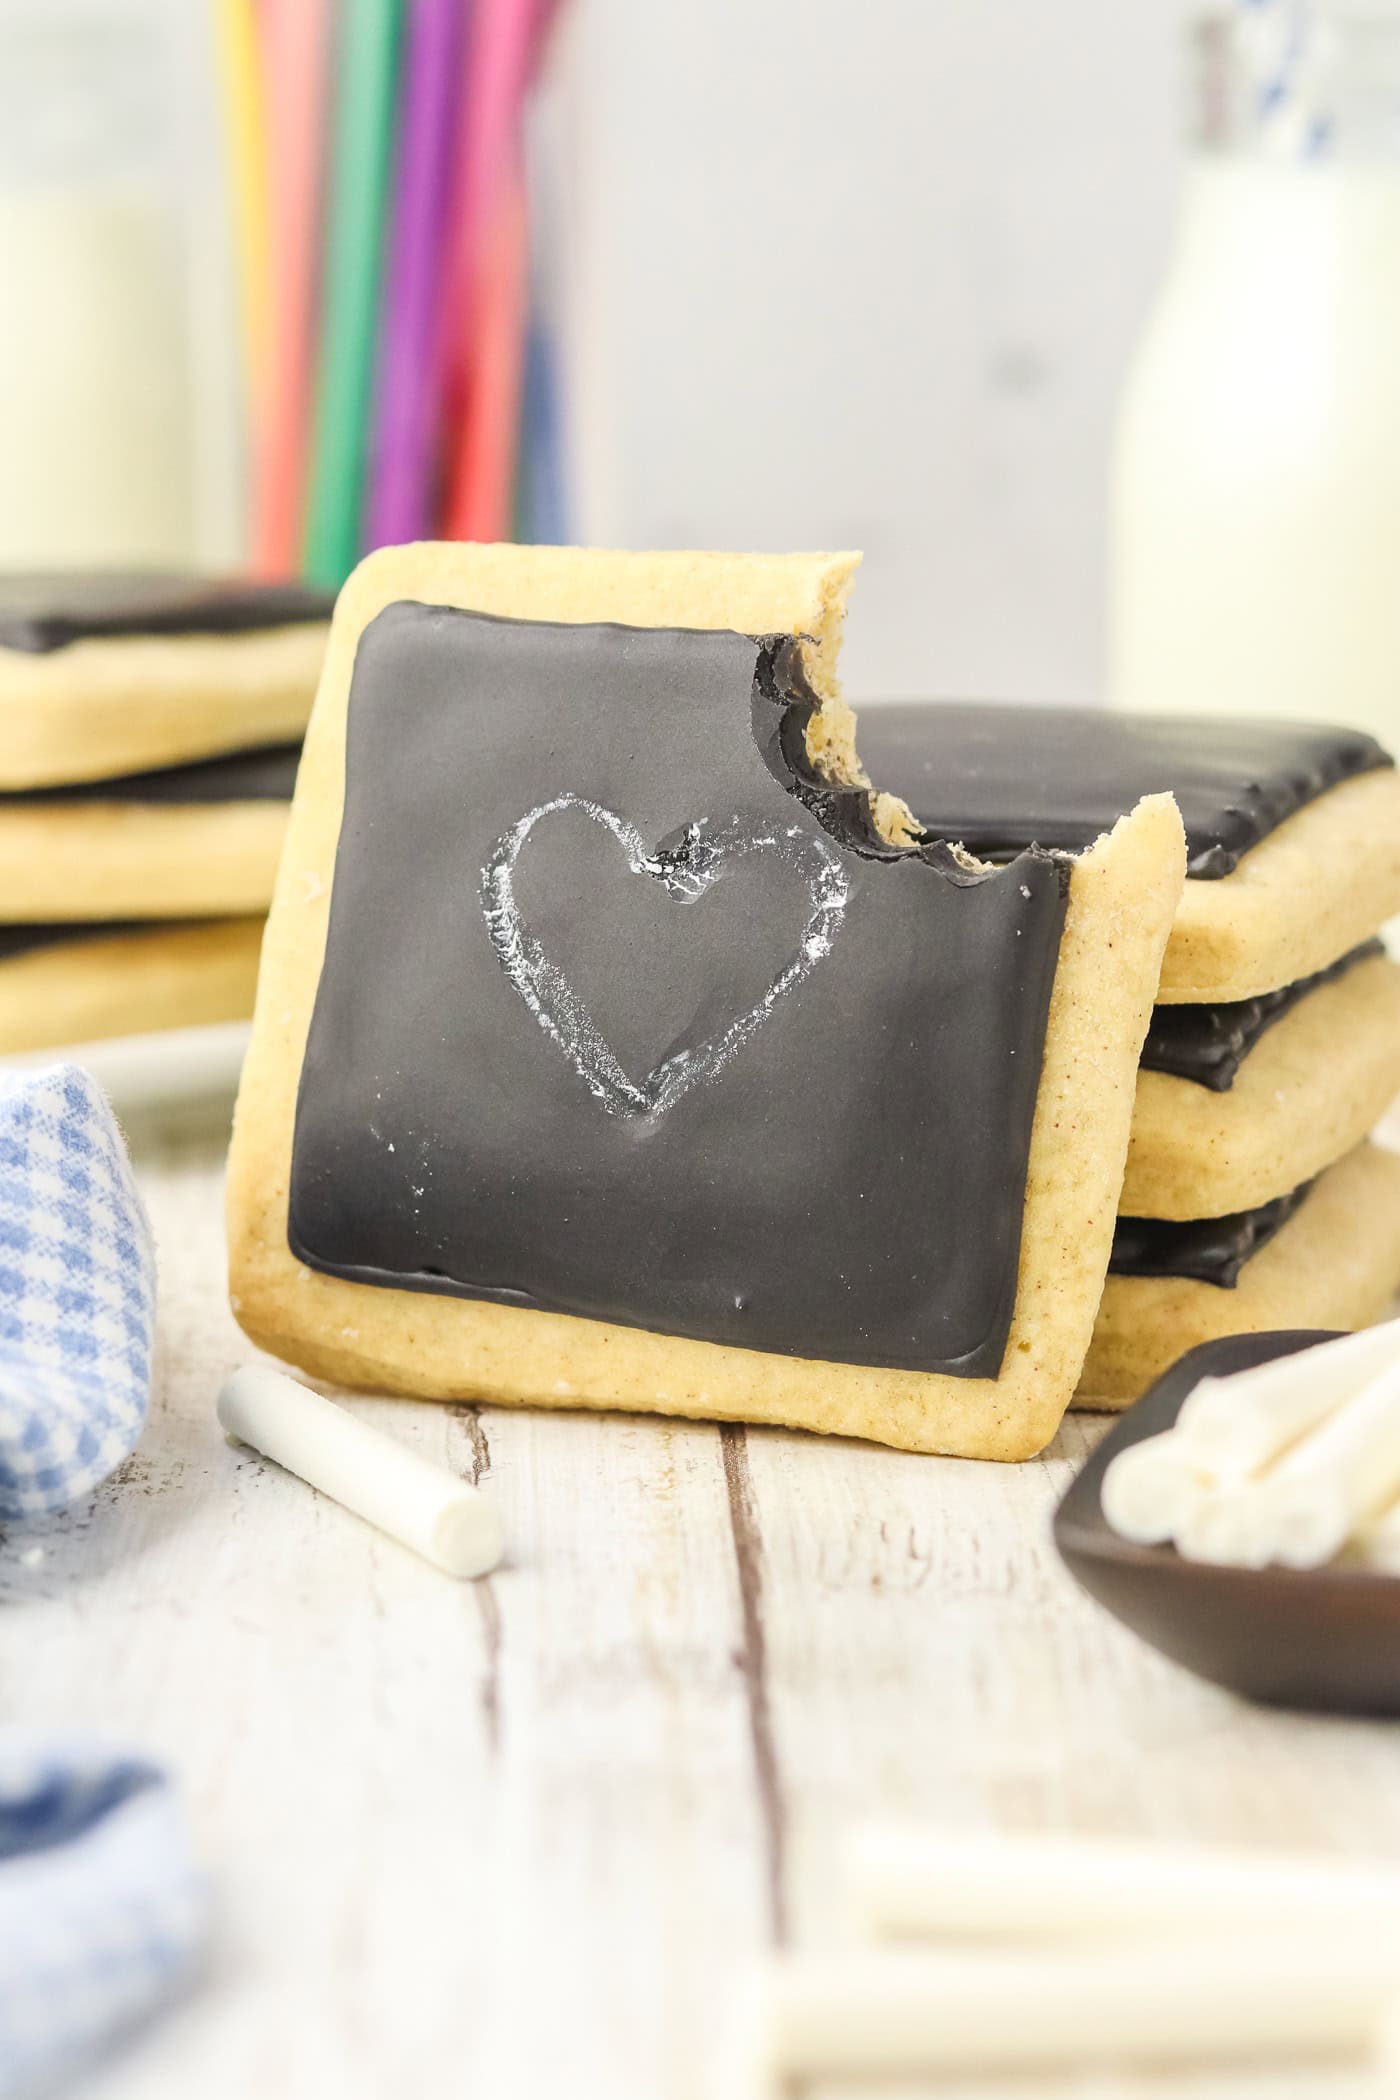
How to make chalkboard sugar cookies
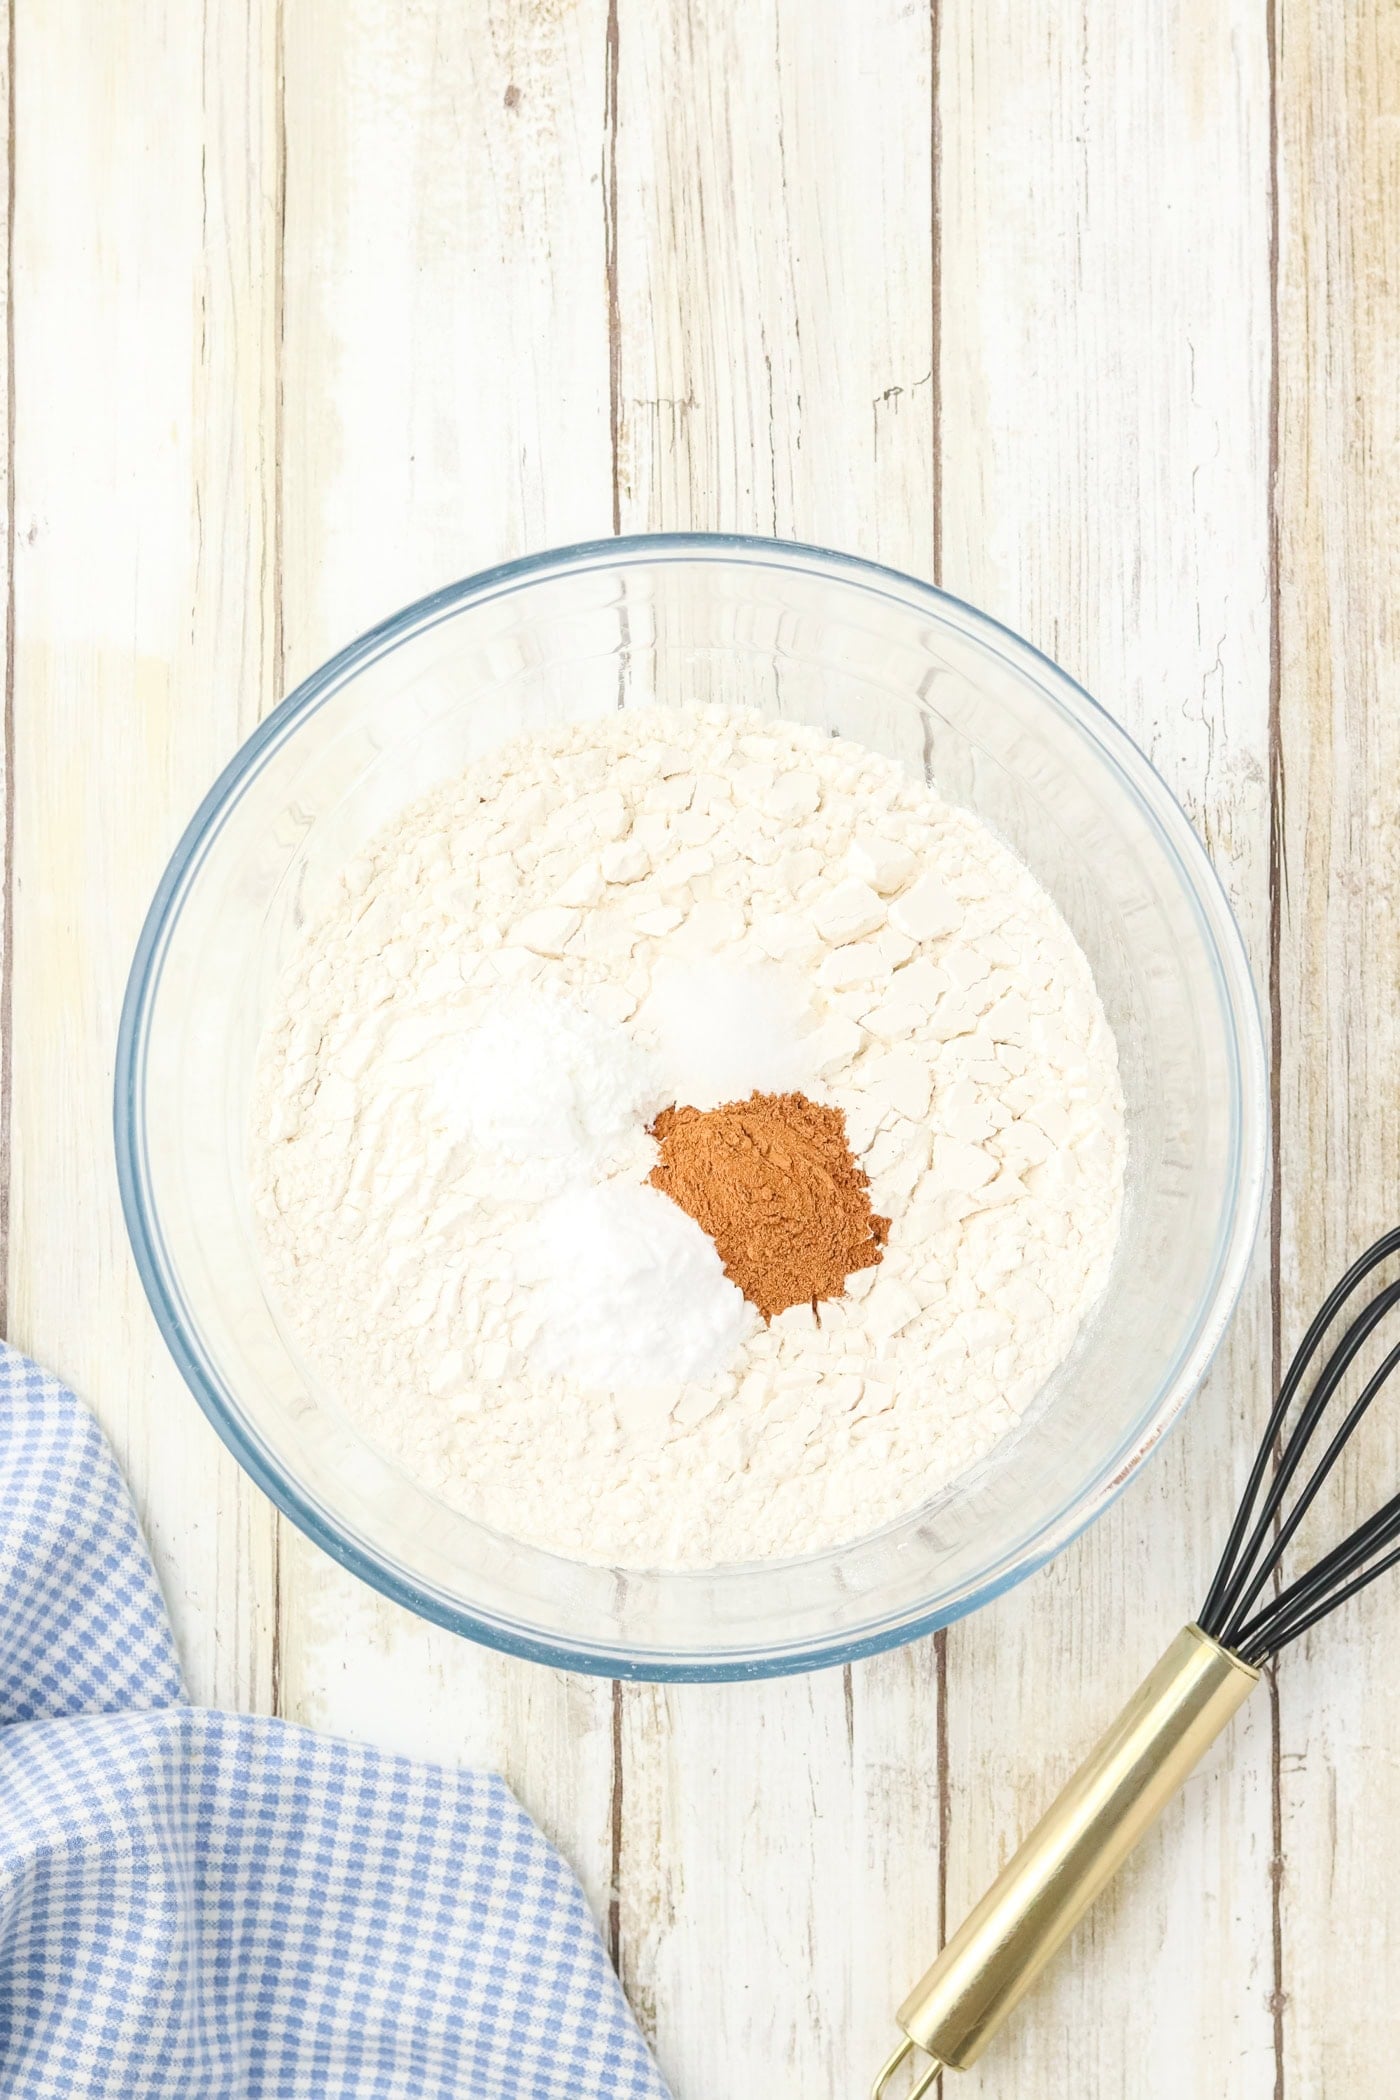
Like with almost any cookie recipe, you begin by whisking your dry ingredients together and setting them aside.
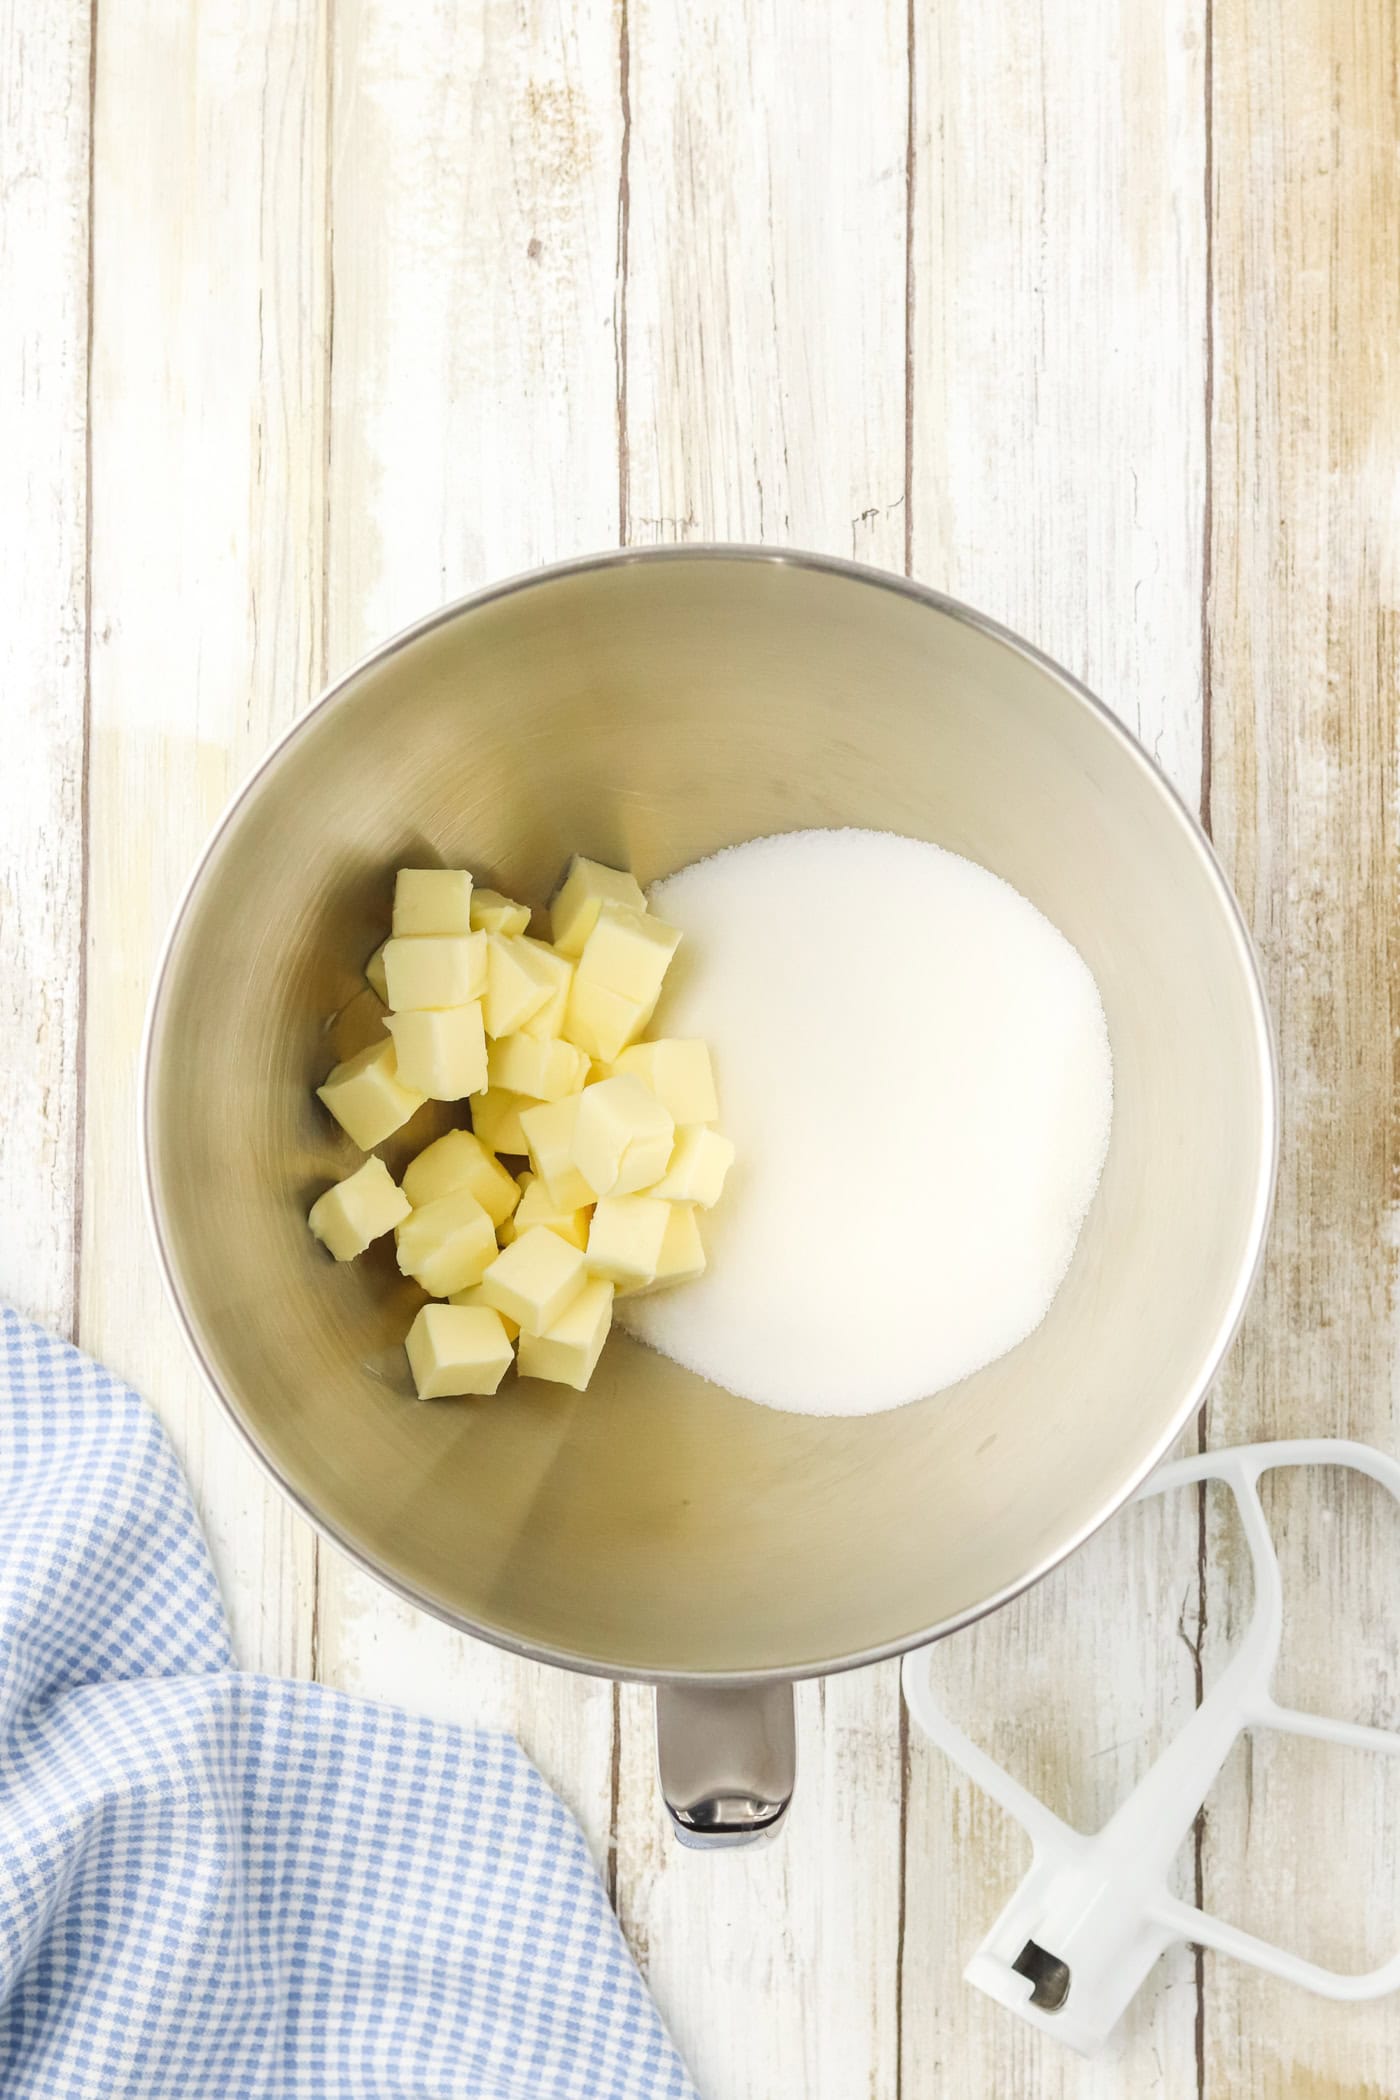
Use your stand mixer to cream the butter and sugar. You can also use a hadn’t mixer or a fork and a lot of arm power. You can’t get butter creamed quite the same by hand, but you can get it close enough. I don’t recommend it, though. It takes a long time!
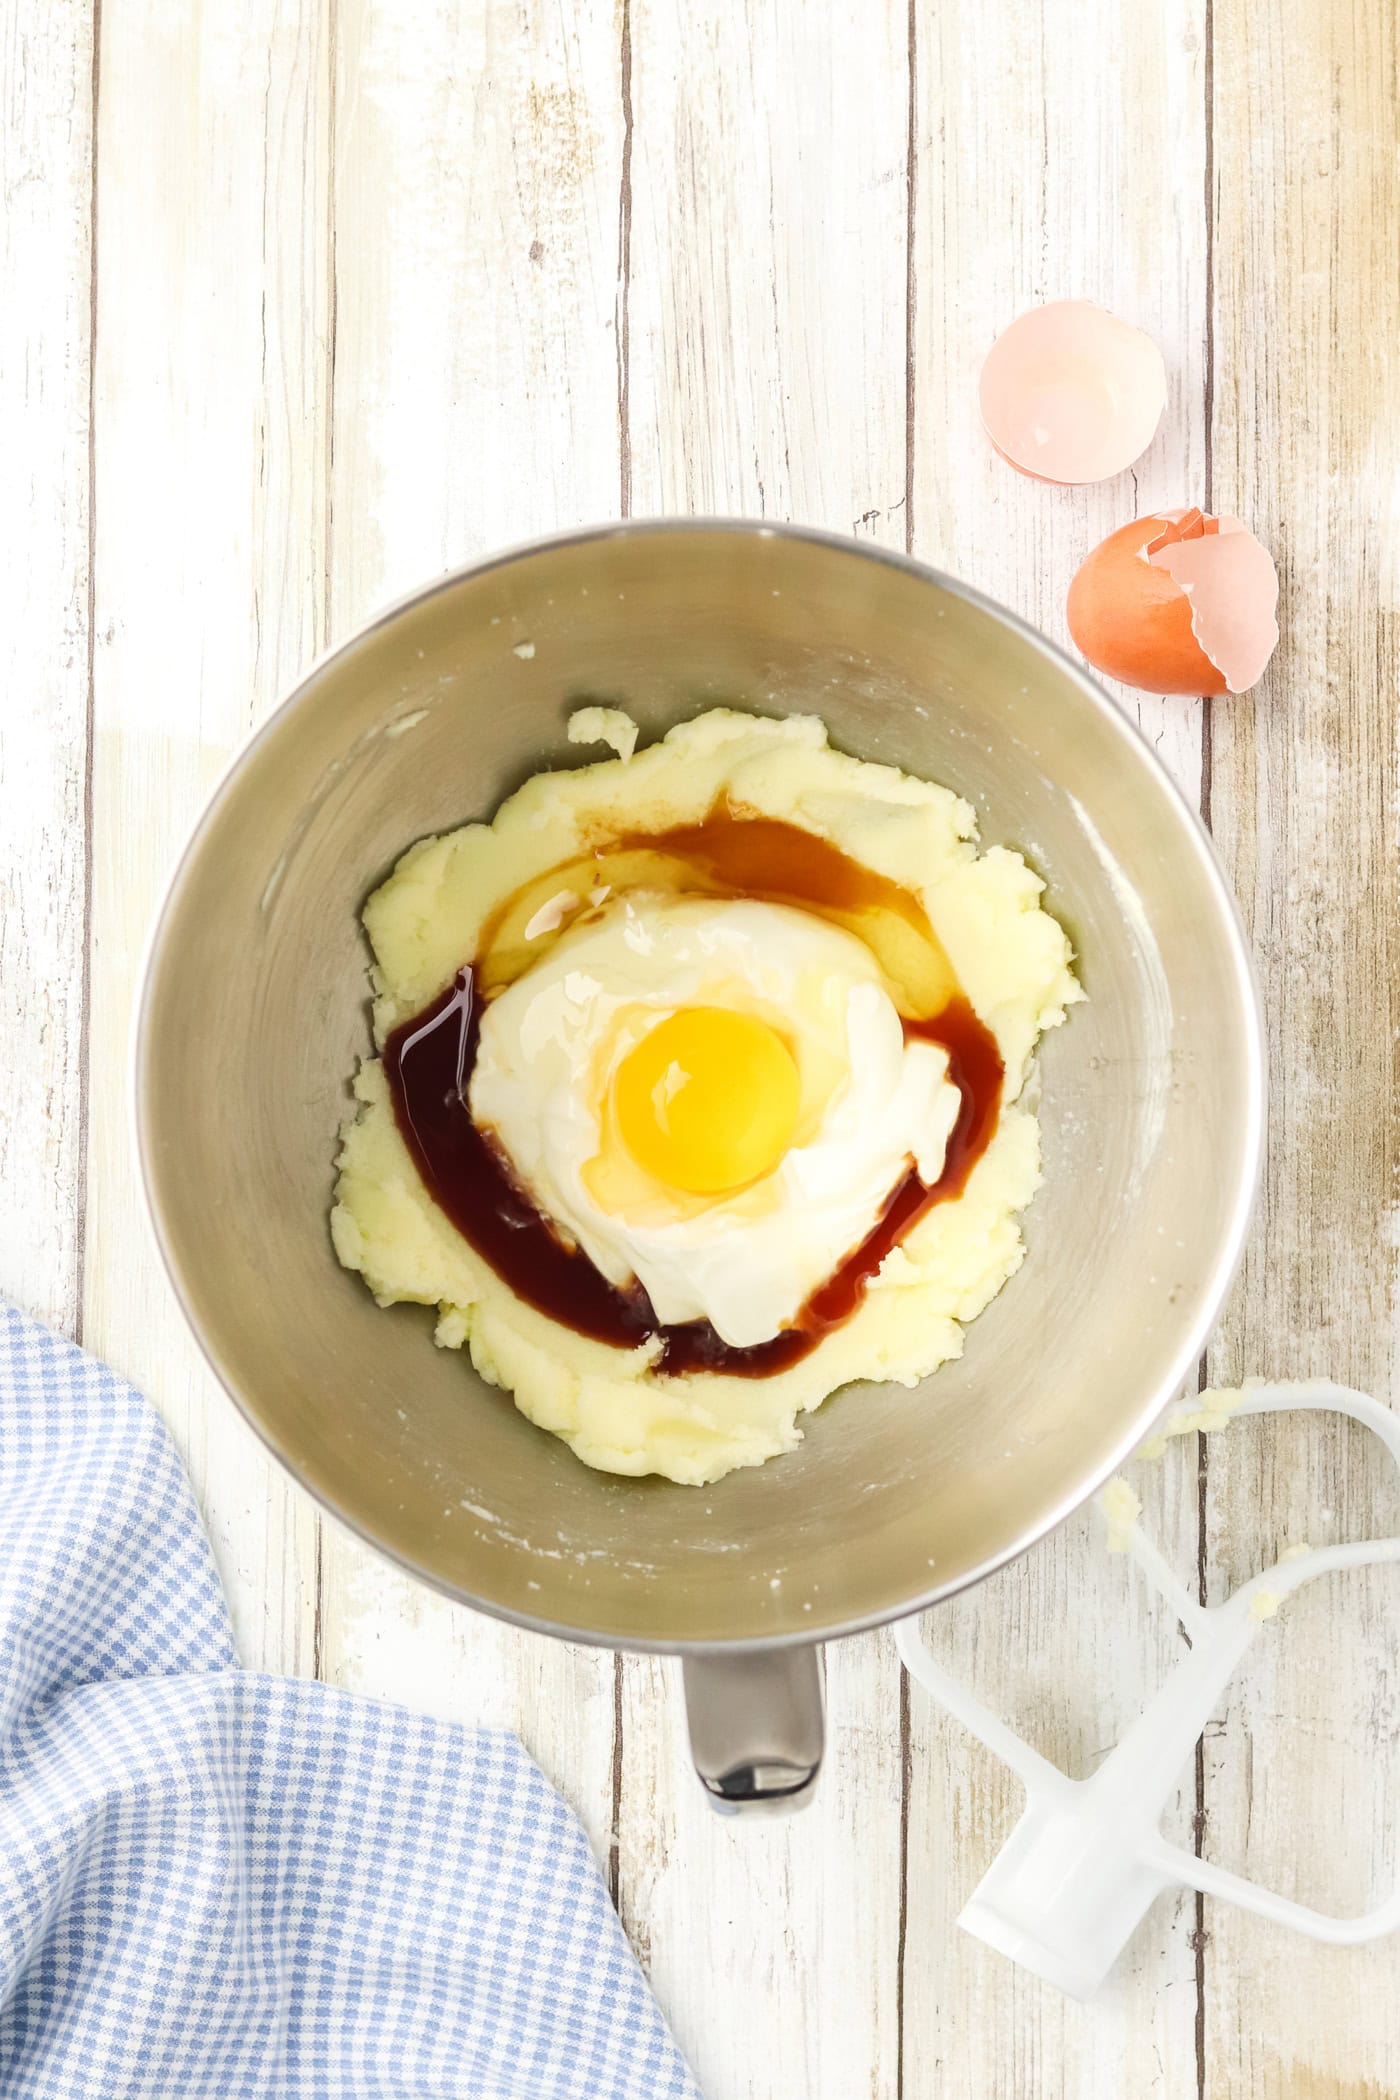
After your sugar is creamed, add your wet ingredients. I like to use yogurt instead of sour cream, but sour cream is “traditional” for sugar cookies.
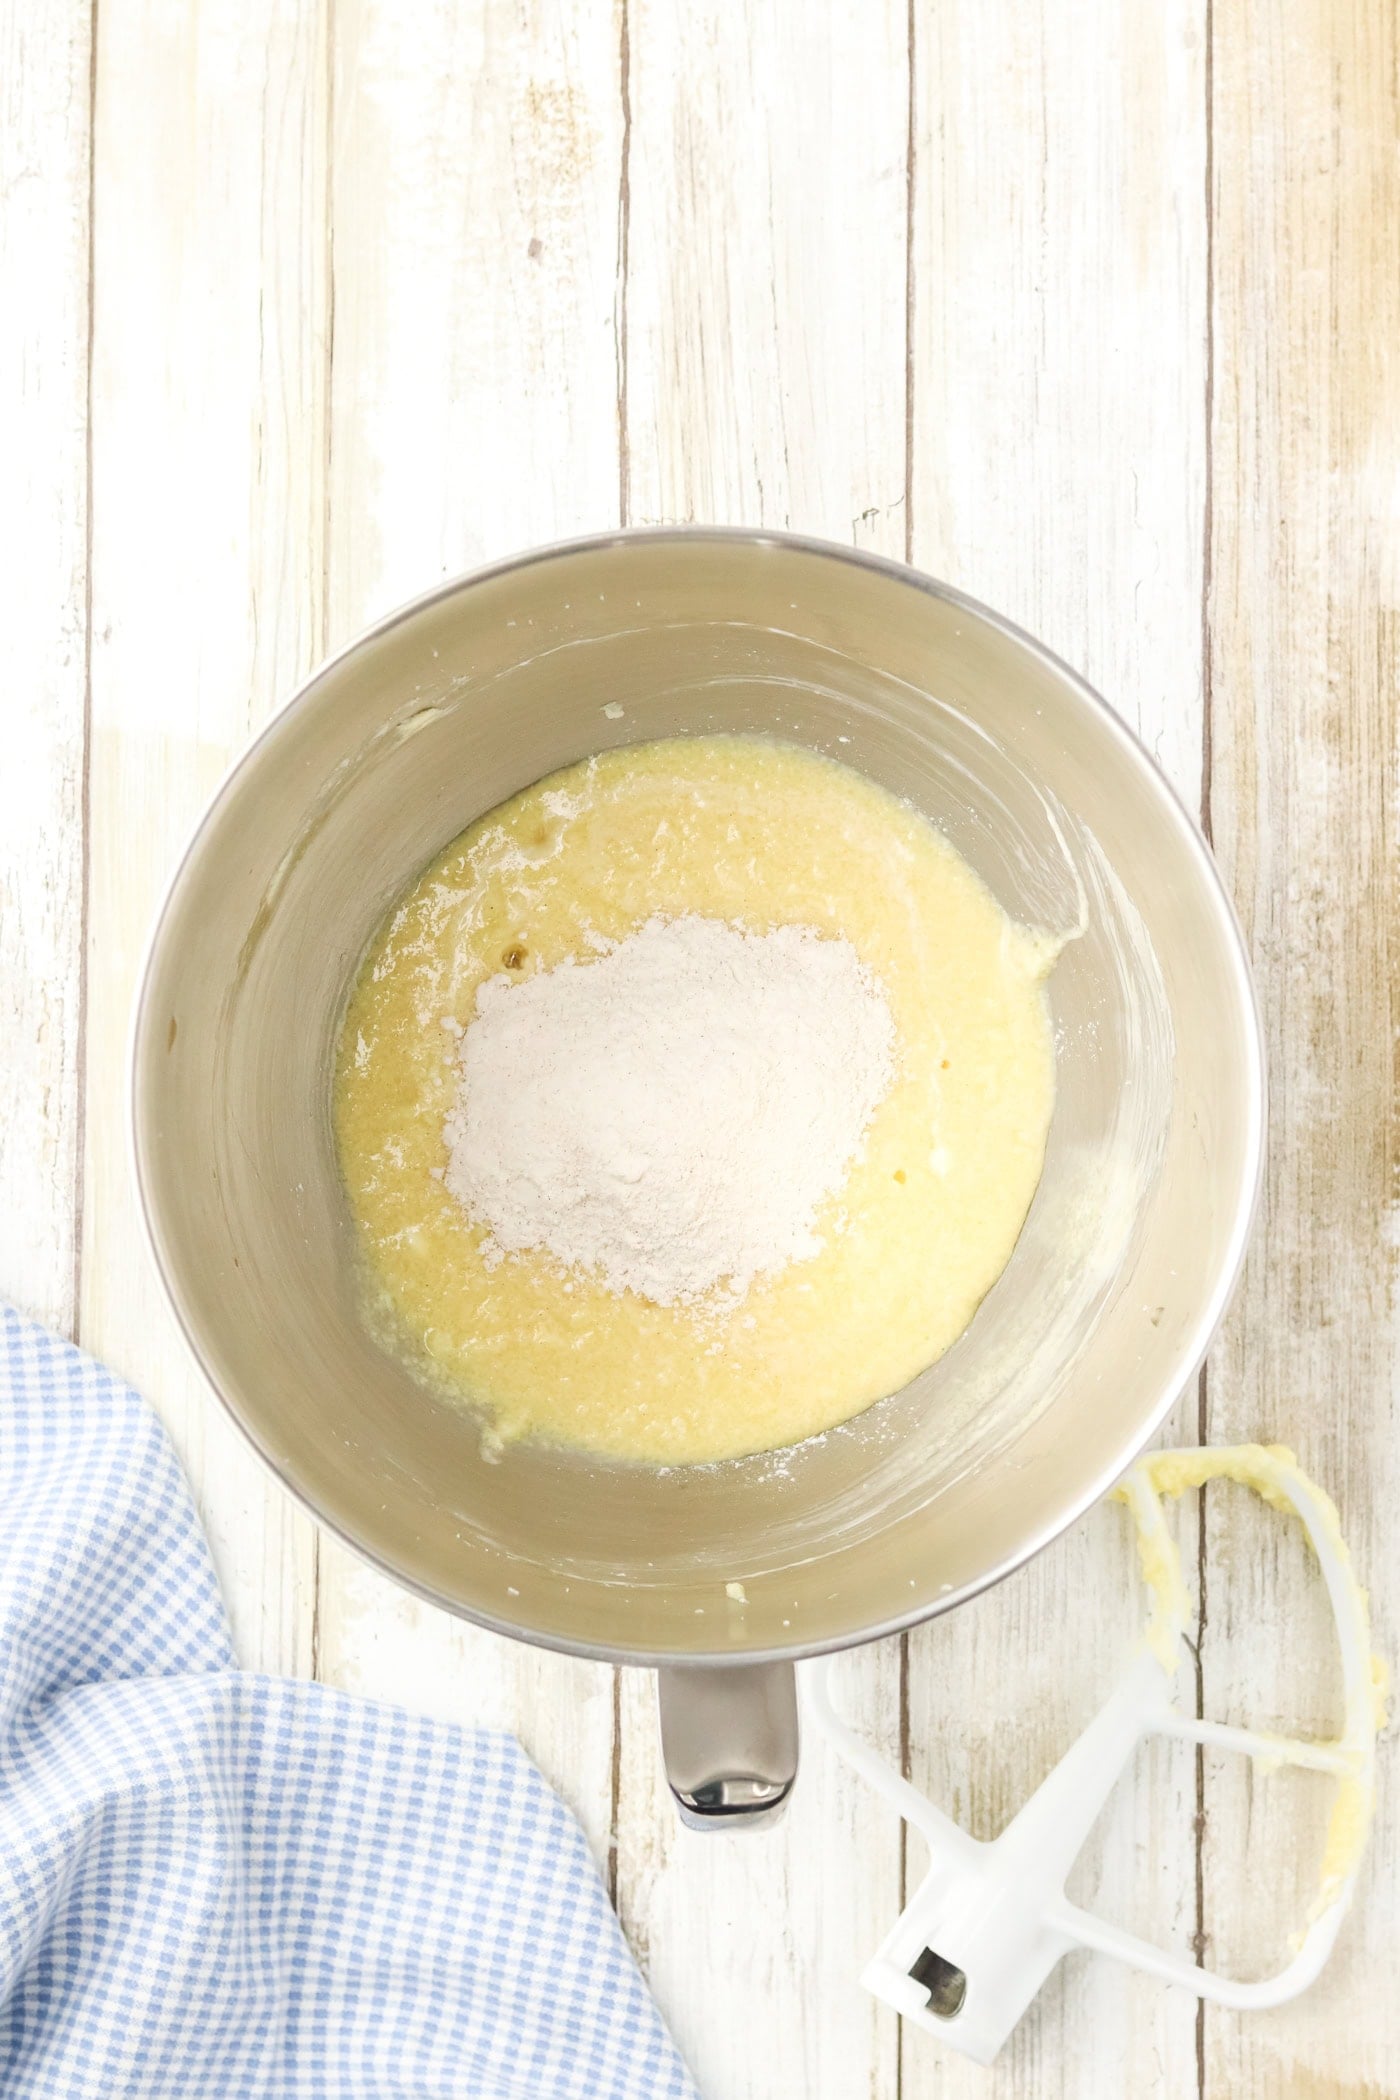
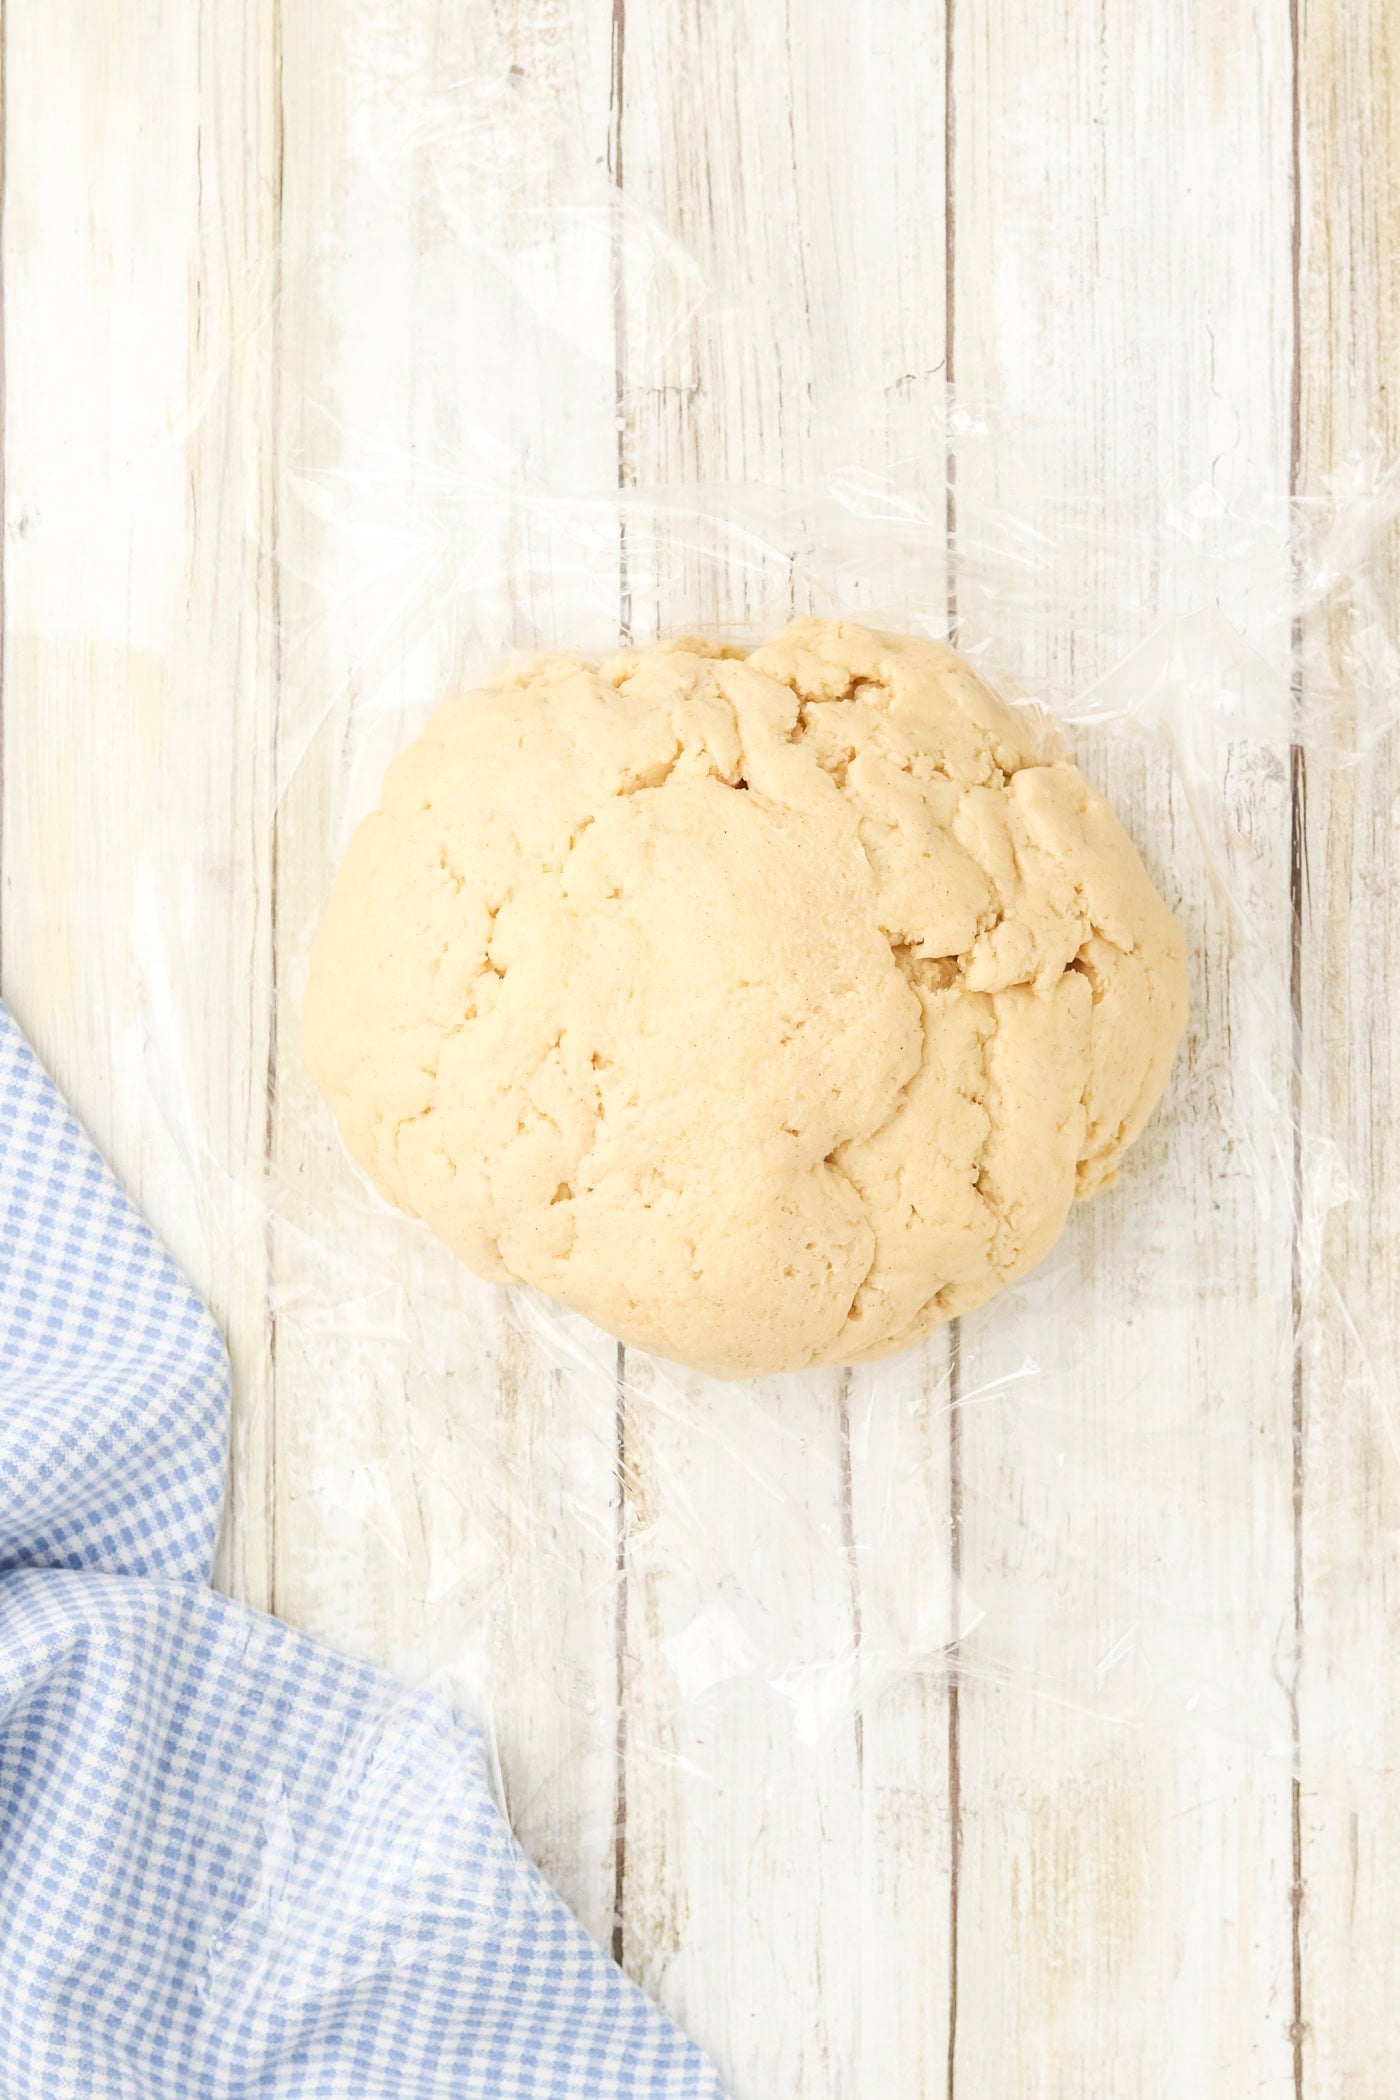
Wrap your dough in plastic and chill it for at least one hour. This is important!
Once your dough has chilled, preheat your oven to 350º F and line your baking sheet with parchment paper.
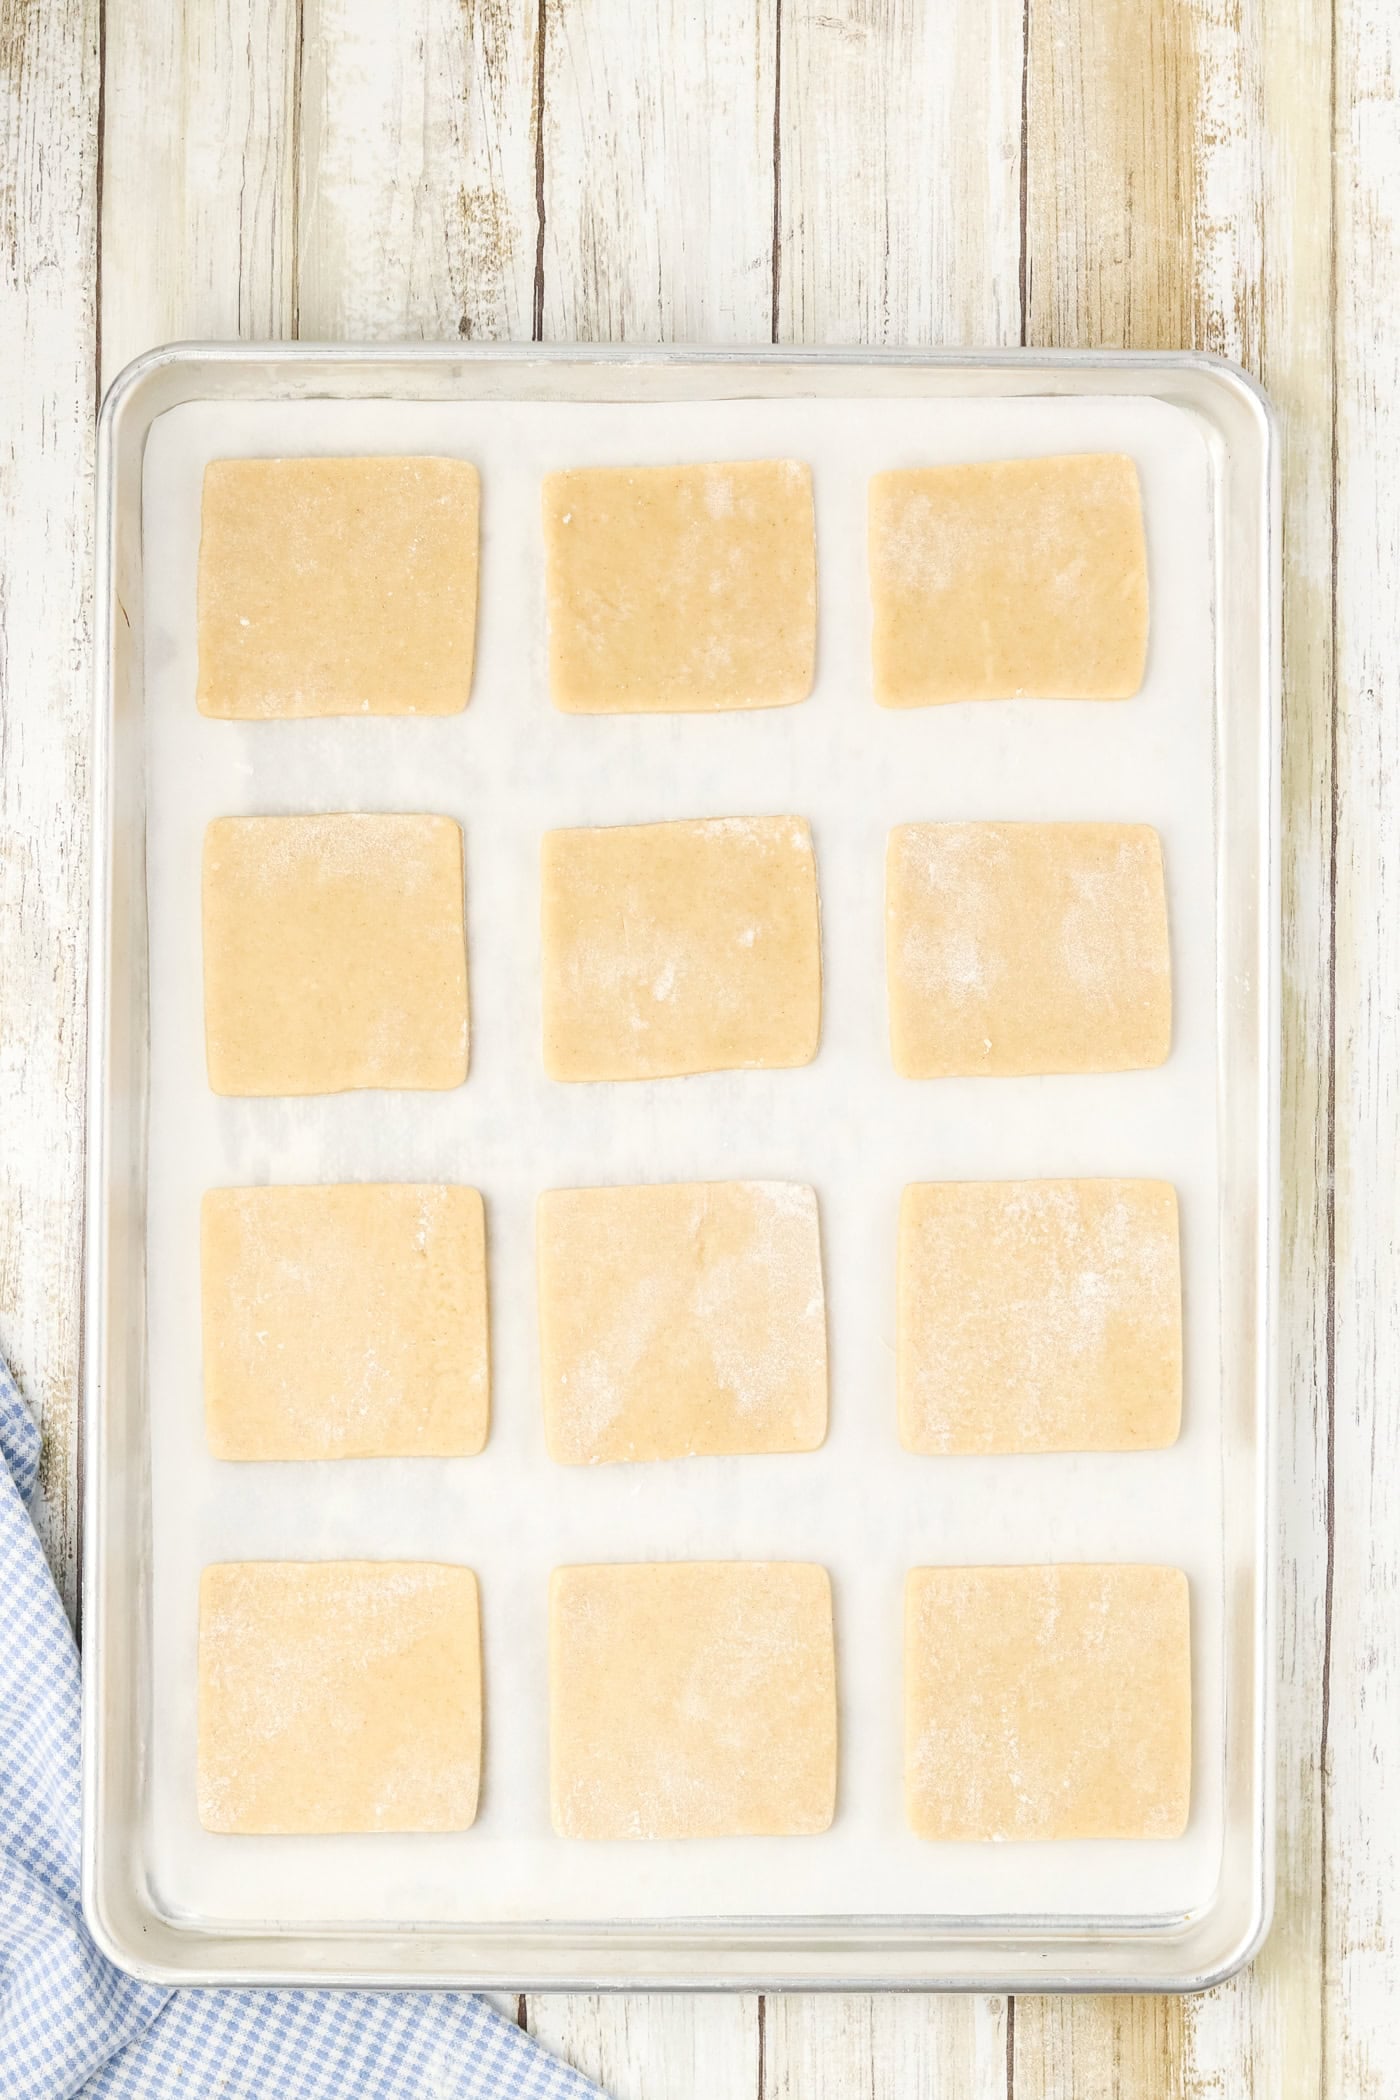
I use stainless baking sheets instead of aluminum. Nonstick baking sheets may alter the baking time slightly and I don’t personally use or recommend them.
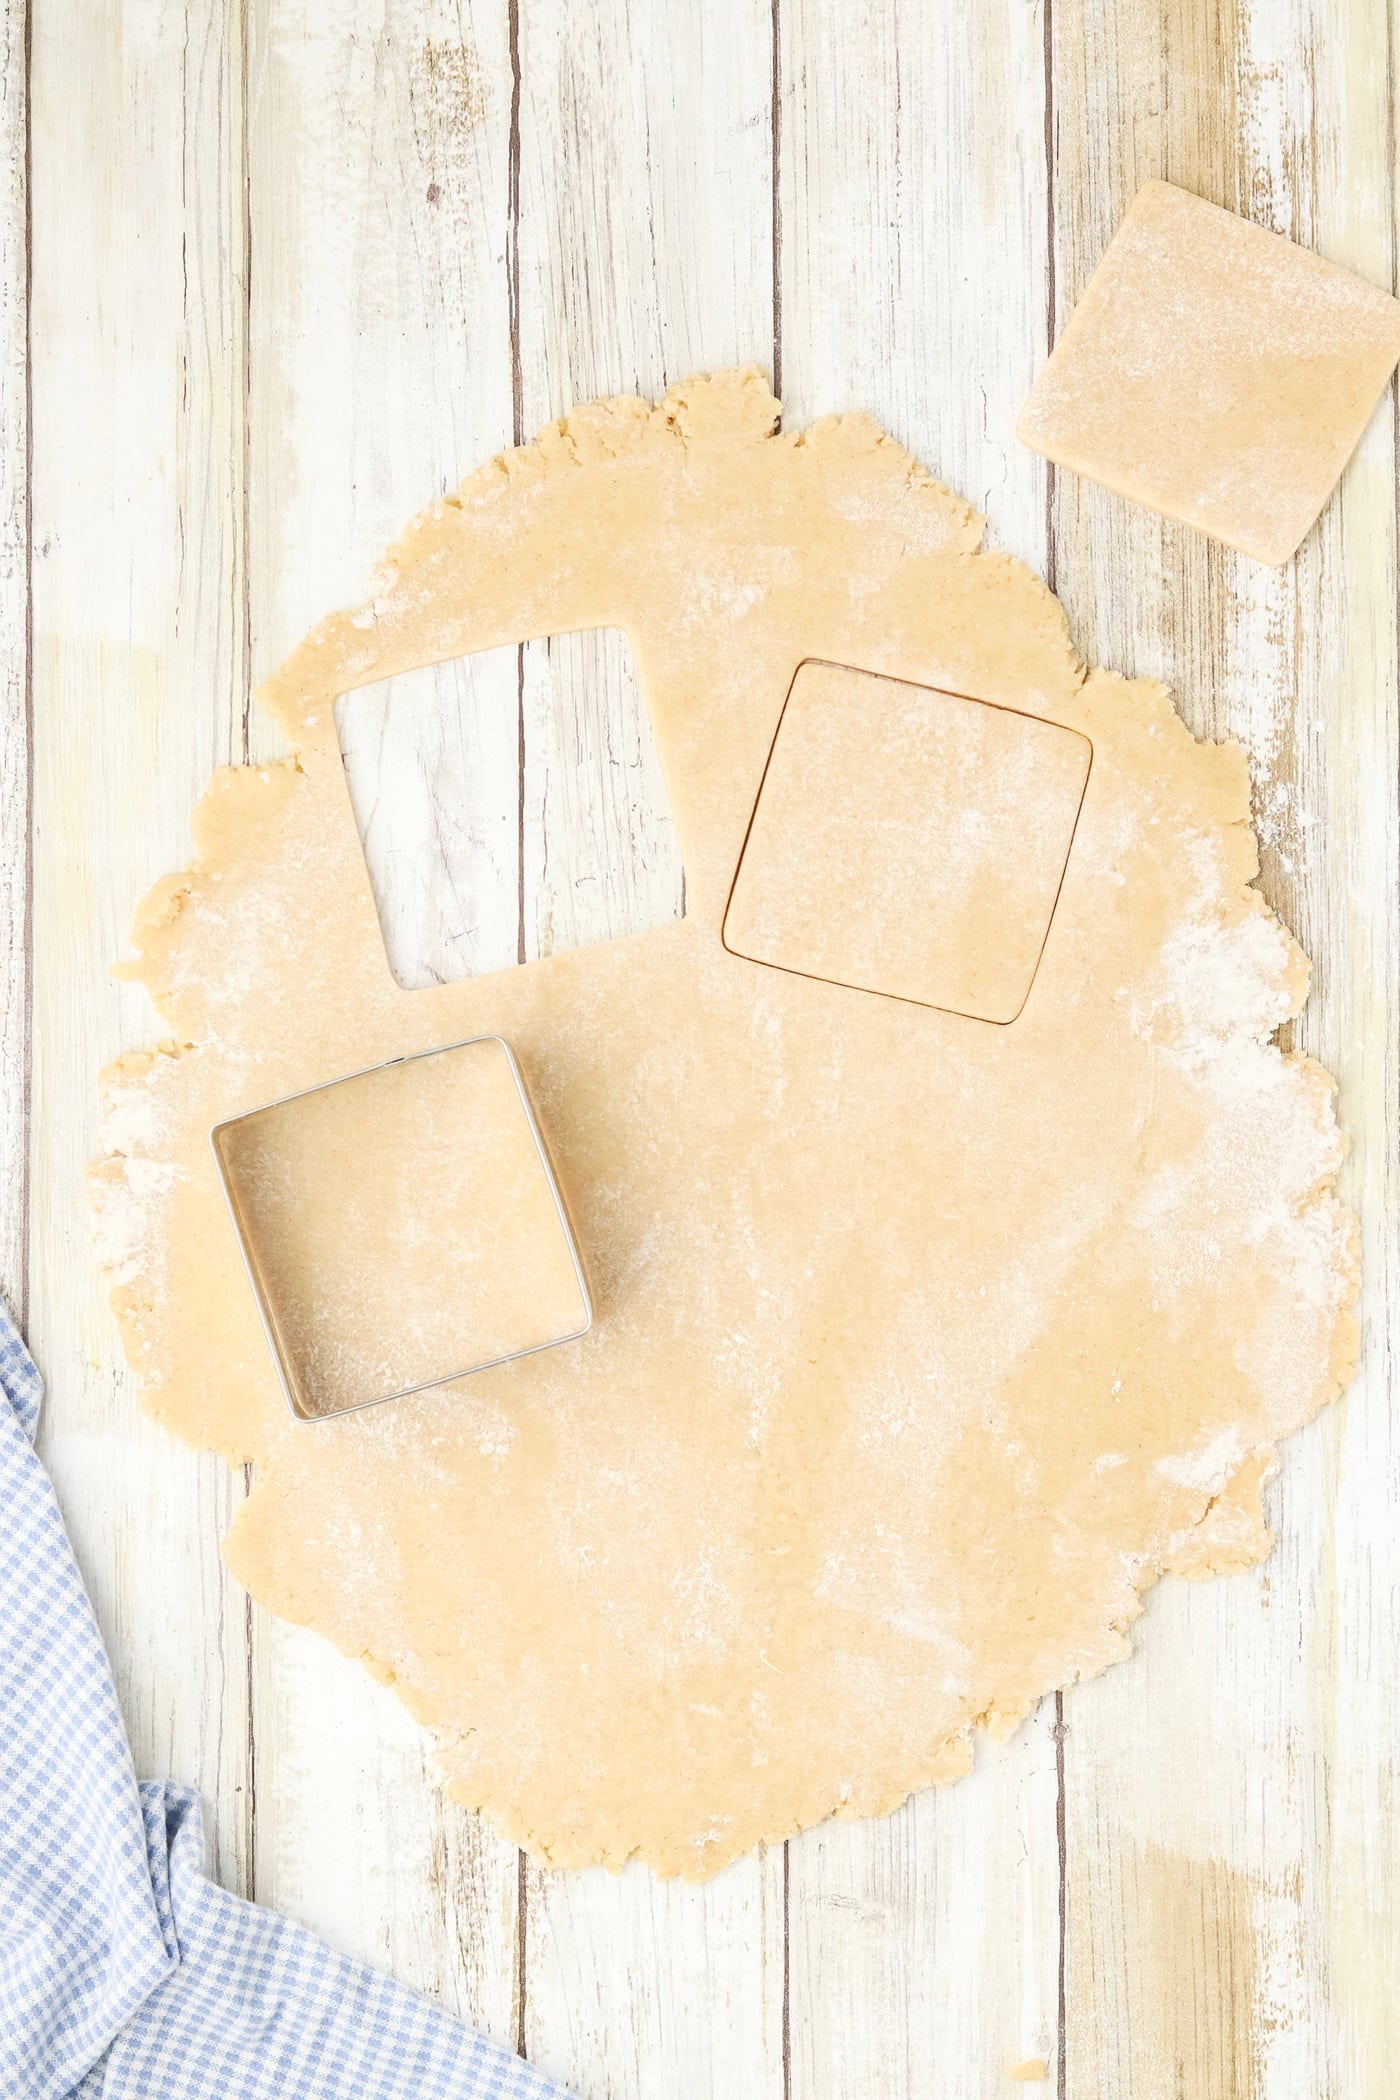
This recipe shows using a square cookie cutter. You can use any shape you’d like, but squares and rectangles are a realistic choice. You can also simply cut the dough into squares.
This recipe should make approximately two dozen 3" square cookies.
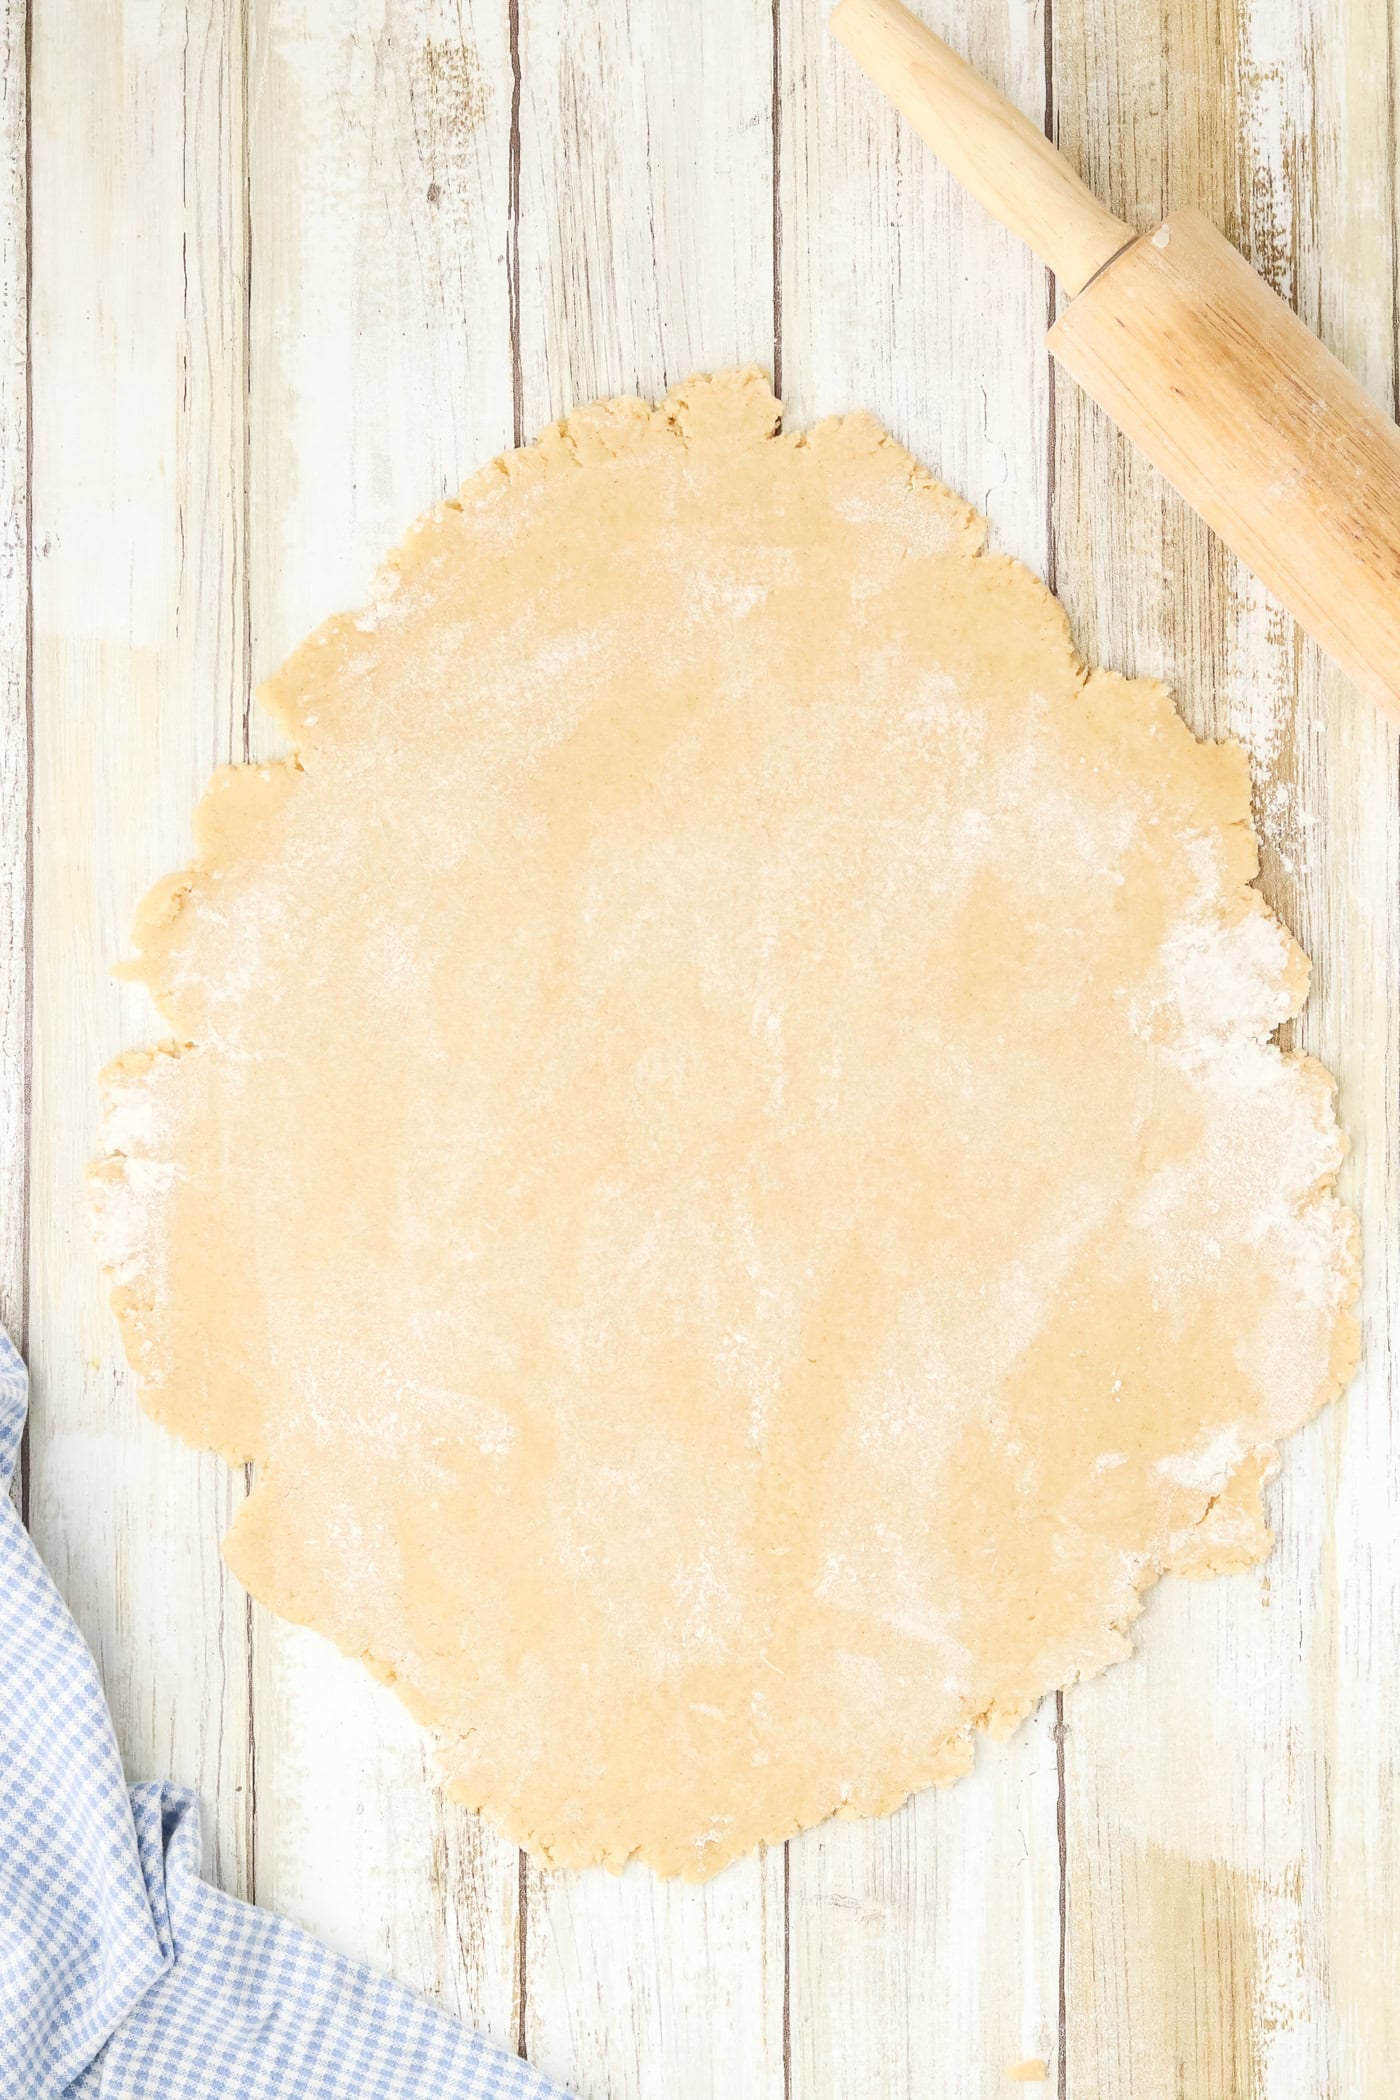
Try to plan your dough use carefully. You can re-roll the dough once, but cookies usually don’t turn out as well if you re-roll it multiple times. I learned this lesson the hands on way while making royal icing cookies for our wedding!
Bake your cookies until golden brown, then let them cool slightly before transferring them to a wire rack.
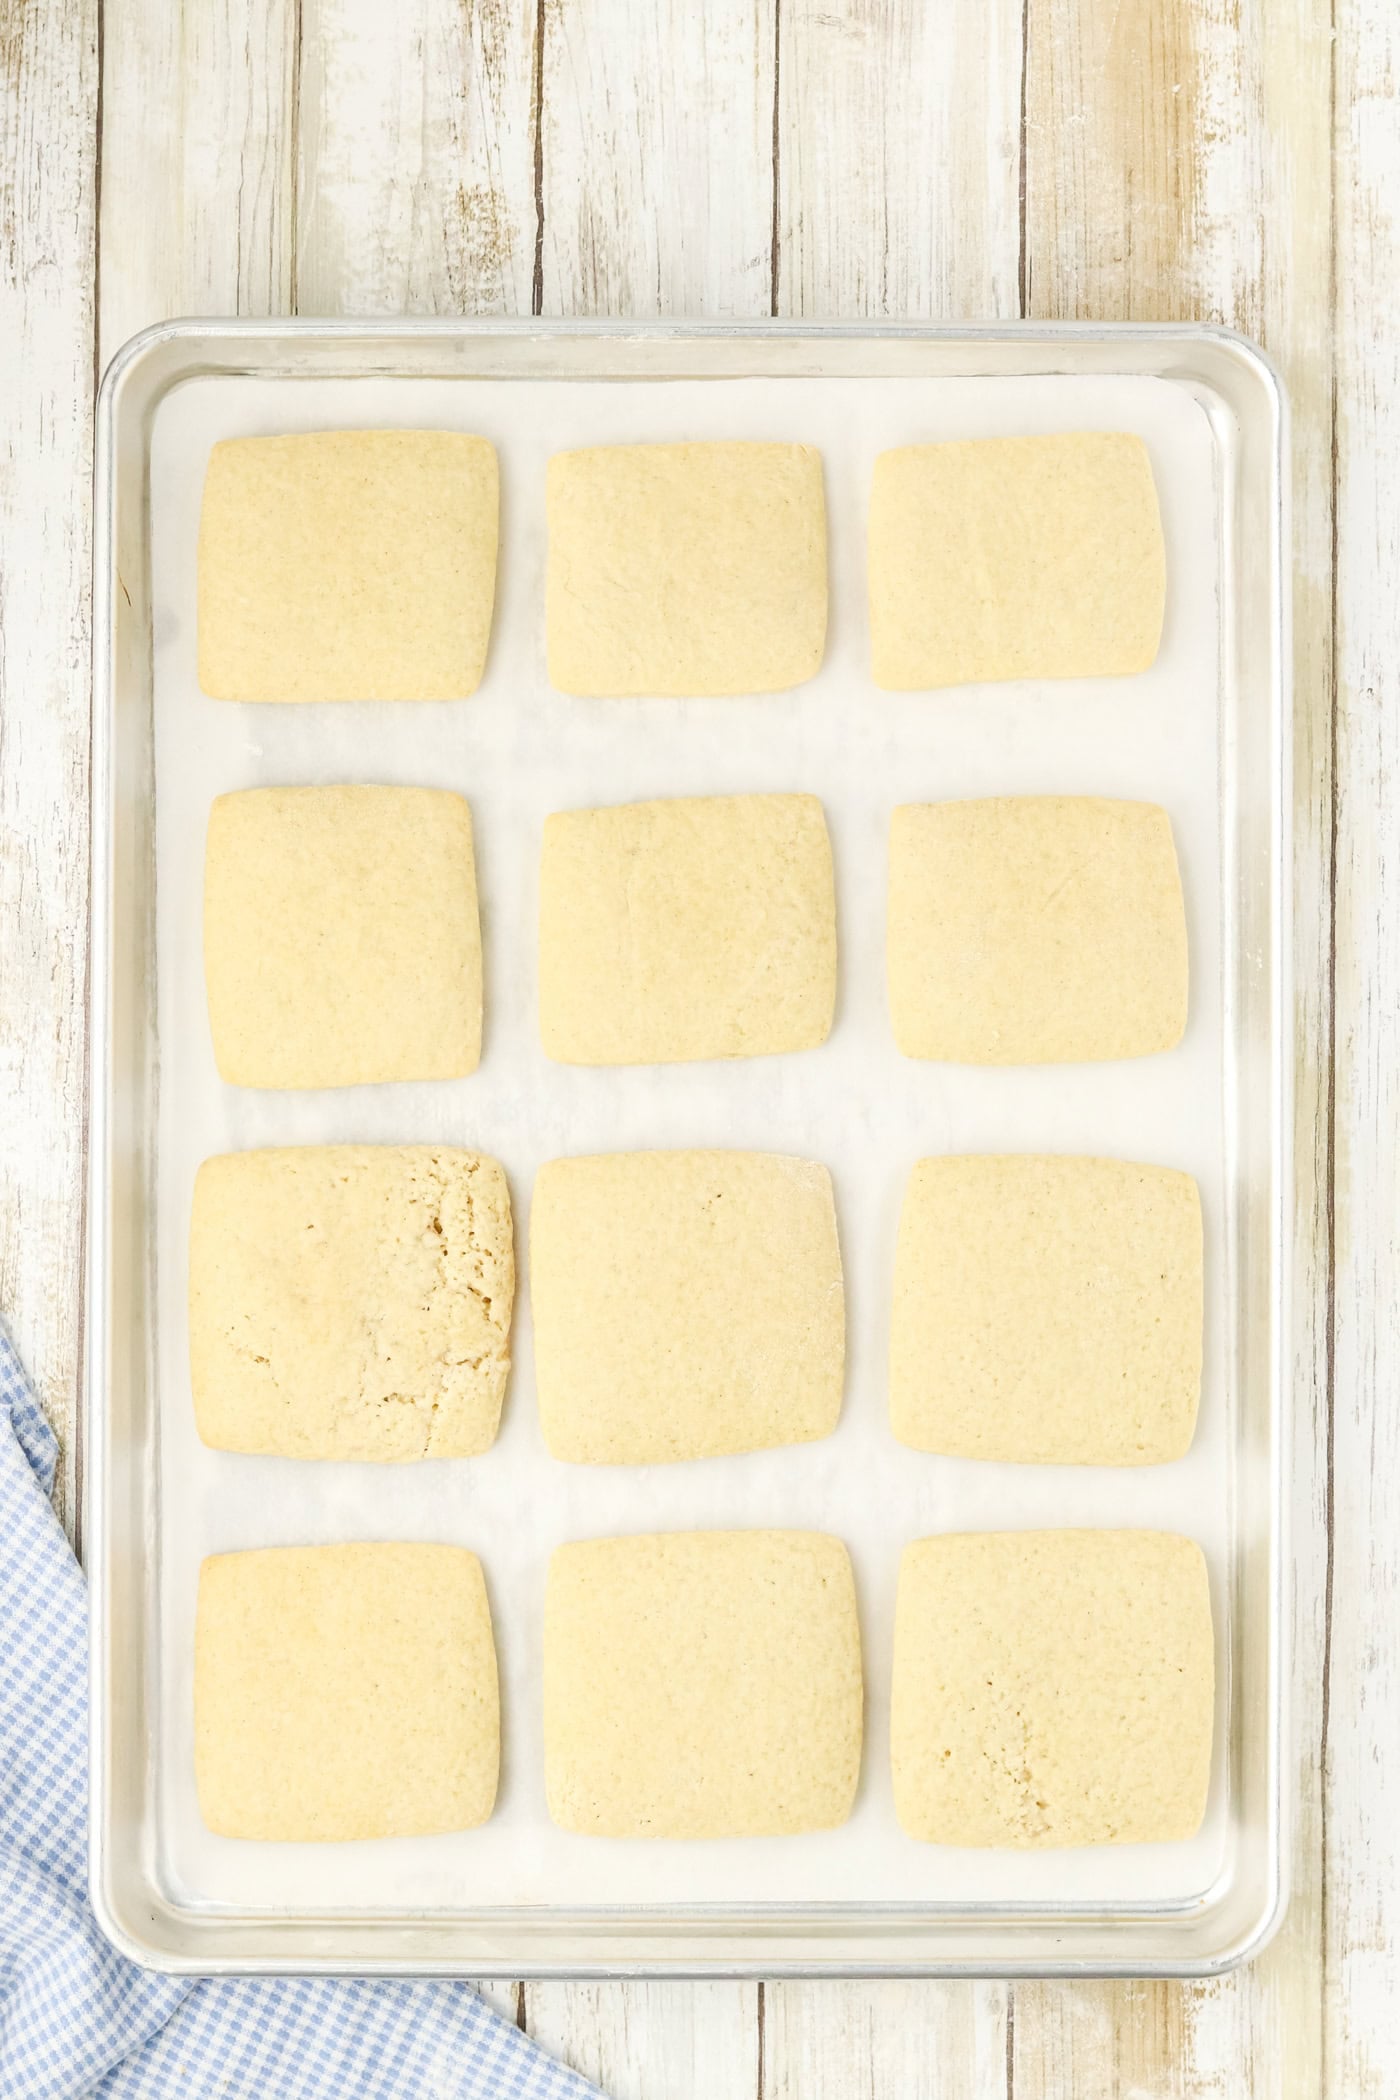
Once the cookies are completely cool, prepare your royal icing and frost your cookies.
Leave a small boarder along the edges to represent the wooden frame. Make sure to check the recipe card for detailed directions on how to make your black royal icing!
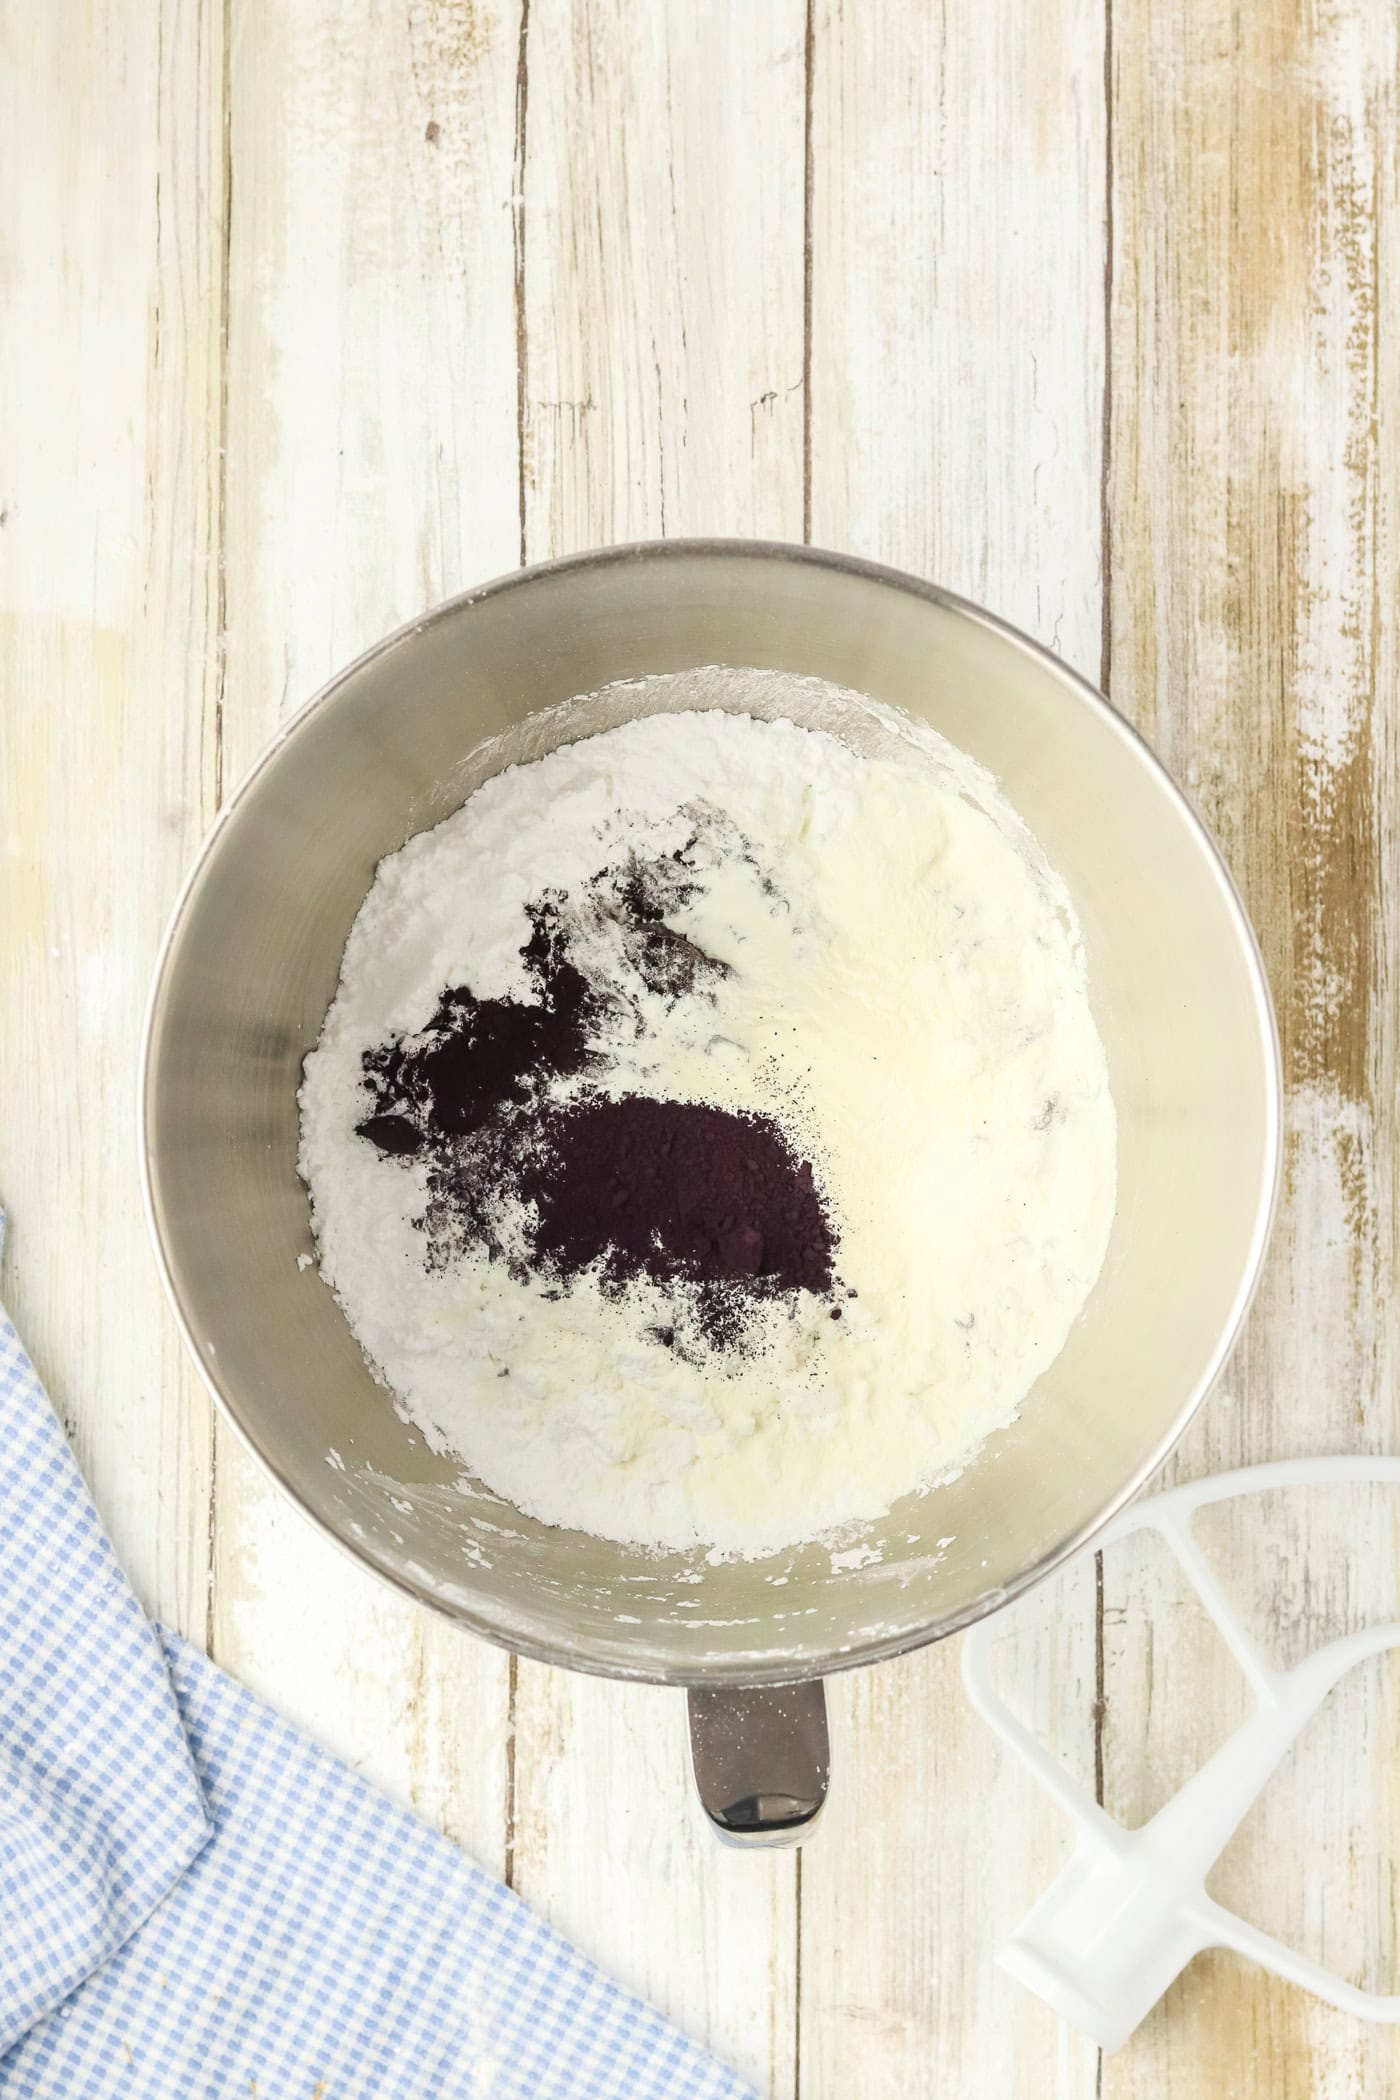
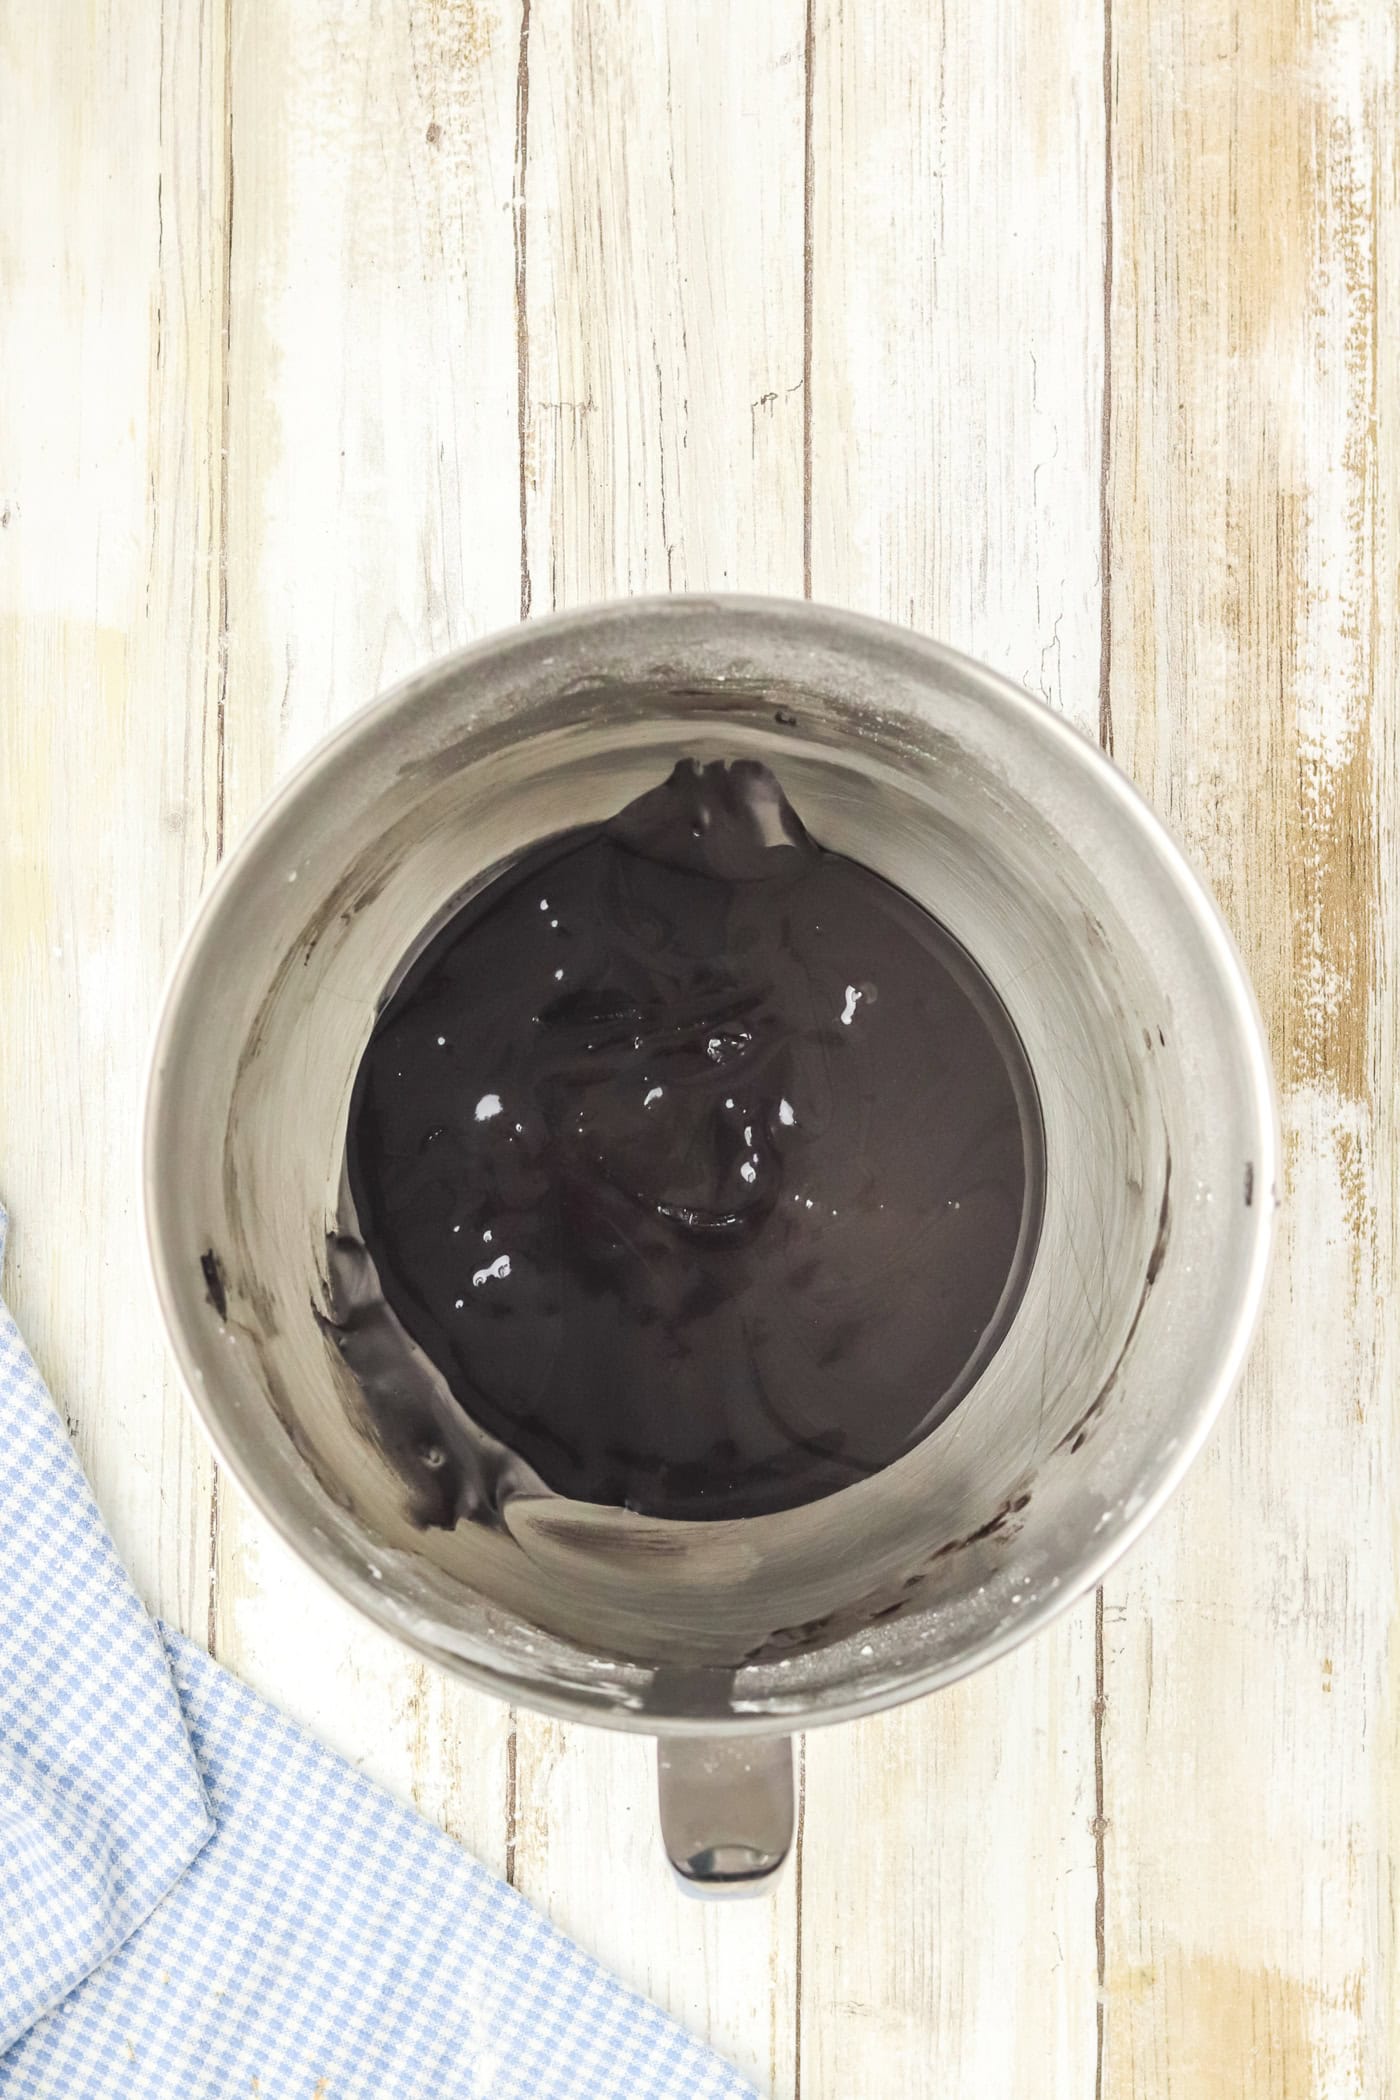
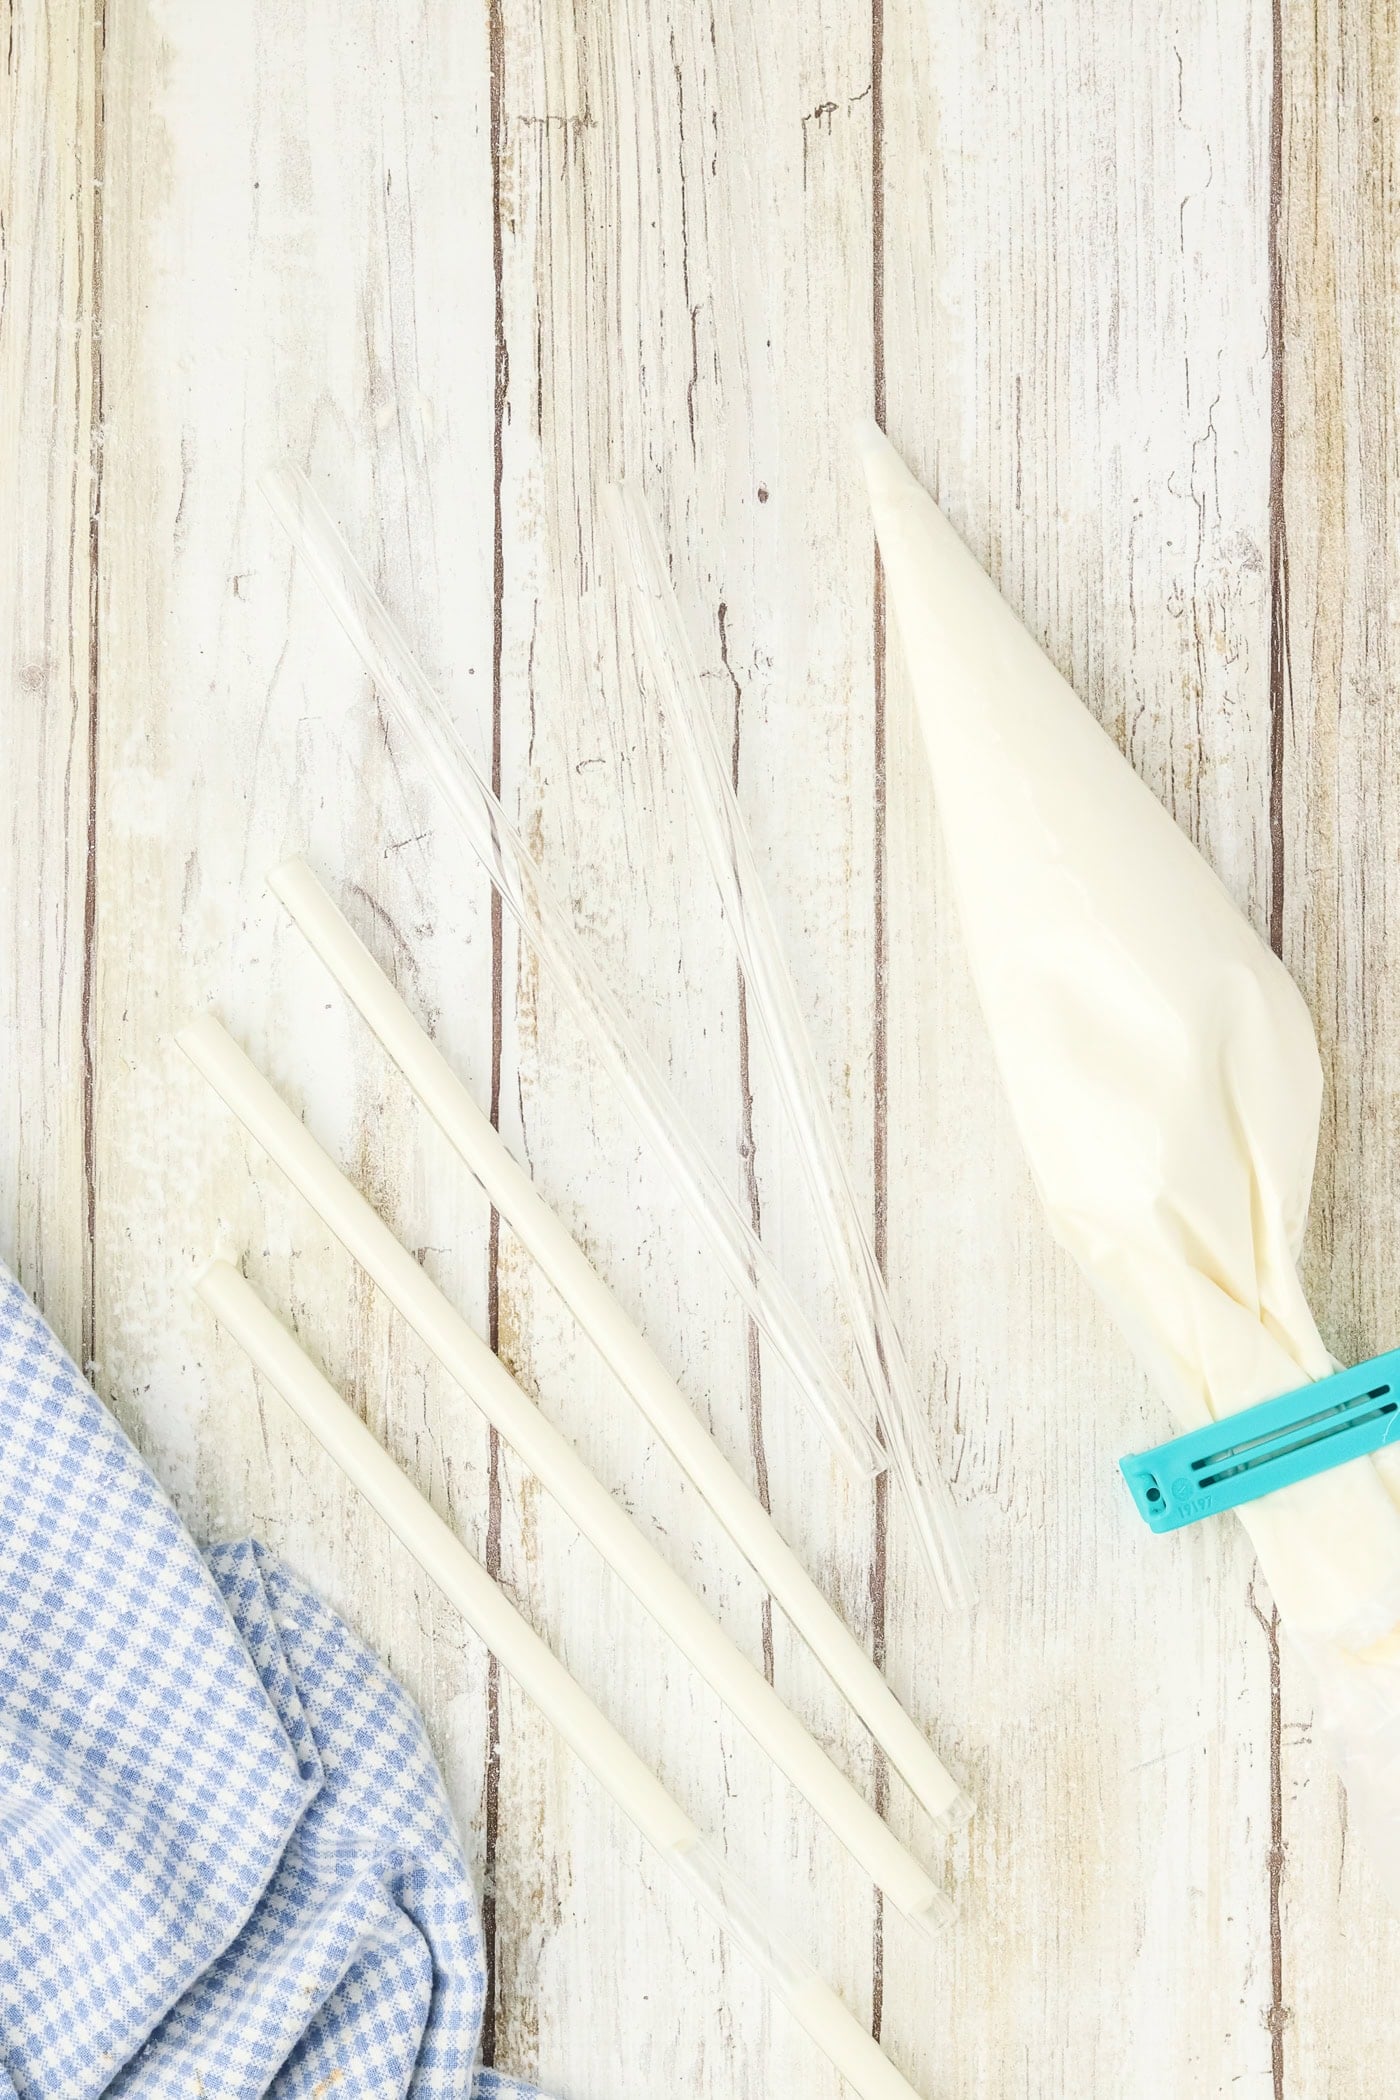
While the royal icing sets, make your edible chalk. The trickiest part of this is melting the white chocolate. It's important to use low power and stir frequently.
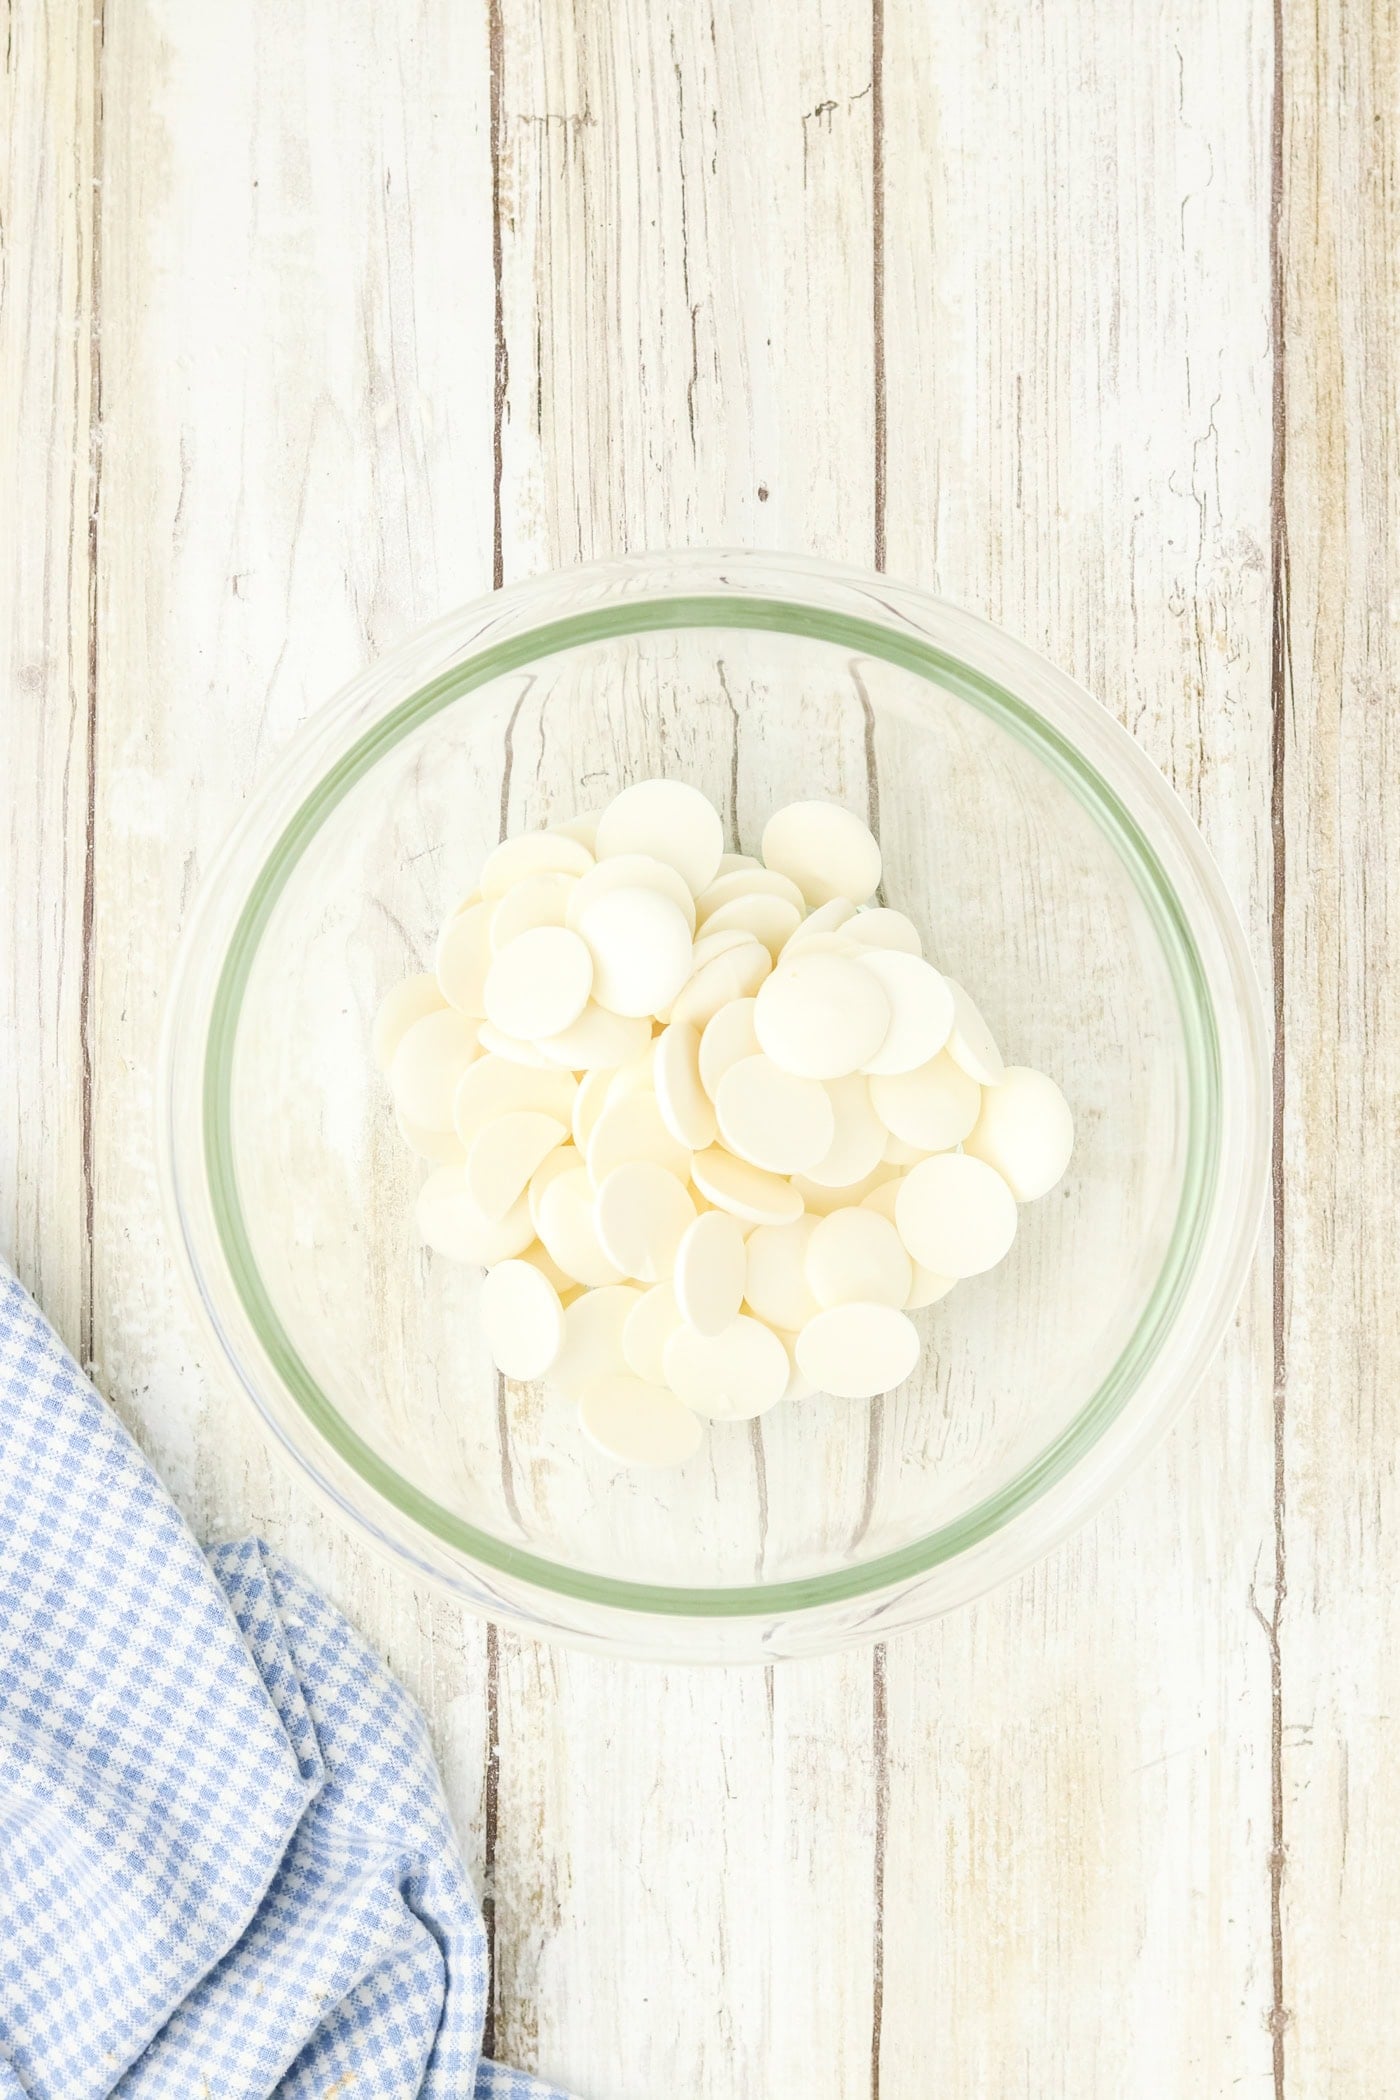
Once the white chocolate is melted and piped into straws, it won't take long to set up. If you have trouble pushing the "chalk" out of the straws, you can cut the straws open.
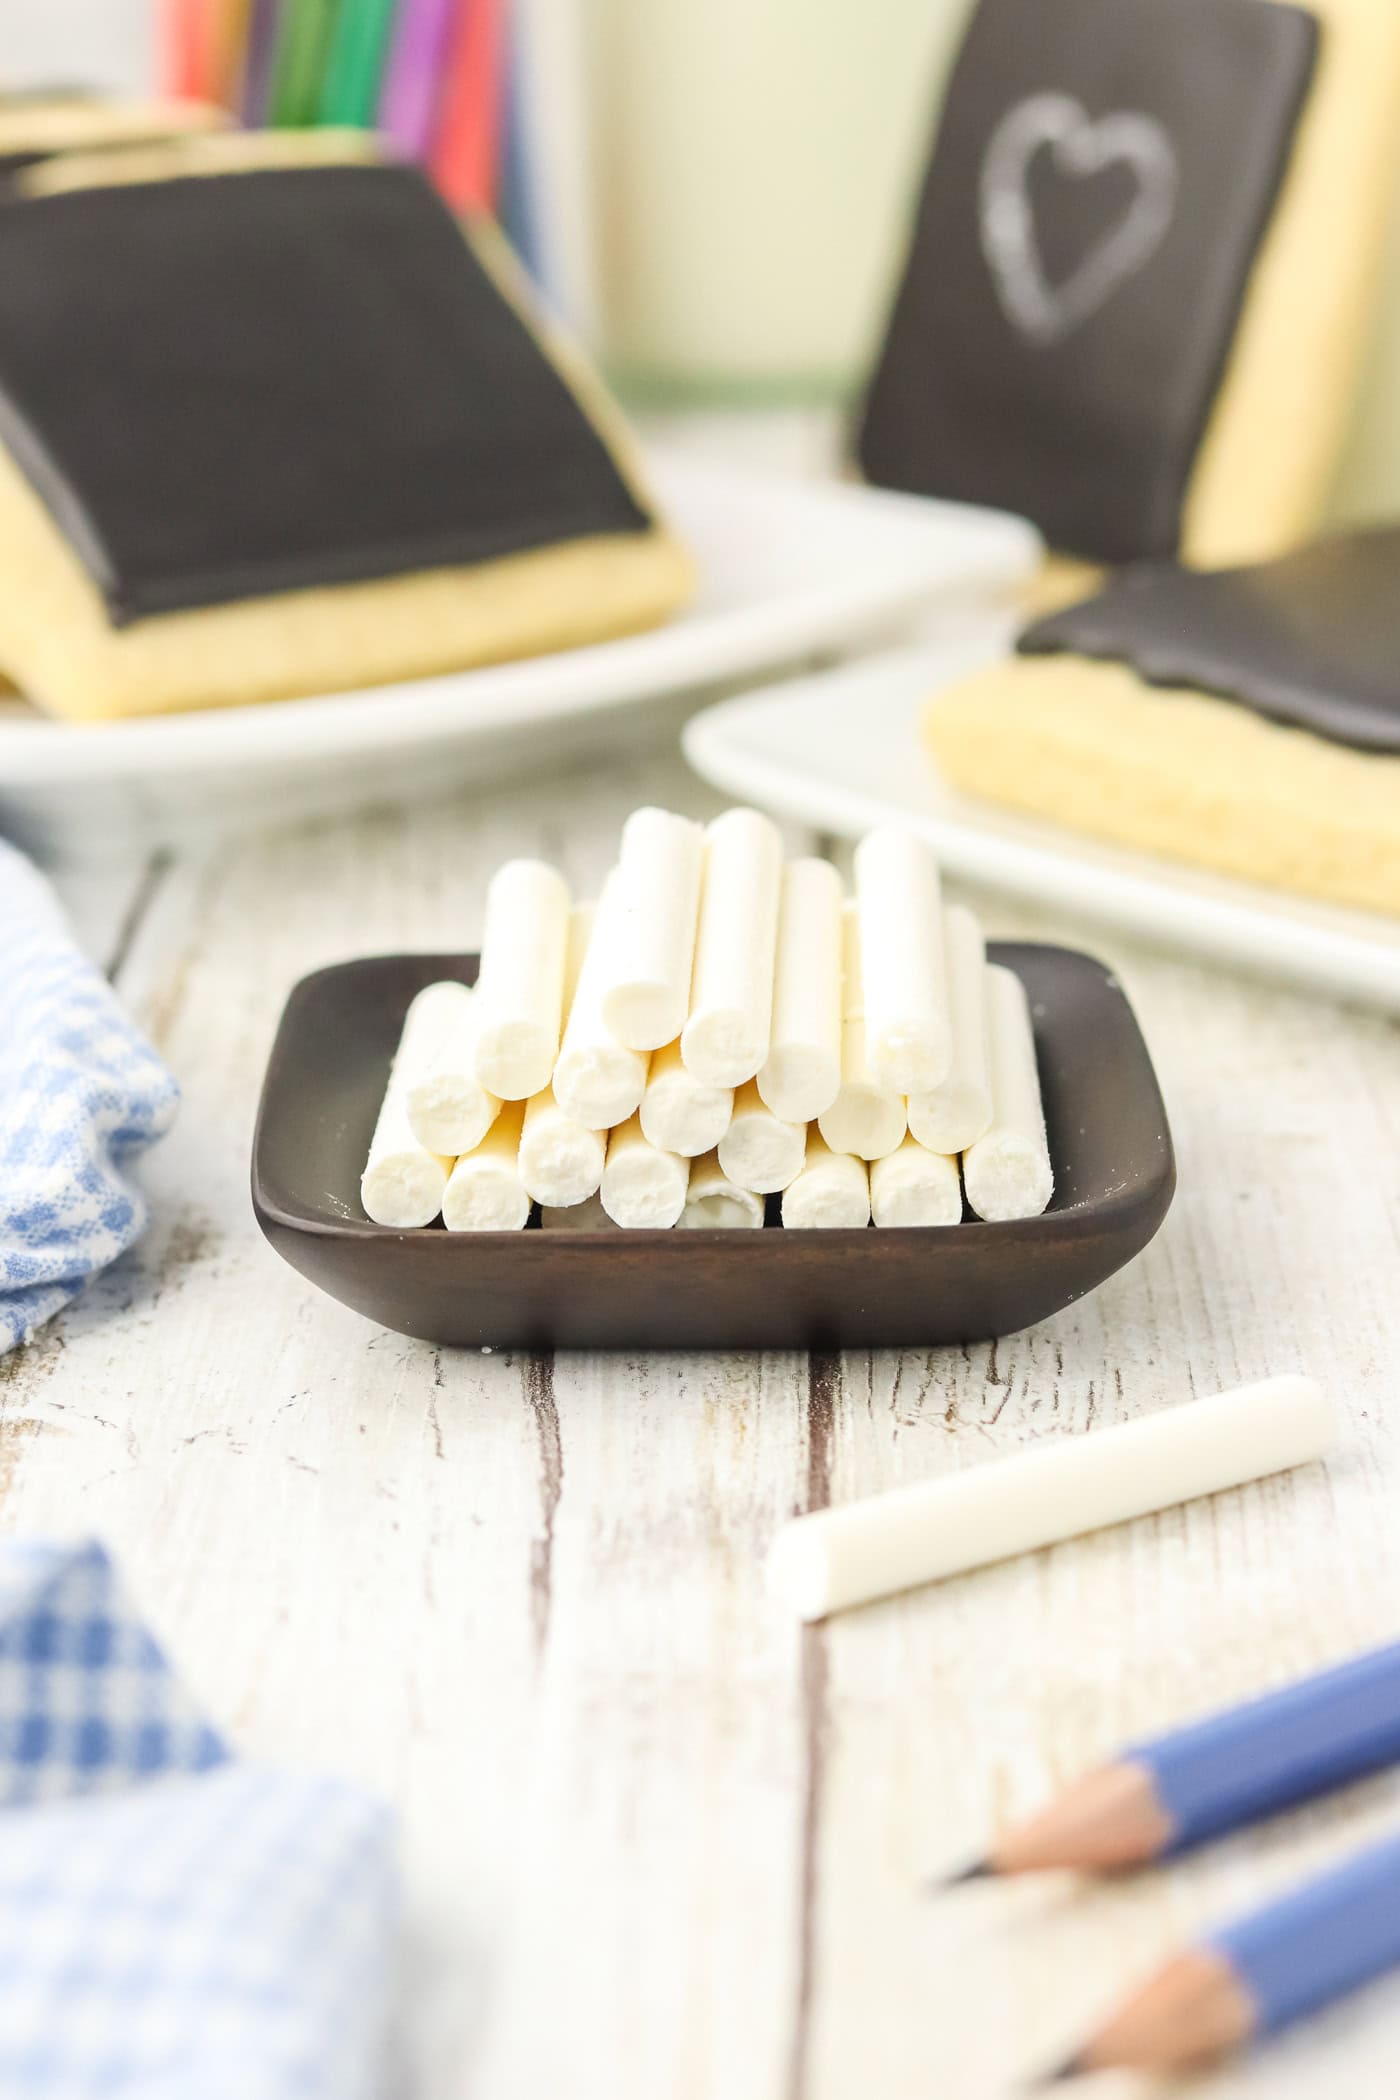
Break the edible chalk into sections and you're ready to decorate! If you're planning to gift the cookies, place one cookie and one peace of chalk together in a clear cello bag.
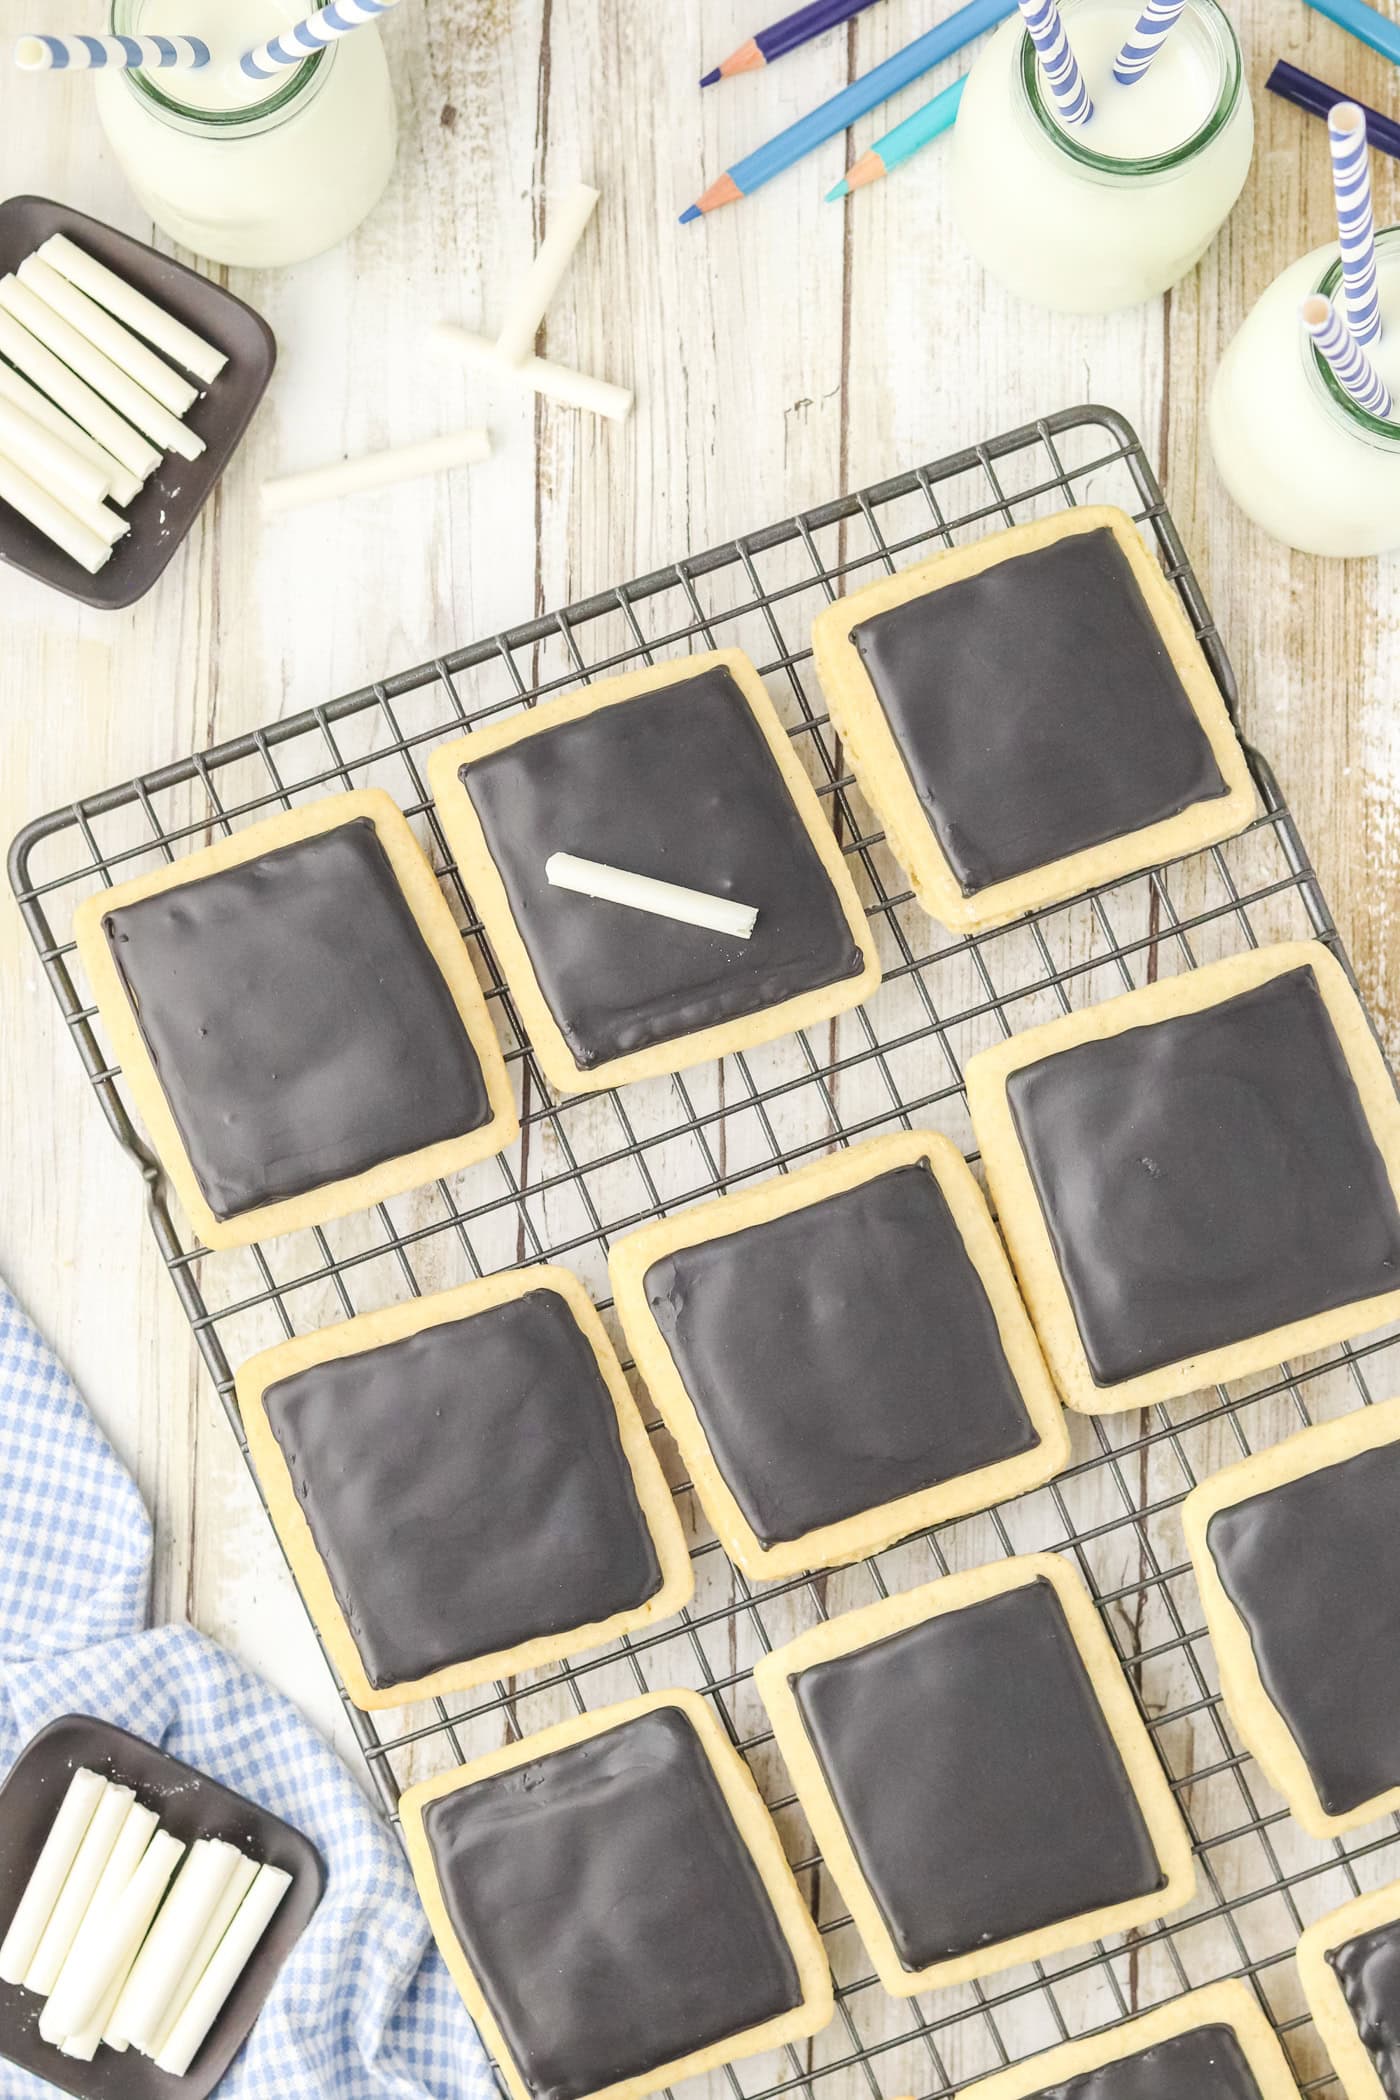
That's it! Your cookies are ready to enjoy. Make sure to check the printable recipe card below for detailed instructions on how to make and use your icing!
Chalkboard sugar cookie tips and notes
Store leftovers in an airtight container, at room temperature for up to 5 days.
You can freeze these cookies in an airtight container for up to 3 months. Lay some parchment paper between the cookies if you are stacking them. Don’t stack more than 2 layers high.
If you don’t want to get food coloring online, check with a craft store like Hobby Lobby or Michael’s in the cake decorating area.
If you cannot find black cocoa powder, purchase the darkest cocoa powder you can find and use equal amounts.
Depending on how dark the cocoa is will depend on the amount of food coloring you will need to add to it. You may need an additional teaspoon of food coloring if you want a dark black chalkboard.
If you cannot find powdered food coloring and need to use gel, you may need up to 3 times the amount of gel food coloring than the powdered one.
Food coloring strengths vary and you may not want a super dark chalkboard, so stir your icing thoroughly and add food coloring until you like the color.
To remove “chalk marks” from your cookie, use the palm of your hand to warm the chalk on the cookie. Once warmed up a little, it should wipe away with your finger.
You will definitely need plastic straws for this, not the paper ones. If you use the wider straws, they will be easier to remove.
Candy melts are already tempered so you do not need to bring them up to certain temperature. (If you don’t know what this means, don’t worry! Just know that candy melts are ready to use.)
Many royal icing recipes recommend adding corn syrup for shine. This icing is meant to be matte black, like a chalkboard, so don’t add the syrup.
Chalkboard Sugar Cookies
Ingredients
For the Cookies
- 3 and ½ cups (18.5oz, 525g) all purpose flour
- 1 teaspoon ground cinnamon
- ½ teaspoon salt
- 1 teaspoon baking soda
- 1 teaspoon baking powder
- ½ cup (4oz, 115g) butter
- 1 cup (7oz, 200g) granulated sugar
- 1 egg
- 1 teaspoon vanilla extract
- ½ cup (4.4oz, 125g) sour cream or plain Greek yogurt
For the Black Royal Icing
- 4 cups (18.3oz, 520g) powdered sugar
- 3 tablespoons meringue powder
- 2 tablespoons black cocoa powder
- 1 tablespoon black powdered food coloring (recommended) or black gel food coloring
- 4-6 tablespoons warm water
For the Chalk:
- 1 cup (7oz, 200g) white candy melts
Tools Needed:
- medium mixing bowl
- stand mixer with paddle attachment (you can use a hand mixer, instead)
- plastic wrap
- rolling pin
- cookie cutter (You can use any shape you’d like but square or rectangular looks more chalkboard-like. You can also simply cut the dough if you don’t have a cookie cutter)
- cookie sheet. I use stainless instead of aluminum.
- parchment paper. I use If you Care brand because it’s not bleached or coated
- small, microwave safe mixing bowl or Pyrex mixing cup
- 2 x disposable piping bags (no tip needed). If you don’t have piping bags, you can use ziplock bags.
- plastic straws, clear work best
Instructions
In a medium mixing bowl, whisk together the flour, cinnamon, salt, baking soda and baking powder. Set the bowl aside for now.
In your stand mixer bowl, cream the butter and sugar using the paddle attachment on medium speed until smooth, about 2 mins. If you don’t have a stand mixer, you can use a hand mixer or even a fork and a lot of arm power.
Add the egg, vanilla extract and sour cream and beat until mixed together.
Add the flour mixture to the bowl and beat until you get a dough. It will be soft but pulled away from the sides of the bowl.
Wrap in plastic wrap and chill for 1 hour. This step is important, so don’t skip it! The dough can be left to sit for up to 24 hours if you need to make it ahead.
Once the dough has chilled, preheat oven to 350 degrees Fahrenheit. Line a cookie sheet with some parchment paper.
Roll the dough to ¼ inch thickness. Cut out shapes. Re-roll the scraps and continue cutting out the shapes until all the dough has been used.
Place on the prepared cookie sheet leaving about an inch between each cookie. Bake in a preheated oven for 10-12 minutes.
Cool on the pan for 5-6 minutes before transferring the cookies to a cooling rack to cool completely.
Once the cookies have cooled, we’ll start on the royal icing. In the bowl to the stand mixer mix the powdered sugar, meringue powder, black cocoa powder, and black food coloring.
If you don’t have powered food coloring, add drops of gel food coloring until you’re satisfied with the color.
Add the water, one tablespoon at a time, and continue beating on low until a smooth icing forms. A good rule of thumb is to lift the head of the mixer and allow the frosting to drip off the attachment. It should take 10 seconds to smooth itself out.
Transfer the frosting to a piping bag and snip the corner of the bag.
Pipe an edge around the cookie then flood the top of the cookie with the black frosting. Set aside to allow the frosting to dry completely.
While the frosting is drying, we’ll make the chalk.
In a small microwave safe bowl, melt the white candy melts in the microwave at 50% power for 1 minute. Low power is important with white chocolate because it can bind up and being grainy if it’s heated too much, too quickly.
Stir and then continue to microwave at 50% power in 30 second time bursts until melted.
Be sure to stir between each interval. This helps the chocolate melt smoothly. Depending on the power of your microwave, this could take up to 5 minutes.
Transfer the melted chocolate to a piping bag.
Squeeze the chocolate into the plastic straws.
Don’t plug the bottom of the straw until the chocolate reaches the bottom. Only then do you plug the bottom with your fingertip.
It only takes a minute for the chocolate to begin setting and you can remove your finger.
If you can find clear or semi-transparent straws, it can make your life a whole lot easier. Place the chocolate straws in the freezer to set for 10 minutes.
After the 10 minutes, use the blunt end of a wooden skewer, a dowel or even a lollipop stick to push the white chocolate out of the straw. Break into 2 inch pieces.
If you’re having a lot of trouble getting the chocolate out of the straw, you can carefully use a knife to cut the plastic straw and peel it away.
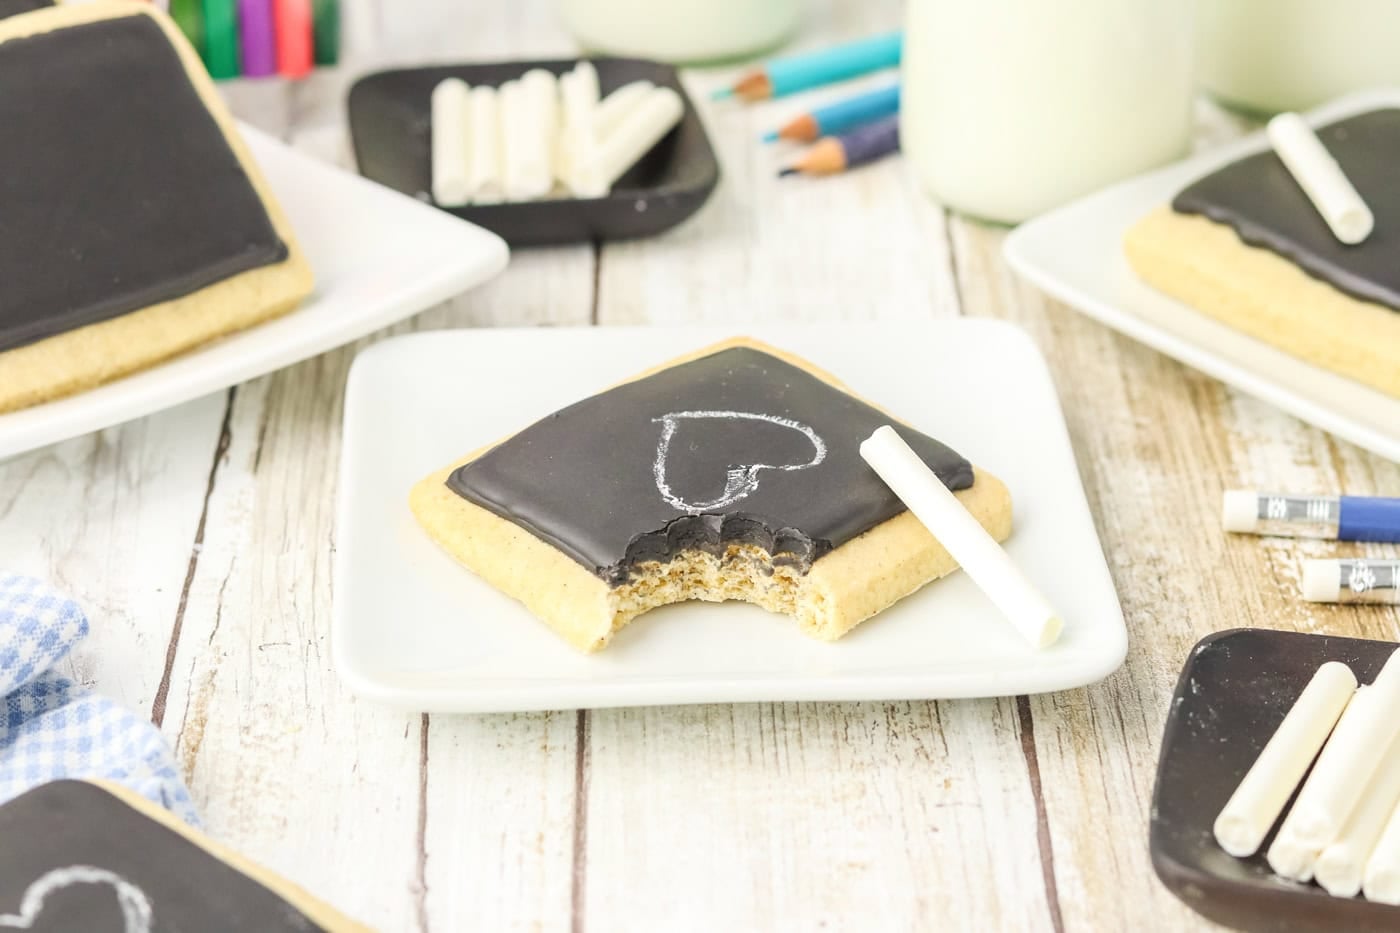
Once the cookies are dry, use the white chocolate to draw fun pictures on your chalkboard and take a bite!
For gifting or a party, slide each cookie into a clear cello bag with a piece of chalk.

Leave a Reply