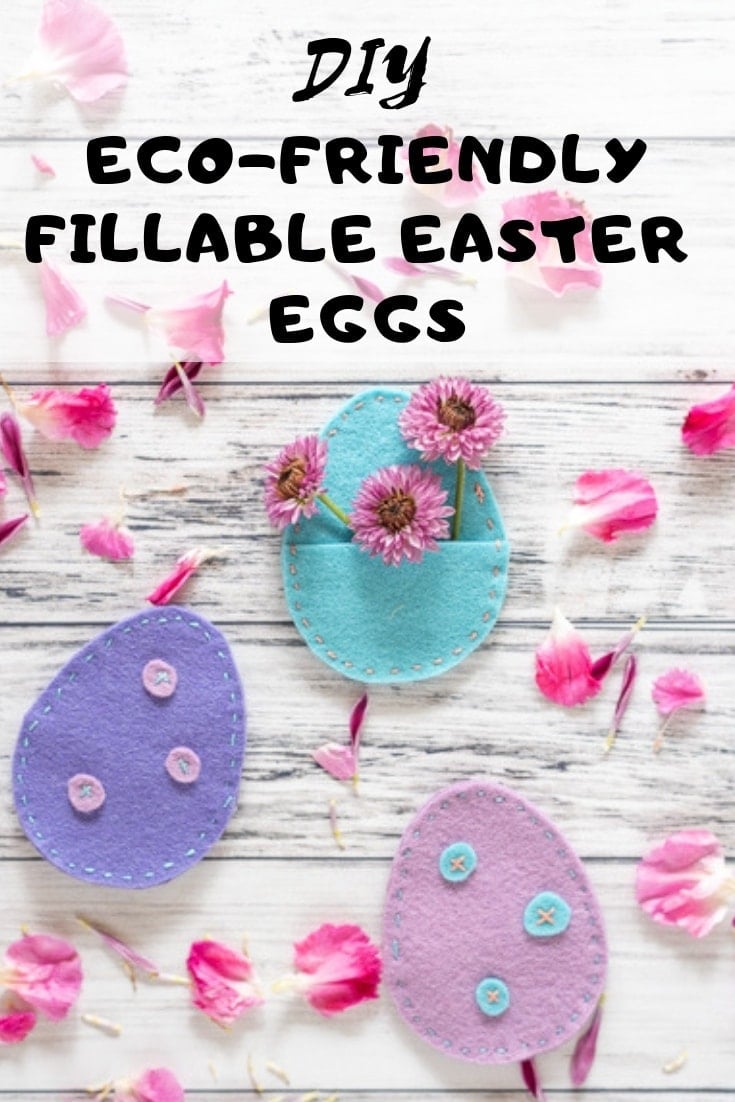
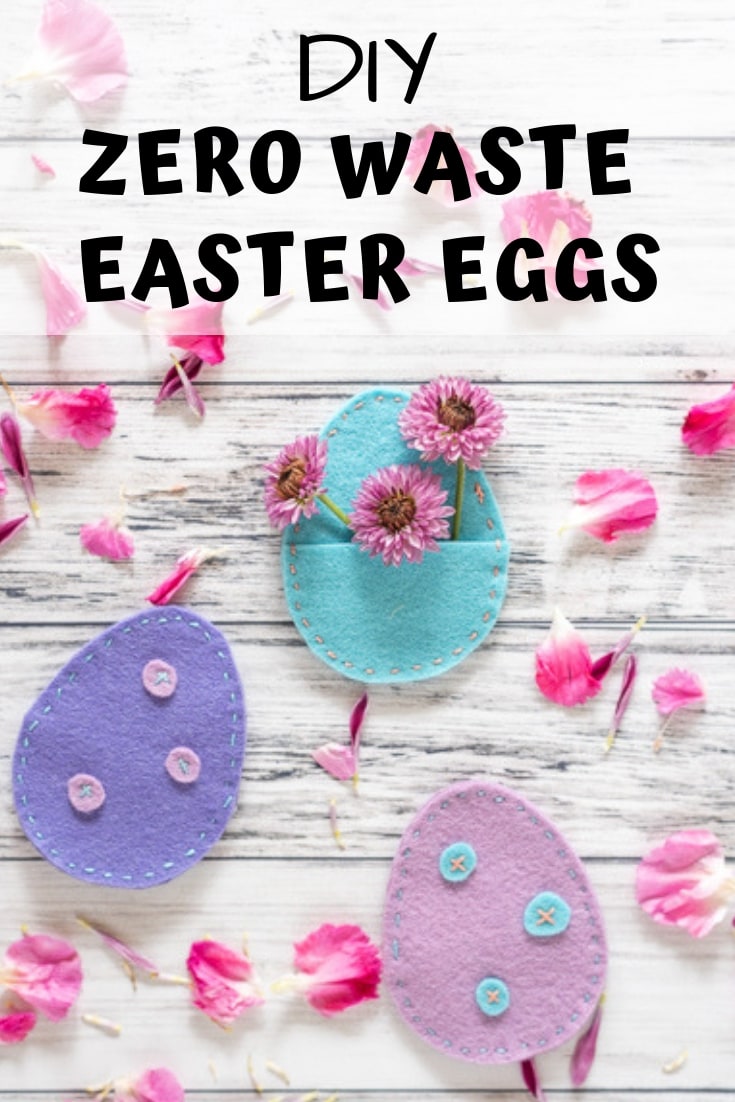
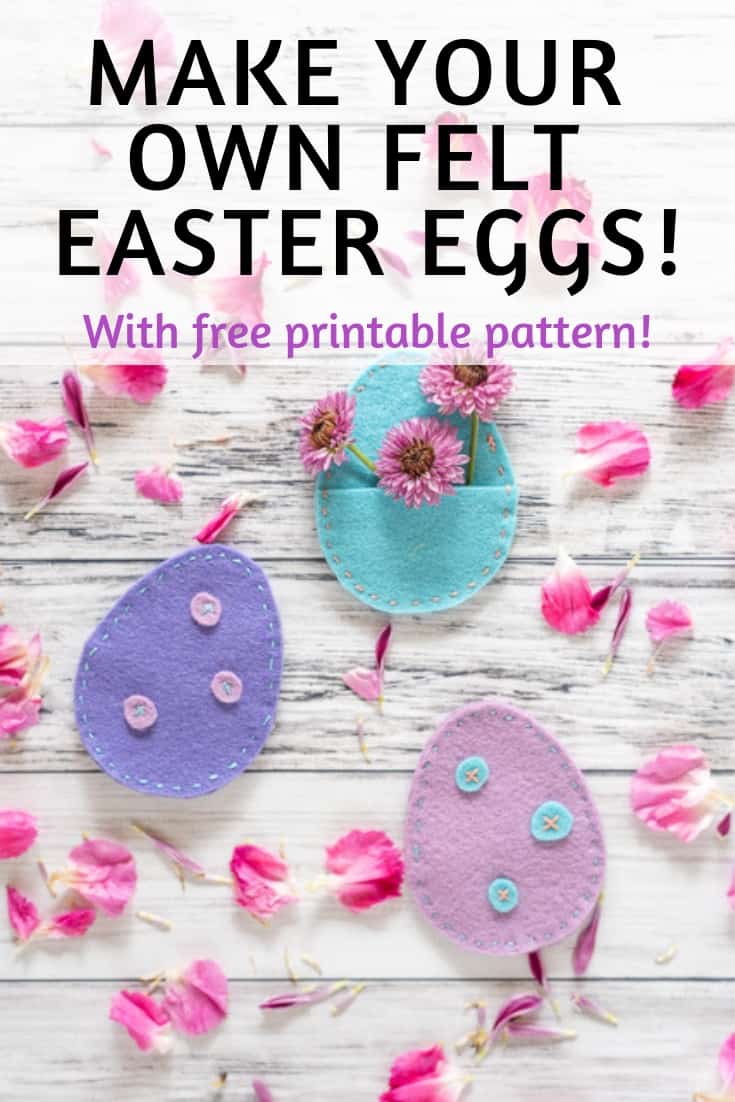
These felt Easter eggs are easy to make and better for the environment! Learn how to make your own reusable Easter eggs with this easy tutorial.
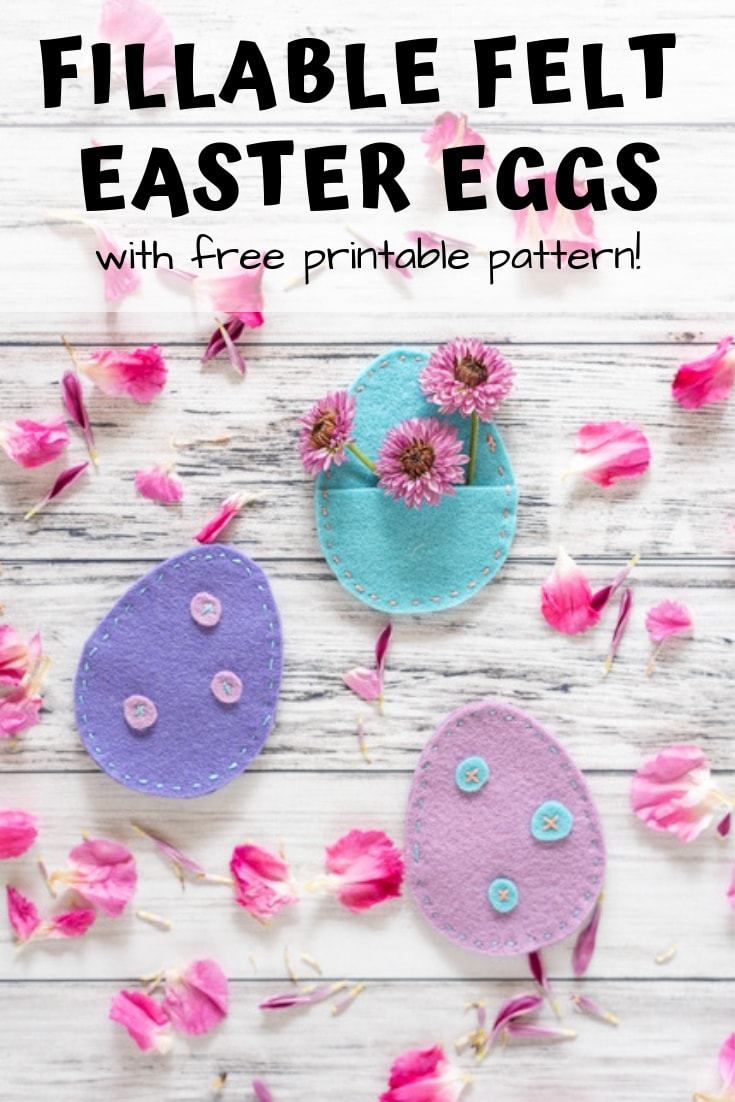
As I've written several times lately, reducing our waste is one of our family goals this year. To help with this goal, we decided to make our own fillable Easter eggs out of felt!
These eggs are super easy to make, reusable, and eco-friendly. I'm also including a free printable pattern. I hope you enjoy!
DIY fillable felt Easter eggs
This post includes affiliate links, which means I may make a commission on purchases made through these links at no additional cost to you.
These cute eggs are a fillable pocket that's perfect for holding small treats and candy!
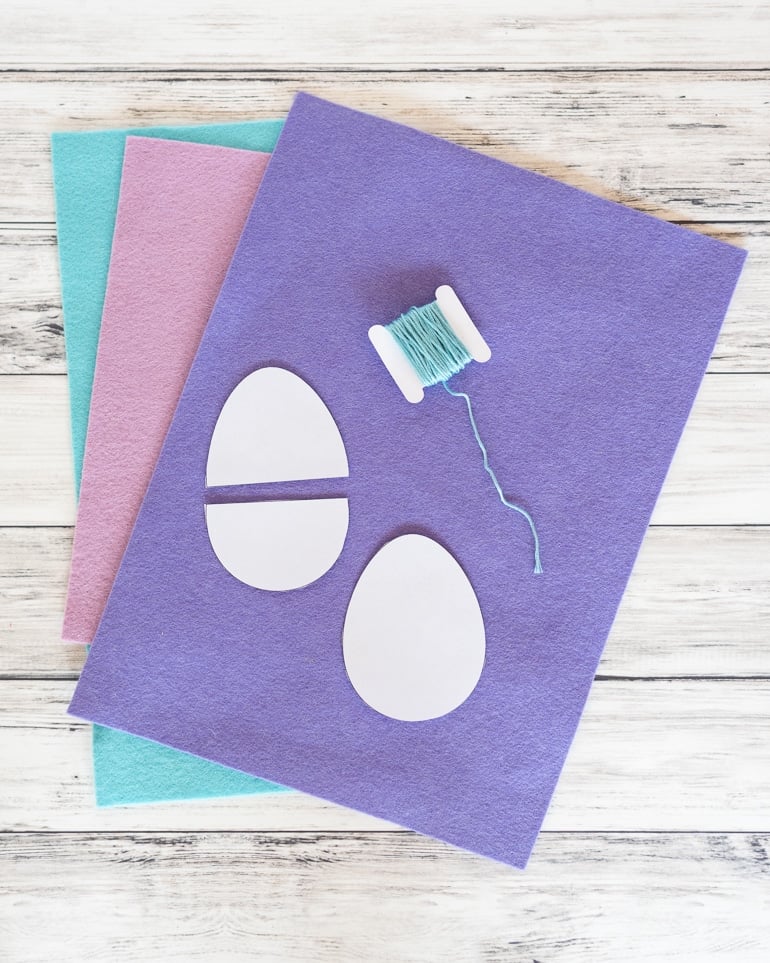
Materials needed
- A pattern. You can draw your own or download a free printable felt Easter egg pattern here.
- Felt. I highly recommend using wool felt. It will last much longer than acrylic felt and is more eco-friendly (because even if it's recycled, acrylic is plastic!).
- Embroidery floss.
- A sharp embroidery needle.
- Scissors.
- A disappearing fabric marker, tailor's chalk, or felt-tip pin/fine Sharpie.
- Buttons, ricrac, or other decorations (optional)


If you missed the link above, download your Easter egg felt pattern here
Related: Toddler Easter basket stuffers that aren't plastic junk
How to make fillable felt Easter eggs
Print your pattern and cut out the pieces.
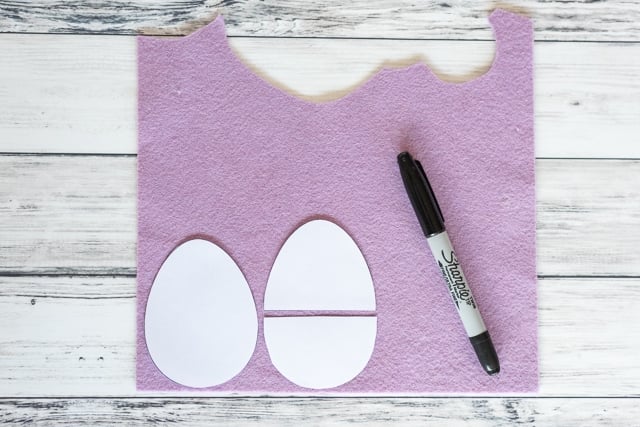
Hold each pattern piece in place against your felt and trace around using a fabric marker. Tailor's chalk or even a fine tip Sharpie will work, too! You will need all three pattern pieces for each egg. I made my eggs the same color front and back, but you can do whatever you'd like!
Cut right along the line or just to the inside to avoid seeing any marks on your finished egg. You can also just make sure the marked side is "inside" when you stitch.
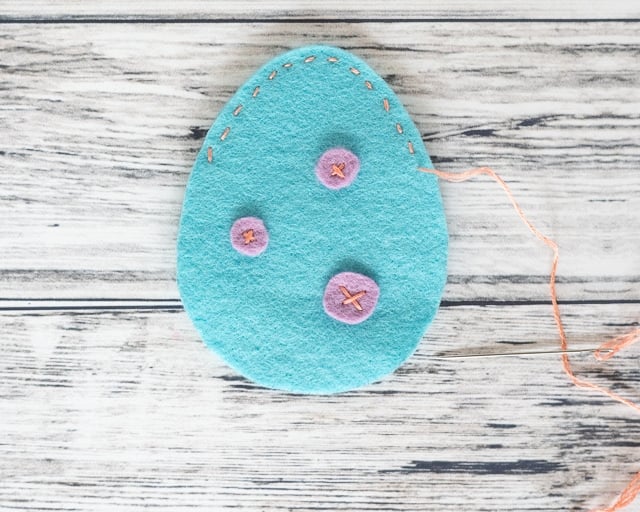
If you'd like to embellish your eggs, now is the time! I cut out some rough circles and tacked them down with a simple "X" of embroidery floss. You could cut other shapes with your felt, or even use ricrac. There's a really cute little flower piece in this felt tiki bookmark pattern that would look nice, too!
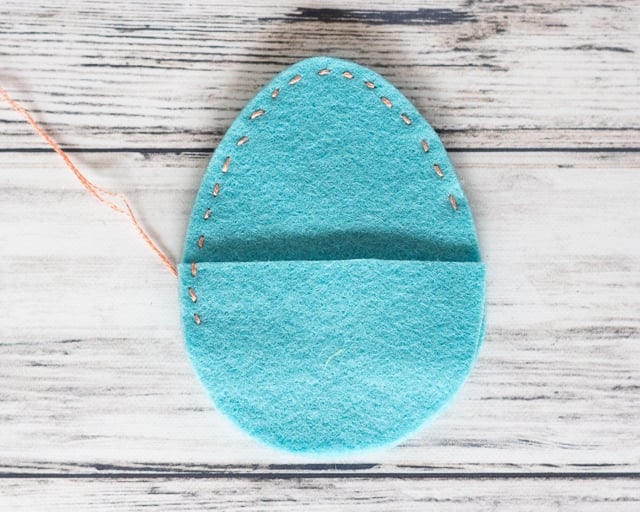
Once you eggs are decorated, it's time to add the back. I experimented with several different ways of doing this and found I preferred having the bottom portion of the back on the "outside."
Cut approximately 18" of embroidery floss and separate it in half. Floss comes with 6 strands - carefully separate 3 of the strands so you now have two 18" pieces with 3 strands each. Thread your needle and tie a knot on the tail end.
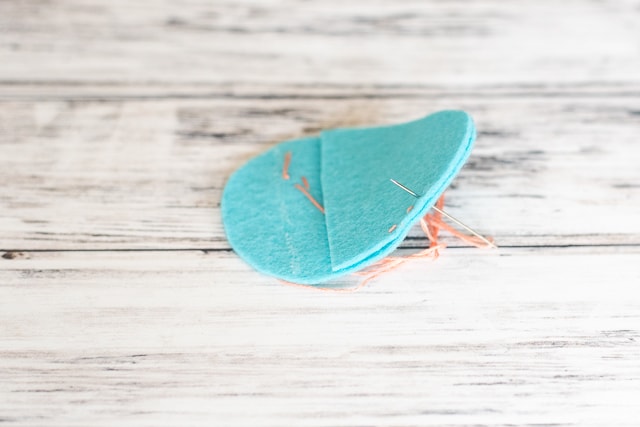
Begin by holding the upper back piece in place (You can also clip it in place if you'd like). Start stitching about an inch up one side, as shown. Insert the needle from the back to the front of the back piece only. This hides the knot and tail of thread.
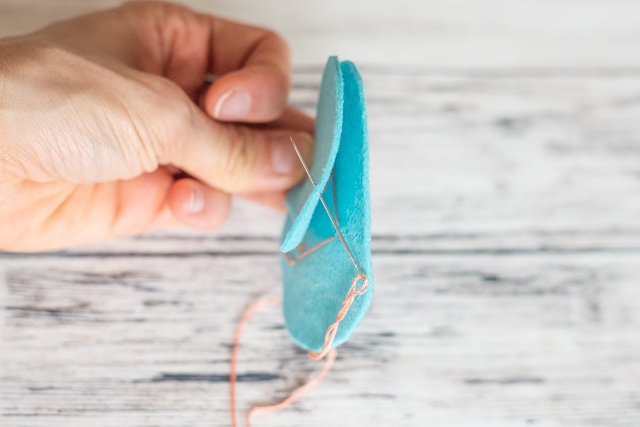
Stitch the two egg pieces together. I did a simple running stitch fairly close to the edge, but you can do something more elaborate if you'd like.
When you get about an inch away from the opposite edge of your upper back piece, hold the bottom back piece in place.
They will overlap. Stitch through all three thicknesses of felt once you reach this place. Keep stitching around until you reach the beginning!
You can secure your floss however you'd like, but there is an easy way to tie a knot in thread.
Place your needle near where your sewing ends. Wrap your floss around the needle three times, then carefully draw the needle through the wraps to create a little knot!
I know I have photos of the process somewhere, but until I can find them please check out this tutorial on how to tie a knot for hand sewing from Our Daily Craft if you need help!
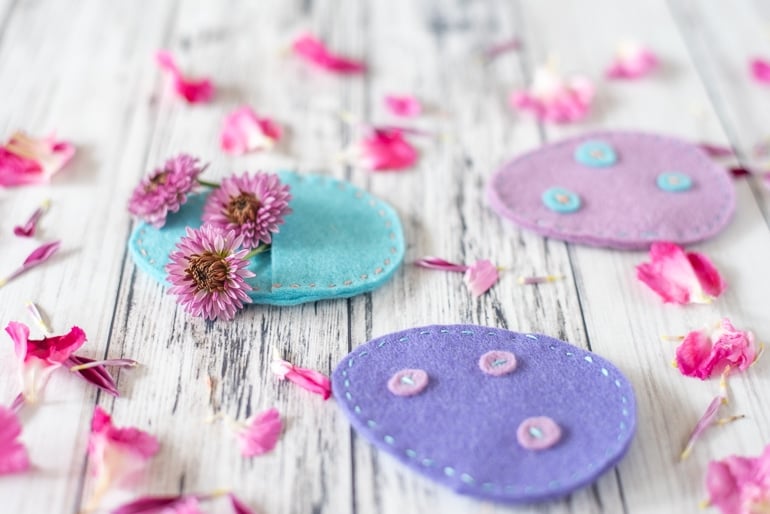
Stuff your eco-friendly Easter eggs and enjoy using them for years to come!
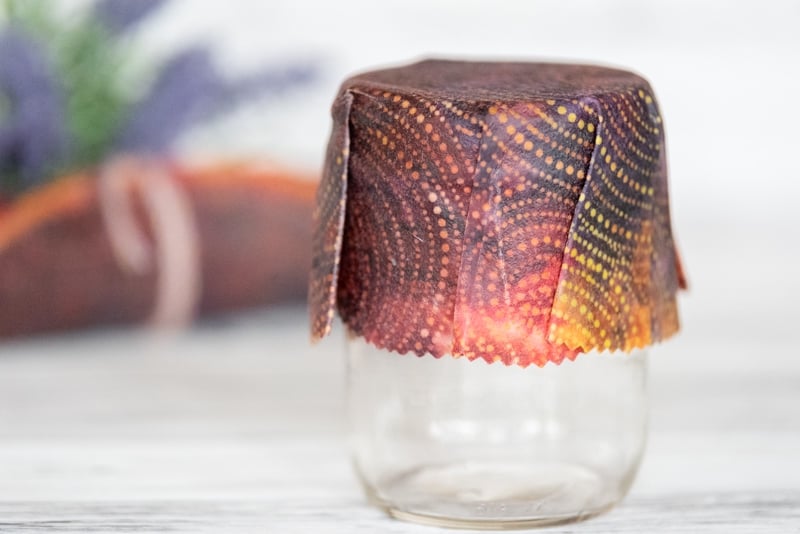
If you're interested in reducing your family's waste, you may also enjoy learning how to make your own beeswax wrap!
The book Zero Waste Home is a fantastic resource that tells how the author reduced her family's waste, even though she has children. It's inspirational to those of us with little ones!

- Johnson, Bea (Author)
- English (Publication Language)
- 304 Pages - 04/09/2013 (Publication Date) - Scribner (Publisher)
Once again, I hope you enjoyed learning how to make your own eco-friendly fillable Easter eggs!
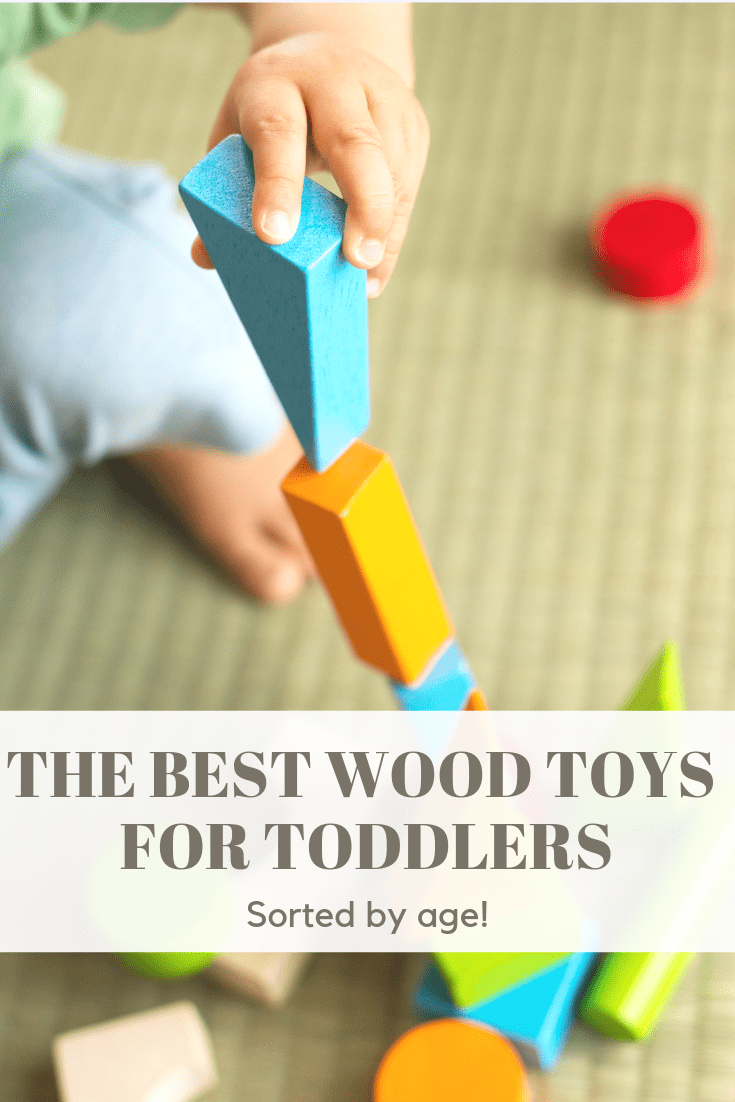
I you're interested in reducing your plastic consumption and use, you may also enjoy these posts!
The best wood toys for toddlers
Non-Toxic Easter basket stuffers for toddlers

Leave a Reply