This post may include affiliate links, which means I may make a commission on purchases made through these links at no additional cost to you.
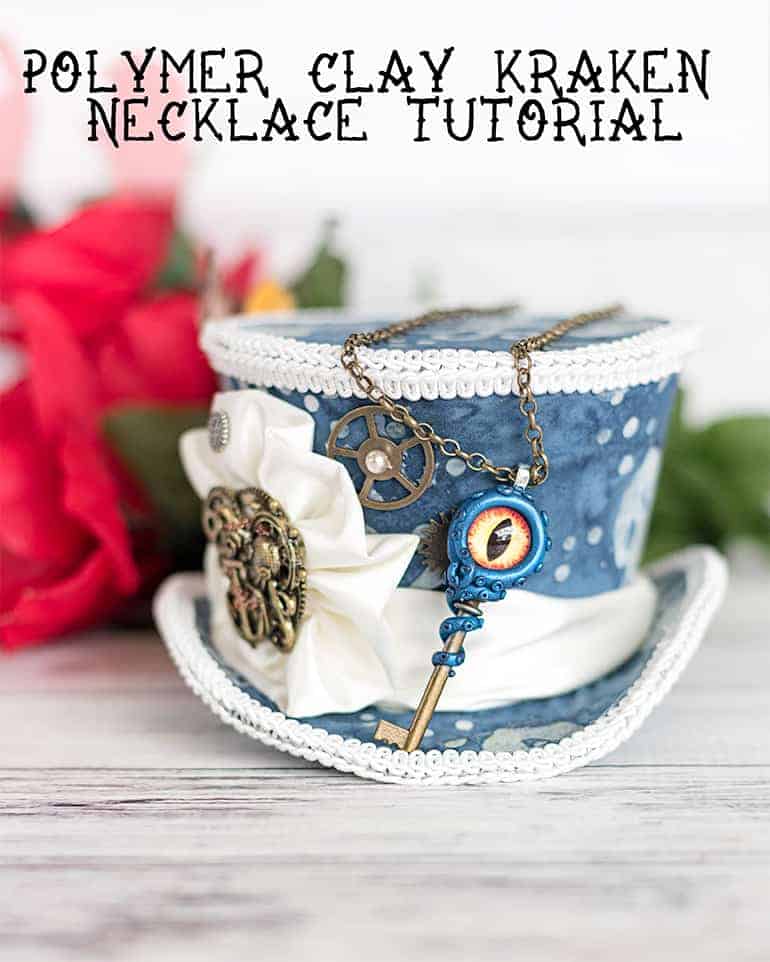
This DIY kraken necklace tutorial is so perfect for Halloween! Learn how to make an easy polymer clay octopus necklace with photos!
For the past couple of months, my husband has been very interested in "tako hunting," otherwise known as fishing for octopus. Things with tentacles and intense looking eyes have definitely been part of my life lately! Add that to my general like of Halloween, even though we haven't really 'celebrated' it while living in Hawaii, and you get this polymer clay kraken necklace tutorial! I really hope you enjoy this post and using it to make your own DIY kraken necklace. =)
So this sounds really goofy, but I've also been considering making a friendship/love necklace with octopus tentacles to share with my husband. They could make a cool interlocking heart or something. I bet he'd really love it, no matter how wacky it sounds to other people! It seems like a fun spin on the friendship bracelet idea. Remember friendship bracelets? Alright, enough reminiscing, let's get to the awesome octopus necklace tutorial!
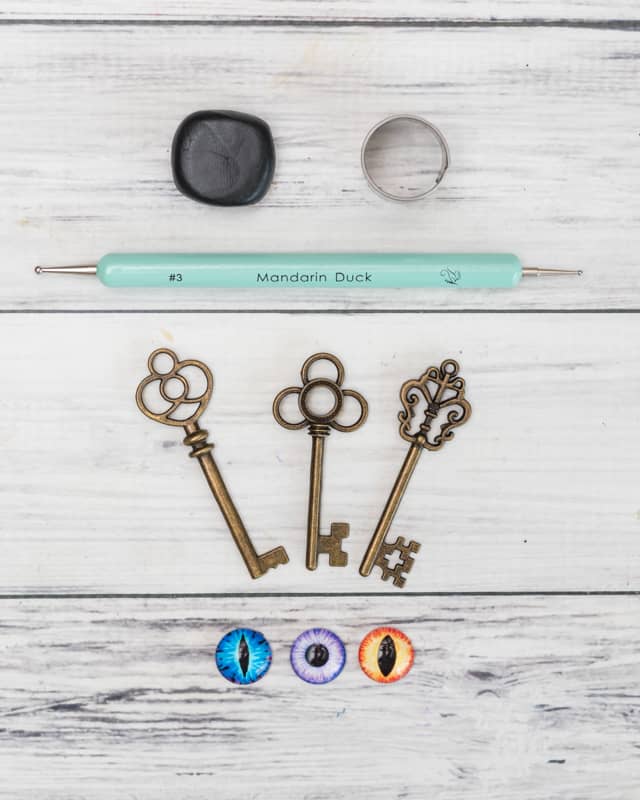
Materials needed for a DIY kraken necklace
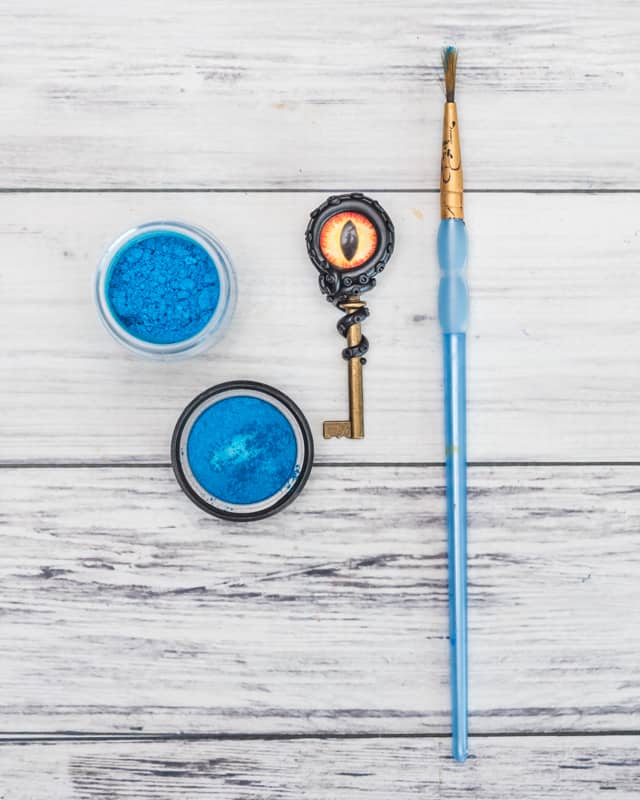
- Polymer clay
- I choose to use Premo! Sculpey because it's more durable than "regular" Sculpey.
- Either pick your preferred kraken color or you can use black and add mica powders or Pearl EX like I did.
- A skeleton key
- A glass eye. Make sure it's glass and not plastic or it will melt!! You can purchase glass eyes at craft stores or make your own with a flat marble and craft paint.
- A small ball head/dotter tool
- Etsy seller Mandarin Duck is a great resource for dotter tools and lovely mica powders
- A small circle cutter approximately the size of your key's top or a hobby knife
- A pasta machine reserved for clay use or an acrylic roller
- A piece of paper or crardstock to bake your clay on
- A bail & adhesive for attaching it. E6000 is a popular jewelry glue, but please make sure to use it in a well-ventaliated area. I decided to use Original Tacky Glue for my necklace. We'll see how it holds up!
- A cord or chain to make your necklace (and clasp, pliers, etc. if needed)
- Liquid polymer clay or Bake & Bond - optional
Polymer clay octopus necklace tutorial
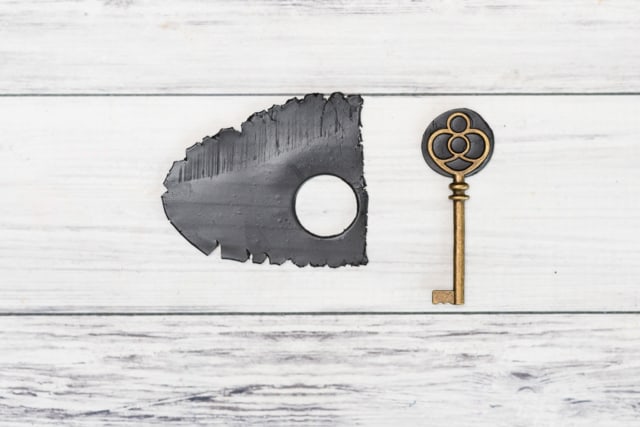
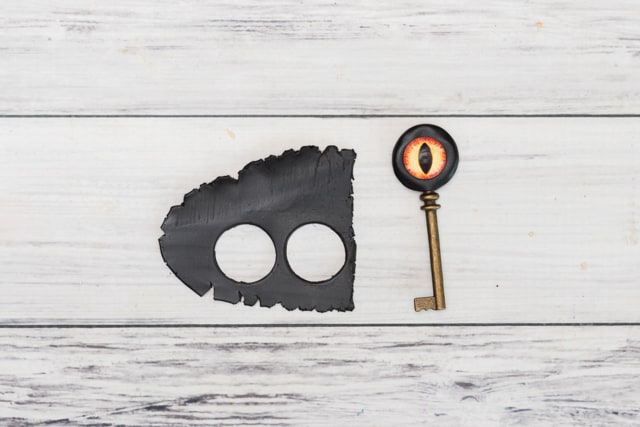
Condition a small piece of polymer clay. Condition simply means knead and work with the clay until it becomes more pliable. The square shown in the photo above is what I used for this necklace and I had leftovers, so you don't need all that much.
Roll out the clay using your pasta machine or acrylic roller, then cut out a disk that's approximately the size of your key's top. If it's a little too small, gently roll the disk out until it's large enough. If it's too large, you can trim some away with a hobby knife. Gently press the key into the disc, as shown.
Repeat to cut a second disk and make a key sandwich.
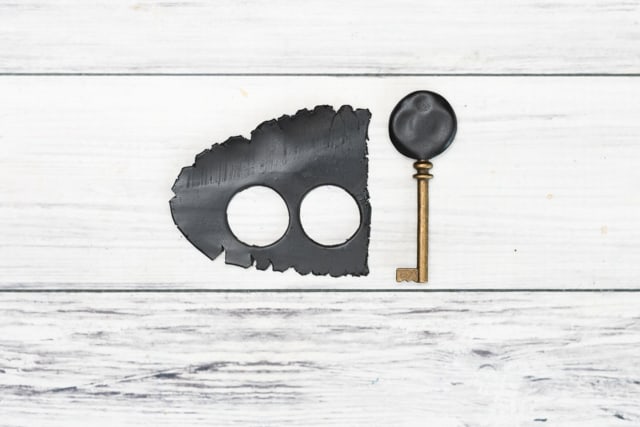
Position your eye and press gently into place. You'll be adding tentacles to help hold it in place, but if you'd like you can place a drop of liquid polymer clay or Bake & Bond on the eye's back before placing it.
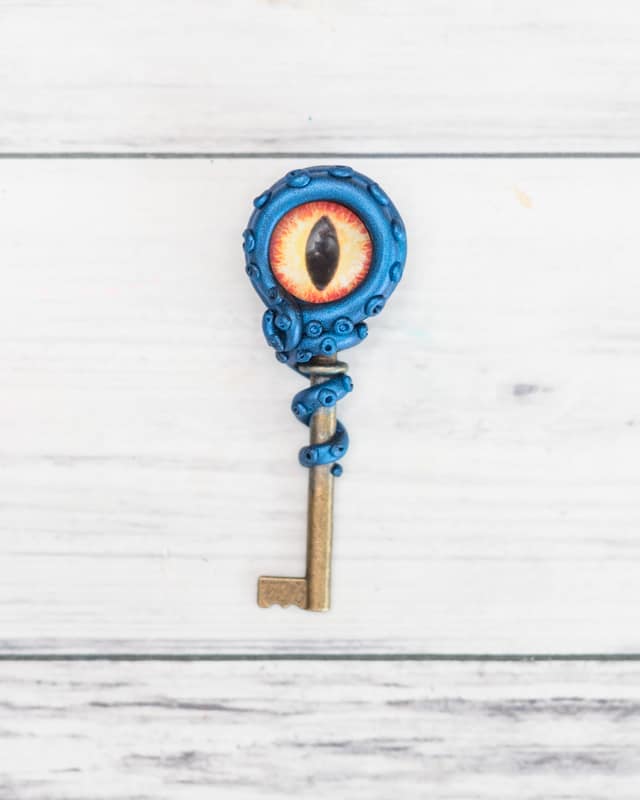
Have fun making and adding tentacles! All you need to do is roll out small "snakes" of clay and wrap them around your key and eye. It usually takes me several tries before I'm satisfied with the result, so don't be afraid to remake your tentacles until you like the way they look. If you'd prefer not to add a bail, you can make a loop with your tentacles, instead.
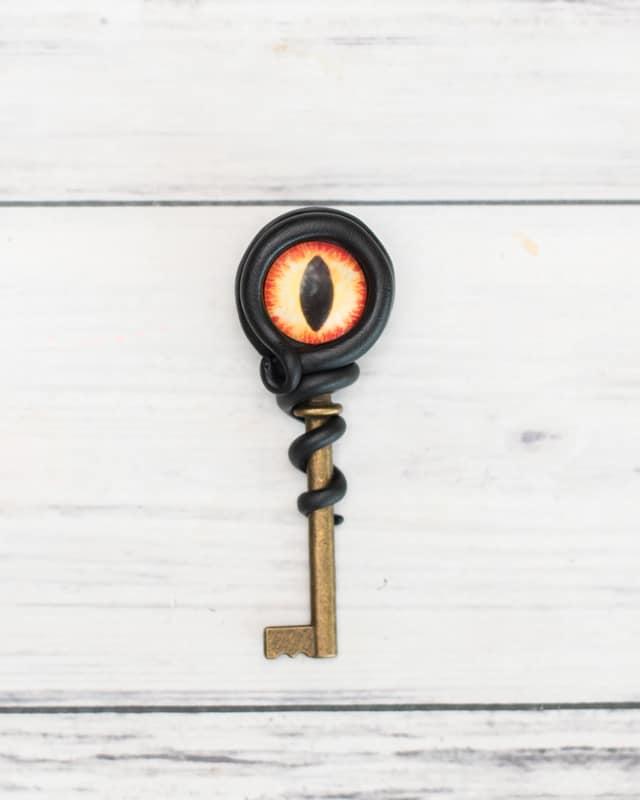
Here you can see the finished key from this tutorial next to an earlier "prototype" where I used a homemade eye and created a loop for hanging:
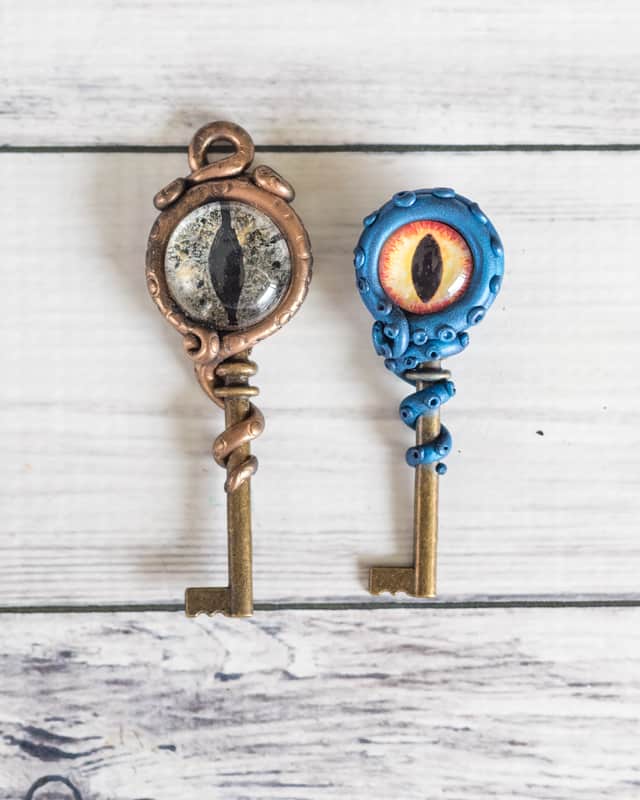
If you would like, add some suckers! All you need to do is make small balls of clay and press them into place using your dotter tool. If they don't want to stick, add a drop of liquid clay or Bake & Bond. If this seems like too much work, you can just add little indents with your dotter tool directly on the tentacles, instead. For the key on the left above I used the front of a ball point pen with the ink retracted to make small circles.
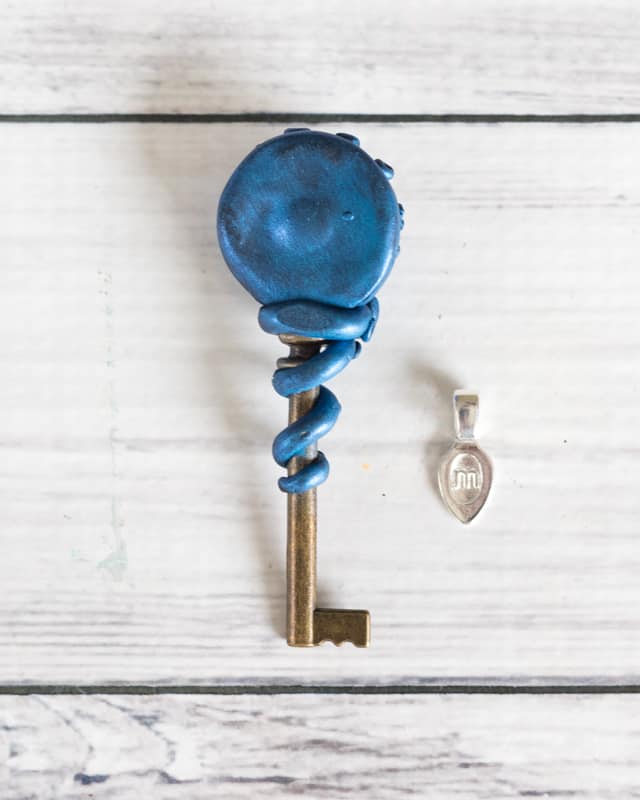
If you're using mica powders or Pearl EX, apply them with a brush or just with your finger.
Bake your piece according to your clay's directions. Temperatures and times vary, so please check your packaging! Make sure to place your key in the oven before turning it on and allow it to cool off in the oven, too. This helps keep the glass eye from cracking due to a sudden temperature change.
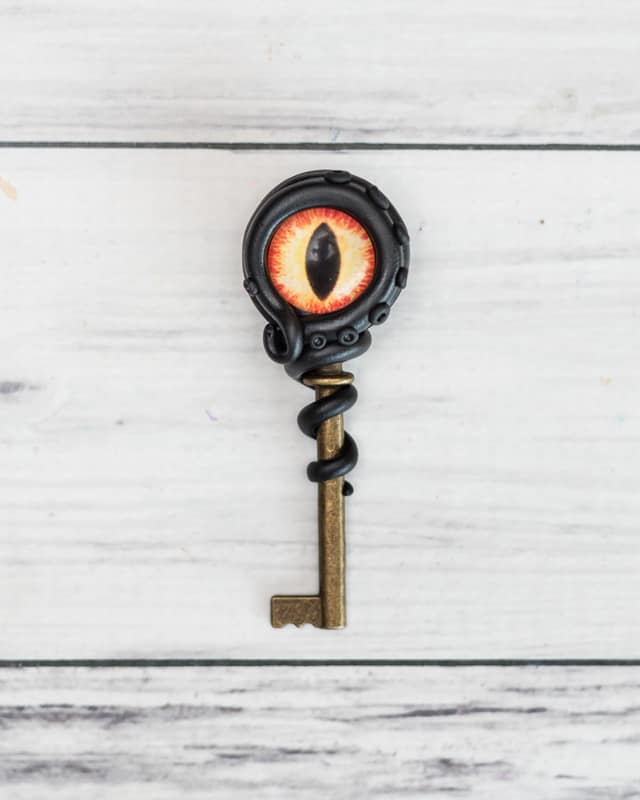
One your piece is baked and cool, attach your bail to the pendant's back using your adhesive of choice. (Ideally you'd use a bail that matched your key, but this size and finish is literally all my local craft store has!)
Add a chain or cord and wear your awesome new kraken necklace!
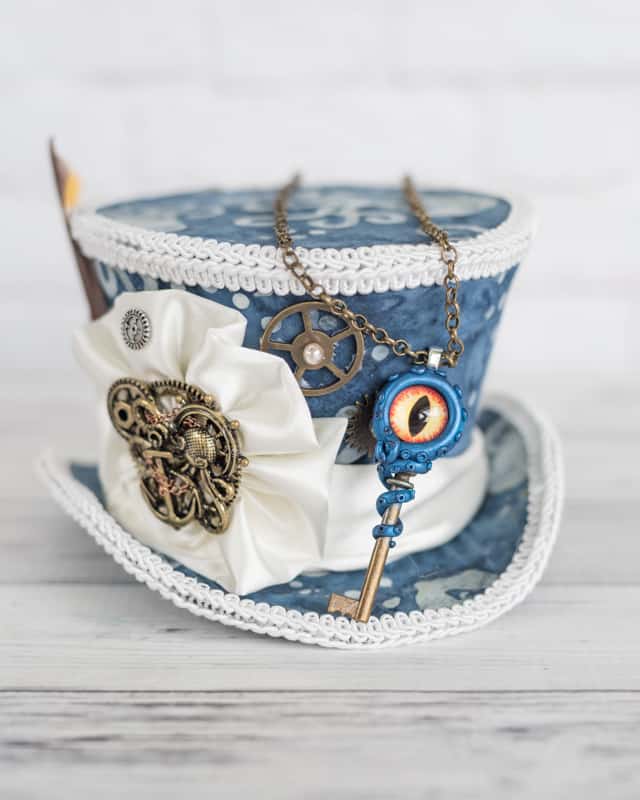
I have absolutely no idea what I'll be doing for Halloween this year, but at least I'll have this cool DIY kraken necklace to wear during October! {{Actually, that's not entirely true... I can confidently say that on Halloween I'll either be caring for a newborn, giving birth, or wondering when Baby will decide it's time to come out!}} ***EDIT*** Yep, I was caring for a newborn! Our little lady arrived shortly before Halloween. We had an absoutlely wonderful birth experience thanks to Hypnobabies. You can read about it here - no gory details!
Do you have any Halloween plans yet? Or plans to make anything for Halloween?
![]()
J.
ARGH! I like the prototype so much better. Dying for a tutorial or at least some tips on how you made the eye in that one.
Natasha
I didn't share about the eye fro that one because I followed tutorials already provided by other people. =) I just used some black acrylic craft paint to make the pupil on a flat marble, then rubbed some Inka Gold (if you don't know what that is, you can see some on Amazon here https://amzn.to/2zRDzUQ) on the back after the paint dried. The tentacles are very similar, I just looped one around at the top to make a bail. I used a a very small circle cutter to make the tentacles, but you can also use the front of a ball point pen with the nib removed or drawn up. The clay was also black and painted with PerlEx. I hope that's helpful!
J.
It was helpful, thank you so much. I'm grateful for the time you took. And on that topic, I love your tutorials. The work you do putting them up is much appreciated. They give me some really fun ideas, so it's always a treat to come and see if you have anything new up. 🙂
Natasha
Thank you so much!