• Skip to main content
  • Skip to primary sidebar
The Artisan Life
  • Dot Marker Pages
  • Learning Center
  • Free Printables
    • Free Printables for Summer
    • DIY Squishies
    • dramatic play printables
    • Printable Calendars
    • Fall printables
    • Winter Printables
    • Valentine's Day printables
    • St. Patrick's Day printables
    • Earth Day
    • Easter printables
    • Mother's Day
    • Thanksgiving Printables
    • Christmas Printables
  • Preschool + K
    • Alphabet Tracing Worksheets
    • Dot Marker Pages
    • Cut & Paste Crafts
    • Preschool Math
    • Fine Motor Practice Pages
    • Spanish Preschool Pages
  • Coloring Pages
  • Recipes
    • Healthy dessert recipes
    • main dish recipes
    • Side dish recipes
    • sourdough recipes
    • Drink Recipes
  • Gardening
  • Wood Working
    • Timber Framing Classes in South Carolina
    • Timber Framing Tools and Resources
    • Mrs Claus Wood Carving Tutorial
    • Easy Scandinavian Inspired Wood Santa Carving Tutorial
    • How to Carve a Wood Christmas Tree
    • How to Carve a Wood Jack O'Lantern
  • Shop
menu icon
go to homepage
  • Dot Marker Pages
  • Free Printables
    • Preschool worksheets
    • Free Printable Coloring Pages
    • Printable journals & planners
    • Shape Templates
  • Recipes
    • breakfast recipes
    • Drink Recipes
    • main dish recipes
    • sourdough recipes
    • breakfast recipes
  • Crafts
  • Learning Center
  • Shop
    • Instagram
    • Pinterest
  • search icon
    Homepage link
    • Dot Marker Pages
    • Free Printables
      • Preschool worksheets
      • Free Printable Coloring Pages
      • Printable journals & planners
      • Shape Templates
    • Recipes
      • breakfast recipes
      • Drink Recipes
      • main dish recipes
      • sourdough recipes
      • breakfast recipes
    • Crafts
    • Learning Center
    • Shop
    • Instagram
    • Pinterest
  • ร—
    Home ยป craft tutorial

    Super Easy DIY Row Counter for Knitting and Crochet

    Published: Oct 30, 2017 ยท Modified: Mar 2, 2025

    1686 shares
    • Share

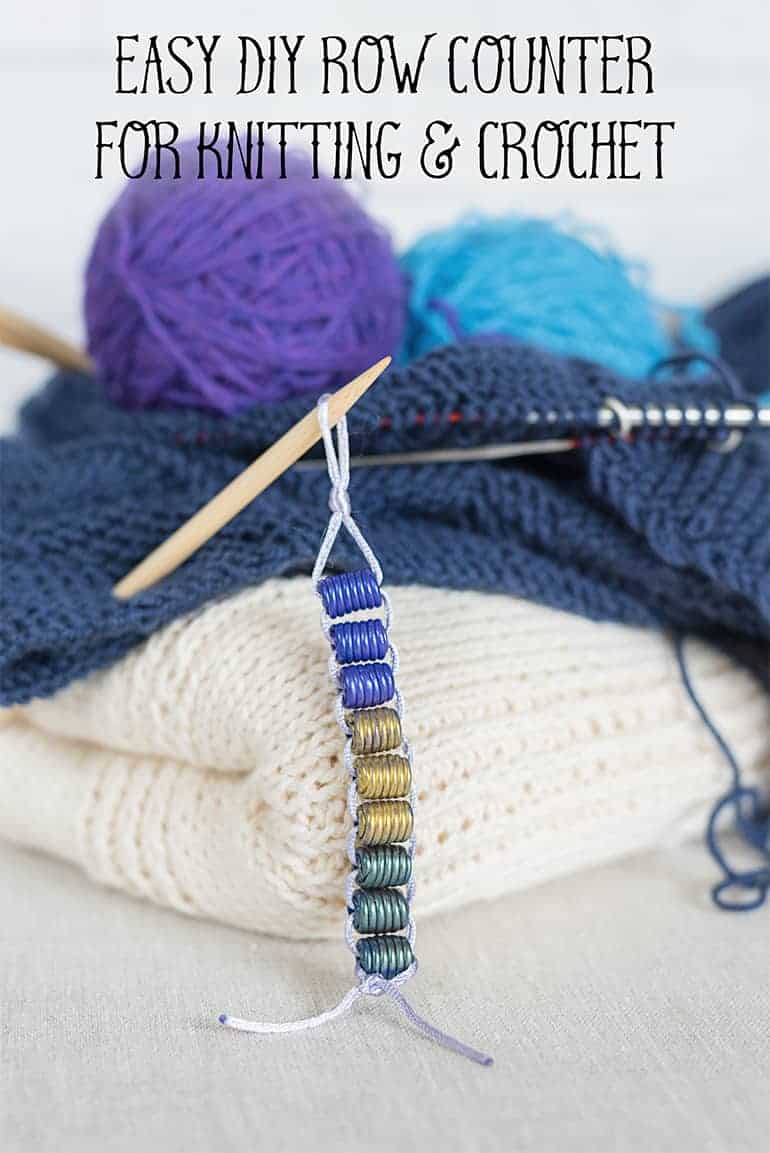
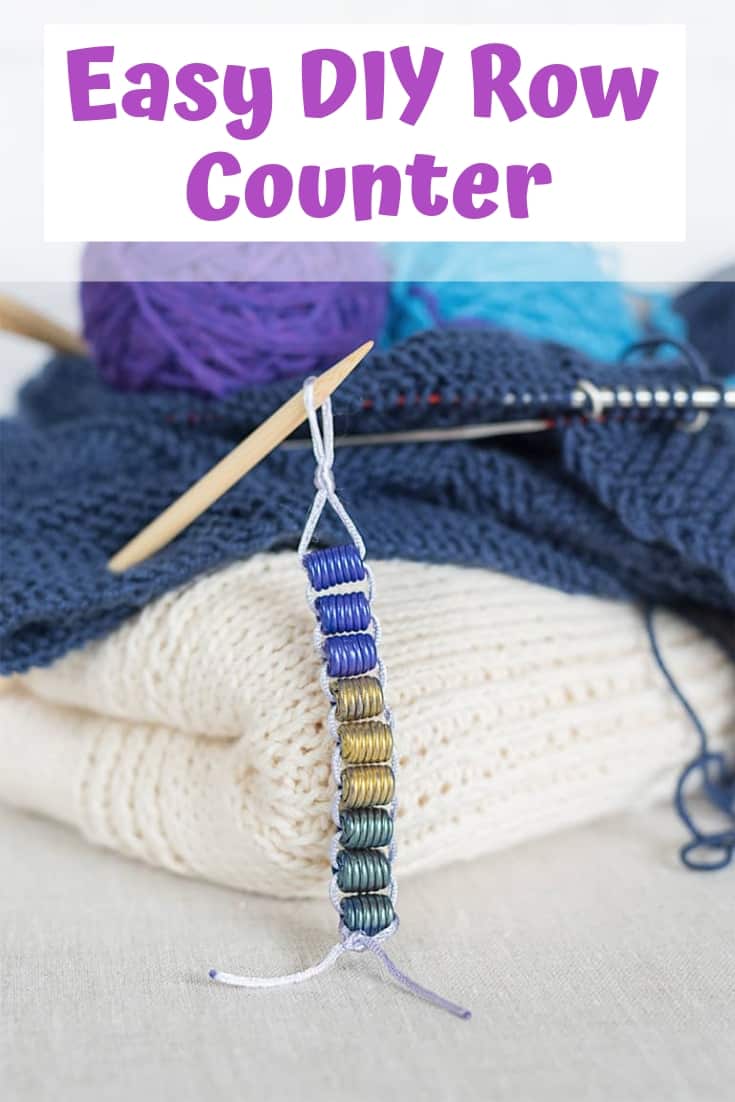
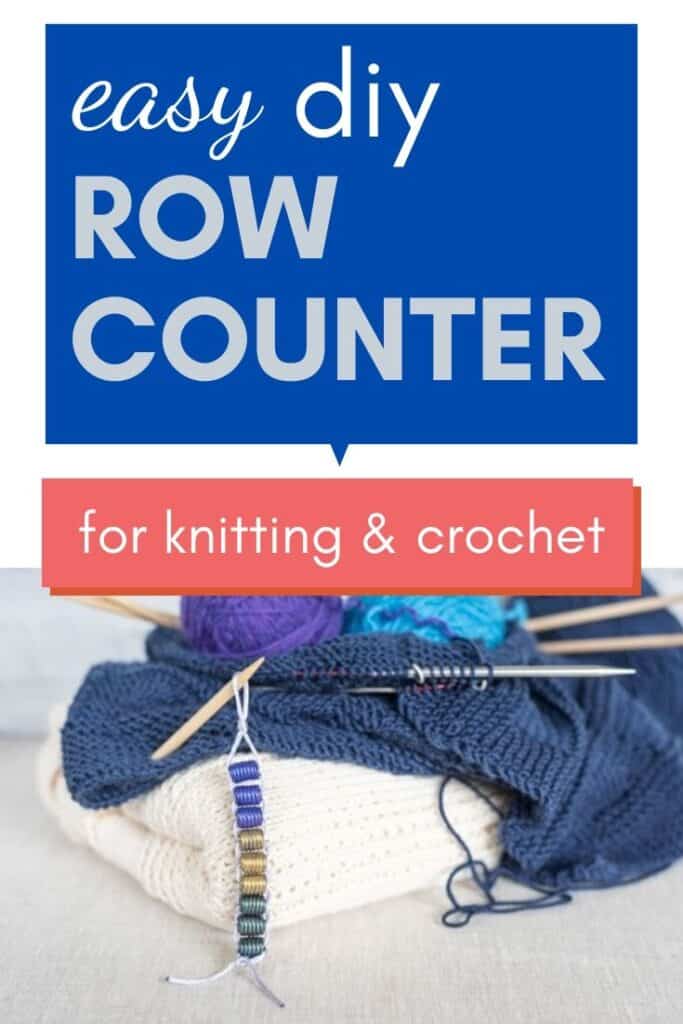
    Discover how to make this super easy DIY row counter for crochet or knitting using materials you already have at home!

    Sometimes one thing just leads to another and then all of a sudden you find yourself trying to knit a baby blanket even though you live in the tropics. It's kind of a long story that began with making a crochet baby 'pod' photo prop, included my husband deciding that he wanted to visit the local yarn store, and ended with me deciding I wanted to go back to the yarn store for myself.

    I was merrily knitting along one day when I realized the design looked a little off...because I'd accidentally knit two additional rows. I didn't have a row counter and was trying to make tally marks on paper, but apparently had forgotten to make those marks a couple of times. Womp-womp.

    Me, being me, decided that surely I could make something to serve as a row counter and started searching the internet. Most of the tutorials I found for DIY row counters were either far nicer and more elaborate than what I had the supplies for (think nice looking bracelets) or not very well explained/photographed, which is why I decided to share this tutorial for a super easy DIY row counter for knitting and crochet!

    easy DIY row counter for knitting and crochet

    This post may include affiliate links, which means I may make a commission on purchases made through these links at no additional cost to you. 

    2021 update: Make sure to grab this free printable knitting planner to finally tame your yarn stash and organize your UFO pile!

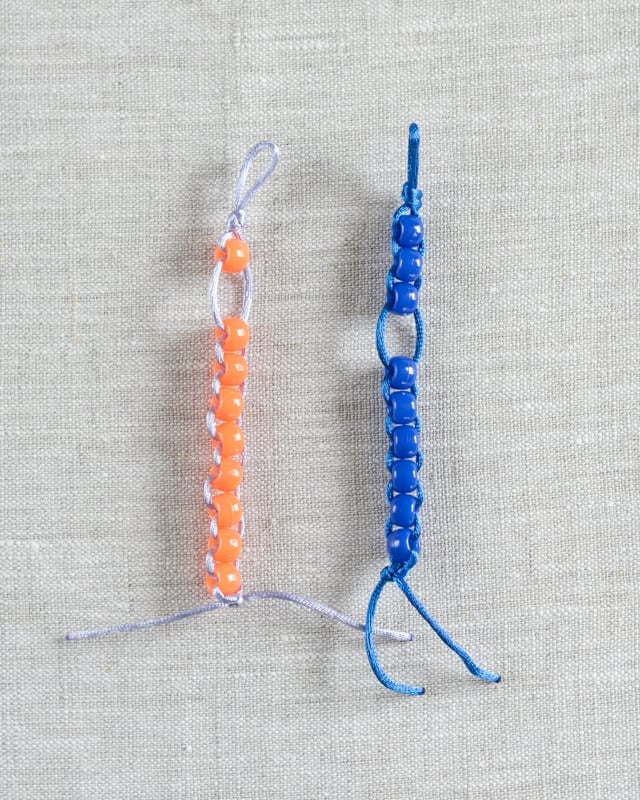
    To start off, I made two very basic row counters using what I had on hand - plastic pony beads and rattail cord. You need larger beads to make this row counter and the plastic ponies were all I had.

    I made two counters with nine beads apiece - one to serve as my 10s place and one for my 1s place. They're very easy to use. Simply slide a bead down to count. When you use all 9 on the 1s strand, then move one down on the 10s strand and reset the 1s. This photo shows a row count of 13, for example:

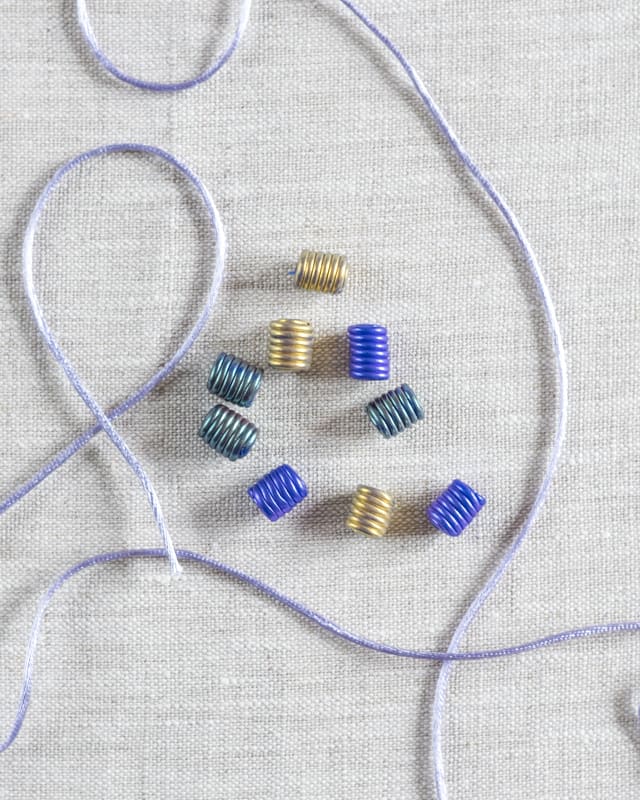
    I really don't like the look of plastic pony beads, so a couple of days later I pulled out the polymer clay and made some nicer looking beads.

    You can use whatever medium or large beads you'd like, but make sure your cord can pass through each bead twice.

    Additionally, while I'm normally a huge fan of natural fibers, something synthetic like rattail works really well for this project because it's smooth and won't fray as badly with use over time.

    Materials needed for a DIY row counter

    • Beads!ย Use beads with a large hole so you can thread them on your cord.
      • You can make each strand as long as you'd like, but I recommend making two strands with 9 beads each. This will allow you to count up to 99 rows.
      • Make the two sets of beads somehow distinguishable so you can tell your 10s from your 1s. You could use different colored beads, different cord, or differentiate them in some other way.
    • Cord or ribbon. The exact amount depends on the beads you're using, but I used about 2 feet of rattail for each of the row counters I've made so far.
    • Scissors
    • A lighter - optional but helpful for preventing fraying with synthetic cording
    • A lobster clasp - optional. If you added a lobster clasp to the top loop, you could easily clip your row counter(s) onto projects or project bags.
    supplies for a DIY row counter for knitting or crochet

    How to make a super easy DIY row counter

    Cut about 2 feet of cord. If your beads are very large, go ahead and cut a little bit extra - you can always trim some off!

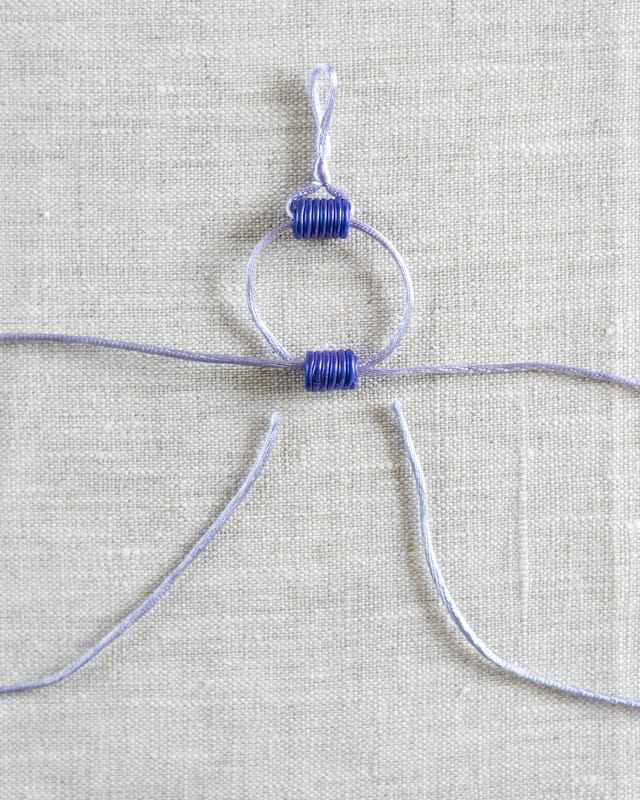
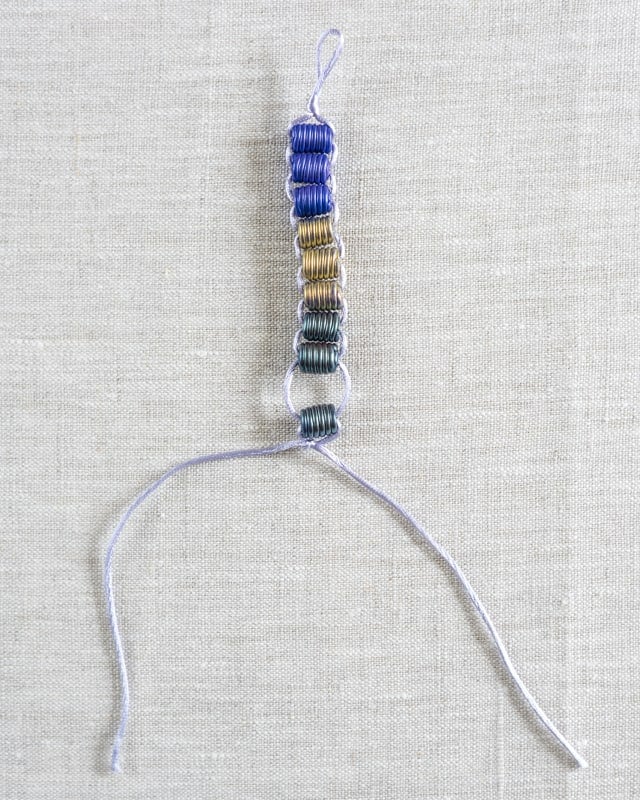
    Center the cord and tie a knot to form a loop. The loop doesn't have to be huge, but make it large enough to easily slip over your favorite needles so you can easily carry your row counter along with your project, if you'd like. If you're using a lobster clasp, string it it onto the cord and then make your knot/loop.

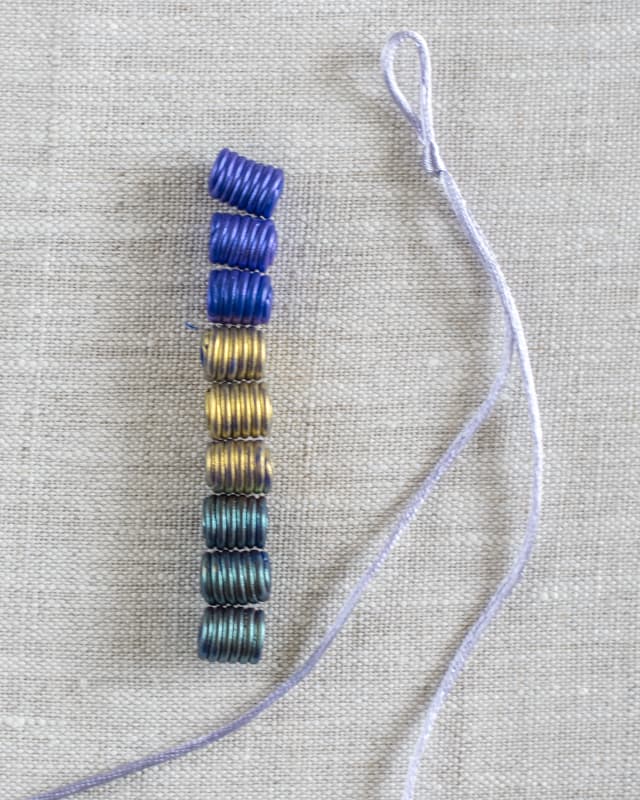
    String one bead. Pass both ends of the cord through the bead, one from left to right and the other from right to left, like this:

    string beads to make DIY row counter

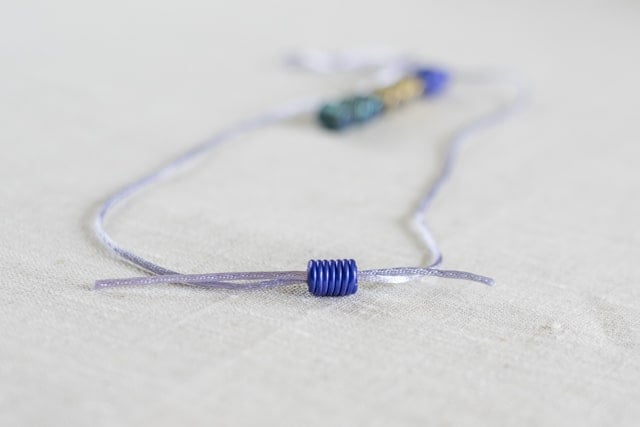
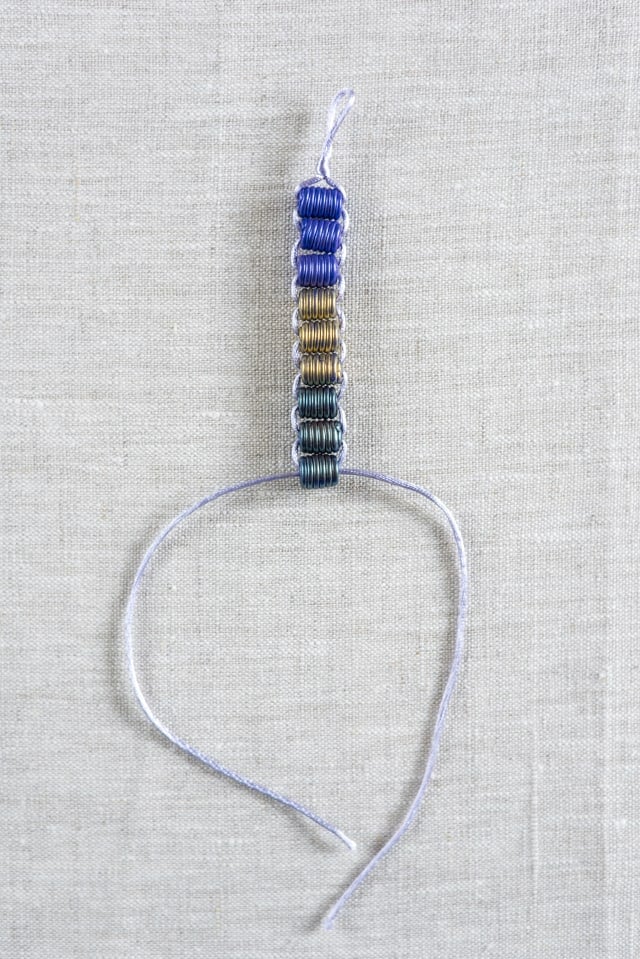
    Bring the bead up to the 'top' so it's snug against the loop and repeat with another bead:

    string beads to make DIY row counter 2

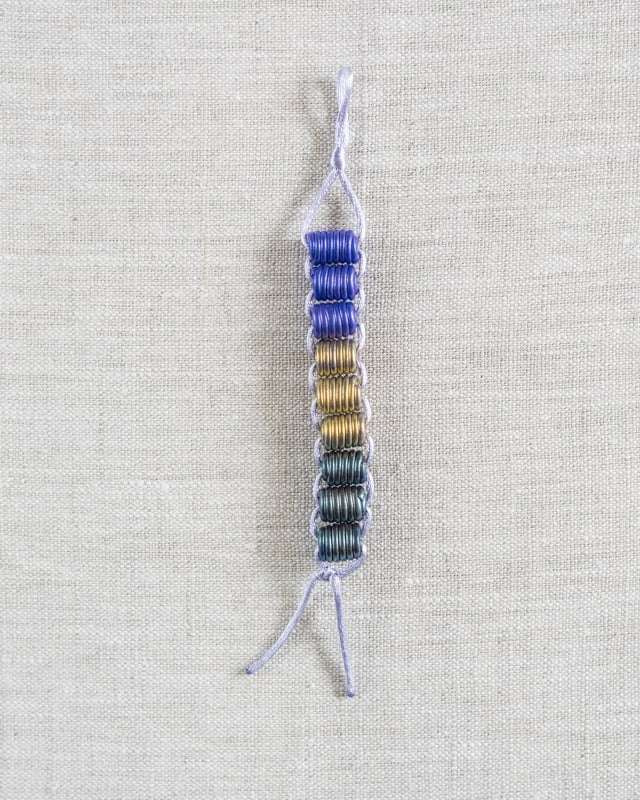
    And another, etc. Do not immediately tie off your cord once you've added the last bead!

    beaded diy row counter

    Instead, slide the final bead down a bit to create a gap. I like for the gap to be slightly wider than one bead.

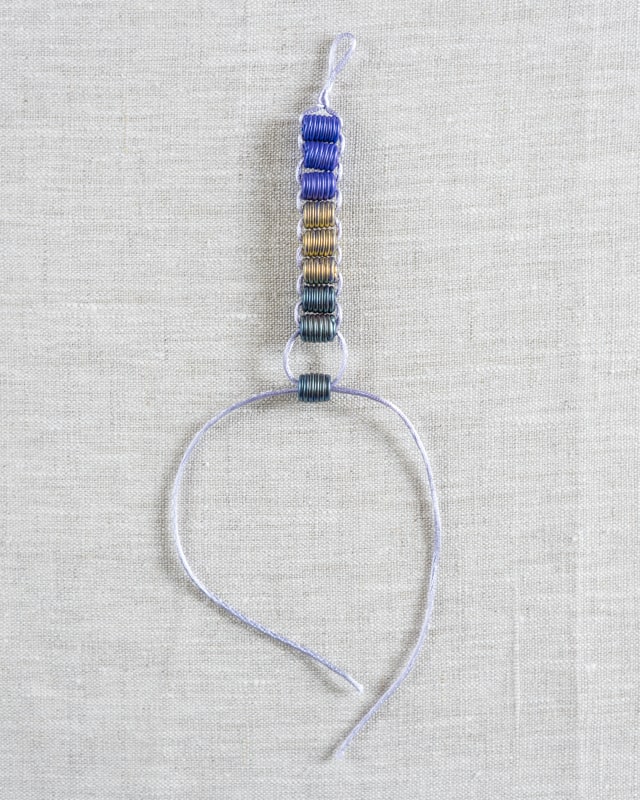
    Knot off your cord with a square knot. You'll probably need to hold the bead in place while you cinch down the knot to keep it from sliding up.

    Trim the ends, leaving at least an inch to help protect the knot, then singe the ends with a lighter if you're using a synthetic cord.

    Use and enjoy your new row counter!

    easy DIY row counter for knitting

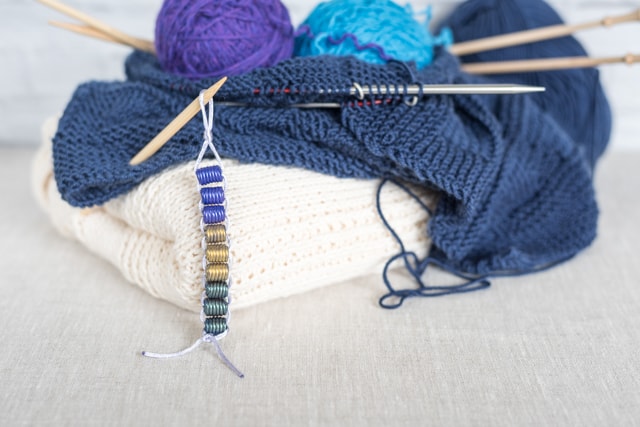
    The lovely, completed blanket on the bottom was a gift from my mom (who is a far better knitter than I will ever be!). Speaking of gifts, this row counter could be a really nice handmade gift idea, especially if you're a beader with a stash of lovely beads that need using!

    Remember to Pin this post!

    Remember to Pin this post now to your knitting or crochet board so you don't lose track of it!

    Easy DIY Row Counter for knitting and crochet

    Have you ever made a DIY version of something you could buy at the store just to avoid going out?

    Text "easy DIY row counter for knitting and crochet" with a picture of a homemade stitch counter on a knitting needle sticking out of a hand knit baby blanket.

    SaveSave

    More craft tutorial

    • a hand holding a candy corn DIY paper squishy. A cookie and strawberry squishy are visible in the background
      DIY Paper Squishy Candy Corn
    • a hand holding a paper squishy watermelon with a strawberry squishy in the background
      DIY Paper Squishy Watermelon
    • purple sensory slime with sequins
      DIY Sensory Slime Recipe
    • a hand holding a homemade paper squishy chocolate chip cookie
      DIY Cookie Paper Squishy (with free printable templates!)
    1686 shares
    • Share
    text "access hundreds of printables now"

    Reader Interactions

    Comments

    1. Debra Davis

      July 09, 2022 at 8:28 am

      Thank you for the photo tutorial for making a stitch counter. I needed one that was easy to transfer for various projects. Beautiful idea.

      Reply
    2. Elisabeth Mount

      October 12, 2020 at 7:32 am

      Thanks for this. I'm going to make a bracelet version for my kids, so that they have a reason to wash their hands frequently at school. (I figure if they get to move a bead and see how many times they can wash in a day then maybe we'll be a bit safer!)

      Reply
    « Older Comments

    Leave a Reply Cancel reply

    Your email address will not be published. Required fields are marked *

    This site uses Akismet to reduce spam. Learn how your comment data is processed.

    Primary Sidebar

    Text "Hello! I'm Natasha!" with an image of a woman a blue shirt

    Hi, Iโ€™m Natasha! I'm so glad you're here.

    I'm a former classroom teacher with a Masters of the Arts in Teaching turned homeschooler. I share educational & planner printables for busy parents and teachers. Simplify your life when you discover how to instantly access 700+ printables here!

    More about me โ†’

    Popular

    • text "free printable July dated calendars for 2026" with previews of two calendar pages for July 2026
      Free Printable July 2026 Calendars
    • text "free printable alphabet coloring pages or preschoolers" with six alphabet coloring sheets
      Preschool Alphabet Coloring Pages
    • text "free printable alphabet coloring and correct letter formation pages" with a preview of six alphabet coloring sheets
      Free Printable Alphabet Coloring Pages A-Z
    • an ice cube tray sushi salmon roll
      Easy Ice Cube Tray Sushi

    The Artisan Life is a participant in the Amazon Services LLC Associates Program, an affiliate advertising program designed to provide a means for sites to earn advertising fees by advertising and linking to Amazon.com.

    The Artisan Life also uses affiliate links for other sites. For a full look at my policy, please visit its page here.

    Footer

    โ†‘ back to top

    About

    • Privacy Policy
    • Disclaimer

    Save Time

    • Join the Learning Center for quick & easy access to hundreds of printables

    Contact

    • Contact

    If you have any questions feel free to contact me directly here: natashalh(at)stalkingthewildsnark(dot)com. I do not accept guest posts and will not respond to unsolicited requests for guest posts or links. Stock images byย Depositphotos

    COPYRIGHT ยฉ 2012 โ€“ 2025 The Artisan Life ยท ALL RIGHTS RESERVED