This post may include affiliate links, which means I may make a commission on purchases made through these links at no additional cost to you.
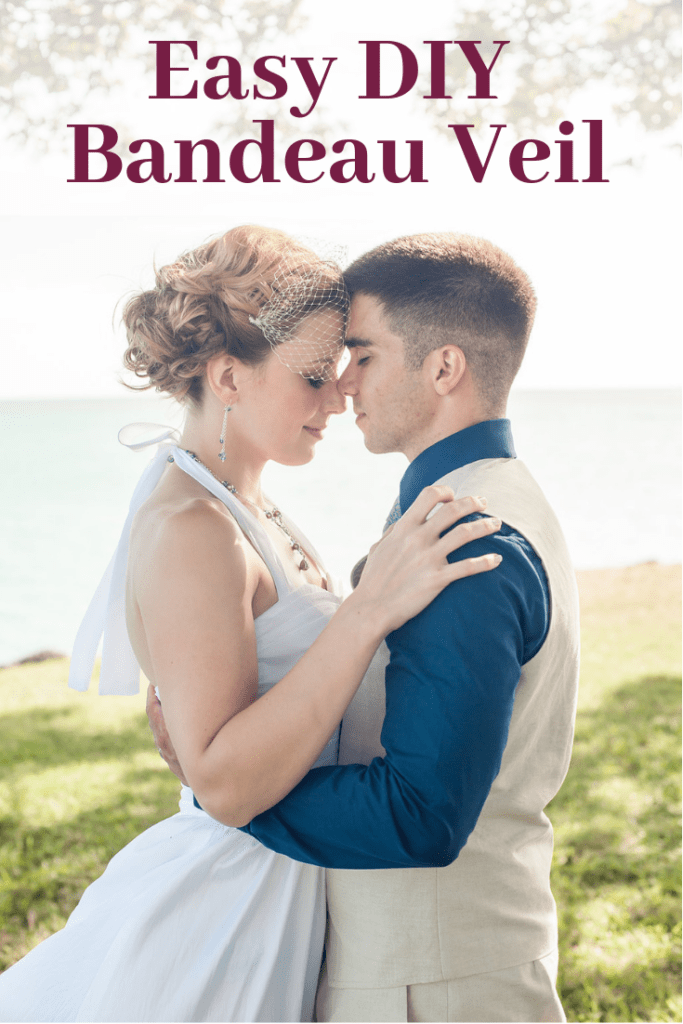
I honestly don't know how many outdoor weddings I've worked. After about five total years of working at a site with two wedding venues, the number is pretty high. As a result, when Papi Chulo and I decided on an outdoor wedding (something I'd told myself I'd never do after seeing so many of them!), I knew I had to pick a shorter dress and veil. I've seen too many brides dragging their trains and long veils through grass, mud, pine straw, and whatever else nature through in their way! There are plenty of shorter veil styles, but I decided on a bandeau veil because it has vintage-y appeal and shouldn't be bothered (as much) by any afternoon sea breezes we might encounter.
After seeing how much even a simple bandeau veil costs to buy, I realized I could make about a dozen for the same price as buying one. Making a simple bandeau veil is ridiculously easy, and doesn't even require any real sewing. It is suitable for a wedding or, when done in other colors, could make a great costume accessory. Here's a tutorial for a very easy DIY bandeau veil. Are you ready to save yourself a lot of money? Let's do it!
Photographing white on white is tricky, so I've upped the shadows on several of the pictures in this tutorial to (hopefully) make the process easier to follow. If you have any questions, please leave a comment and I'll do my best to help!
Materials for DIY bandeau wedding veil
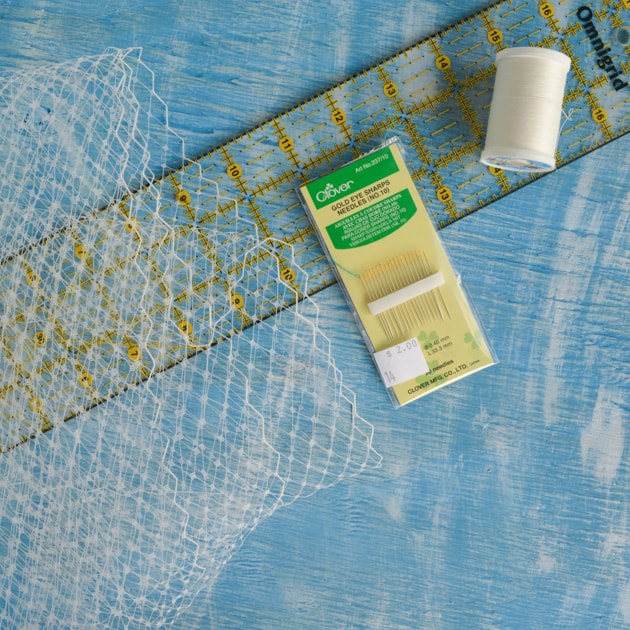
- Half a yard of 9" French/Russian veiling
- A ruler, tape measure, cutting mat, or something else to measure with
- Scissors
- Thread to match your veiling
- A needle
- Clear-drying glue (optional)
- Two bobby pins that match your hair color
- Small pearls or beads for embellishment (optional)
How to make a wedding veil
1. If you think you have a particularly large or small head, begin by measuring from just above the back of your ear, up and around your forehead, and then to just above/behind your other ear. If you don't feel like measuring or don't think it's necessary, 15" is a standard length for veiling used to make a bandeau veil.
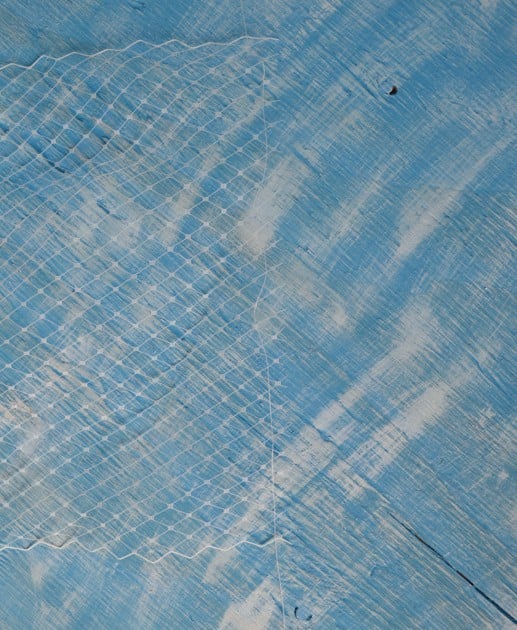
2. Cut a 15" piece of veiling, or cut a length that matches your custom measurement.
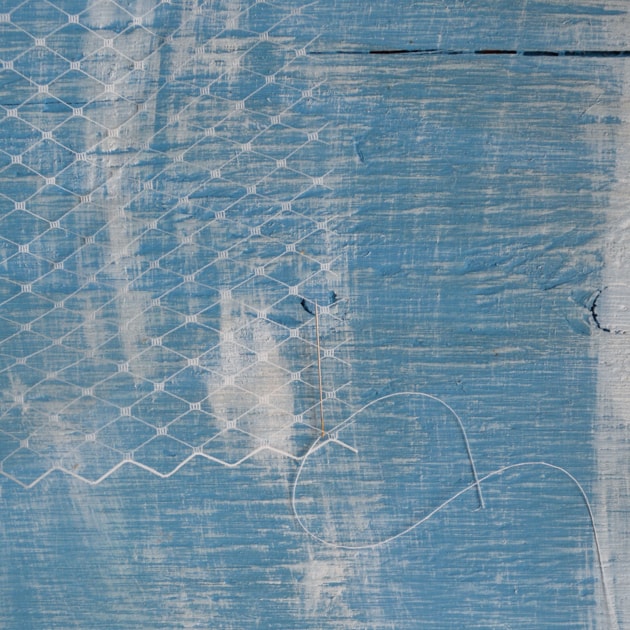
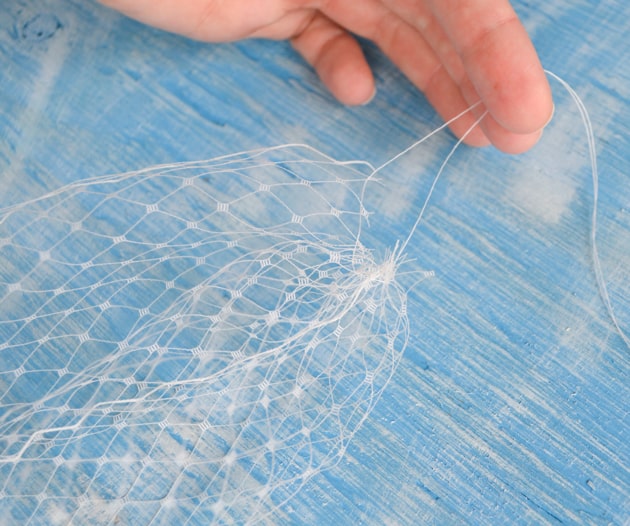
3. Thread a needle with about two feet of thread but do not knot it. Instead, draw the needle in and out through the veiling on one narrow edge, as shown. Leave free thread on both ends of the veiling.
4. Repeat step #3 with the other narrow end.
5. Holding both ends of a thread securely, scrunch the veiling together.
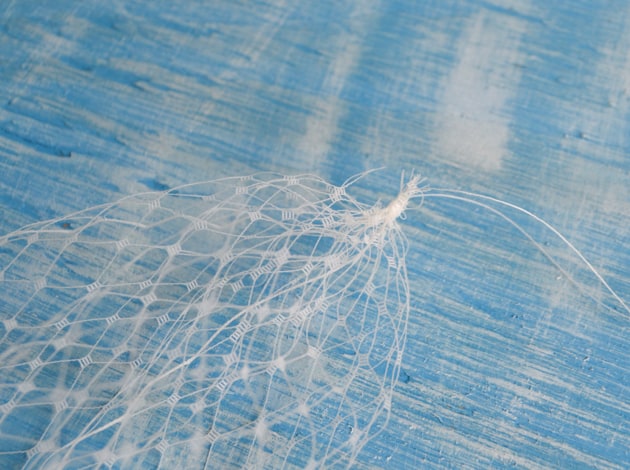
6. To secure the thread, wrap it tightly around the gathered ends, several times and then knot it securely. Dab a small amount of a clear drying glue on the knot before trimming away the excess thread.
7. Repeat step 6 with the other end of the veil.
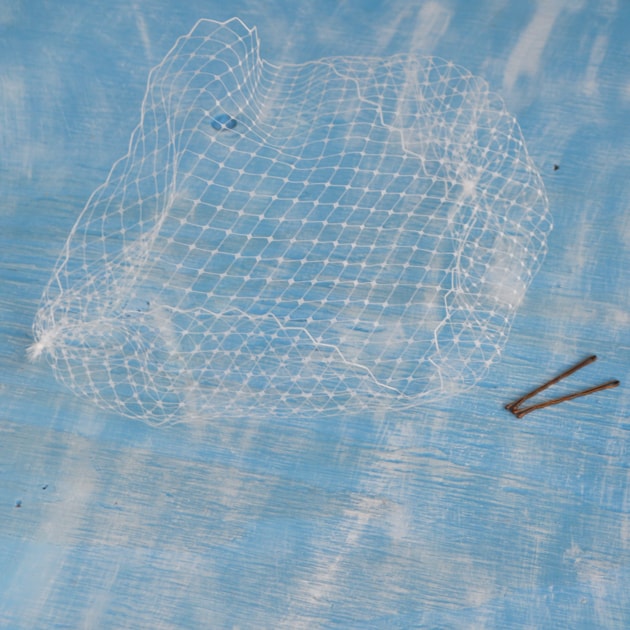
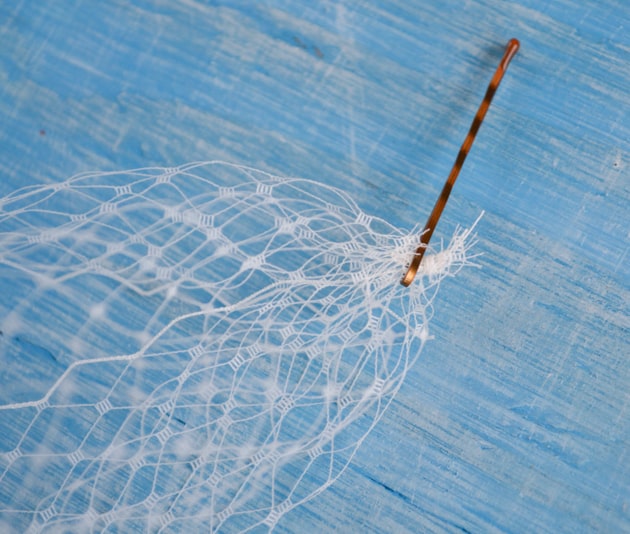
8. Now all you need to do is insert the bobby pins through the veiling just inside the gathered ends, then it's ready to wear!
I've decorated my "actual" veil with tiny pearls, but you can leave it plain or add embellishments as you see fit. It looks quite pretty as-is, don't you think?
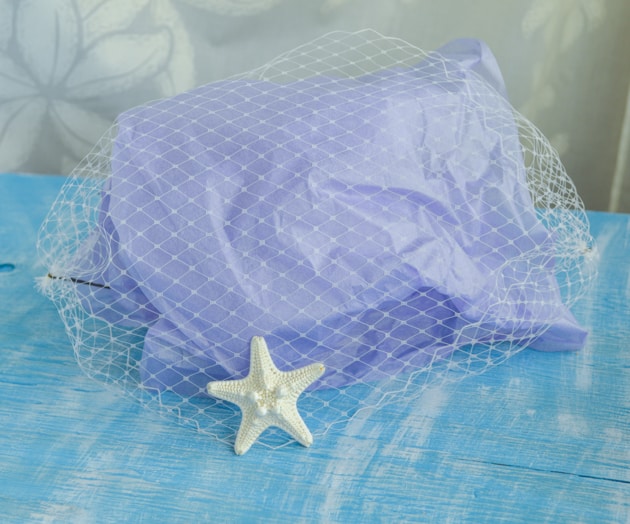
You may be able to find French/Russian veiling at a local craft store, and I know there are several colors available on Amazon. Nine inch veiling works best for a bandeau, so make sure you check the width before you order! I purchased my veiling on Etsy from the seller Mary not Martha at $3/yard. I bought two yards, just in case I messed up, so I ended up with material to make four veils for about ⅓-1/5 the price of purchasing a single ready-made veil. Not bad! I kind of hope I get to make a costume soon because Amazon has all sorts of cool veiling colors.
Other styles of veil make take longer to make, but I firmly believe a bandeau veil is easy enough that anyone can make a custom bandeau veil. I hope this tutorial helps save you some money and that you enjoy!

Edi
What a fun piece. Can't wait to see how you decorated yours.
And I love that you're making a lot of your own things for the wedding....makes them even more special 🙂
Natashalh
I'm lucky to have the time to make so many things! And a very supportive man who enjoys that I want to make things instead of thinking I'm weird for it. =)
Paige @ Little Nostalgia
I used to sell these in my wedding shop! They're ridiculously easy to make, but so many people didn't even want to try.
Natashalh
It's crazy to me how people seem to get this idea that either they can't make something because they're "not crafty" when the item is actually super easy! But, hey, I guess I shouldn't complain too much because if everyone was like us then we wouldn't have many customers!