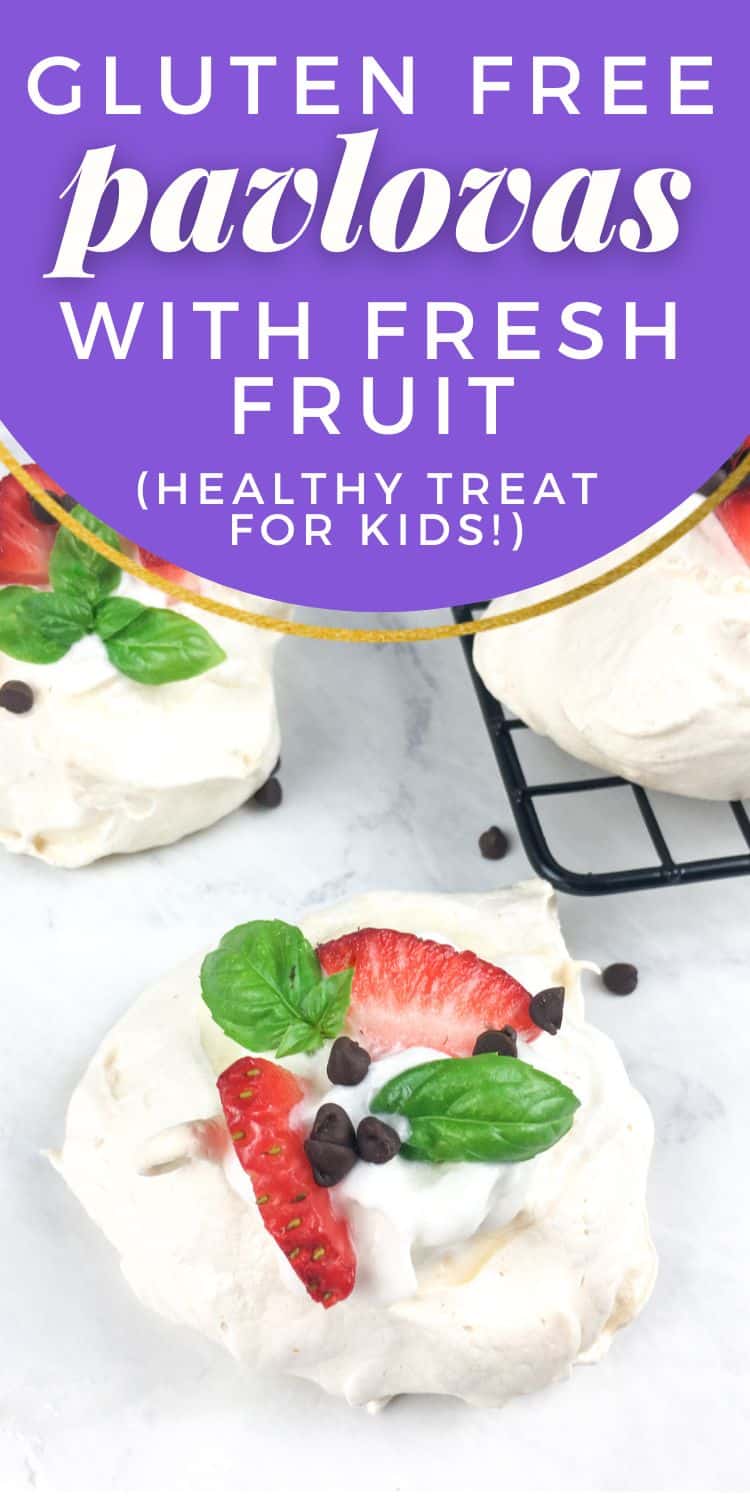
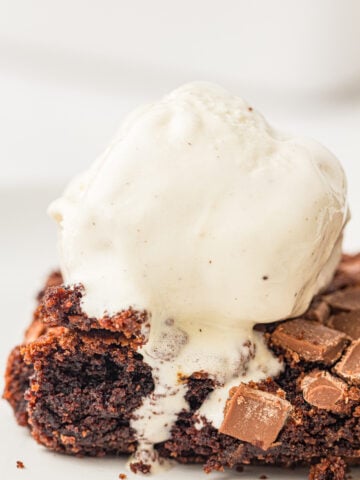
I have always adored meringues and pavlovas. They are delicious and feel so decadent, but they can be surprisingly healthy (when compared to other desserts). Easy to make low sugar and always gluten free, they're sure to delight your family.
This post may include affiliate links which means I may earn a commission on qualifying purchases at no additional cost to you.
I made these maple meringues and these lavender meringues for our self-catered wedding a loooong time ago. Meringues are my favorite Valentine's Day treat because they have relatively little sugar per piece and are always gluten free.
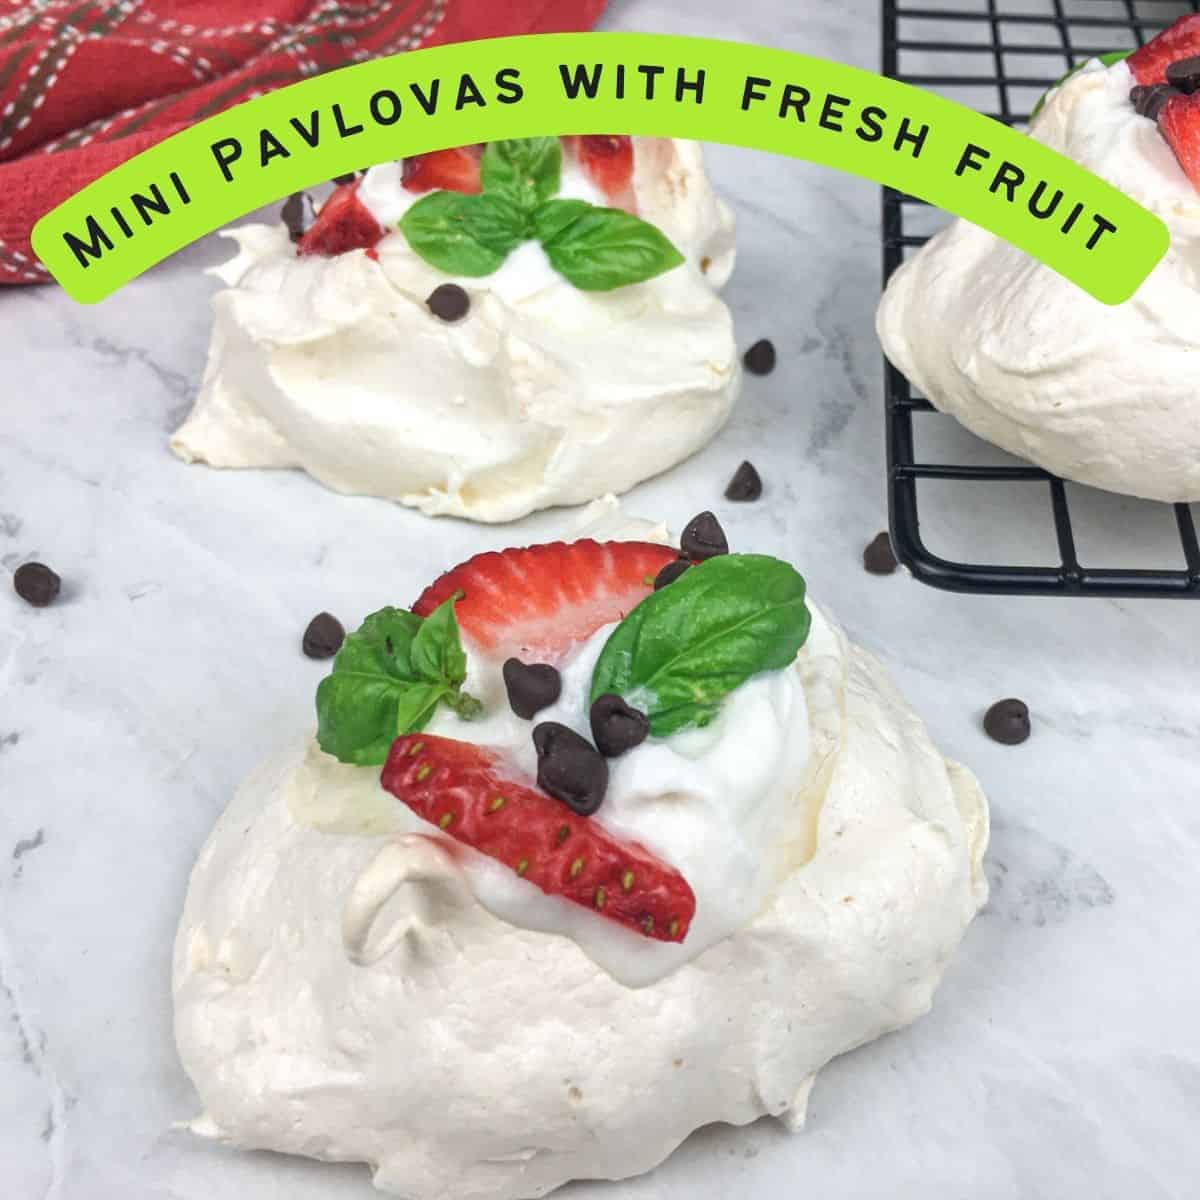
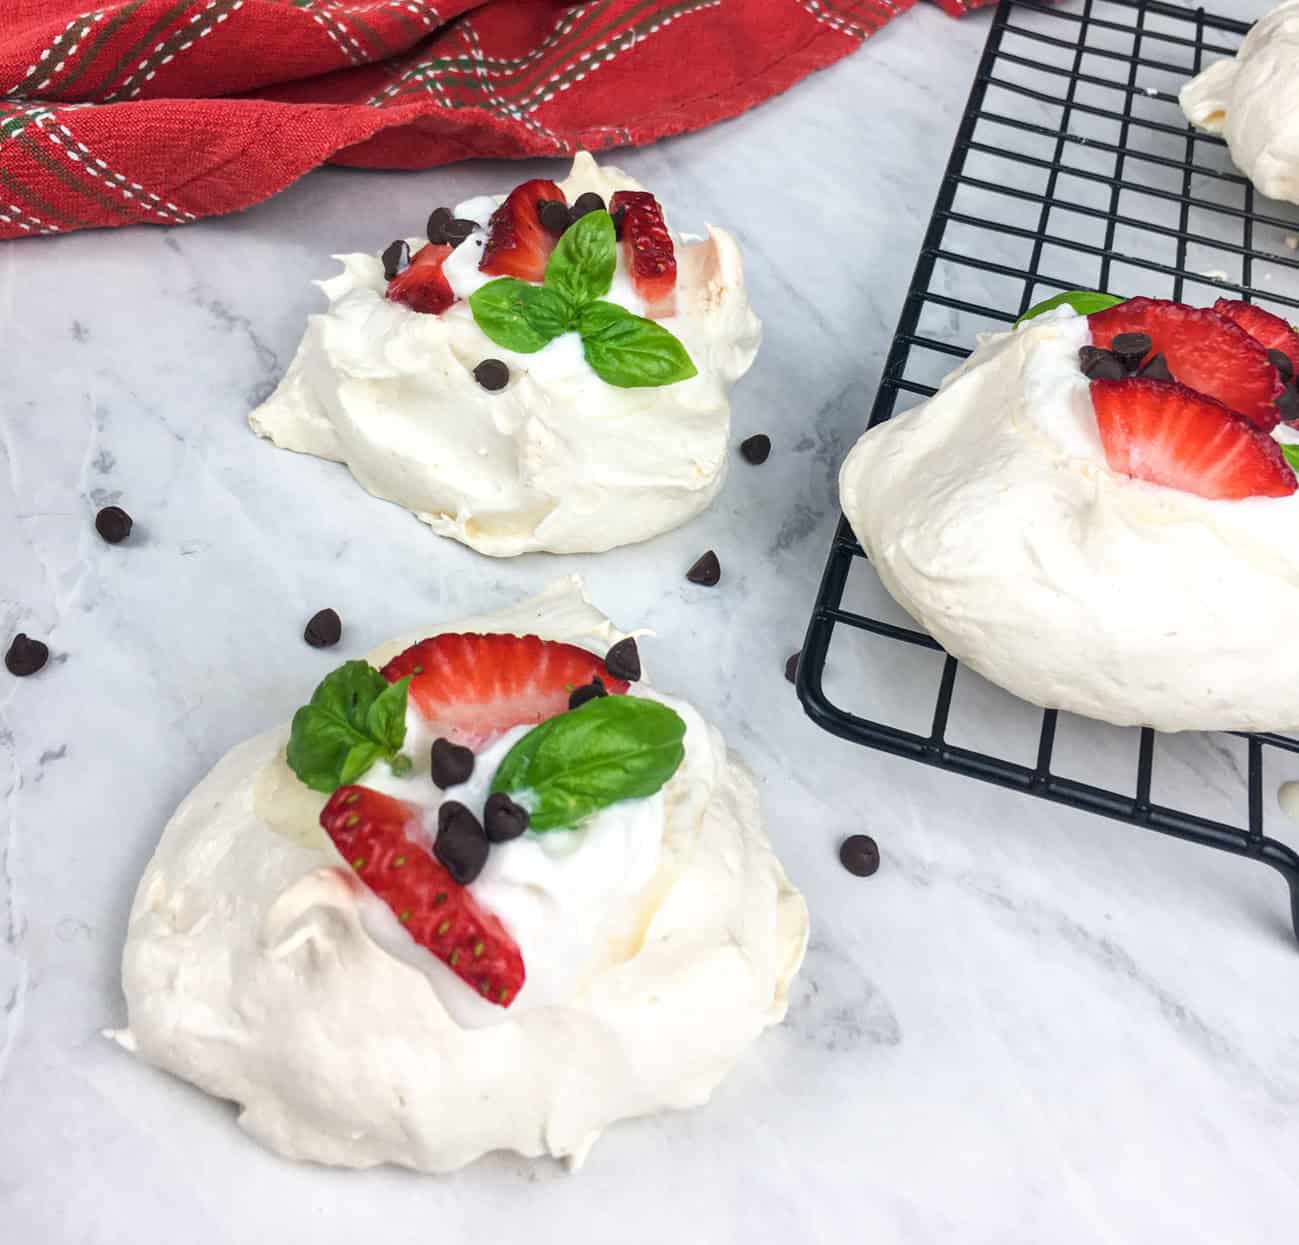
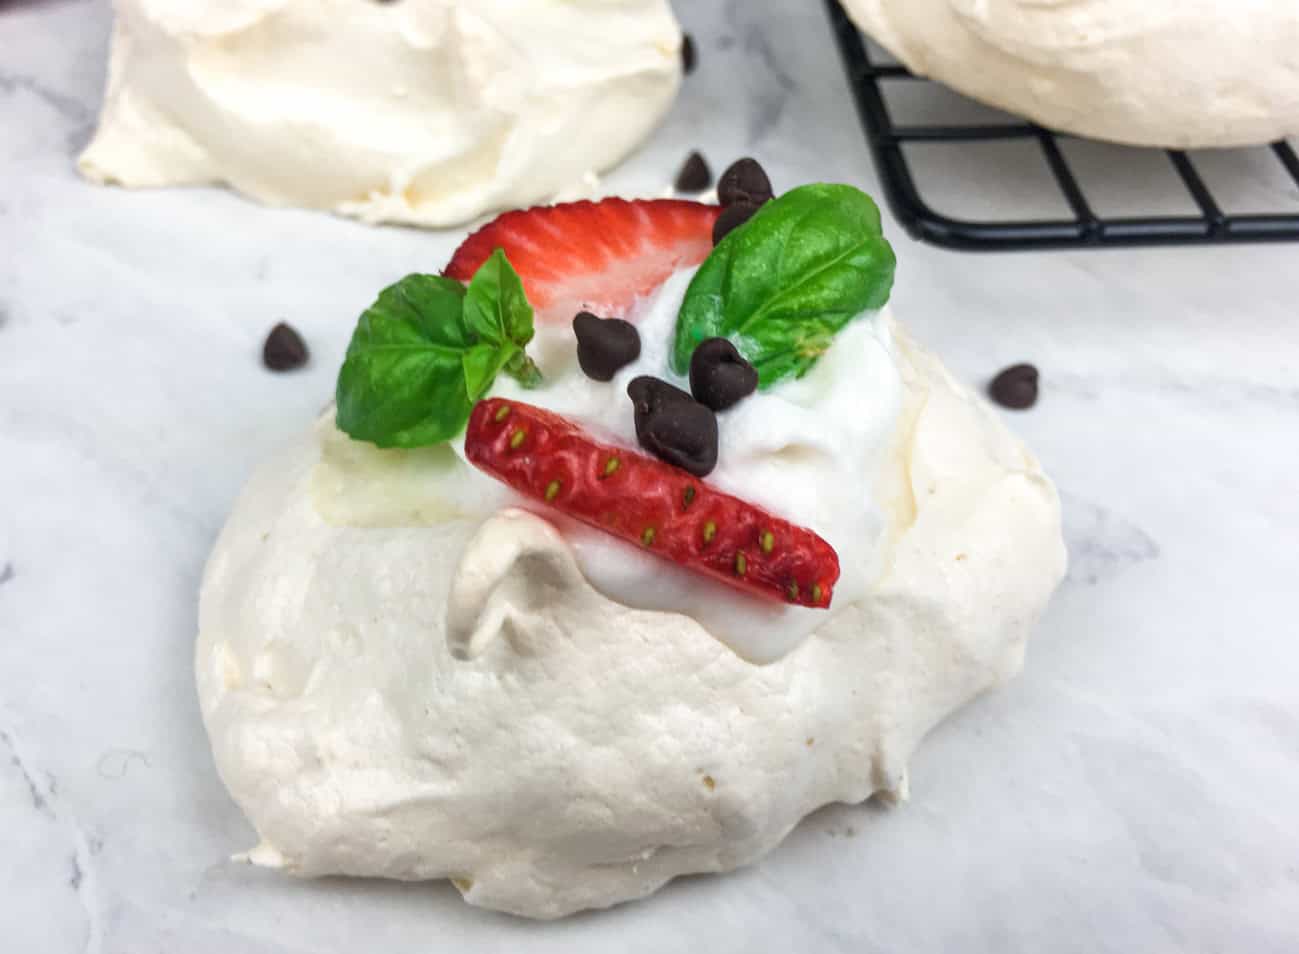
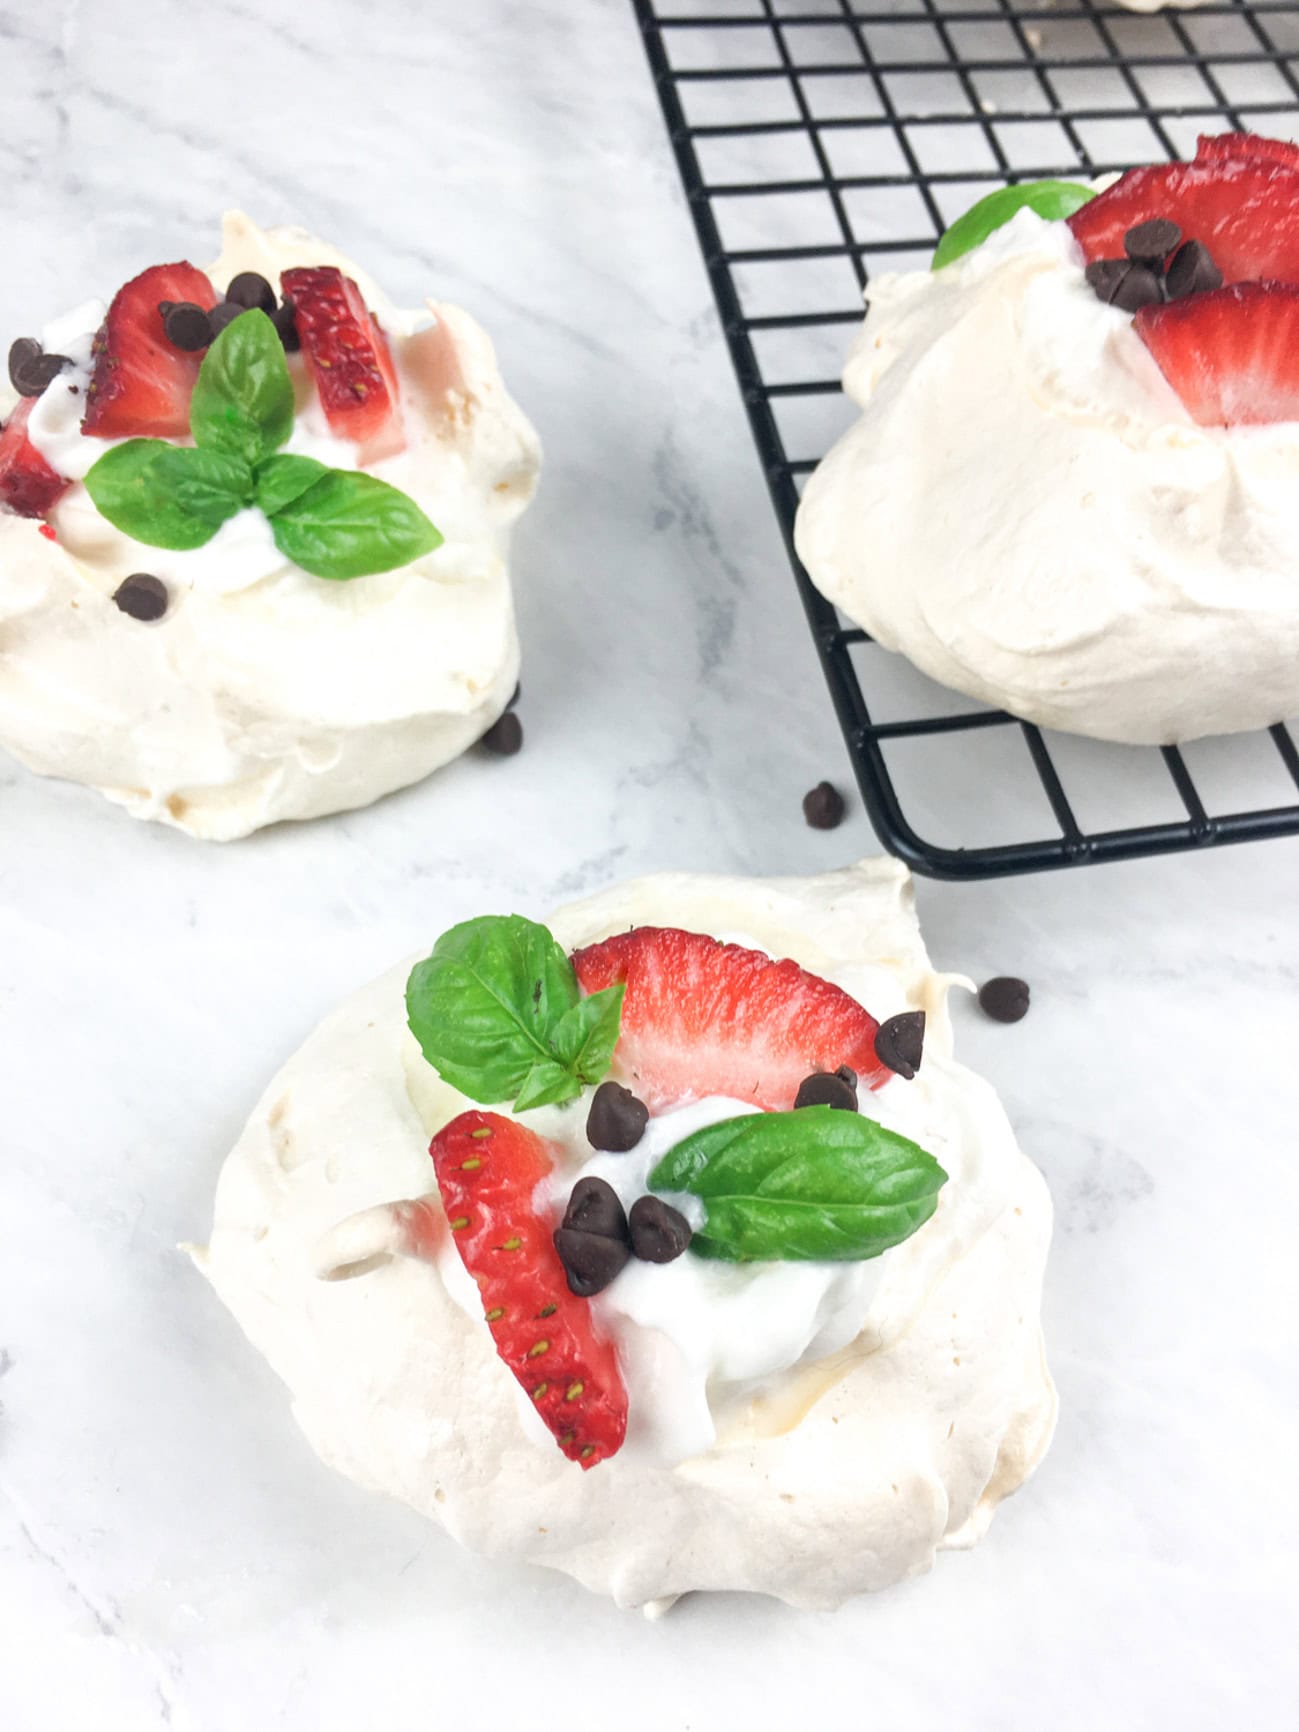
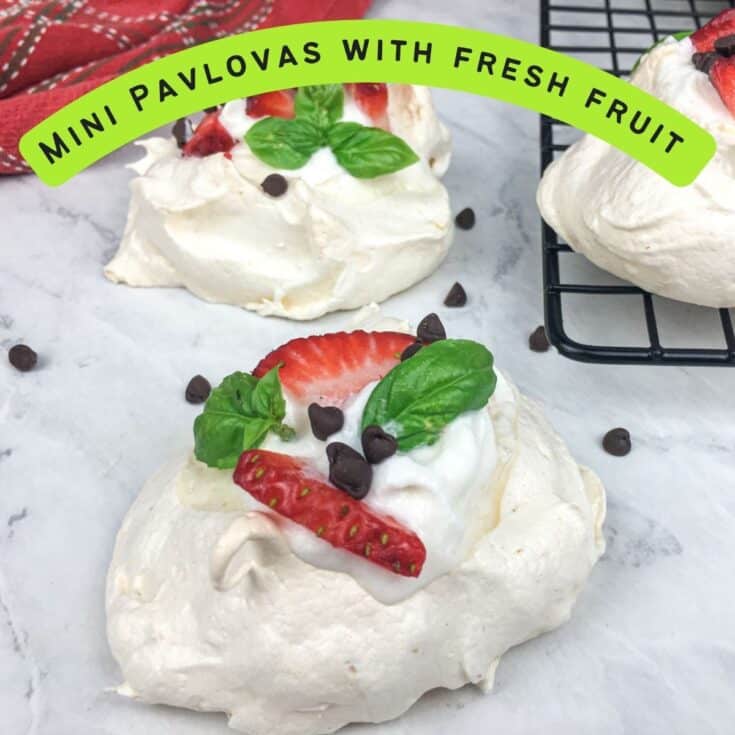
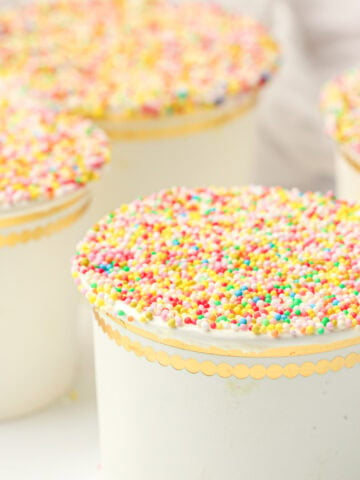
These mini pavlovas with fresh fruit are a fantastic healthier dessert option that feels special without being overly rich.
Pavlovas are a delicious type of meringue with a delightful crispy exterior and a soft marshmallow-like interior.
They can be served immediately from the oven or stored for a couple days prior to topping and serving.
The whipped cream will soften and break through the crispy exterior, so be sure to add the toppings right before serving.
I'm not a hug fan of using a lot of sugar, but skimping too much will affect the structure of the meringue. You can swap in granulated monk fruit sweetener, if you'd prefer.
Even though it seems like a lot of sugar, the egg whites massively increase in volume. The amount of sugar per pavlova is pretty low.
Mini pavlovas ingredients
- 4 large egg whites, room temperature
- ¾ c. white sugar or ¾ cup granulated monk fruit sweetener (like Lakanto)
- ½ t. cream of tartar
- ¾ t. corn starch or arrowroot starch
Toppings:
- Whipped cream
- Fresh blackberries, raspberries, and/or strawberries
- Mini-chocolate chips (optional)
- Fresh mint and/or basil, to garnish
How to make mini pavlovas
Arrange oven racks toward center of the oven, equal distance apart. Pre-heat to 300°F and line two large, rimmed baking sheets with parchment paper or silicone baking sheets. Set aside.

- Baking mat (2-pack) for easy and convenient baking, roasting, or food prep
- Food-safe silicone mats can be reused, again and again
- Non-stick, flexible silicone releases food without the need for oil, cooking sprays, or parchment paper
Pulse your granulated sugar or monk fruit sweetener in a food processor to make it more fine. You don't want fully powdered sugar, but you do want it to be relatively fine. You can also purchase and use fine sugar for baking.
Using a stand or hand mixer, beat the egg whites until they thicken and turn white. Start at a low speed and gradually build up speed.
While still mixing, slowly add the sugar, one or two tablespoons at a time, until each addition in thoroughly incorporated into the egg whites. Add the cream of tartar and corn starch and continue beating until the mixture is stiff and glossy.
Spoon the mixture onto the prepared baking sheets in equal sized portions. Use the back of the spoon to create an indent to place toppings after baking.
If you want to get fancy, you can pipe the meringue into place. They will taste delicious either way.
Place the baking sheets into the pre-heated oven for 10 minutes, then reduce heat to 225°F. Continue baking for 45 minutes, then turn off the oven.
Allow pavlovas to rest in the oven for one hour without opening the door.
After one hour, remove from oven and top with whipped cream and your choice of fresh berries, mini-chocolate chips, and/or fresh herbs to garnish, if desired. Serve immediately after topping. Enjoy!
Pavlova tips
Eggs are easier to separate while they are still chilled. Once separated, reserve the yolks in the refrigerator for another use, if desired, and allow the whites to come to room temperature for 30 minutes prior to beating.
Try not to get any egg yolk in the whites and make sure your hands are freshly washed and bowl very clean. Fats and oils can cause the meringue to fail.
Start whipping the eggs on low and gradually increase your speed.
Want a printable PDF of the recipe? Grab the download from the recipe card below!
Gluten Free Mini Pavlovas
These mini pavlovas are a relatively light and healthy dessert option that's sure to delight your family!
Ingredients
- 4 large egg whites, room temperature
- ¾ c. white sugar or ¾ cup granulated monk fruit sweetener (like Lakanto)
- ½ t. cream of tartar
- ¾ t. corn starch or arrowroot starch
Instructions
Arrange oven racks toward center of the oven, equal distance apart. Pre-heat to 300°F and line two large, rimmed baking sheets with parchment paper or silicone baking sheets. Set aside.
Pulse your granulated sugar or monk fruit sweetener in a food processor to make it more fine. You don't want fully powdered sugar, but you do want it to be relatively fine.
Using a stand or hand mixer, beat the egg whites until they thicken and turn white. Start at a low speed and gradually build up speed.
While still mixing, slowly add the sugar, one or two tablespoons at a time, until each addition in thoroughly incorporated into the egg whites. Add the cream of tartar and corn starch and continue beating until the mixture is stiff and glossy.
Spoon the mixture onto the prepared baking sheets in equal sized portions. Use the back of the spoon to create an indent to place toppings after baking.
If you want to get fancy, you can pipe the meringue into place. They will taste delicious either way.
Place the baking sheets into the pre-heated oven for 10 minutes, then reduce heat to 225°F. Continue baking for 45 minutes, then turn off the oven.
Allow pavlovas to rest in the oven for one hour without opening the door.
After one hour, remove from oven and top with whipped cream and your choice of fresh berries, mini-chocolate chips, and/or fresh herbs to garnish, if desired. Serve immediately after topping. Enjoy!
Recommended Products
As an Amazon Associate and member of other affiliate programs, I earn from qualifying purchases.

I hope you and your family enjoy these mini pavlovas! Be sure to check out the posts for more healthier desserts to share with your kids.
Leave a Reply