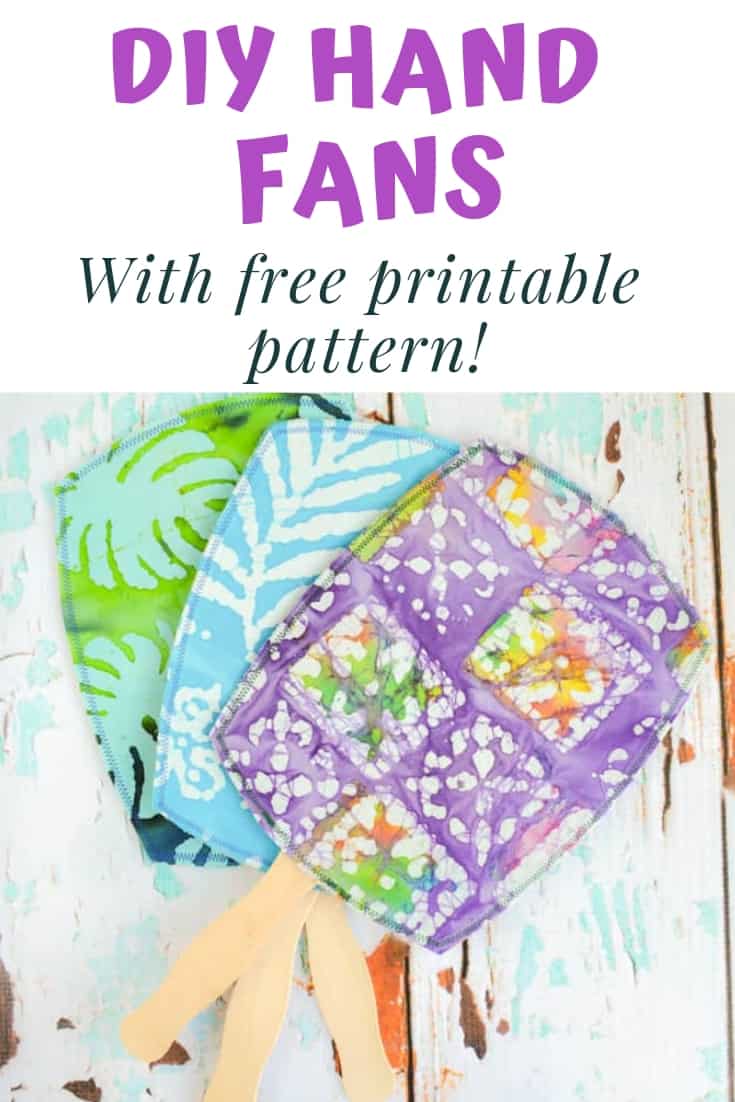
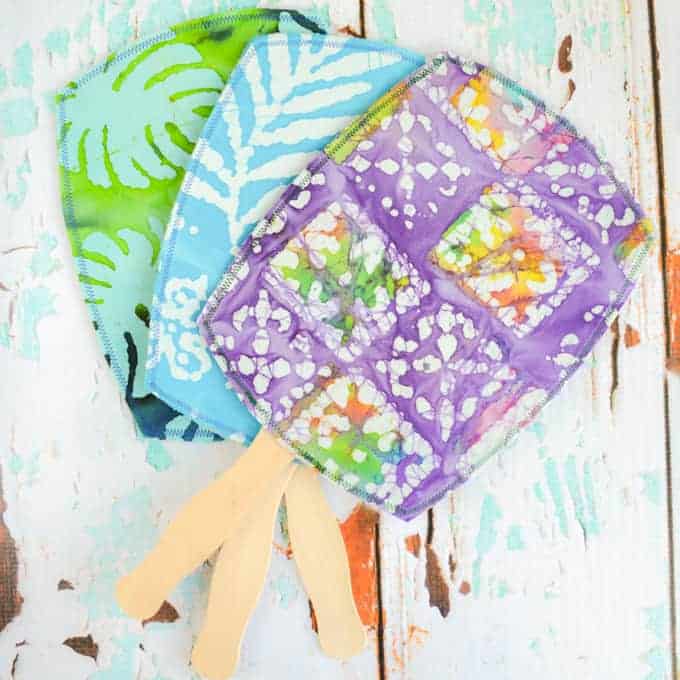
Learn how to make your own customized hand fans - free printable pattern included!
Temperatures will be heating up soon in many places, and spring wedding season is about to kick off. These hand fans would be fantastic (hehe) for other events, too. They'd be cute at a warm Easter egg hunt, at a summer BBQ, or maybe you're wondering how to make fans for church. Honestly, we still use these at home on hot days!
This tutorial includes not only instructions, but also a free printable fan template you can print out and use to create your very own fabric covered fans.
This post may include affiliate links, which means I may make a commission on purchases made through these links at no additional cost to you.
Many custom hand fans are $4-$6 each, so you can definitely save some money by making your own!
Plus, the chipboard is way sturdier than a single sheet of cardstock, which means your guests can actually use them to fan themselves and cool down - a big bonus if you're having an outdoor wedding in the spring or summer - and they're a bit more reusable as a favor for your guests than a program fan that will just end up in the trash.
Whether you're making fans for a picnic, church, or your DIY wedding, I hope you enjoy this tutorial and pattern!
Materials needed to make your DIY hand fans
- Chipboard (it's like cardstock, only even thicker) - 1 piece per fan
- Fan template (see links below!)
- A pencil
- Scissors (a sturdy pair for the chipboard and a pair for the fabric)
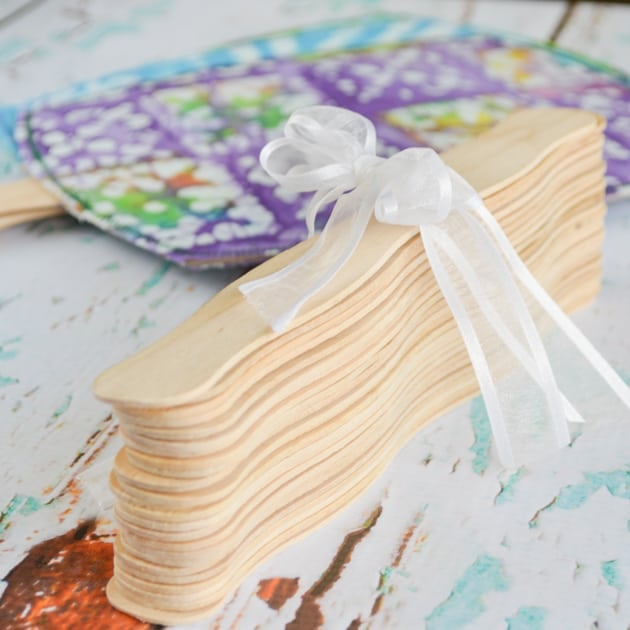
- Wood fan handles - I used these lovely wavey wood handles
- Double sided sticky tape (the flat, clear kind, not the foam type)
- Spray adhesive
- Fabric (or decorative paper, like scrapbook paper)
- Sturdy sewing machine and matching/coordinating thread (optional - I have the Janome HD100 and use it for all my sewing needs)

I have two versions of the wedding fan pattern for you, PDF and Silhouette SVG.
You can cut the pattern on the Silhouette, but it isn't very good with chipboard, so you'll need to do the rest by hand, anyway. You can grab the PDF for free from Dropbox
You can download the Silhouette file here: Wedding Fan SVG File
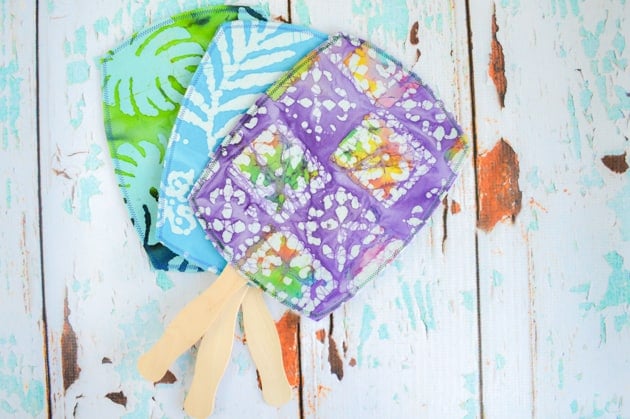
Each fan is a sort-of rectangle that measures about 9"x7", and you'll need two pieces of fabric for each fan. Alternatively, you could use decorative scrapbook paper. We chose to go the fabric route because Hawaii is known for surprise rain showers and I didn't want our fans to get ruined!
These fans are a lot of work - I highly recommend breaking the job up. I did most of my final assembly on the same day, but I just cut out a few pieces of chipboard and a few of fabric every day or so until I was finished. It was way easier on my hands that way! Cutting through chipboard is tough.
As a final note - sewing is totally optional and not necessarily recommended! I have a heavy duty machine, but not all sewing machines can (or should!) sew through chipboard. I also sewed through the birchwood handles because I knew my machine could take it, but this may not be for you. Unless you have a heavy duty machine, I highly recommend just sewing through the chipboard, not the handle.
How to make DIY hand fans
1. Print and cut out your fan pattern.
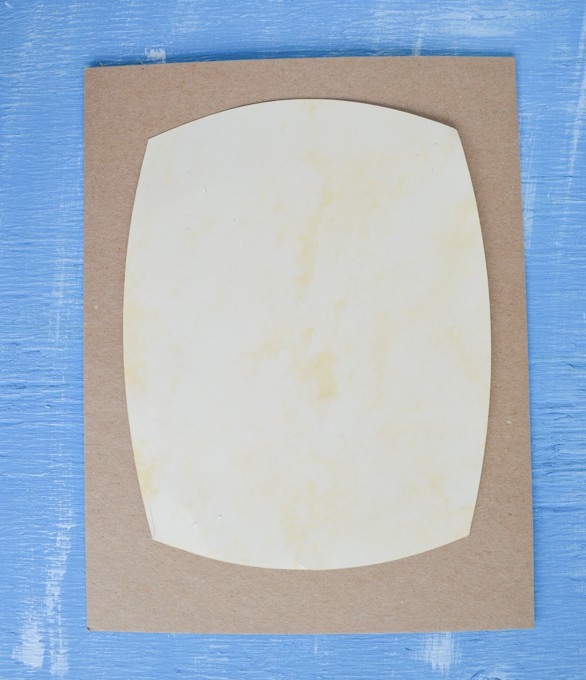
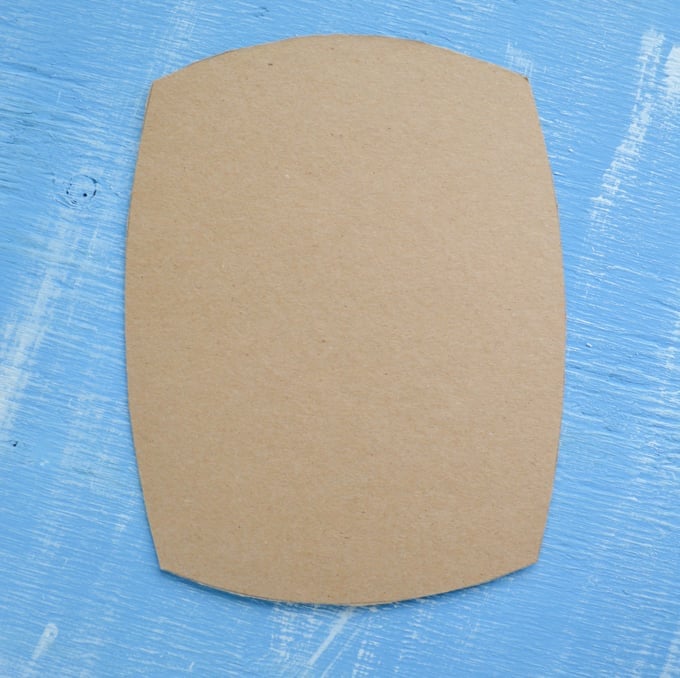
2. Trace the fan pattern onto chipboard, using one piece of chipboard for each fan you want to make.
3. Cut out the chipboard fans using study scissors.
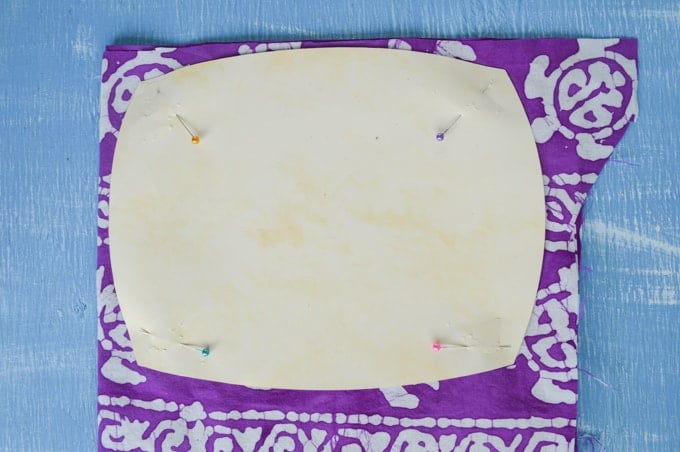
4. Cut two pieces of fabric or decorative paper for each fan. Make sure you iron your fabric before you cut it!
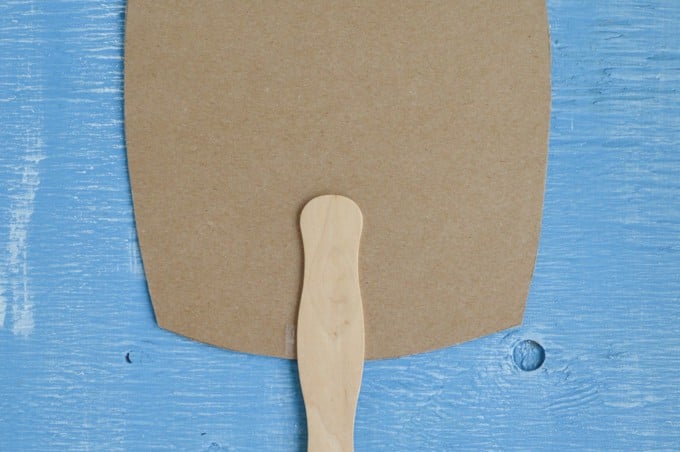
5. Play around with the positioning of your fan handle on the chipboard. When you like what you see, use a piece of double-sided tape to stick the fan handle in place.
6. Take your project outside (or to a very well ventilated area) and protect your work surface with a cardboard box, plastic tarp, etc. You'll also need a second piece of cardboard to protect your handles from overspray.
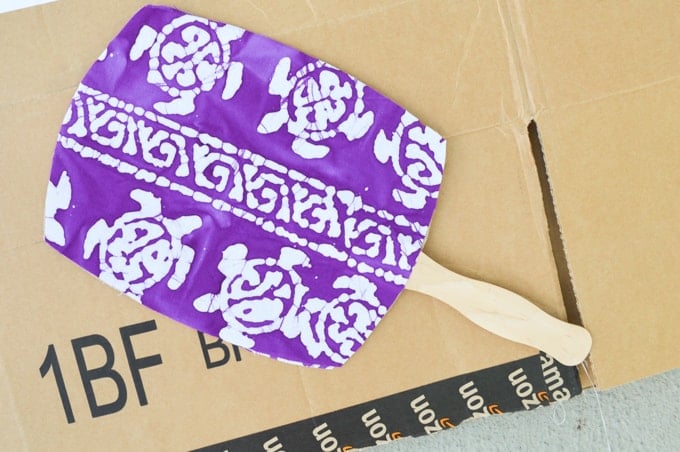
7. Lay a few of your chipboard/handle pieces in a row on your protective surface. Place a second piece of protective material (a box works so well!) over the handles to protect them. Spray the chipboard with spray adhesive, they carefully position a piece of fabric on each fan and press it in place.
8. Flip the fans and repeat so that both sides are covered.
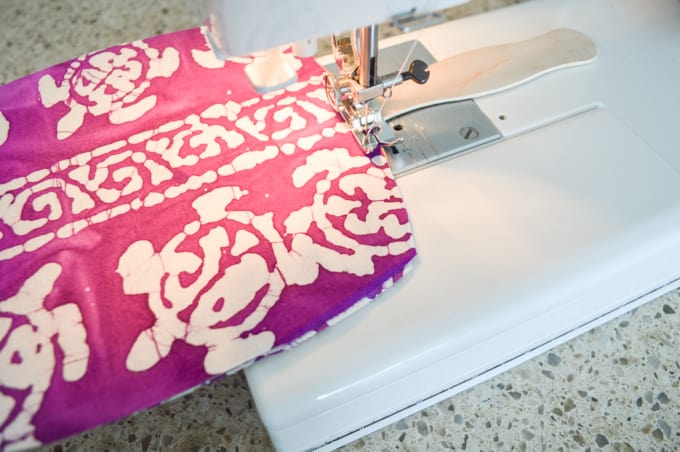
9. If you're not sewing, your fans are finished! Congratulations. If you are sewing, set your machine to a zig-zag stitch and then edge stitch all the way around each fan. As noted above, I don't recommend sewing through the wood handle unless you're sure your machine can handle it (and you're willing to accept that it probably isn't very good for your machine!).
10. Enjoy your awesome fans! If you're not sure where to get materials, I got my chipboard and fan handles on Amazon. I purchased the fabrics at a local shop and the spray adhesive at Target. These are the exact items I used successfully for my project:

Are you looking for more DIY wedding ideas? Please head over to my "DIY Wedding Resources" page to see a gallery of all my DIY wedding projects!
I hope you enjoy and have a beautiful wedding!

Ibukun (Senero)
This is really beautiful.
I also just uploaded a tutorial video on a customized handfan using Ankara Fabric (African Inspired fabric) on my blog. It'll be nice to know what you think.
http://www.senero.com.ng/blog
Natashalh
It's a really lovely fan!
Crystal
I was wondering if you have the fan template in word ? I would like to make fans for an upcoming military function and utilize our battalion's insignia.
Thank you in advance.
Natashalh
Hello! No, I'm sorry, I don't have it in word. It is just something I physically drew and then scanned into the computer. You could just use a rectangle, though, instead of having the rounded corners like I do, which should be super easy to make in Word with your battalion's insignia. =)