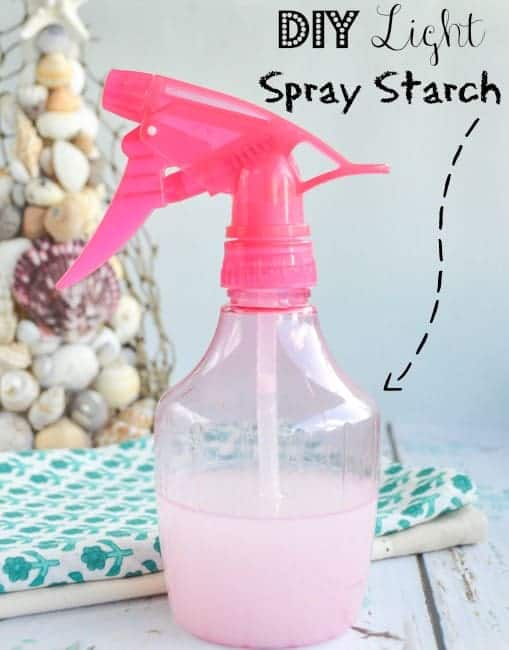
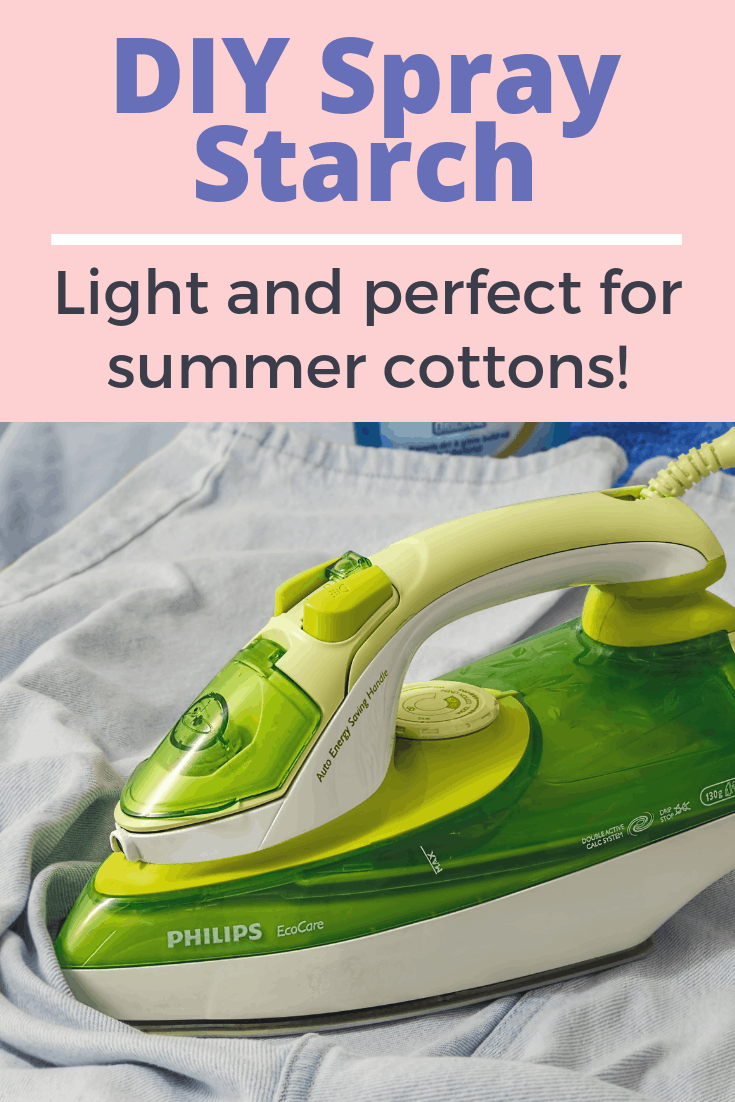
Learn how to make your own light spray starch that's so easy and perfect for cottons!
I resisted many attempts at teaching me to sew when I was younger. In fact, I didn't care at all about learning until I was in college! Now some of my biggest sellers on Etsy are sewn items. Go figure.
It's important to begin almost any sewing project with a well-ironed piece of fabric.
Starch is pretty helpful for creating beautiful, smooth pieces of fabric that stay wrinkle-free while you work with them, but I really don't like using commercial heavy starch on my cottons, particularly because I'm not willing to spray anything with artificial scents or ingredients on my guinea pig products!
When I couldn't find a satisfactory light starch locally, I decided to make my own. Most of the recipes I found online were for huge quantities or separated out quickly, so this is my own variant on the DIY spray starch theme.
This spray starch is light, doesn't junk up your sprayer immediately, and is perfectly sized for those small sprayer bottles!
This post may include affiliate links, which means I may make a commission on purchases made through these links at no additional cost to you.
I tried a couple different starches and amounts, as well as made a few gloopy messes in the process of experimenting with this recipe! This is my favorite proportion of ingredients and process.
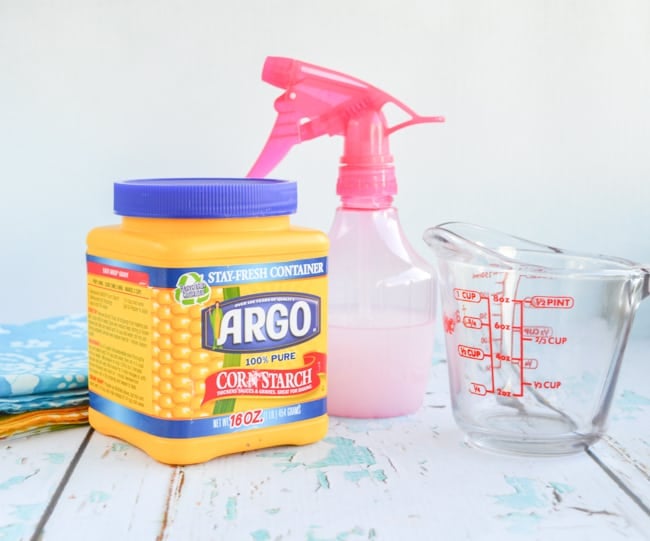
Materials for DIY spray starch
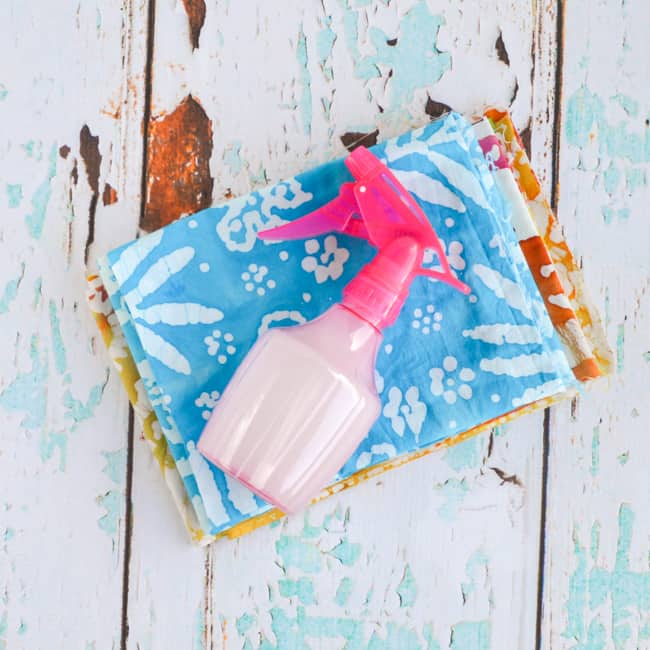
- A small sprayer bottle
- A Pyrex measuring cup, or a measuring cup and a microwave safe bowl
- 1 teaspoon of cornstarch
- 1 cup of water (filtered/bottled water is best if you have a lot of minerals in your water)
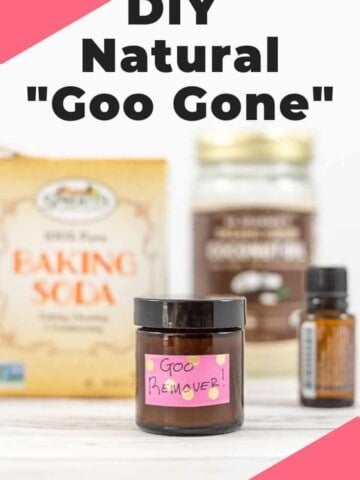
If you use starch frequently, you need to grab some iron cleaner, too. I hate when I go to blow steam out of my iron and get chunks of crud and buildup all over my fabric!

- Cleans while the iron is hot.
- Removes residues from the soleplate of a HOT iron.
- No need to wait for iron to cool down to clean it.
How to make light spray starch
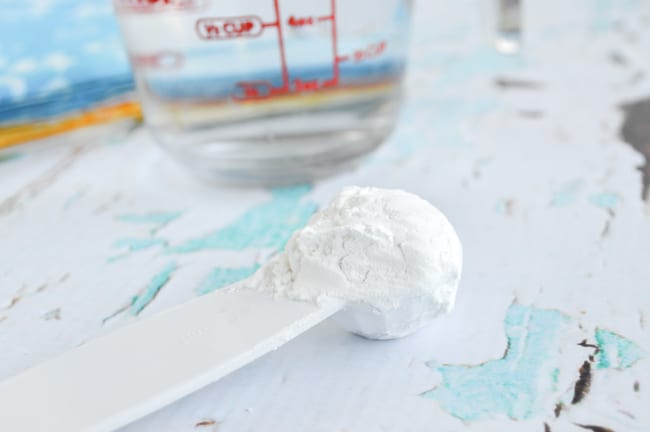
1. Measure a teaspoon of cornstarch into your microwave safe measuring cup or bowl, then add a cup of water. Stir with a fork or whisk to combine. If your measuring cup is one of the smaller, one-cup variety, it's better to use a bowl so the mixture doesn't boil over and make a huge mess in your microwave!
2. Microwave the cornstarch water until it is just boiling, then remove it from the microwave, stir it again, and allow it to cool.
3. After the cornstarch water is cool enough to pour into your bottle, go ahead and transfer the mixture. If you can comfortably keep my hand on the outside of the measuring cup for 10 seconds or so, it's probably ready to transfer. There may be a thin layer of gelatinous starch at the bottom - you'll keep your sprayer cleaner if you do not transfer this to your bottle.
4. Attach the sprayer top and iron away!
A few additional notes:
- Even though I haven't had any problems with this particular recipe, any spray starch can leave a visible residue on fabric. It's always best to spray the back of your fabric, just in case.
- Even though this mixture does not separate out as much as non-boiled spray starch, it may still settle a bit. Just to be safe, give it a couple of shakes before using it.
- I cannot recommend using arrowroot powder instead of cornstarch. I tried making some with arrowroot and it was a thick sludge that wouldn't even spray correctly!
"Cooking" the starch/water mixture briefly really improves the spray starch.
It will separate out some, especially if you let it sit for several days, but it's a huge improvement over mixing the starch into cold water.
When it does separate, just shake it right before use.
If you just mix cornstarch into the water, the starch settles out very quickly.
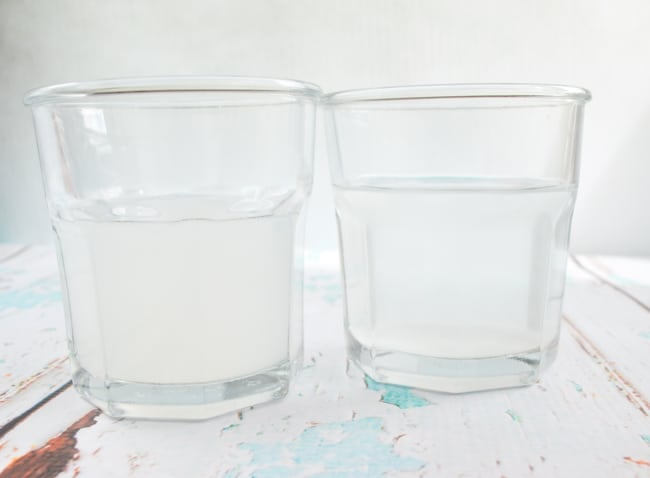
In the photo below, the left glass contains the "cooked" spray starch and the right glass contains the non-cooked version. Both solutions had been sitting undisturbed for about half an hour. If you look carefully, you can see the outlines of the glass bottom and sides in the through the liquid in the right-hand glass.
I'm so glad I decided to make my own starch! It's made ironing so much more satisfying. If you don't know what I mean, then you clearly haven't ironed with starch yet!
In addition to being a joy to work with, this homemade light spray starch is also very inexpensive. We're talking pennies! Exciting stuff.
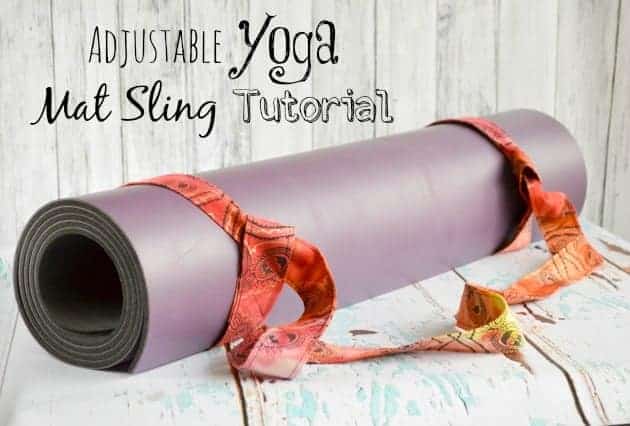
Need something to make with your new spray starch? Check out this DIY yoga strap tutorial!
More Related Posts
[pt_view id=“15d429e15n"]
[catlist search="tutorial" numberposts=4 orderby=rand excludeposts=this]
Athena PN
This is a great formula! Have you tried adding a bit of essential oil to your mix for scent, such as lavender? Would that cause staining? I used to iron with lavender water which is nicely scented & helps stave off clothes moths (here in cold country), but it's not a starch & is kinda spendy, even making it at home. Any thoughts? Cheers!
Natashalh
Yes, I definitely do like adding a little essential oil! I had originally mentioned it in the post, but then removed it before actually publishing. I can't remember why now. I wouldn't add much, though, so it doesn't stain. Like one or two drops, max. I don't know how much good that little amount would do as moth protection.
Athena PN
Great - thanks so much! From what I can tell if we humans can smell it then moths dislike. I use a 1-1 combo of cedar sprigs & lavender flowers in small muslin bags to protect the woolens trunk & refresh with essential oil every year. The moths seem to dislike natural aromatic scents but chemical copies, as in cheap sprays, don't bother them. It'll be nice to have a lavender starch easily to hand - thanks again!
Natashalh
I knew about cedar and moths, but not lavender or that it would work in such 'small' concentrations. That's great to know! Where we currently live there aren't really moths (at least not the kind that give textiles problems!), but being a Navy wife means I know we'll move again one day to somewhere completely different.