This post may include affiliate links, which means I may make a commission on purchases made through these links at no additional cost to you.
When I wrote my tutorial showing how to sew your own weightlifting wrist wraps, I had no idea it would be one of my most popular posts! I've had all sorts of comments and questions from people over the months, so I decided to make a second tutorial demonstrating my technique for sewing wrist wraps with a thicker, heavy duty material like canvas or cotton duck. My original tutorial is still my favorite method for mid-weight cottons and the way I make most of my wrist wraps, but this way is much easier for those heavier fabrics!
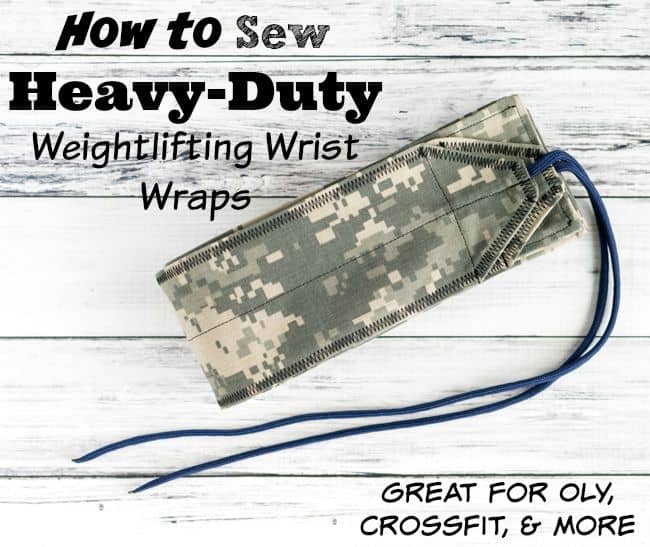
I sell handmade wrist wraps in my Etsy store. I've had people tell me I'm crazy for publishing free tutorials showing how to make things I sell, but I love helping people. Plus, I figure anyone who is really determined will just figure out how to sew wrist wraps on their own like I did! I'd rather save y'all the trial and error, though. But, like I said, I do sell wrist wraps. If you look at the tutorial and decide it's more trouble than it's worth to you, please stop by the workout wear section of my shop.
Materials needed to make heavy duty weightlifting/CrossFit wrist wraps
- A pre-washed piece of fabric at least 14" x 33" (this is the absolute minimum - I highly recommend having a bit extra!)
- Matching or coordinating thread
- Scissors
- A sewing machine and the knowledge of how to do basic straight and zig-zag stitches
- Two sheets of plain printer paper
- A paper cutter or paper scissors
- A ruler
- A pen or pencil
- Tape
- 32" of high-quality paracord or twill tape
- An iron and ironing board
- lighter (optional, but helpful)
I know that seems like a lot of things, but you probably have almost all of them at home already!
This tutorial does involve using a sewing machine. I explain some terms, but I assume a basic knowledge of things like how to use your machine and how to secure your stitches. I know from comments and questions on my earlier tutorial that not everyone who finds my blog is comfortable with a sewing machine. Lots of folks have simply asked sewing friends of family members to make their wrist wraps, but if you want to learn a new skill I highly recommend a website called Craftsy. They have fantastic HD video courses on a mind-boggling array of topics from cake decorating to woodworking. A great course for becoming familiar with sewing is Sew Confident: Essential Techniques for Beginners. These wrist wraps are a fantastic beginner project because the lines are easy to sew and then you get something cool you can use at the end. My husband loves physics and works on a submarine. If he can figure out how to use a sewing machine, you can, too!
Steps for sewing your own wrist wraps
You have to make your pattern before you can cut and sew your wrist wraps! Here's what to do:
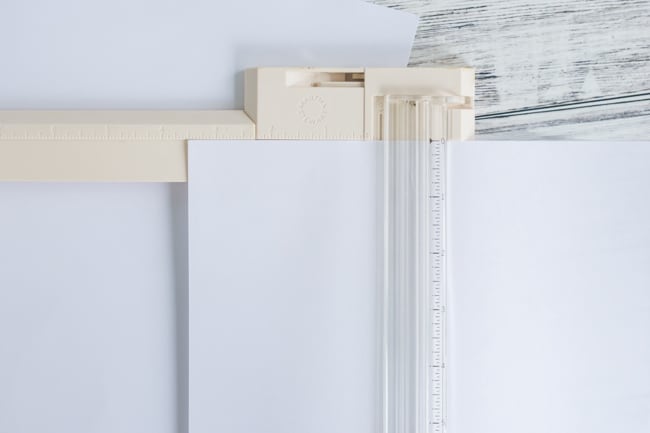
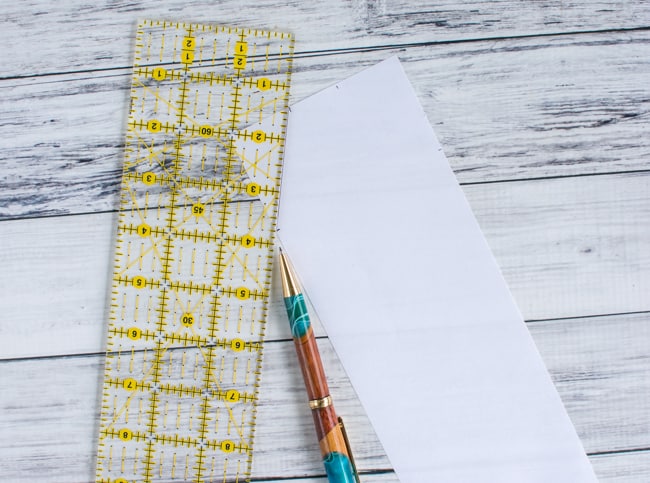
1. Cut three strips of printer paper, lengthwise, so they are 3.5" wide and 11" long.
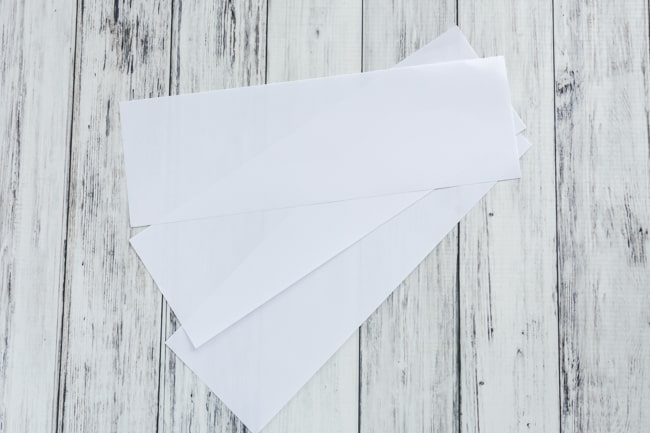
2. Take your ruler and line it up with the short end of one paper strip. Make marks 1.25" from each edge. This puts you marking 1.25" and 2.25" on the ruler, as shown.
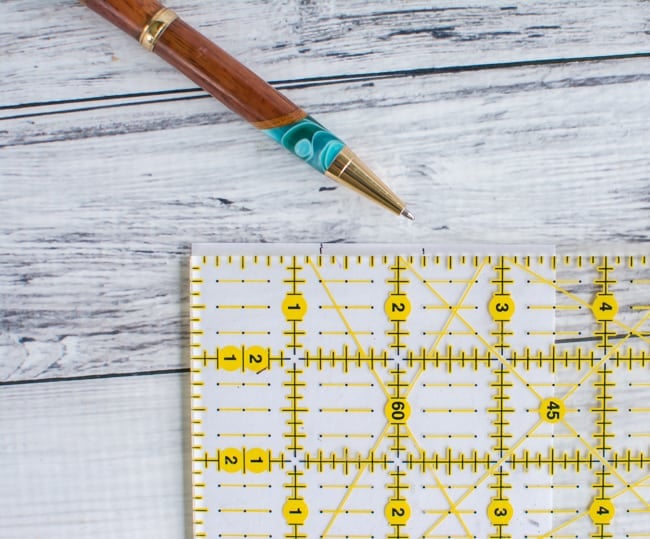
3. Measure 2" down each side and make a mark. You only need to do this on one end of one paper strip.
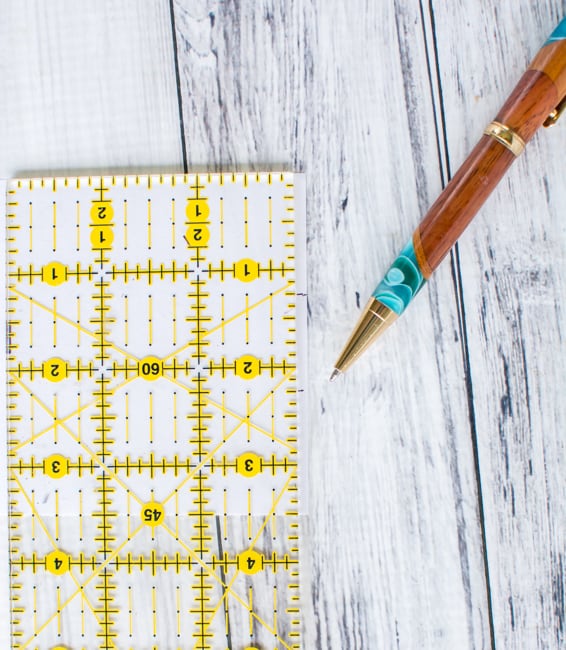
4. You will now have four marks clustered at one end of a strip.
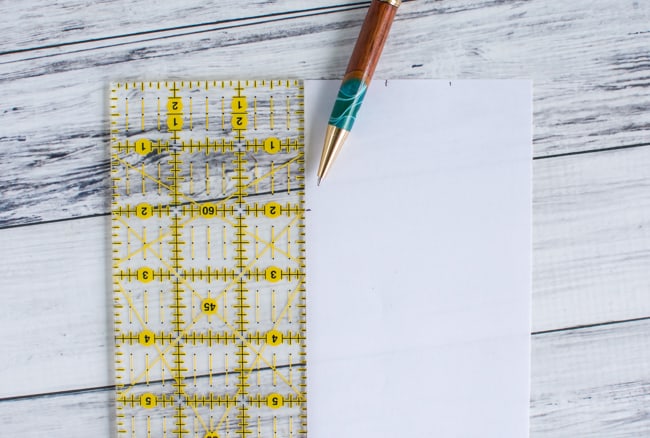
Using your ruler, carefully draw a line connecting the top mark on each side to its corresponding side mark.
5. Do this for both sides to create something that looks like this.
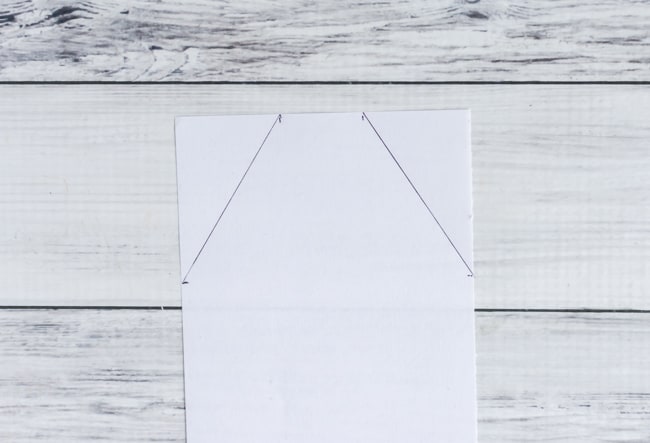
6. Carefully cut along these two lines, either with your paper cutter or scissors.
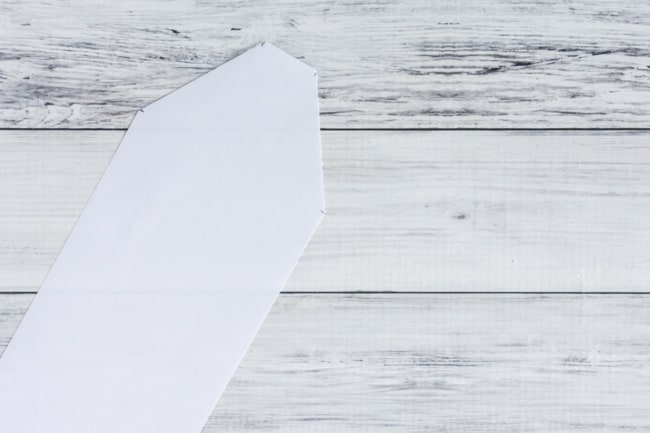
7. Tape the two un-modified pattern pieces together, short end to short end, then tape the pointed piece on one end. I usually just butt the edges up and use lots of tape instead of overlapping the paper.
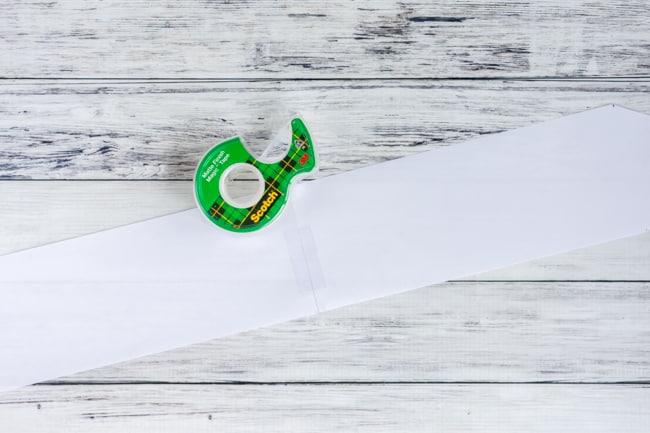
And that, ladies and gentlemen, is your pattern! You're ready to break out the fabric.
How to cut and sew your wrist wraps
1. It is very important that you prewash your fabric and then iron it. If you don't wash it, it may shrink the first time you wash your wrist wraps. The bad news is fabrics don't always shrink the same amount horizontally and vertically, which means sewing with unwashed fabric could ultimately result in having strange, puckered wrist wraps. And, trust me, ironing is very important. Break out the hot steam iron and get that fabric nice and flat.
2. Once your fabric is washed and ironed, fold it in half lengthwise to make a long, "narrow" strip of fabric. It needs to be at least 33" long. As a general rule, it's a good idea to fold your fabric so the "right sides" are together.
3. Pin your pattern in place, making sure its positioned in a way that you'll have enough fabric to cut out a second wrist wrap. Carefully cut around the pattern, making sure to cut through both thicknesses of fabric.
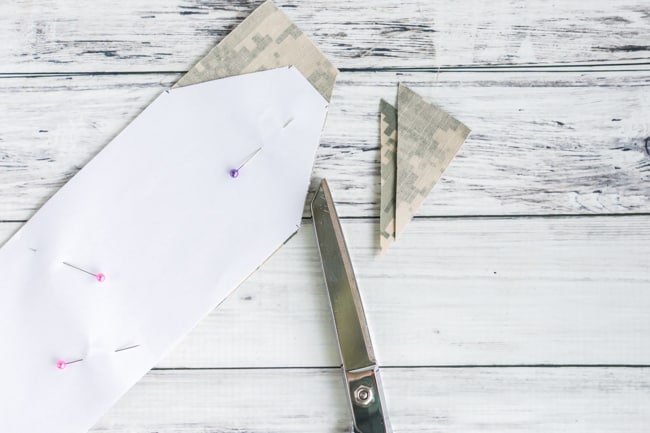
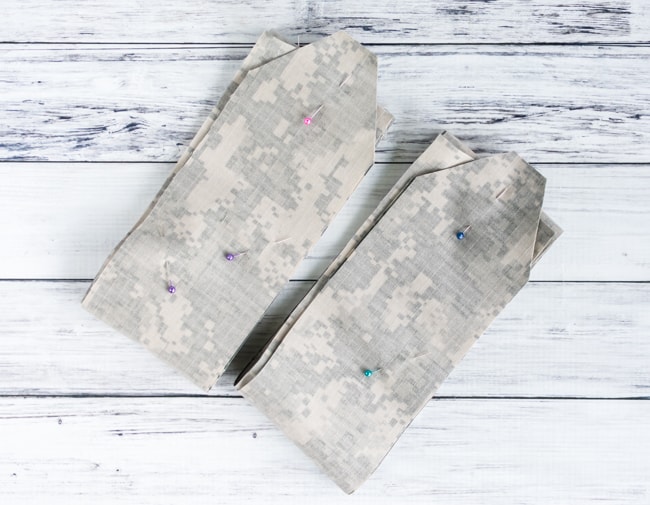
4. Unpin the pattern, but pin the two pieces you just cut together, right sides facing one another. They're now WOD partners for life!
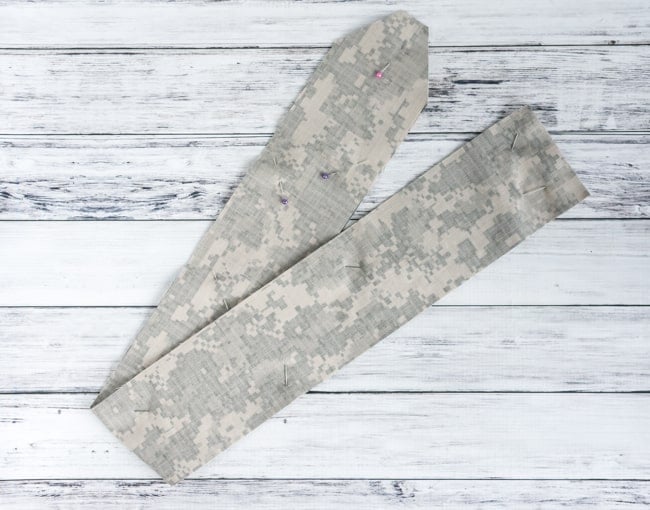
5. Reposition the pattern, pin it in place, and cut your second set of fabric pieces.
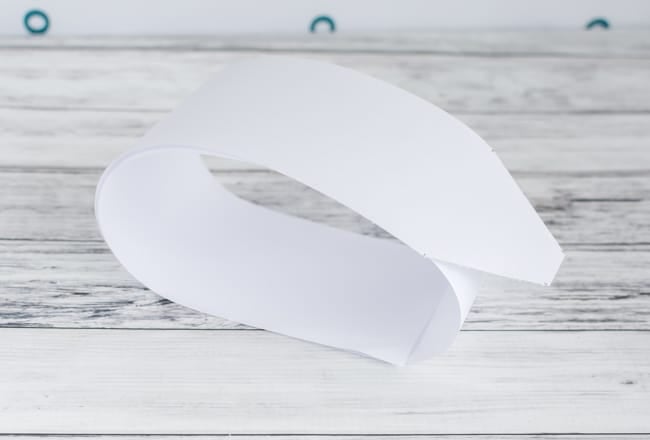
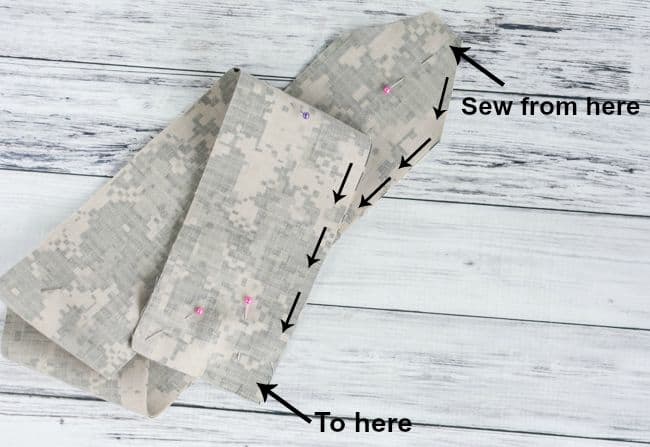
6. I have experimented with a few different things, and this method is my favorite for dealing with thick fabrics. You need to sew from the pointed end of each wrist wrap straight down the side to the bottom. You'll basically follow this diagram, only the fabric will be lying flat instead of bent over on itself.
7. I like to sew with ¼" seam allowances. If you're not familiar with the term, that means the line of stitching is about ¼" away from the raw edge of the fabric, as shown below.
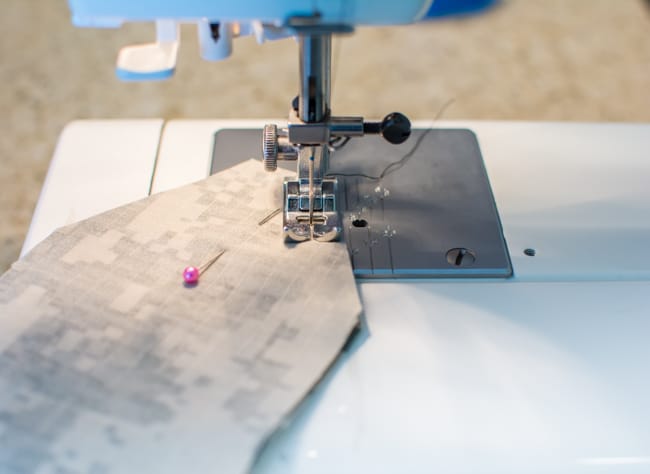
Begin sewing ¼" in from the top, pointed edge, and just over ¼" down from that very narrowest part of the tip. Continue sewing straight down, keeping the needle ¼" away from the fabric's edge, until you are ¼" from the bottom end. Just check out the picture if you're feeling confused.
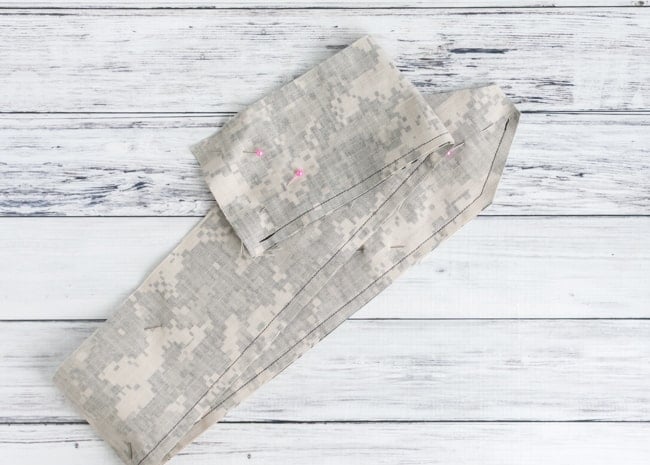 8. Repeat for the other side, then the second wrist wrap.
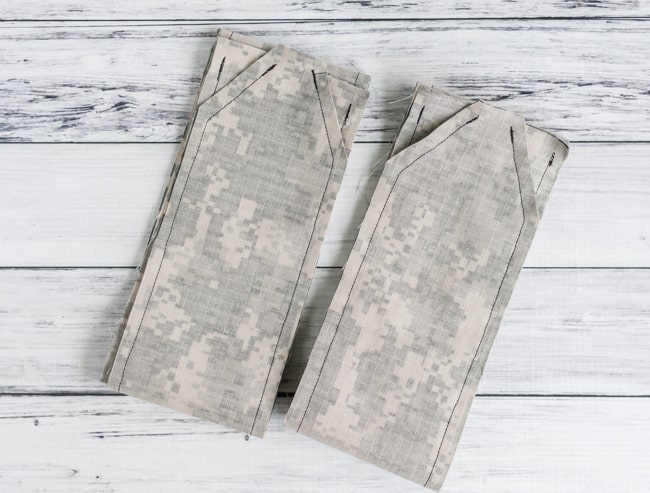
9. Now turn the wrist wraps "right side" out by pulling the fabric out through the 3" gap at the bottom of each wrap.
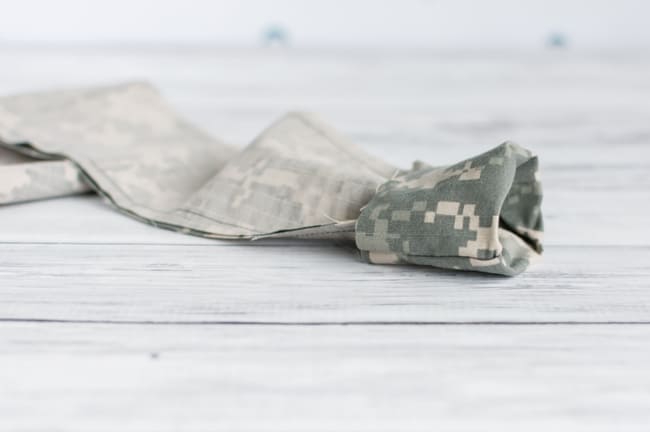
10. Use a pencil (or something else), if needed, to poke out the "shoulder" areas of each wrist wrap where the fabric comes to a point. You want nice points on your wrist wraps, not funky-looking blobs!
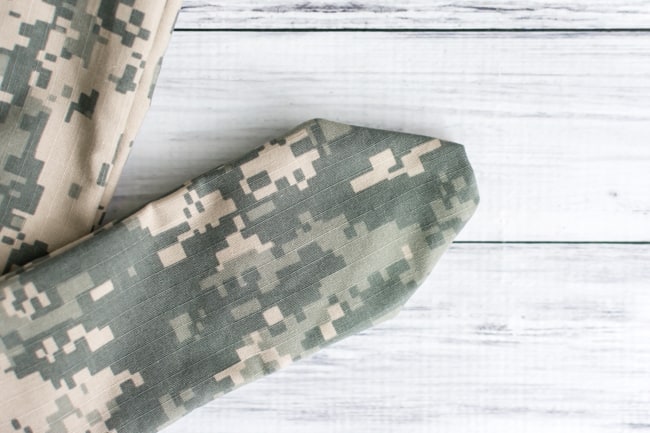
11. Time to fire up that iron again! Press the wrist wraps flat and iron the "flaps" on the open ends under and to the inside. You shouldn't be able to see any raw edges once you're finished ironing.
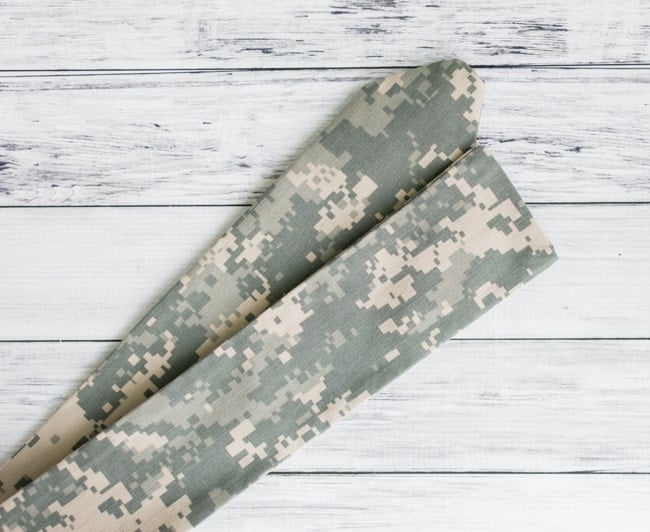
12. Measure down 14" from the point end of each wrap and mark it with a pin.
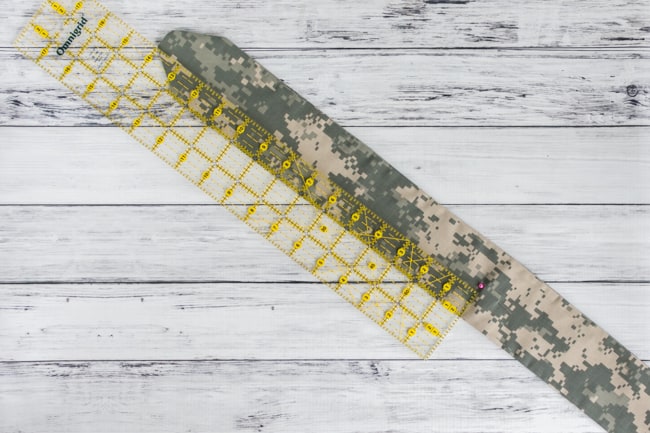
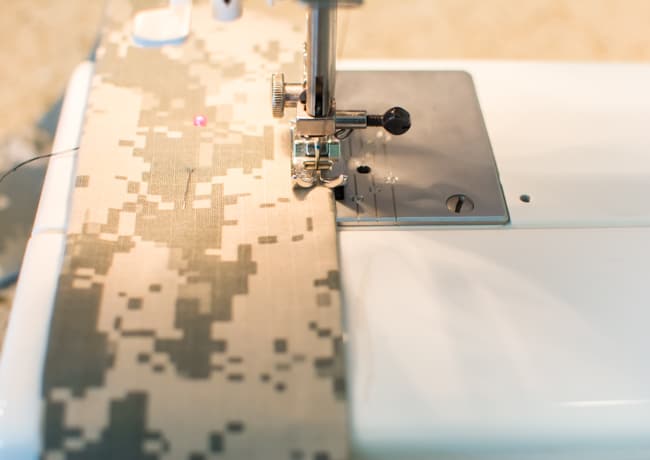
13. With your needle only about ⅛" from the edge, sew from 14" down one side of the wrist wrap, all the way across the bottom to close up the gap, and back up the other side (but only to the 14" marker pin!). You can see in this picture how much closer the needle is to the edge than it was during the last sewing step.
You're just sewing a long "U" shape, not all the way to the pointed end of the wrist wrap. Repeat on the second wrist wrap.
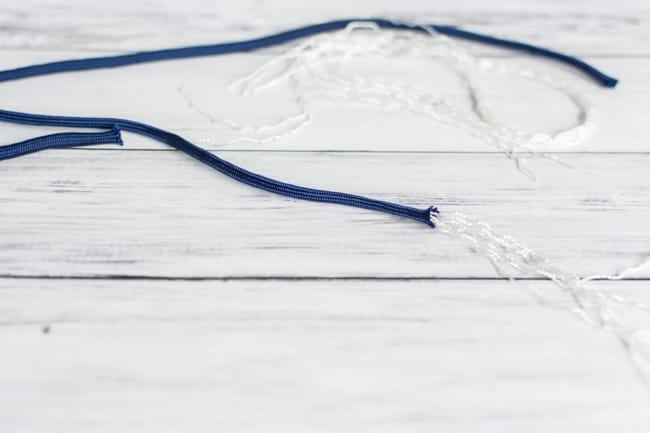
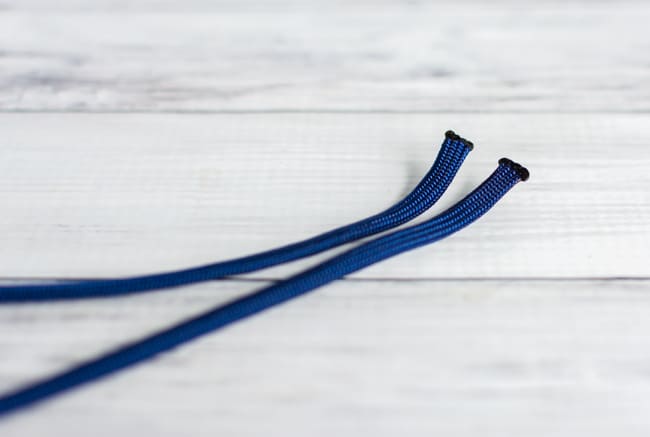
14. Cut your paracord (or twill tape) into two 18" sections. I then strip the paracord by removing the interior strands, singe the ends with a lighter, and press them flat. If you're using twill tape, you can simply knot it instead of singing it. I know from experience that "craft quality" or other cheap paracord won't work well. It is almost always either too stiff or too slippery. My favorite is
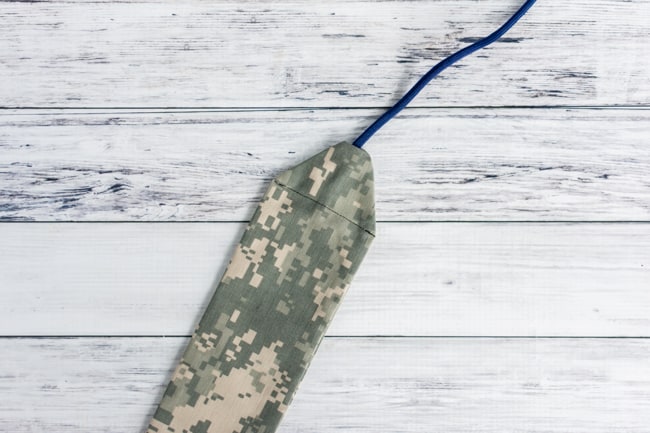
14. Next insert a piece paracord (or whatever you're using for a tie) in the pointed end of one wrist wrap. It should be centered and the paracord's end should be just below the "shoulders" of the wrap. You want the cord on the inside, but this photo shows the positioning. See how the cord's end is just lower than the shoulder area?
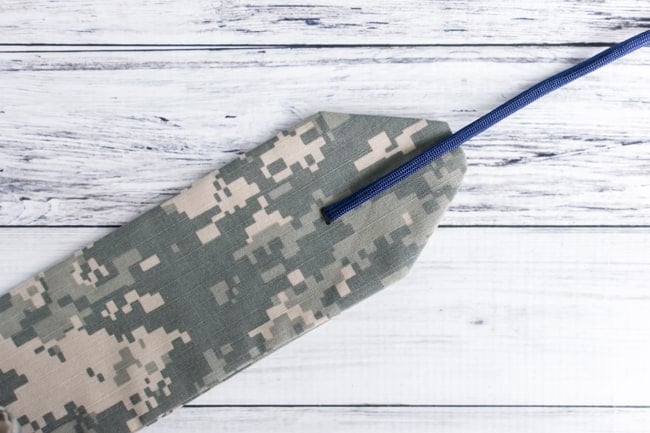
15. With the paradord inside the wrist wrap, sew straight across from shoulder to shoulder. Repeat steps 14 & 15 with the second wrist wrap.
16. Make sure the paracord is centered and then sew, through the paracord, down the center of the wrist wraps all the way to the other end. Repeat with the other wrap. You don't need to mark the center line unless you're a perfectionist - mostly centered will work just fine!
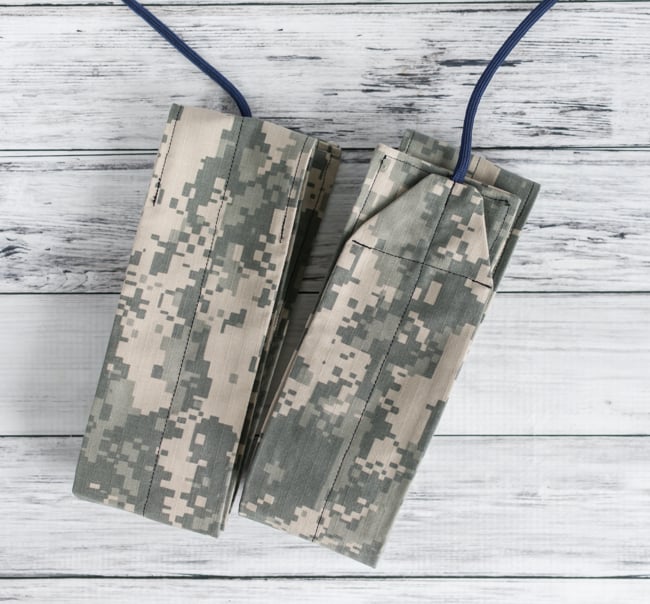
17. Almost finished! There's just one more thing you need to sew. Set your machine to a zig-zag stitch. There will be little ziggy lines - I set mine to the most pointed end of the spectrum and put my stitch length on "1." Zig-zag stitch around the permitter of each wrist wrap where you didn't already straight stitch. In other words, from that 14" point up around the point and back down.
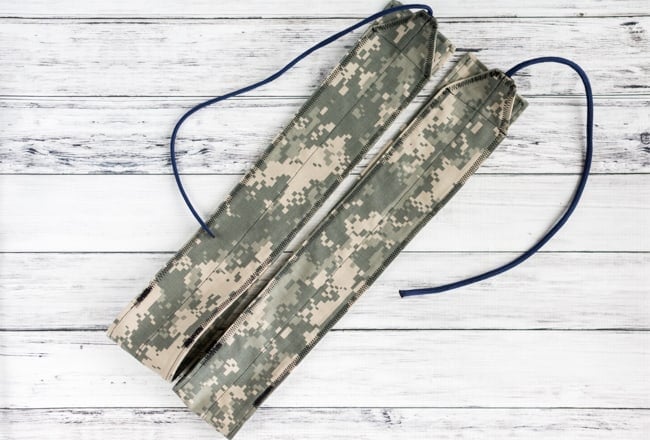
And that's it! You did it! You now have your very own pair of heavy-duty wrist wraps for WODs, Oly, CrossFit and more.
If you're in to lifting and not already paying attention to what you eat, I really recommend stopping by my post on why I track my food (and you should, too!) and how to get started logging your food. My husband thought it was a bunch of nonsense until we did the exact same WOD with the same barbell and I finished 6 minutes faster than him. Giving your body the right fuel makes a huge difference!
Or maybe you're one of those friends and relations asked to take a look at this pattern and sew a pair of wrist wraps for someone else. If that's you and you're unsure about this whole weightlifting thing, I recommend my post How big I got weightlifting and CrossFitting. Like many women, I was afraid of lifting for years. Now clothes I wore in high school are too big on me and I'm in the best shape of my life. Check out the post and you'll see what I mean!
I'm happy to answer questions you have about the sewing process. My original wrist wrap tutorial is at 35 comments and counting! I hope you enjoy and happy WODing.



Lacey
What is the seam down the middle for? Structure or aesthetics?
Natasha
It helps add strength and stability, plus it's how you attach the tie!
Priscilla
What type of fabric are you using in the photos?
Natasha
It was basically a lighter weight canvas. It was very similar to military uniform fabric, but a bit heavier (at least than my husband's Navy uniform pieces!). I'm sorry I can't give you any more specifics - it wasn't on the bolt when I purchased it.