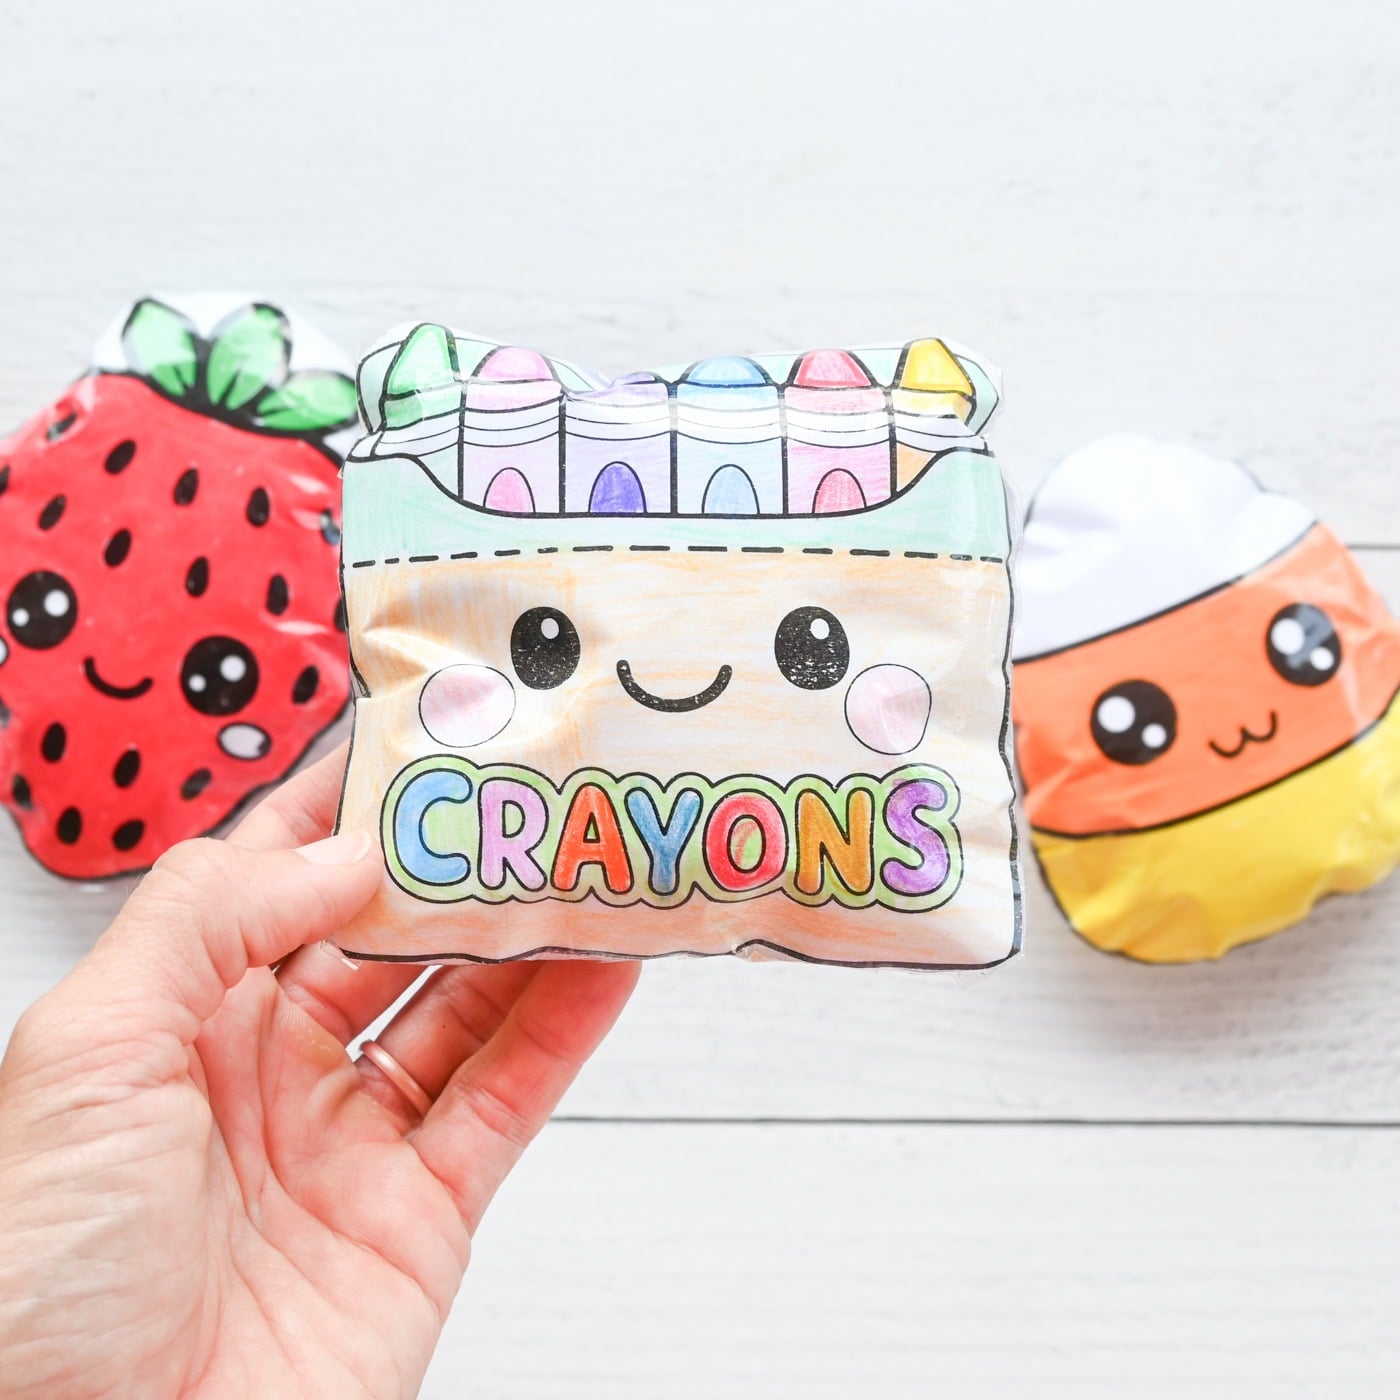
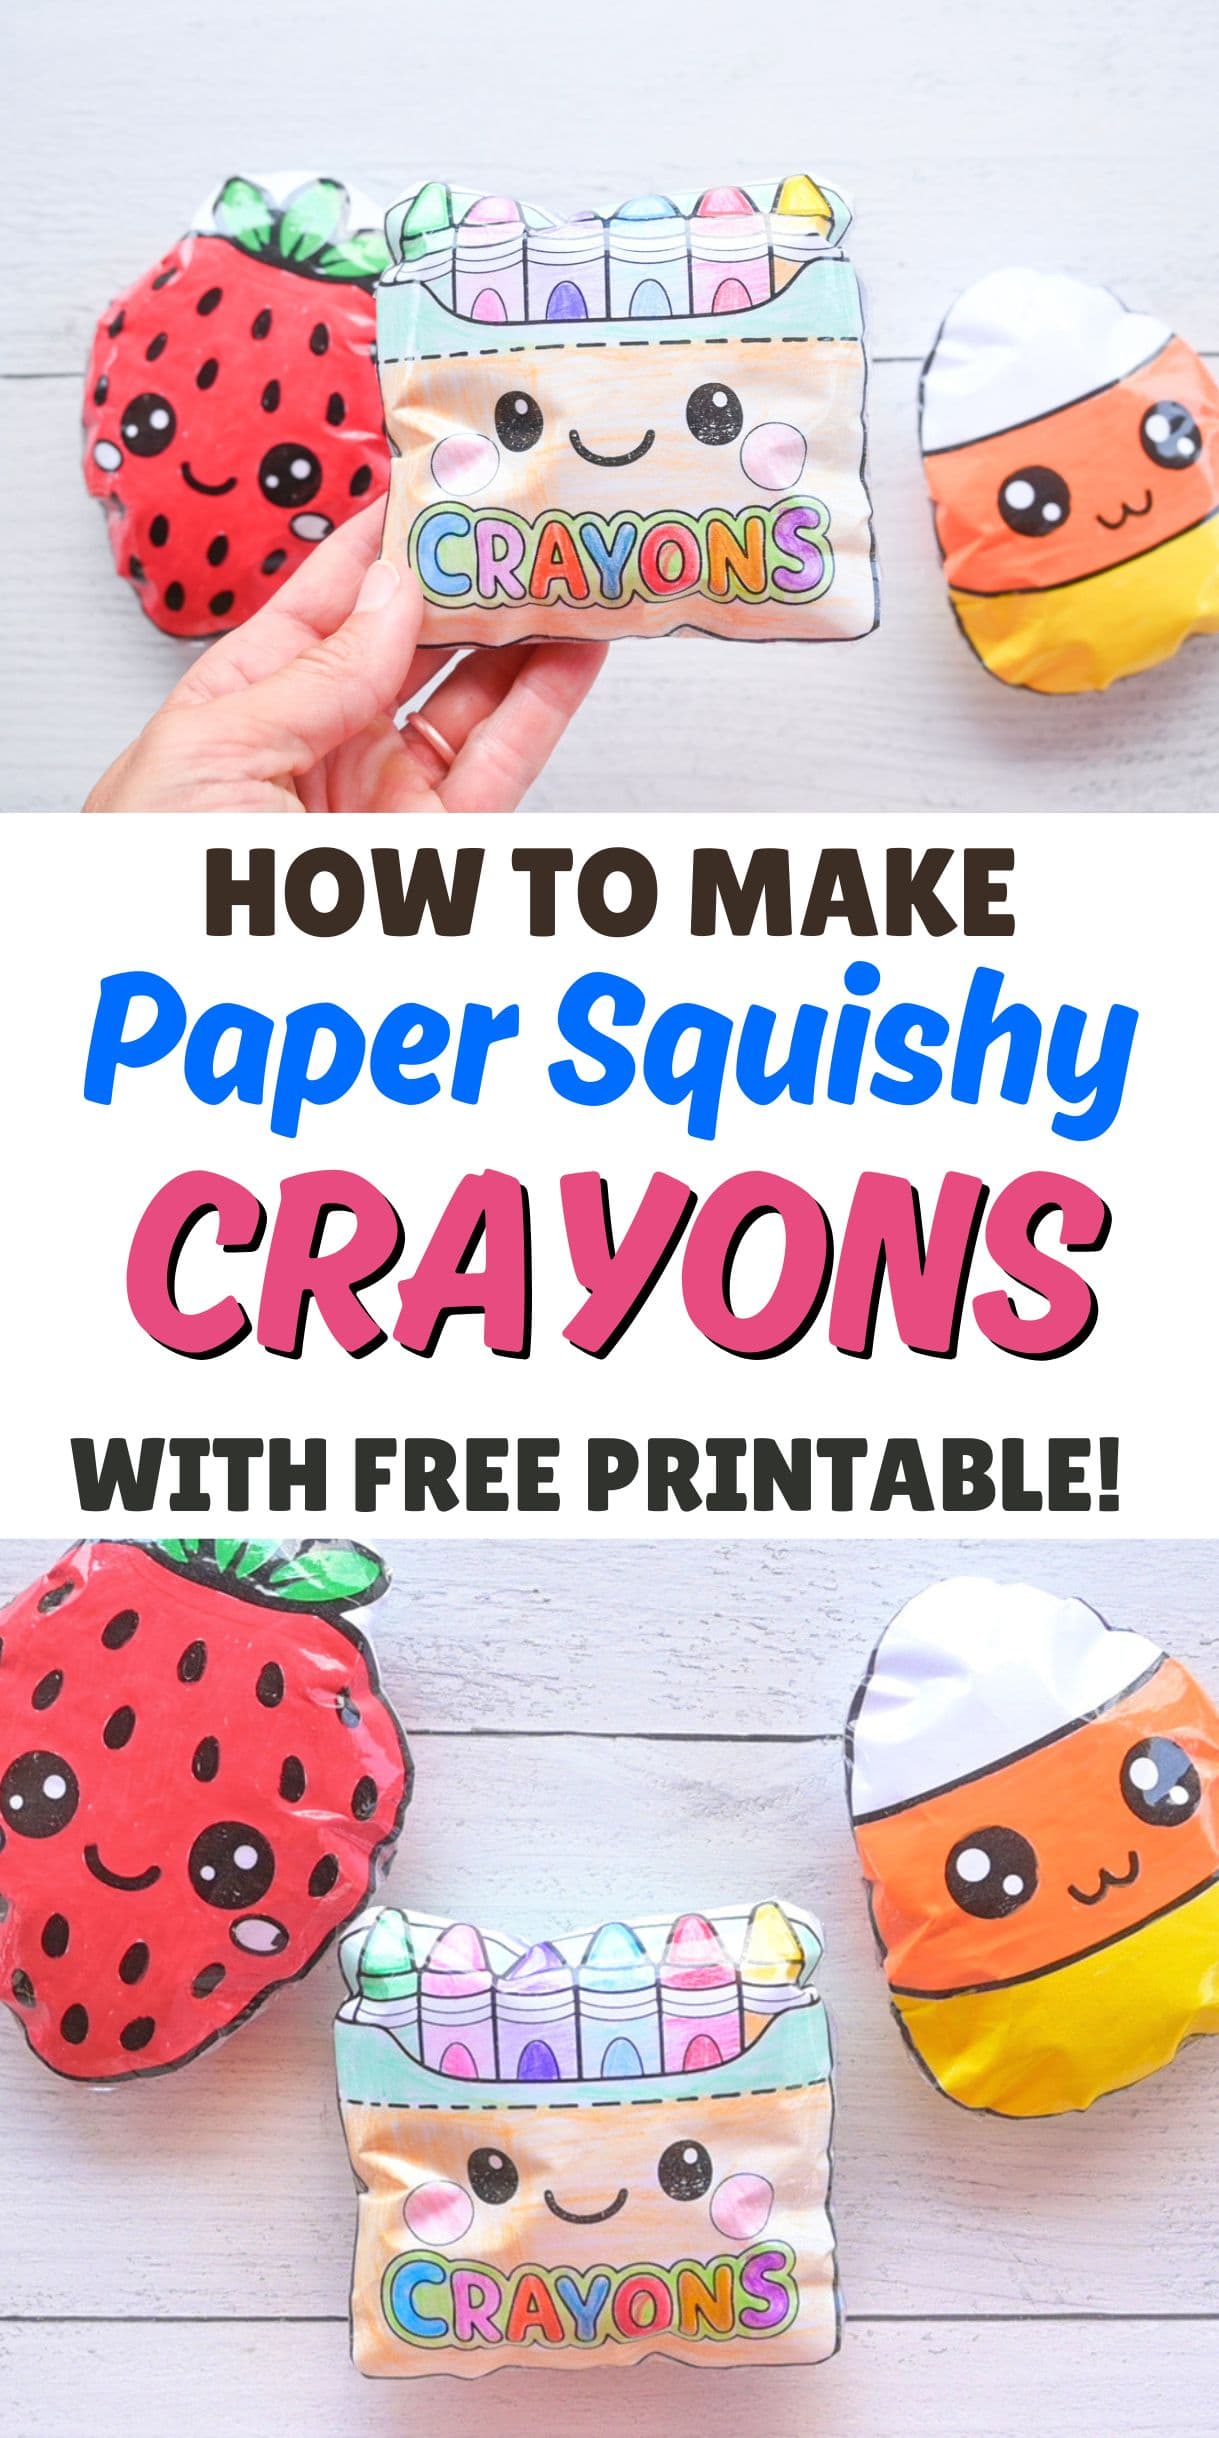
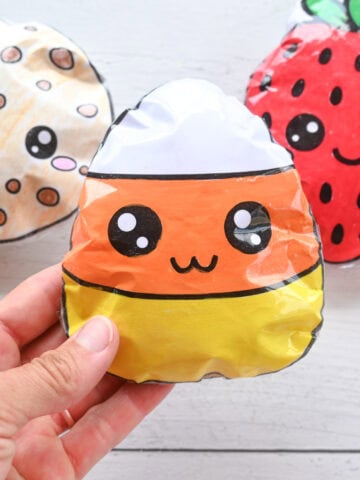
Today, I’m showing you how to make your very own DIY paper squishy box of crayons using free printables! It's a super fun and cute craft for back to school season, art class, or any time fun.
Squishies of all sizes and styles are very popular. I can't believe how much my kiddo and her friends love them!
Squishies can help you relax or act as a fidget toy. They're also just plain adorable once you've built up a collection of your own DIY squishies.
If you want to build your own paper squishy collection, make sure to stop by these posts:
- DIY cute milk carton squishy
- Adorable avocado paper squishy
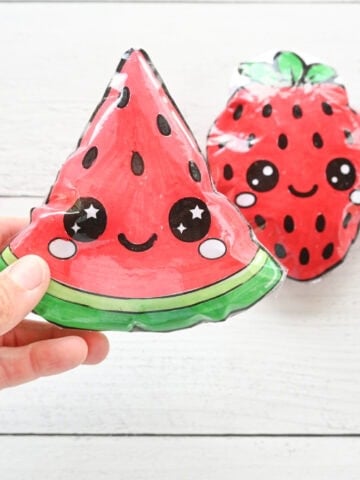
- Strawberry squishy
- Cute cookie squishy
- Candy corn squishy
This post may include affiliate links which means I may earn a commission on qualifying purchases at no additional cost to you.
How to Make a Kawaii Crayon Box Paper Squishy
Ready to make your own kawaii crayon box? Let's do it!
Supplies Needed:
- Your crayon box squishy template (Download is linked below the tutorial)
- White paper (Cardstock is too stiff for this project)
- Markers or colored pencils (If using the B&W version)
- Clear contact paper or clear vinyl for a vinyl cutter. I used Oracle 651 in the video for this tutorial.
- Clear packing tape for sealing the edges
- Scissors
- Stuffing (You can use polyester fiberfill, cotton balls, or even crumpled-up plastic grocery bags for a "crunchy" feel!)


Step-by-Step Instructions for Making a DIY Kawaii Crayon Paper Squishy
I recommend watching the tutorial video to see the process in action. It's a lot easier to understand what's going on when you can see it!
If you'd prefer to read the written steps, I'm providing that, too.
First, grab your free printable! Look for the row of purple arrows pointing the way to the download button.
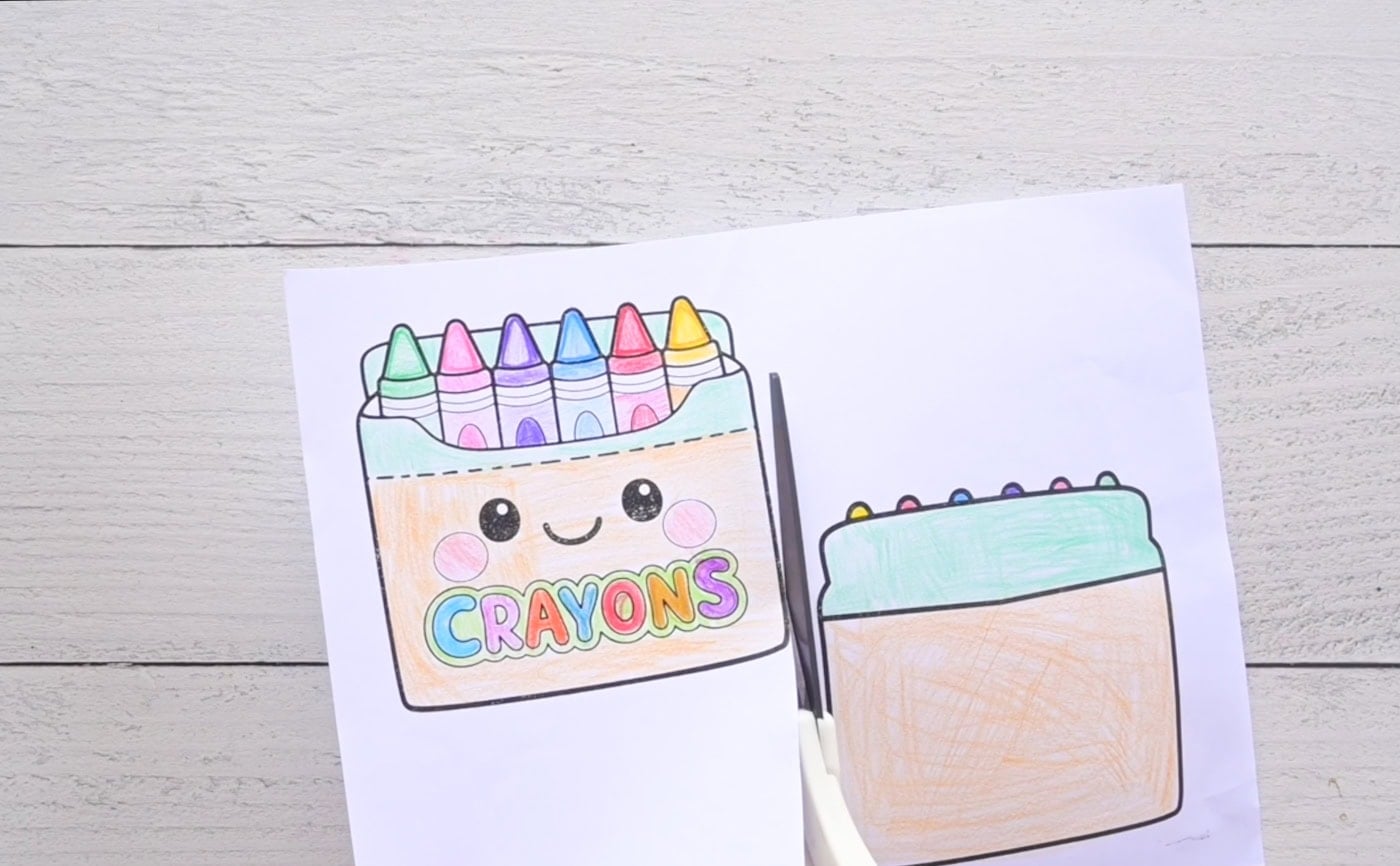
Color in your front and back pieces before cutting them out. I love using acrylic paint markers for squishes, but I colored the example used in this post with colored pencils.
I have to show how fantastic the Ohuhu Kahuku markers are, though. They don't feather or bleed!

- HIGH OPACITY - EASILY COVERS DARK SURFACES & MISTAKES: Ohuhu acrylic paint pens deliver true opaque, one-stroke coverage that stands out on black...
- VIBRANT COLORS - RICH & SATURATED: Ohuhu acrylic markers set includes 48 essential colors with high saturation for bold, vivid results. Whether you're...
- READY-TO-USE & CONSISTENT INK FLOW: No pumping required. Just uncap and draw. The direct-flow system delivers smooth, skip-free ink every time. A...
Cut out the font and back pieces. Instead of cutting exactly along the outline, I recommend leaving some white between the crayons and at the top corners of the box. This will help you seal the squishy up for a nice slow rise effect.
Hold the two pieces back to back after cutting them out so you can trim up any excess paper, if needed.
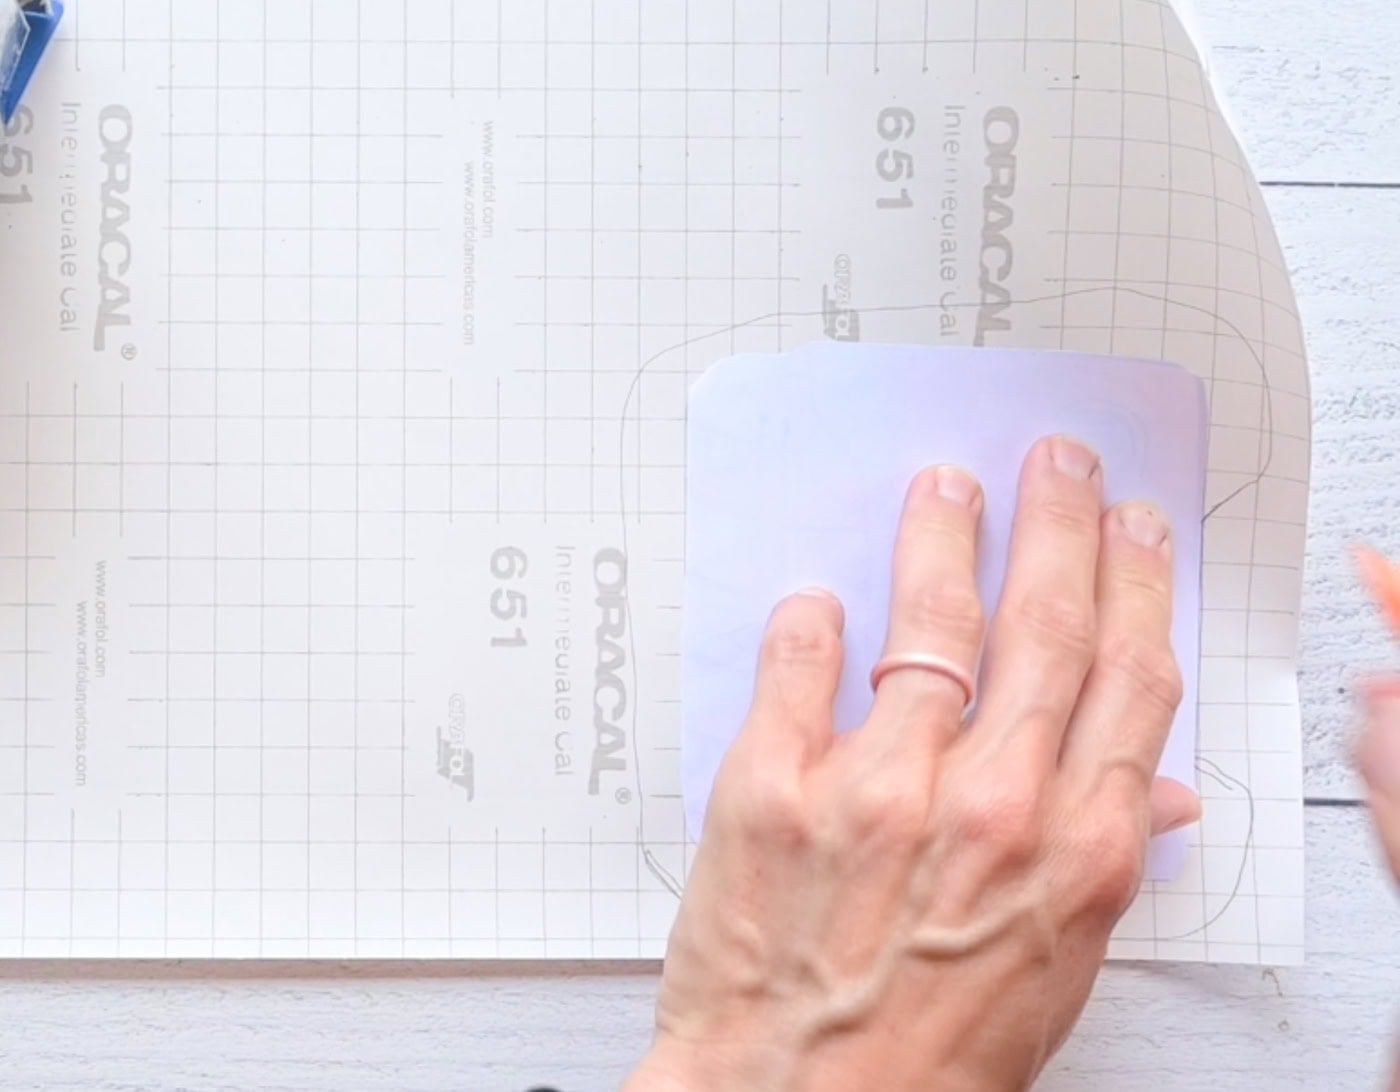
Place your crayon box pieces face down on the backing side of your contact paper or clear vinyl. I'm just going to call it contact paper for brevity, even though I used Oracle 651 clear vinyl in the example.
Trace exactly around the back piece, but give at least .5" extra contact paper around the front piece except for a couple of inches along one straight side. This will form the gap for stuffing.
Cut out the pieces of contact paper and set the back piece aside for now.
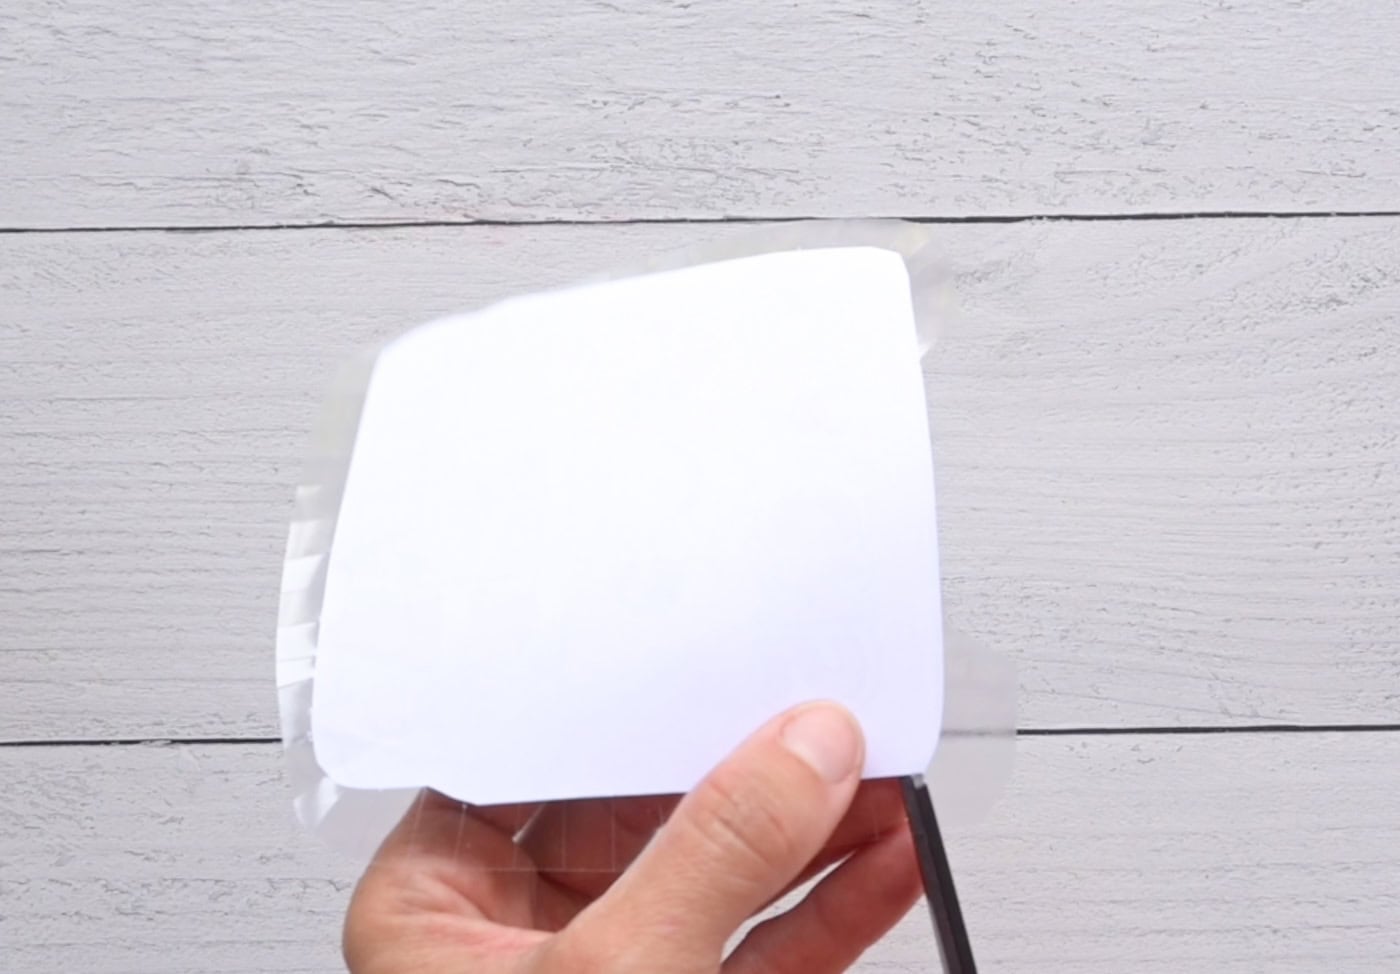
Peel the backing off the front side piece of contact paper.

Place the front of the crayon box face down on the contact paper, making sure to line up the side so it's flush with the edge of the contact paper where the gap needs to be.
I goofed up and got my box misaligned. This meant I had too little space to make big enough tabs in one spot. If this happens, it's not a big deal. Just add some extra tape, as needed.
Cut tabs into the excess contact paper to make folding the edges over possible. I usually make cuts every .5" or so on the straight areas. In areas with a lot of curvature, you'll want to make them about every .25"
Place the back crayon box piece on top of the laminated front piece. Place the two pieces wrong sides together, right sides out. Align the edges as closely as possible.
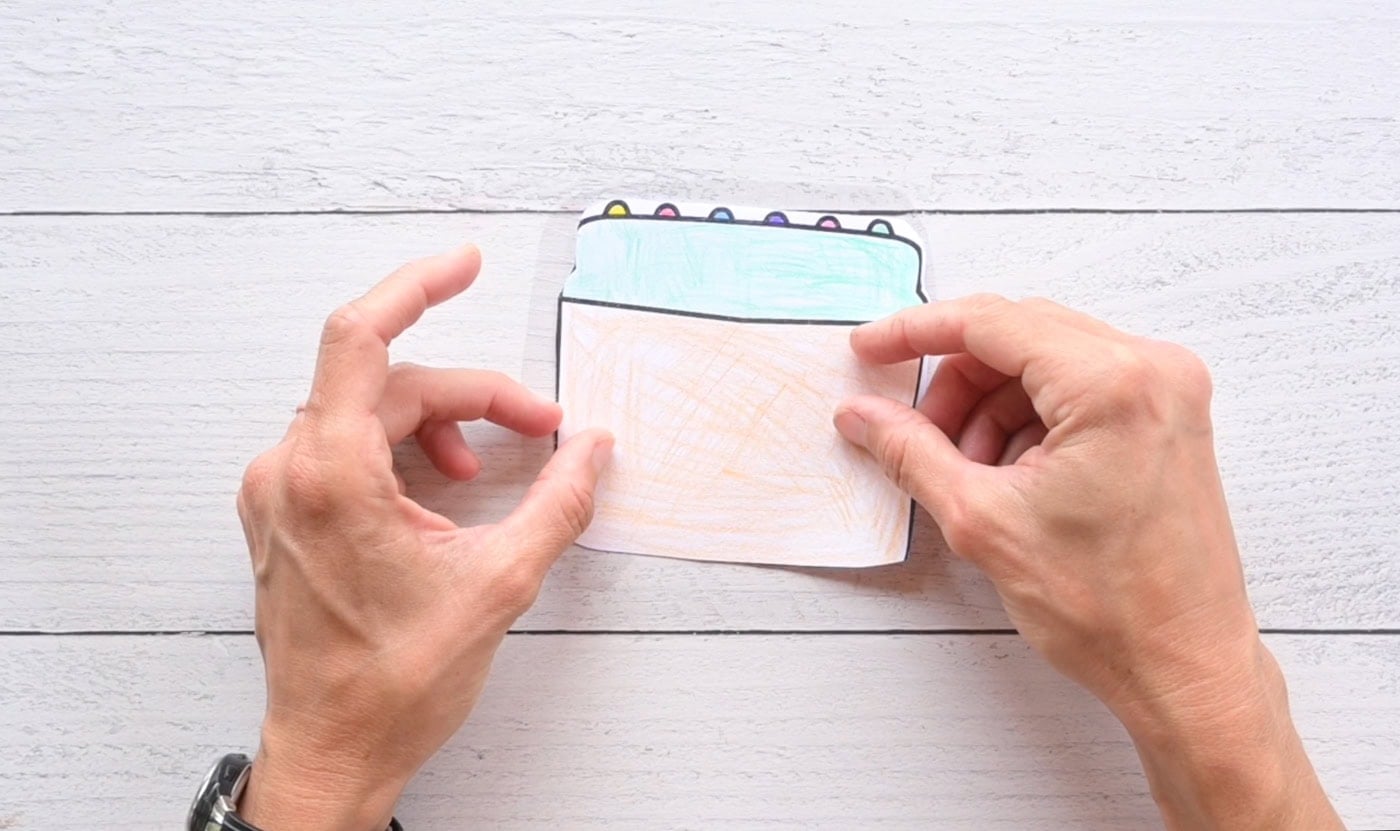
Fold over the tabs to secure the back portion in place.
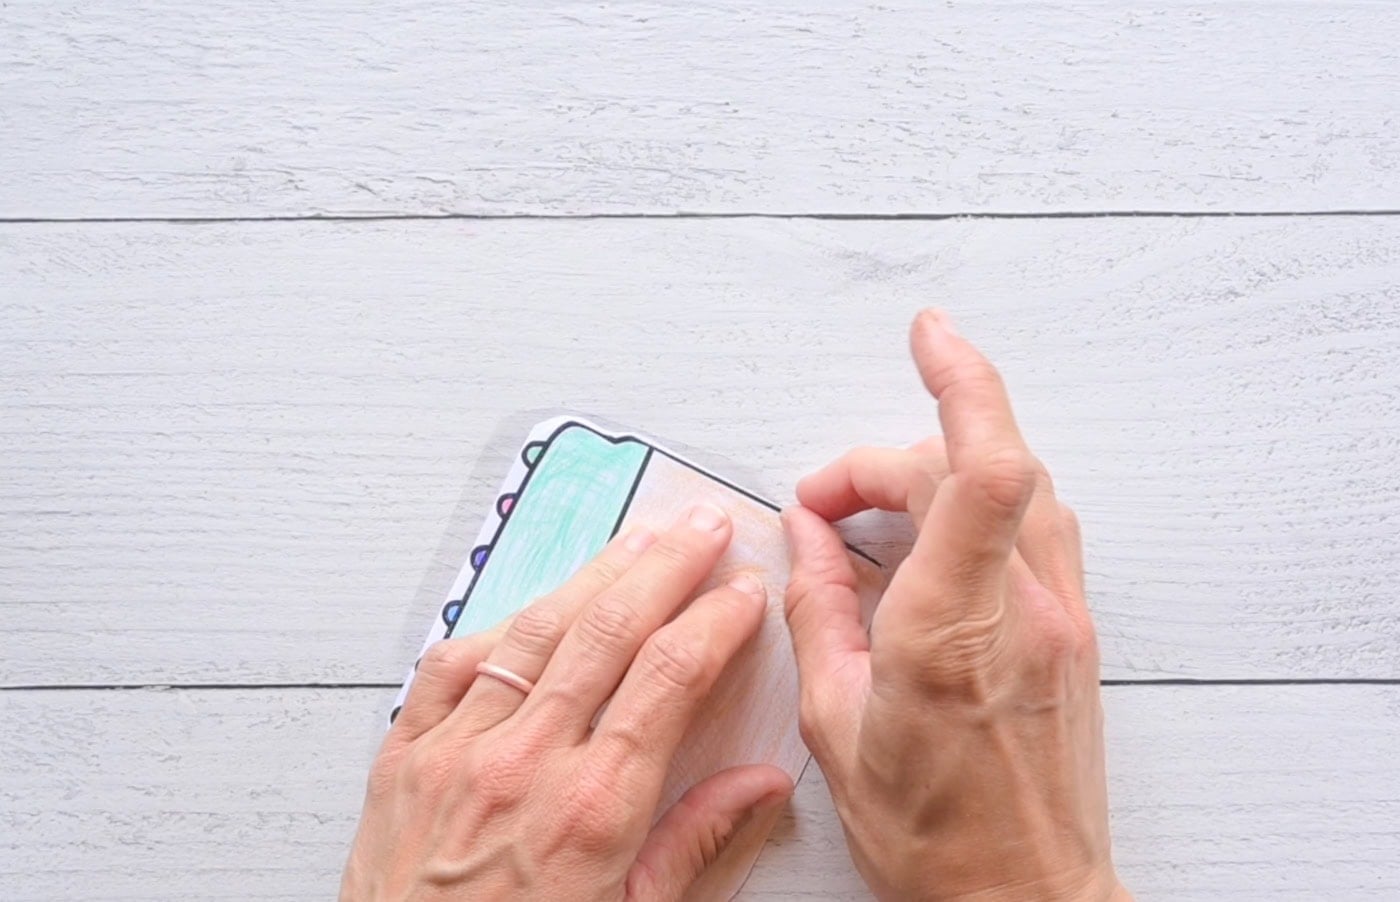
Peel the paper off the back piece of contact paper. "Laminate" the back crayon box piece.
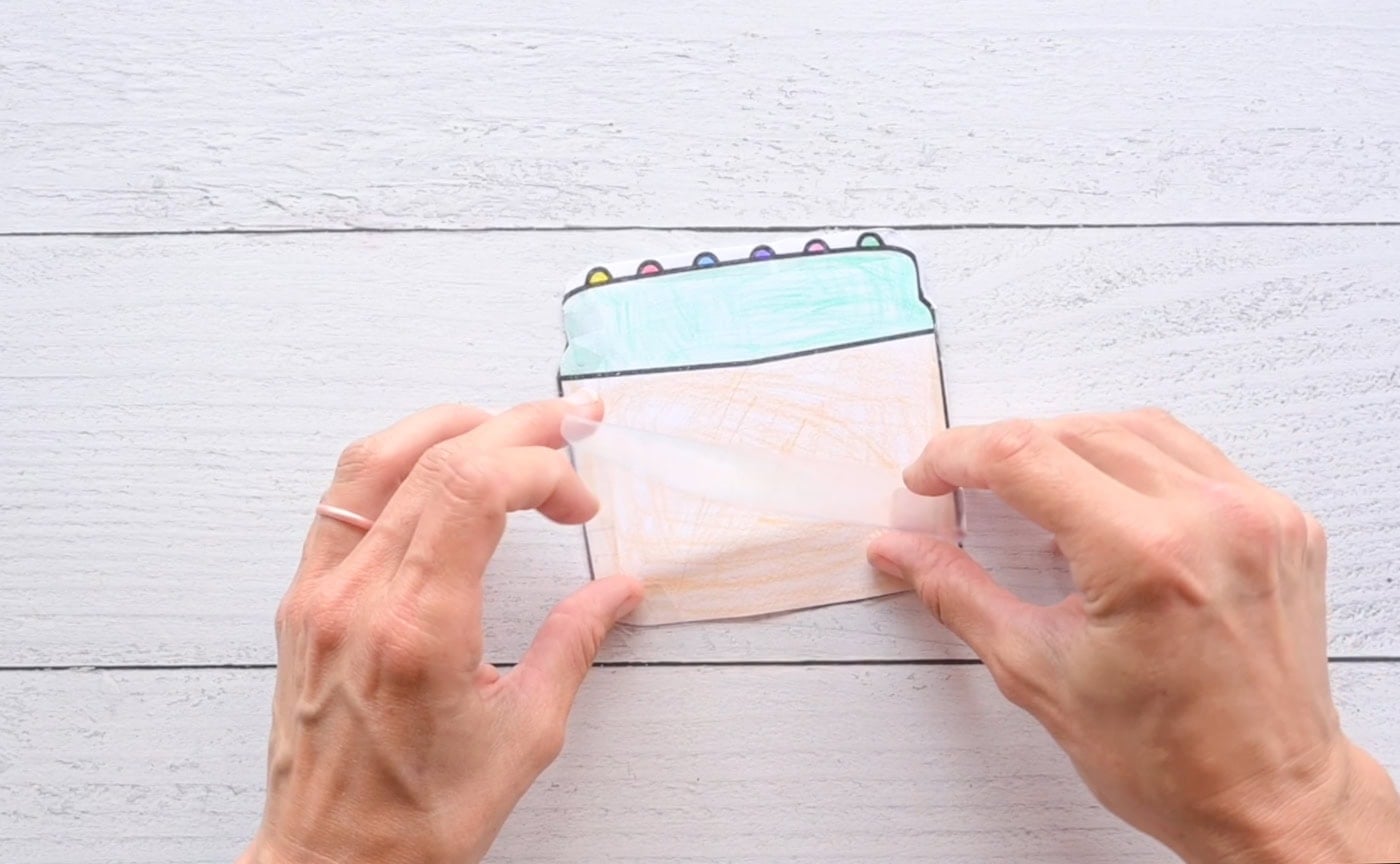
You should have a nice little gap in the bottom of the crayon box. Use this gap to fill the squishy with stuffing.
Use enough to make it puffy, but don't overstuff it or you won't be able to close it up.
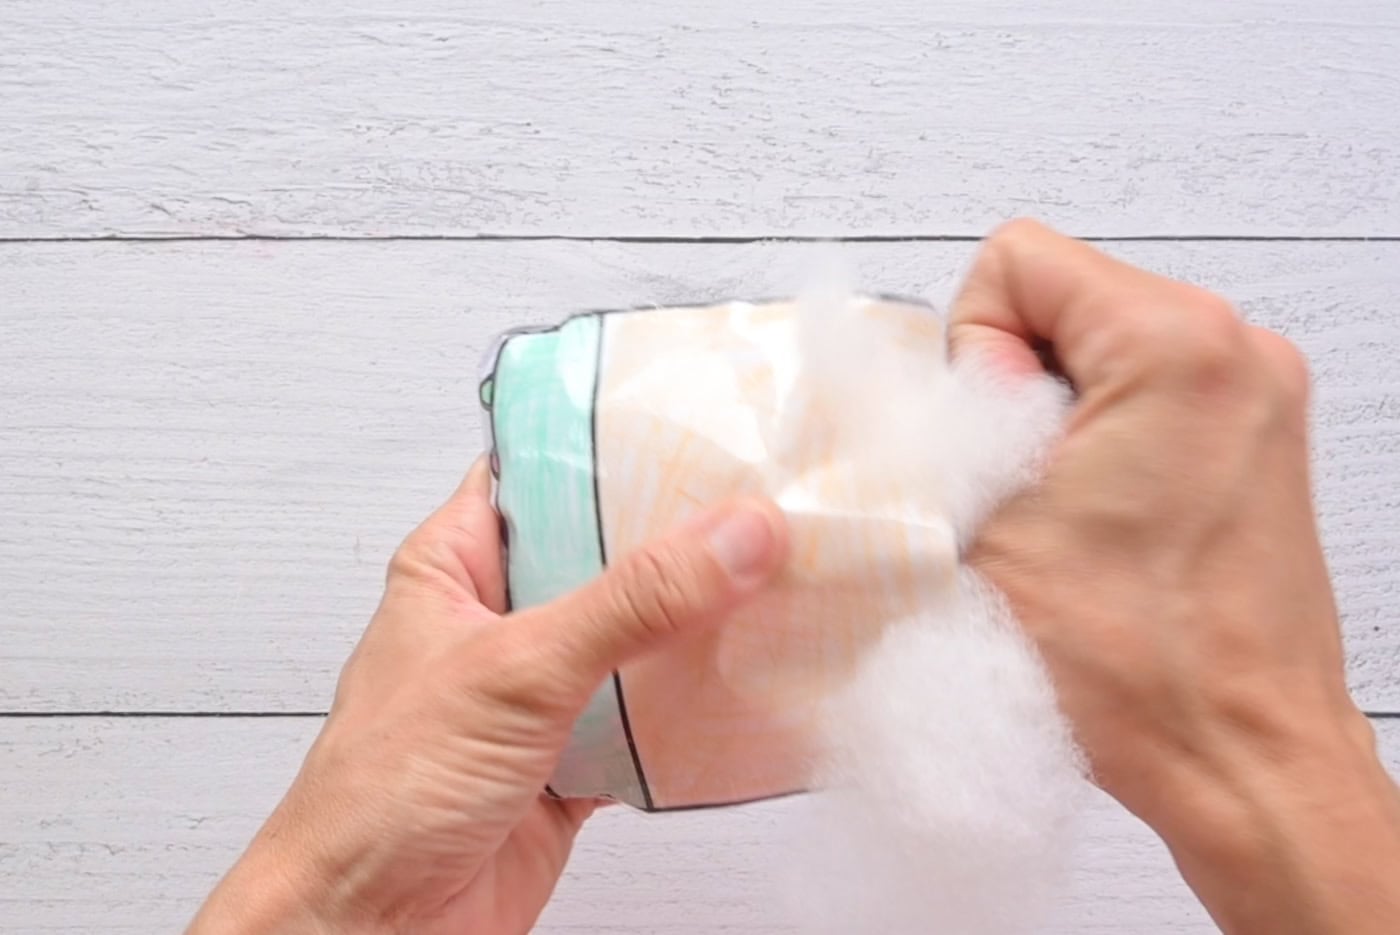
Once it’s nice and plush, tape the remaining hole shut. Check for any air gaps and reinforce them with extra tape if needed.
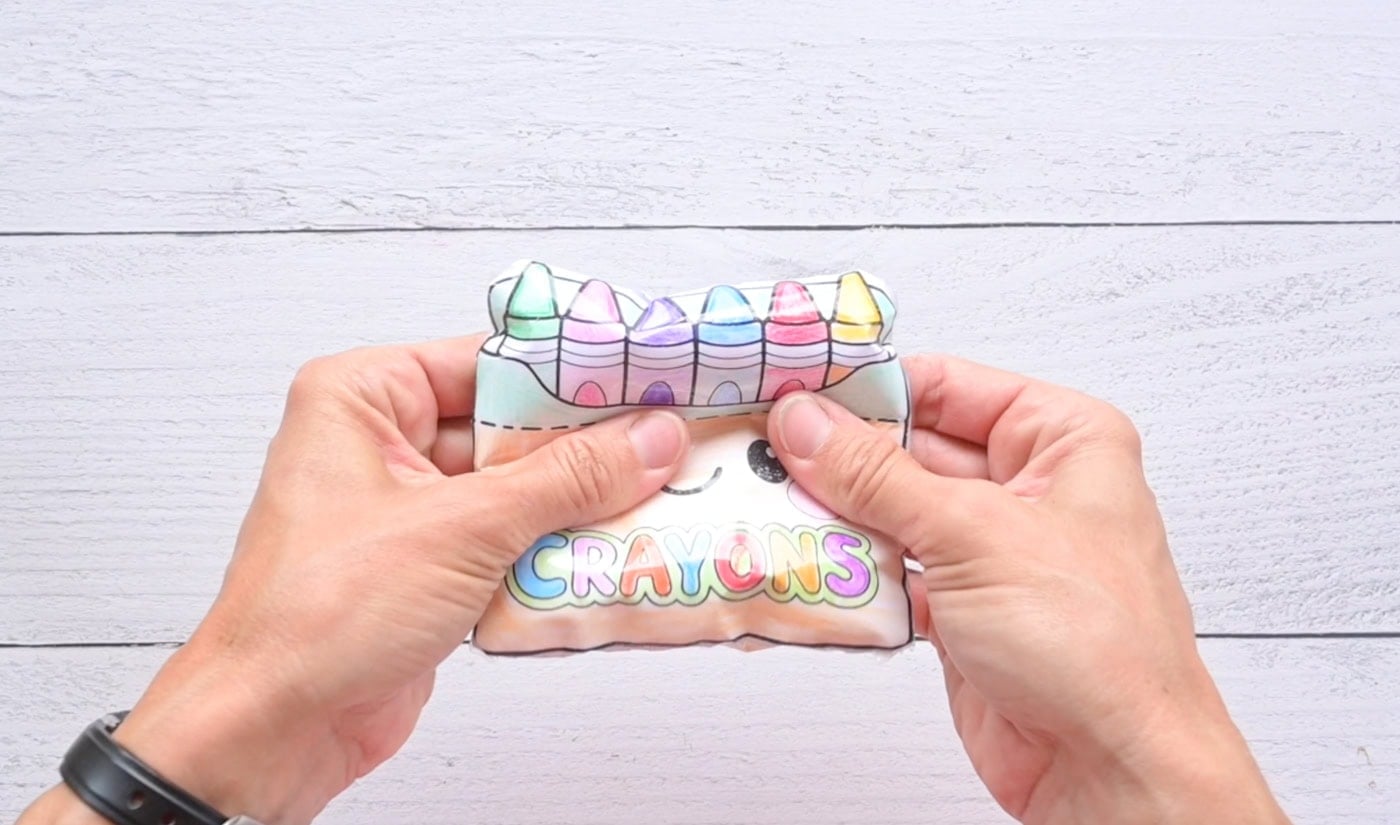
That's it! Your kawaii crayon squishy is ready to play with.

Free Printable Crayon Box Template PDF Download Area
These free printables are licensed for personal use, including classroom use, use with summer camps, therapy clients, library activities, etc.
You are not licensed to sell or redistribute the files or print outs to others. Please refer them to this post to download their own copy of the PDF!
If you agree to these terms of use, you may click below:

I hope you enjoy this DIY project as much as I do! Don't forget to share your creations on my Facebook page.

Leave a Reply