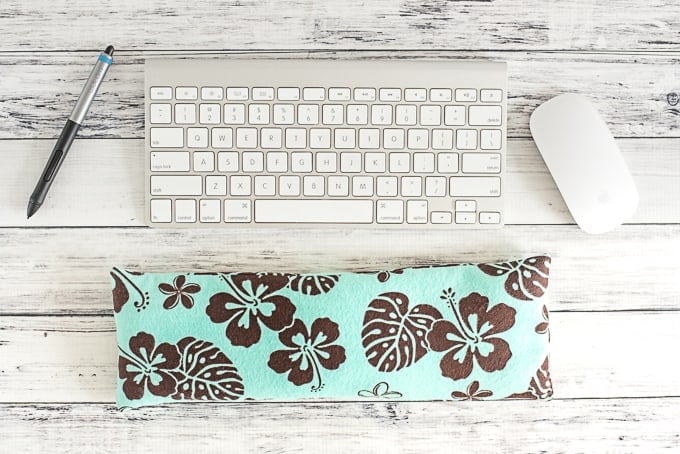
Discover how to quickly and easily make your own keyboard wrist rest!
I use my computer a whole lot, and because of how things have to be set up, my wrists are usually resting somewhere uncomfortable. I thought about buying a wrist rest, but then I realized I could make one very easily! So I did. =) Today I'm sharing how to make a keyboard wrist rest with you. I hope you enjoy this easy sewing project!
This post may include affiliate links, which means I may make a commission on purchases made through these links at no additional cost to you.
Materials needed to sew your own keyboard wrist rest:
- Fabric! Pick something that feels nice against your skin. I used/recommend a cotton flannel. The exact quantity needed depends on your keyboard, but I used 14"x12" of fabric.
- Needle/thread
- Sewing machine (optional, but makes the project quicker!)
- Either a cardboard cutting mat and scissors or a rotary cutting set (a rotary cutter and mat makes cutting out the wrist rest far easier!)
- Beans or rice. You'll need 1-2 pounds, depending on what you use. Black beans, lentils, black eyed peas, and rice all work well for this project. You can also use those plastic pellets sold at fabric stores.
- A funnel - optional but really useful for getting your rice into the wrist rest
- Iron/ironing board
The items linked are the exact ones I use, if anyone is curious about my iron or sewing machine. =) If you do a lot of sewing, like I do, it pays to get a heavy duty machine, sturdy scissors, and a reliable iron!
How to sew your own keyboard wrist rest:
If you'd like to, measure your keyboard, or the portion of it you use most (If you have a big number pad on one side that you rarely use, you might not want the rest to extend all the way along it.) My smaller keyboard is about 11" and my larger keyboard is about 17, but I don't use the number pad so the same sized wrist rest can work for both. Because most keyboards are about the same size, you can skip measuring if you want and just go with my measurements!
1. Iron your fabric!
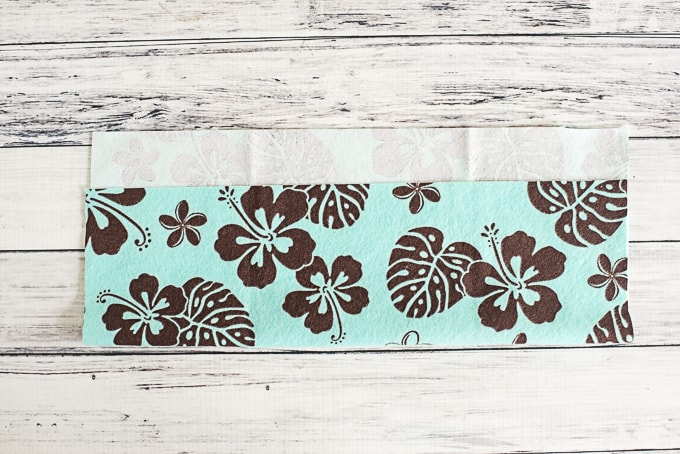
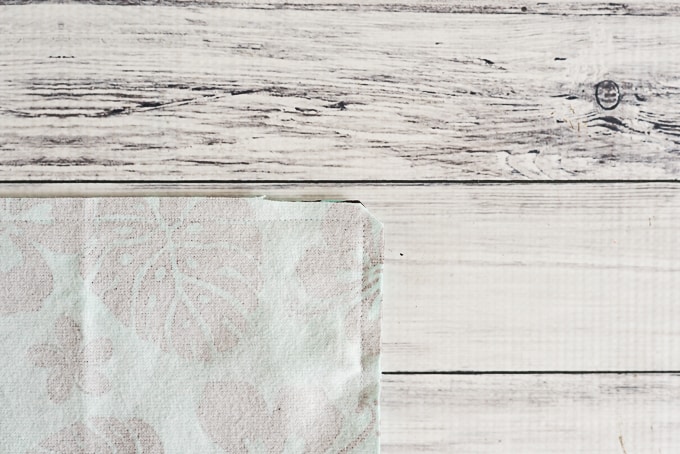
2. Cut a rectangle of fabric that's a couple inches longer than your keyboard, I went with 14", and about 12" wide. You'll be folding it into a "hotdog style" rectangle and it's less sewing for you if you're able to have a fold along one long edge instead of a seam. If you need to, you can cut two 12x6 pieces and sew them on all four sides, or you can make a long, skinny piece that's 24x6.
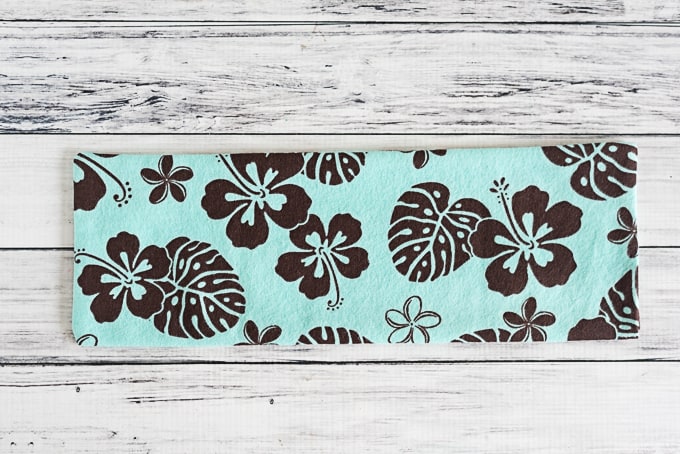
3. Fold your rectangle, aligning all three cut edges, right sides together, and pin.
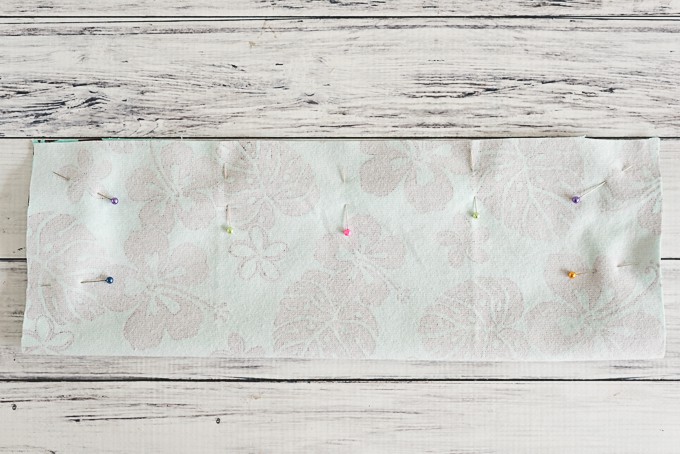
4. Sew shut, leaving a couple inch gap on one short side. I used my sewing machine and stitched ¼" away from the edge, but you can also sew this project by hand. I recommend using a tight, small running stitch or a backstitch if you chose hand sewing.
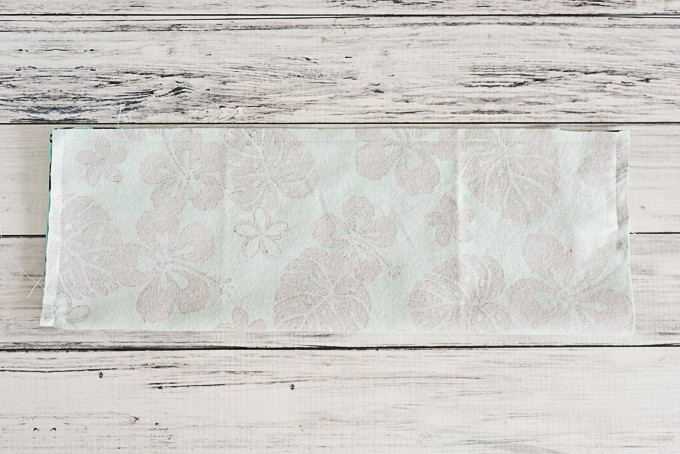
5. Clip the corners. In other words, remove a small triangle of fabric, making sure you don't accidentally cut the stitches. This will make the corners look nicer on the finished product.
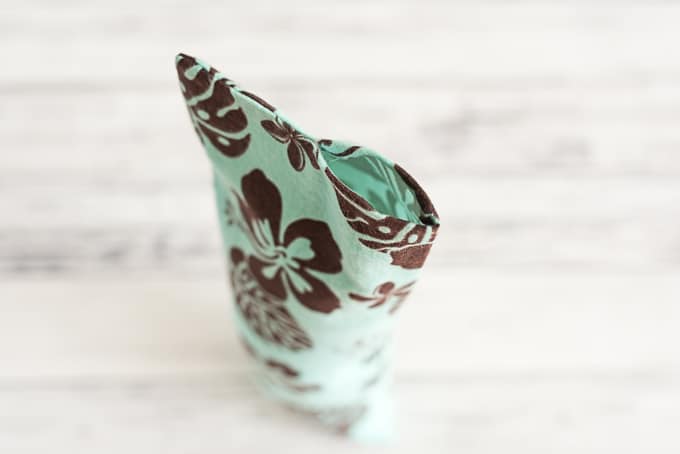
6. Turn the project "right side out" and use a skewer, knitting needle, narrow paint brush handle, etc. to poke the corners out. Iron again, making sure to iron the 'flaps' at the opening inside so everything lines up nicely.
7. Add rice, beans, or plastic pellets to a comfortable fulness. Remember that you want your wrists to rest comfortably and don't overfill your wrist rest! A funnel or improvised funnel made from a sheet of paper makes filling the wrist rest a lot easier!
8. Once you're satisfied with the stuff, it's time to close up that opening! You can take project back to the machine and stitch it closed with a straight stitch near the edge. I'm personally not a fan of the way this looks and close up almost every project by hand using a 'hidden' ladder stitch. It's a super easy stitch and looks quite nice. If you're not familiar with the ladder stitch, just watch this short video clip!
If you hand sew the opening closed, don't just tie a knot and clip the thread at the end. Instead, insert the needle into the wrist rest and out again a couple of inches away. Pull the thread tight, scrunching up the fabric, and carefully clip very close to the fabric. When the tension is released, the thread tail will disappear inside! This longer tail helps protect the knot from coming undone and gives you project a more polished appearance.

9. Use and enjoy! Or have your husband steal it and take it to work for his enjoyment. Whatever. Guess I need to make another one now :-p
I hope you enjoy this homemade wrist rest and that it helps out all you other computer junkies!
![]()
More Related Posts
[pt_view id=“15d429e15n"]
[catlist search="tutorial" numberposts=4 orderby=rand excludeposts=this]
Shine
made it! less than 20mins. added essential oils to the rice mix. I added too much, but I'm sure it fades. Thank you I was looking at amazon ones that were priced around 15 bucks. Not nearly as cut as the fabric I picked. Love it
Natashalh
Awesome! So glad it worked out well for you and thank you for letting me know!