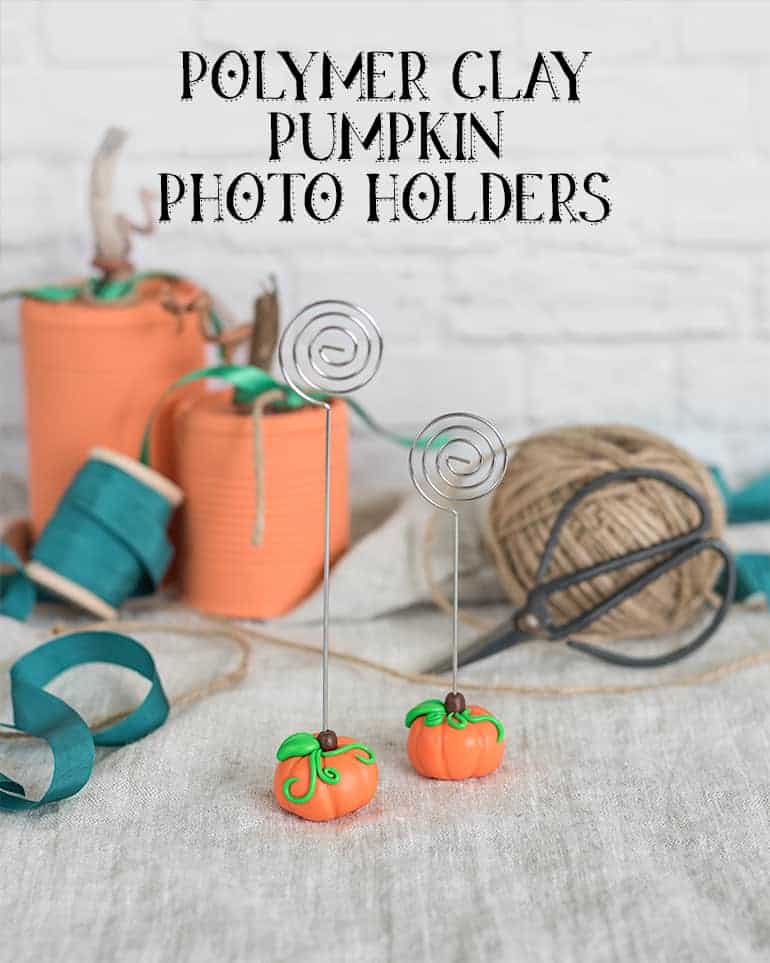
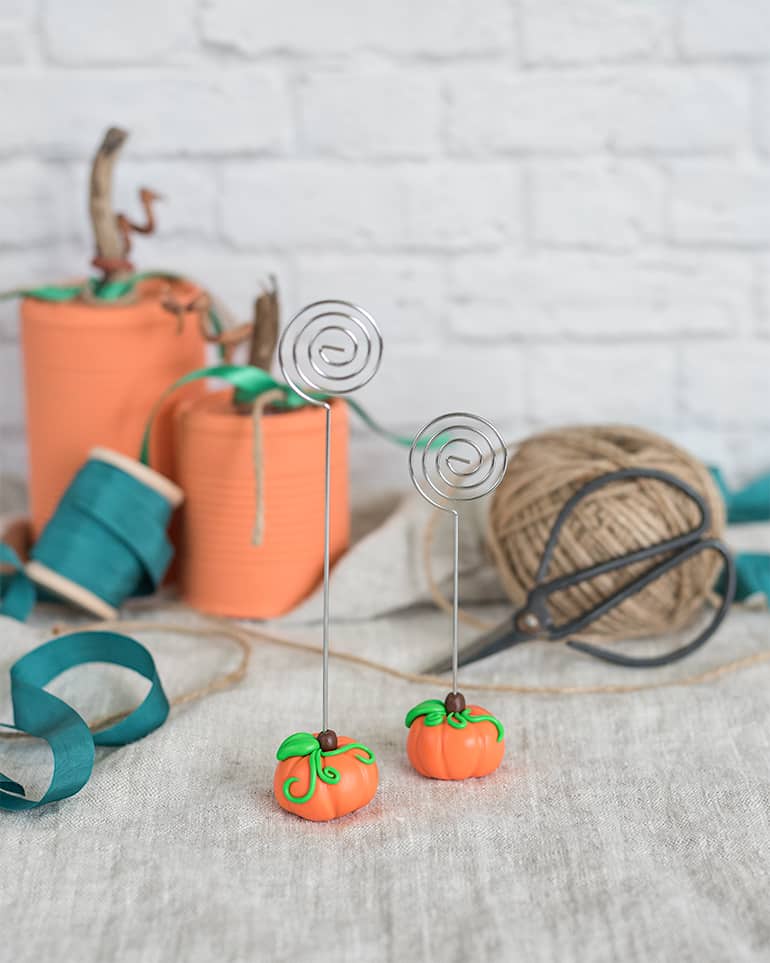
These polymer clay pumpkin photo holders are super easy and really cute for fall!
Like I wrote in last month's upcycled tin can pumpkin tutorial, I'm trying really, really hard to do some seasonal projects this year. I think I've already done more seasonal projects than I did during all of last fall so things are going well!
Today I'm continuing the them of 'pumpkins that won't rot in heat and humidity' with super cute polymer clay pumpkin photo holders. They're incredibly easy to make and don't require any prior clay knowledge or special tools! They'd also work well as name card holders or to label items on a buffet, so they're pretty versatile.
This post includes affiliate links, which means I may make a commission on purchases made through these links at no additional cost to you.
Materials for polymer clay pumpkin photo holders:
- Polymer clay!
- I used about .5 oz of orange clay for each pumpkin and a little bit each of green and brown. As always, I used Premo! Sculpey, but other polymer clays will work as long as you avoid Sculpey Soufflé - it's too light for this project.
- Wire card holders.
- I also used a pair of pliers to cut down one of the holders for some visual variation. Shorter holders are more stable than taller ones, so if you're planning to use these for photos I recommend you keep the height somewhere in the 3-5" range.
- A bamboo skewer
- Rubbing alcohol & a q-tip. These are optional but very helpful!
- A piece of printer paper, parchment paper, or something else to bake your clay on


How to make polymer clay pumpkins
These pumpkins are so super easy to make!
First you'll need to condition a piece of your orange polymer clay. Condition simply means knead around and play with until it becomes malleable.
Premo! needs more conditioning than 'regular' Sculpey (i.e. Sculpey II or III).
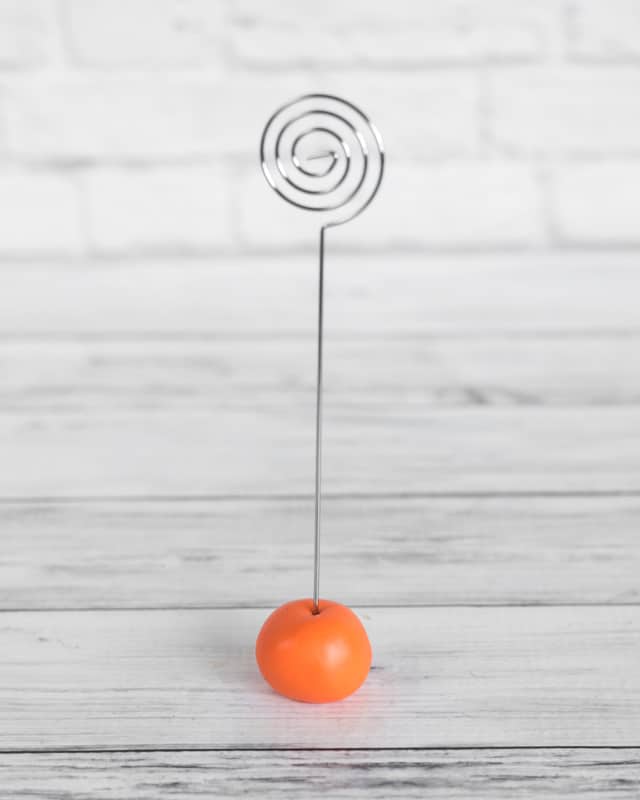
Once your clay is pliable, roll it into a ball and stick a wire pick card holder in. If it seems stable and looks good, then your clay is ready for sculpting!
If it seems too small or too big, add or remove clay until the size of the ball works well with the length and size of your card holder.
Once your ball looks good, insert your wire pick if you haven't already.
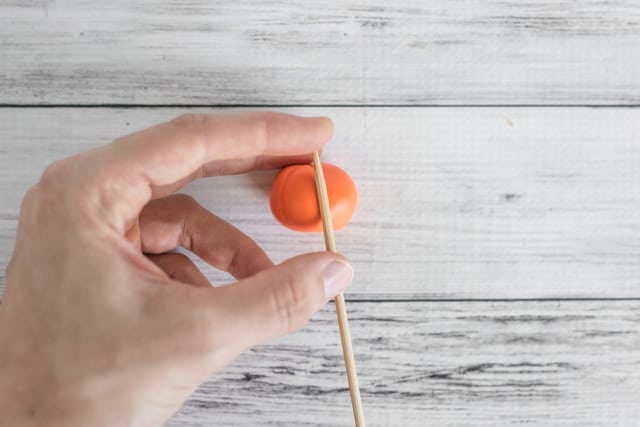
Flatten very slightly/gently on the bottom, but try not to let the wire poke through the bottom of your pumpkin-to-be. Carefully remove the wire pick.
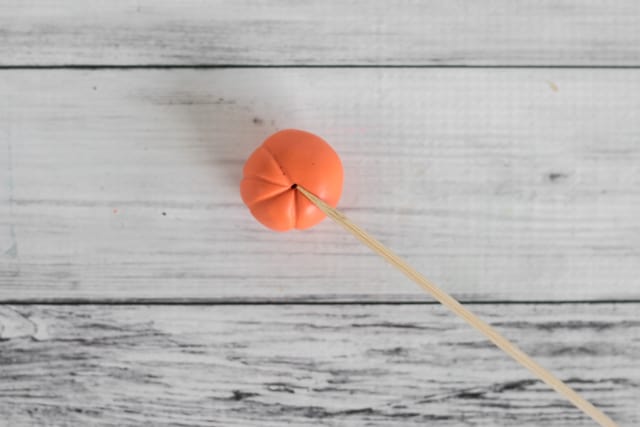
Use your bamboo skewer to press lines into the pumpkin.
Start each one at the top hole, but don't stress about making them all match up perfectly on the bottom.
Although the photos are on my work surface because I don't have three hands, I recommend holding the pumpkin while you make your marks to help keep its rounded shape.
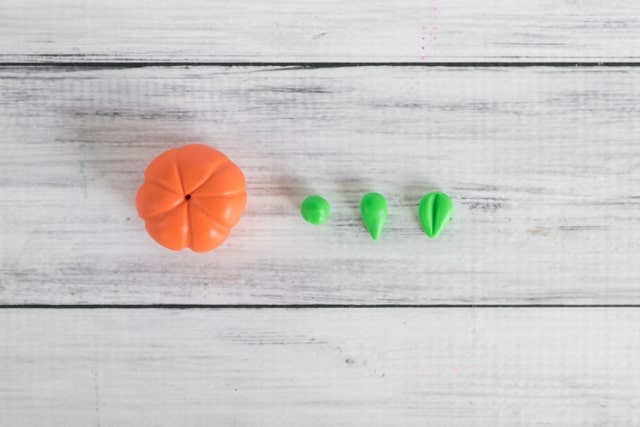
Once you've added lines all around, it's time to make your pumpkin a leaf!
Roll out a small ball of clay, manipulate it into a drop shape instead of a ball, then flatten it slightly and add a line down the center with your skewer. You can see all three steps in the process here:
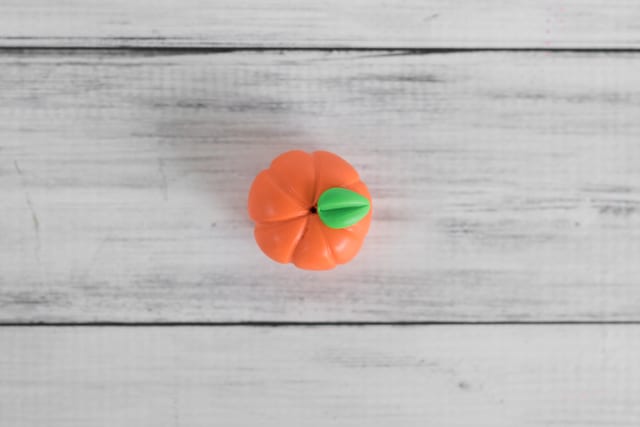
Place your leaf on the pumpkin.
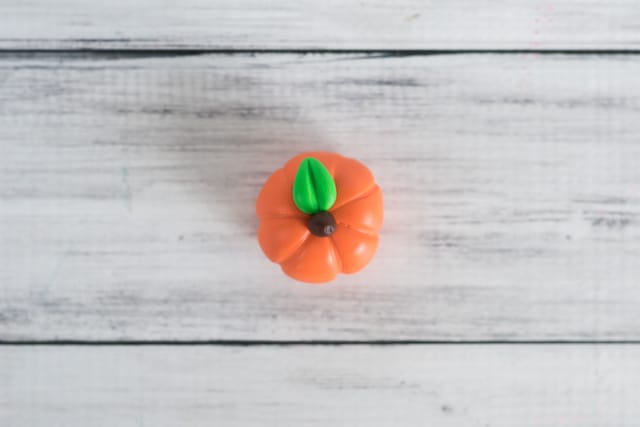
Now make your stem!
Make a ball or cylinder of brown clay, depending on what you'd like, and place it over the hole on top of your pumpkin.
It's okay if it also overlaps your leaf some. When you insert the wire pick, the stem will get a little shorter so make it slightly taller than you want to begin with.
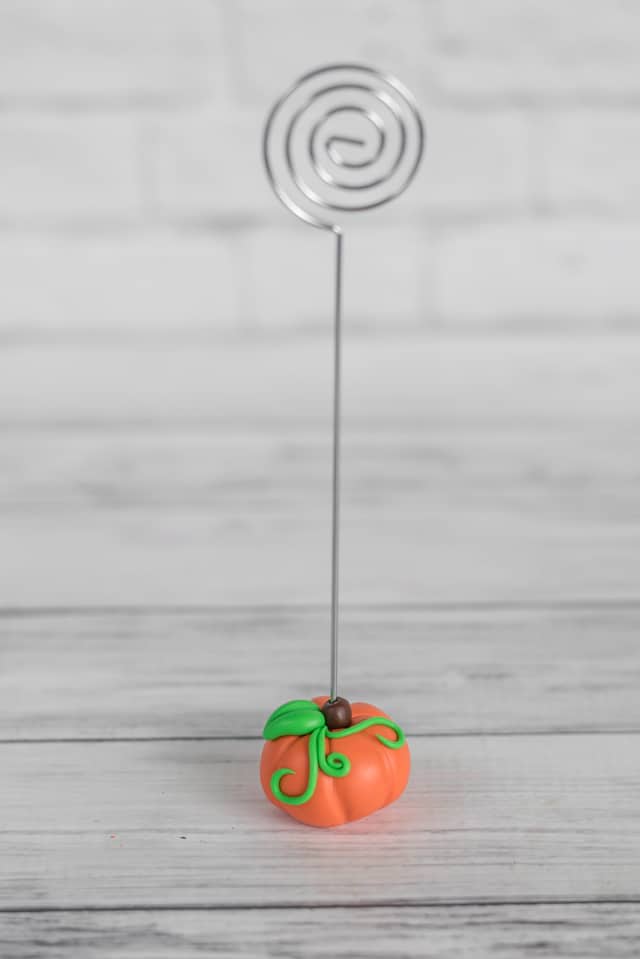
Carefully insert your wire card holder through the stem and down into the pumpkin.

Roll out a few thin 'snakes' of green clay and add some vines.
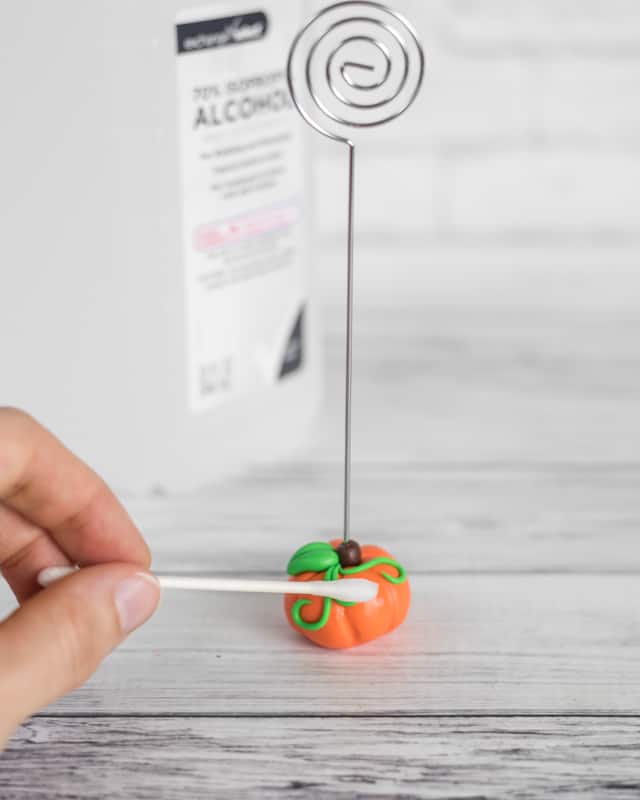
If your clay is dirty or has finger prints, don't fret!
Use rubbing alcohol on a q-tip to wipe away grime and prints. The alcohol basically dissolves away some of the clay so expect your q-tip to turn orange. Running the q-tip up and down the grooves you made with your skewer can help smooth them out, too.
Bake your pumpkins according to your clay's instructions.
Different brands and types of clay need different times and temperatures.
A reader asked whether to bake the pumpkins with the wire pick inserted or not. The choice is yours! If you bake with the pick inserted, placing your paper/cardstock on a cookie sheet helps them stay standing upright while they bake.
If you have a smaller oven or don't want to use a cookie sheet, you can carefully remove the wire pick prior to baking. After baking, re-insert the pick with a dab of glue to help hold it in place. (E6000 would well)
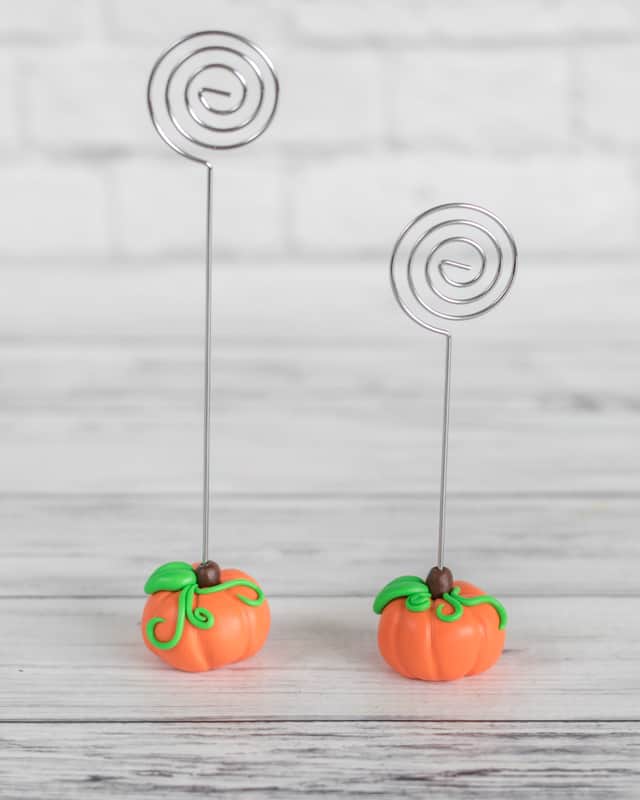
Enjoy your awesome new polymer clay pumpkin photo holders!
My husband has already claimed one to hold a baby photo on his desk, though since Baby isn't out and about yet he's going to have to wait a little while longer to have a photo to display!
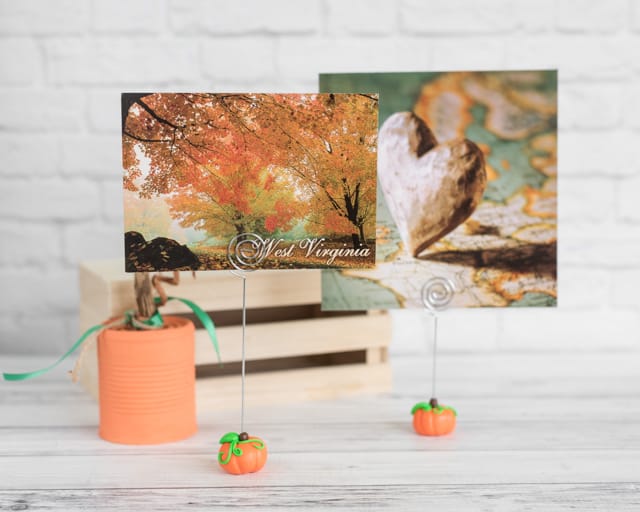
These super cute pumpkins are great for holding photos, but they'd also be perfect for labeling items at a party ("eye of newt," anyone?) or as place card holders. With a bit of planning ahead they'd also work really well for a DIY wedding!
Of course, you can also follow the same general technique with an eye pin instead of a card holder pick to create some cute clay pumpkin charms!
What have you been crafting lately?
![]()
Linda Pruitt
Love these! Beautiful! And this turtorial is so well done! Thanks!
Natashalh
Thank you!
Sarah Leonard (@curiouslysarah)
These are so very cute! Love this idea and love pumpkin accessories 🙂
Natashalh
Thank you! I've thought about making the same pumpkins but smaller for earrings or a necklace. I think it would work well!