My husband is now on shore tour (yay!), but when his boat got home from deployment last fall members of the FRG made ribbon lei in the boat's color for every single sailor. Wow! Even though they're fairly quick to make, that was a time commitment.
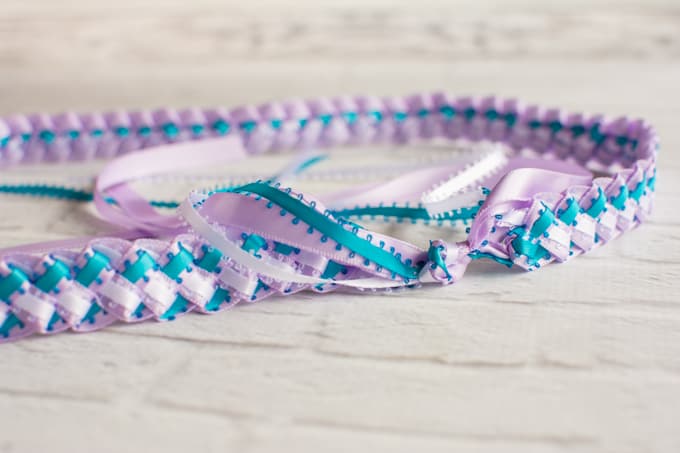
Ribbon lei like this are great for situations where you need a lot of lei, need them to last, and don't want to risk staining someone's dress uniform/clothes/gown/etc (I've heard ti leaves stain dress whites - eek!). I used a narrow picot ribbon for my accent pieces (picot is the ribbon with little loops on the outside, in case you aren't familiar), but you can use a narrow plain satin ribbon, instead.
This post may include affiliate links, which means I may make a commission on purchases made through these links at no additional cost to you.
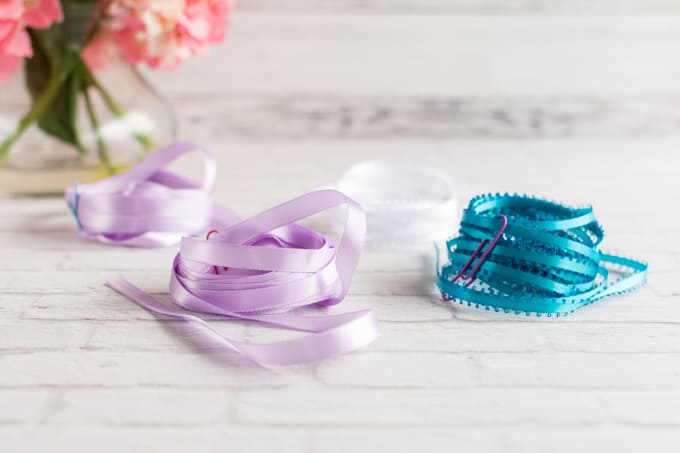
Materials needed to make a tricolor braided ribbon lei:
- 12 yards of a ⅜" wide plain satin ribbon, cut into two 6 yard pieces (you can go a little longer, if you'd like, and just trim the extra at the end)
- 12 yards of 3/16" or ¼" picot or plain satin ribbon, either two 6 yard pieces of two different colors or two pieces of the same color
You may also want small binder clips, paper clips, or quilting Wonder Clips to hold the ribbon in a loose coil.
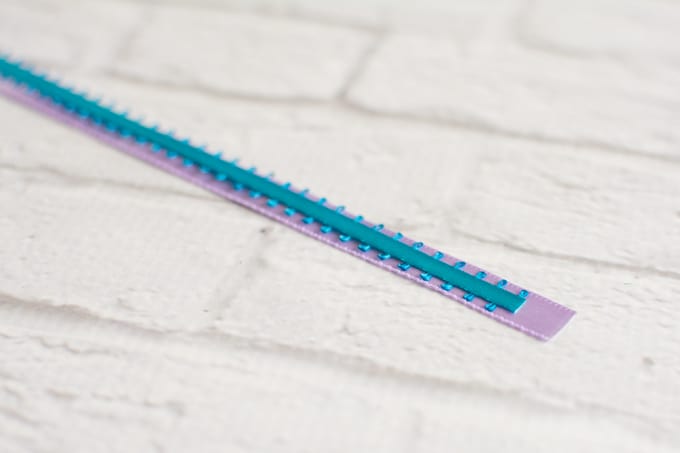
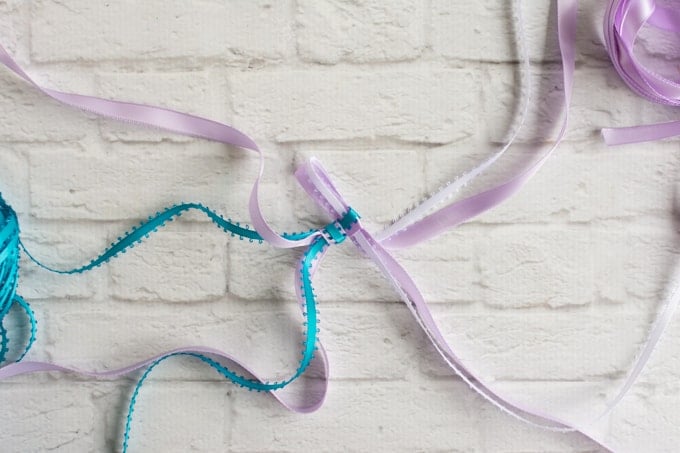
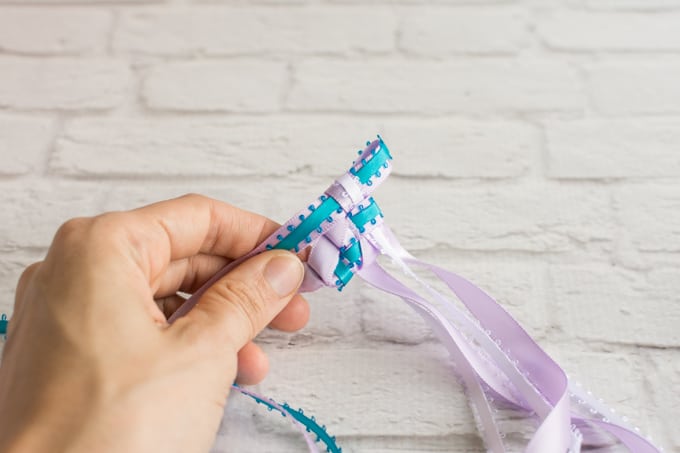
Pair up your plain ribbon and picot. You'll be braiding with the picot lying along the "shiny"/"smooth" side of the satin ribbon, like this:
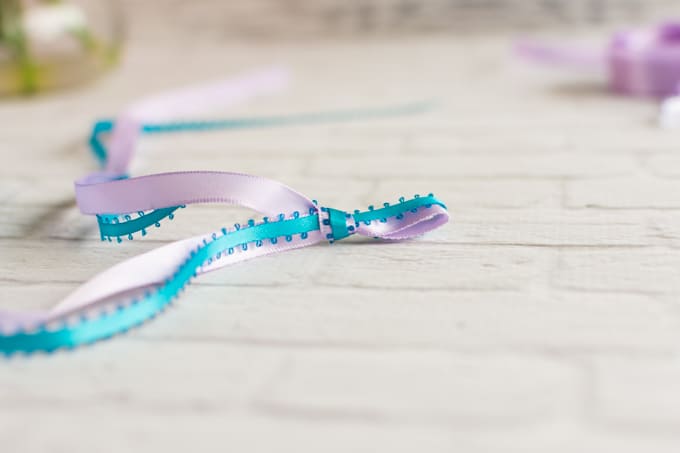
Take one set of ribbons and loop them into a slip knot. Leave a tail that's at least 1 foot long so you can tie the lei into a loop once you're finished braiding! You want the picot to be on the satin ribbon's smooth side on the working end of your ribbons (the end leading to 5-6 yards of ribbon you'll be braiding with). In the pictured example, this is the set of ribbons with the blue picot and is referred to at Set 1.
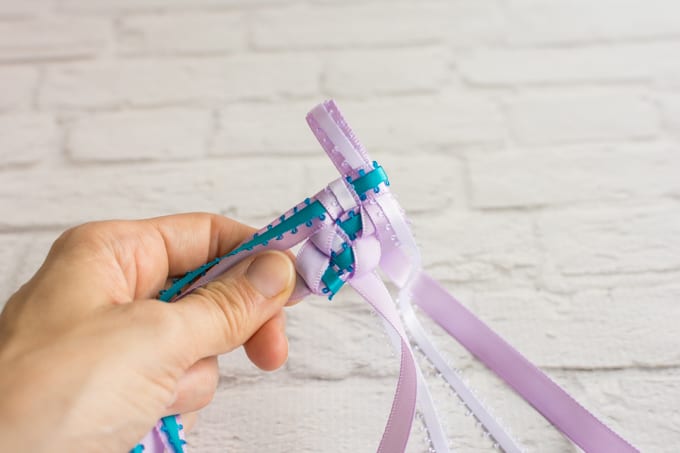
Place the second piece of picot along the smooth side of the second piece of satin ribbon, move about a foot away from one end, and simply fold the ribbons over to form a loop. This is with white picot in the example and is referred to as Set 2. Insert this loop through the slip knot in Set 1, as shown.
Using the working end of ribbon Set 1, form a loop, making sure the picot is on the outside, and insert it through the loop in Set 2.
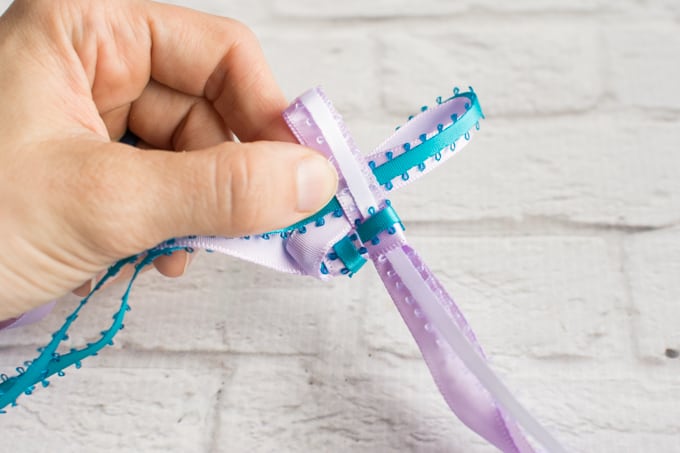
Pull on the ribbons in Set 2 to close the loop, as shown. You want the ribbon loops to be snug, but not so tight they cause puckering.
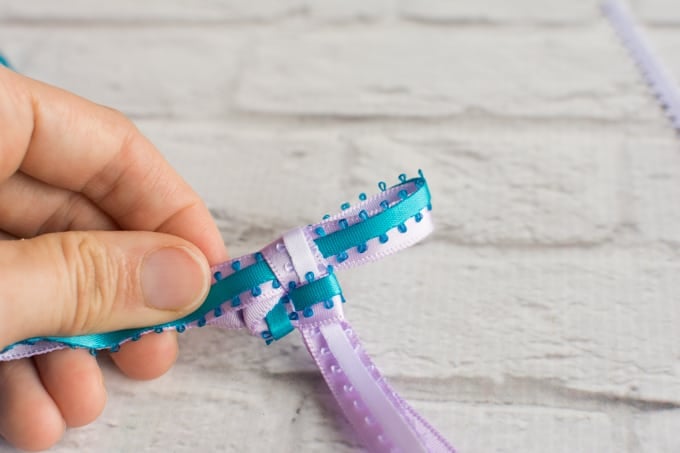
Now you have a little loop like a rabbit ear made from the ribbons in Set 1 sticking up, so you just repeat the process outlined above! Make a loop with the ribbons in Set 2 and insert it through the loop in Set 1. Snug the Set 1 ribbons down.
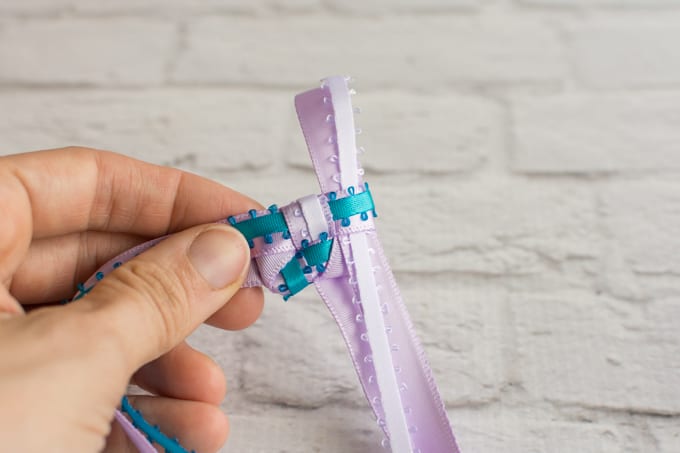
That is all there is to it! Just keep making loops and snugging them down.
Keep going until the lei is about 3 feet long and/or you have about a foot of ribbon left. To bind off the end, pull the tail of the ribbons all the way through on the very last loop.
Before tying the ribbons together to form a loop, decide which side you'd like facing out. You can either have the side you've been looking at while making your loops:
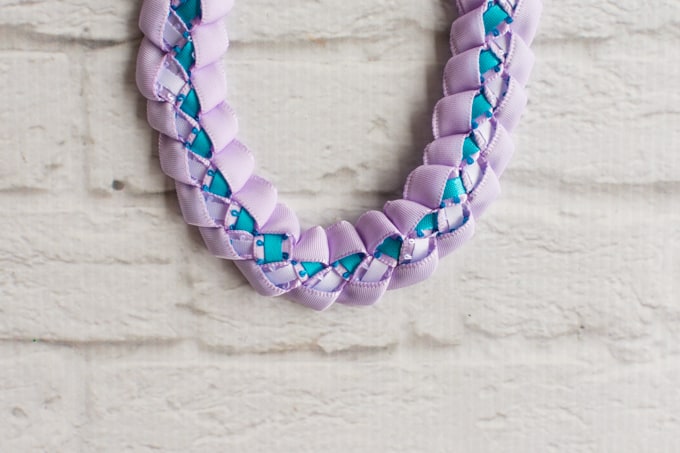
Or the "back" side:
I think this side is prettier when making a tricolor ribbon lei, but the choice is yours!
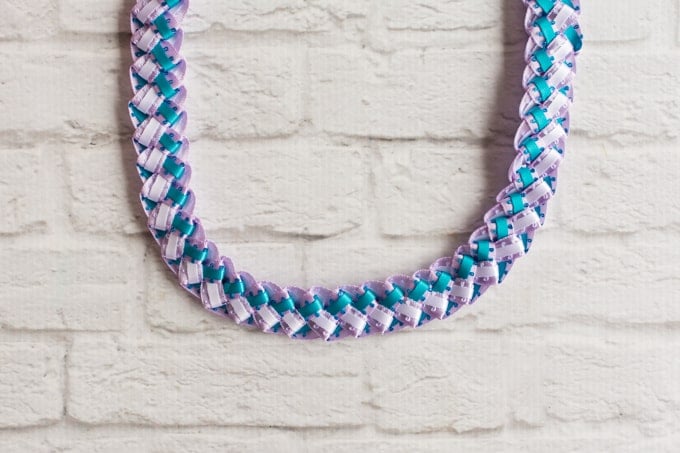
Once you've picked a side, tie all four tail ends together to form a closed loop. I like to tie a square knot then a simple bow. You can also make a separate, more elaborate bow and tie it in place.
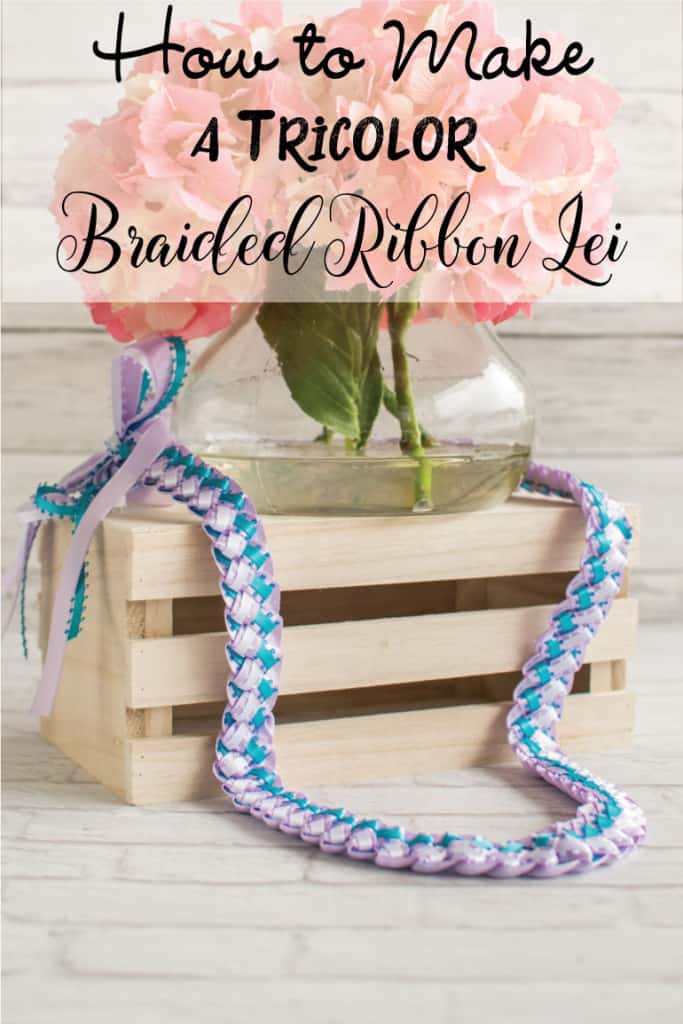
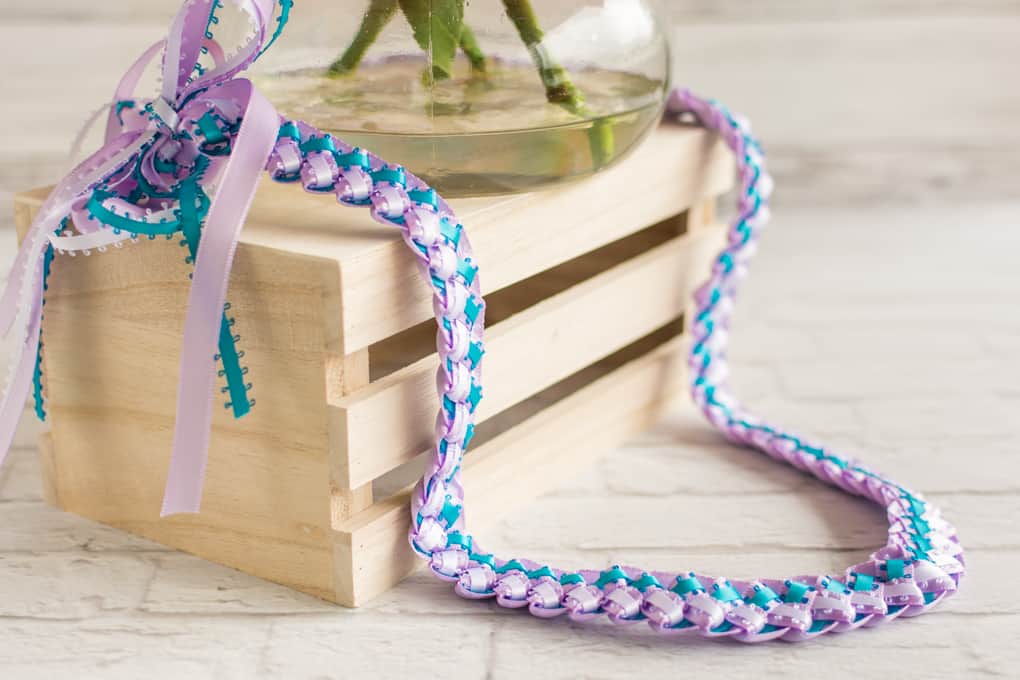
And there you have it! A simple, but pretty tricolor braided ribbon lei.
If you'd like to see the process in motion, I have a quick YouTube clip that shows how to form and tighten the loops. The demonstration is with two pieces of ribbon, but the process is exactly the same.

Remember to Pin this three color ribbon lei tutorial so you don't lose track of it!

Sort of unrelated - I think one of the neatest ways I've seen an 'artificial' lei used was by a lady who lived near me in Virginia. She was Hawaiian and she'd wear a lei either over her shoulders or in her hair every single day when she walked her dog. It helped remind her of home while she was living so far away and I loved seeing her when I was out with my dogs. {More Related Posts
[pt_view id=“15d429e15n"]
[catlist search="tutorial" numberposts=4 orderby=rand excludeposts=this]
Jessica smith
I cannot find yards of ribbon that come in that length anywhere! I've looked at three different stores! Where do you find your ribbon that comes in 10-12 yards?
Natashalh
Long lengths of ribbon like this are almost all the local craft store has (in terms of ribbon). I know the ribbon isn't exactly the same, but a lot of fabric stores do sell trims and ribbons by the yard, so that might be a place to look. Also, you could try looking for ribbon or floral supply stores. If you can't find long lengths, you could always try linking a couple shorter spools together with a couple quick stitches, fabric glue, or even hot glue. =)
D. Renée Wilson
Wow! That is amazing. Your talents have no end, Natasha. This is so beautiful!
Natashalh
Aww, thank you! You're so kind.