Sensory play is a popular trend for kids' play for a good reason! Kids love squishy, slimy, stretchy things to play with.
This easy DIY sensory slime recipe will keep your kiddo happily playing, screen free. It also secretly doubles as a cleaning slime!
That's right, the slime you play with and the slime you buy to clean your car dash with are pretty much the same thing. My daughter kept asking for car cleaning slime because she loves cleaning the dashboard, but it costs a lot for a tiny container.
This post may include affiliate links which means I may earn a commission on qualifying purchases at no additional cost to you.
Making this DIY slime recipe is a win-win for me. It costs less than purchasing it, then my daughter "plays' happily while she's actually cleaning the car!
This homemade slime also makes for a great hands-on science lesson. I first learned how easy it is to make slime after my daughter made some from a Little Passports kit!
If you'd prefer a done for you kit with science experiments, too, make sure to check out this National Geographic Sensory Science Kit.

- SENSORY STIMULATION - Sculpting, hydrophobic, and sensory sand along with putty and slime look and feel amazing. Great STEM gift for boys and girls.
- PLAY LONGER - The sands, putty, and slime are reusable providing fun, interactive, and creative play day after day.
- BETTER TOGETHER - This is a great collaborative play pack to enjoy with friends, family, or classmates. Perfect learning activity for kids!
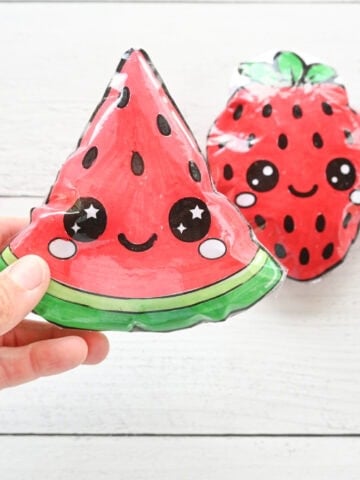
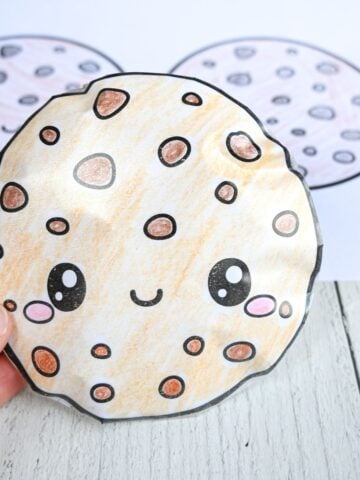
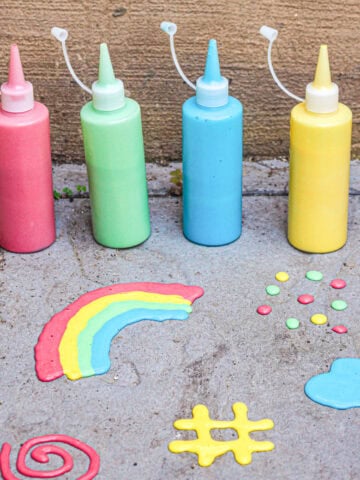
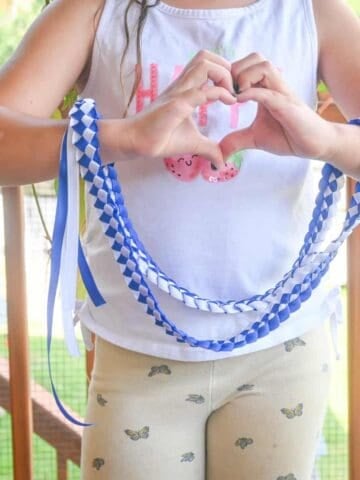
If you're looking for more sensory fun, be sure to check out these additional posts:
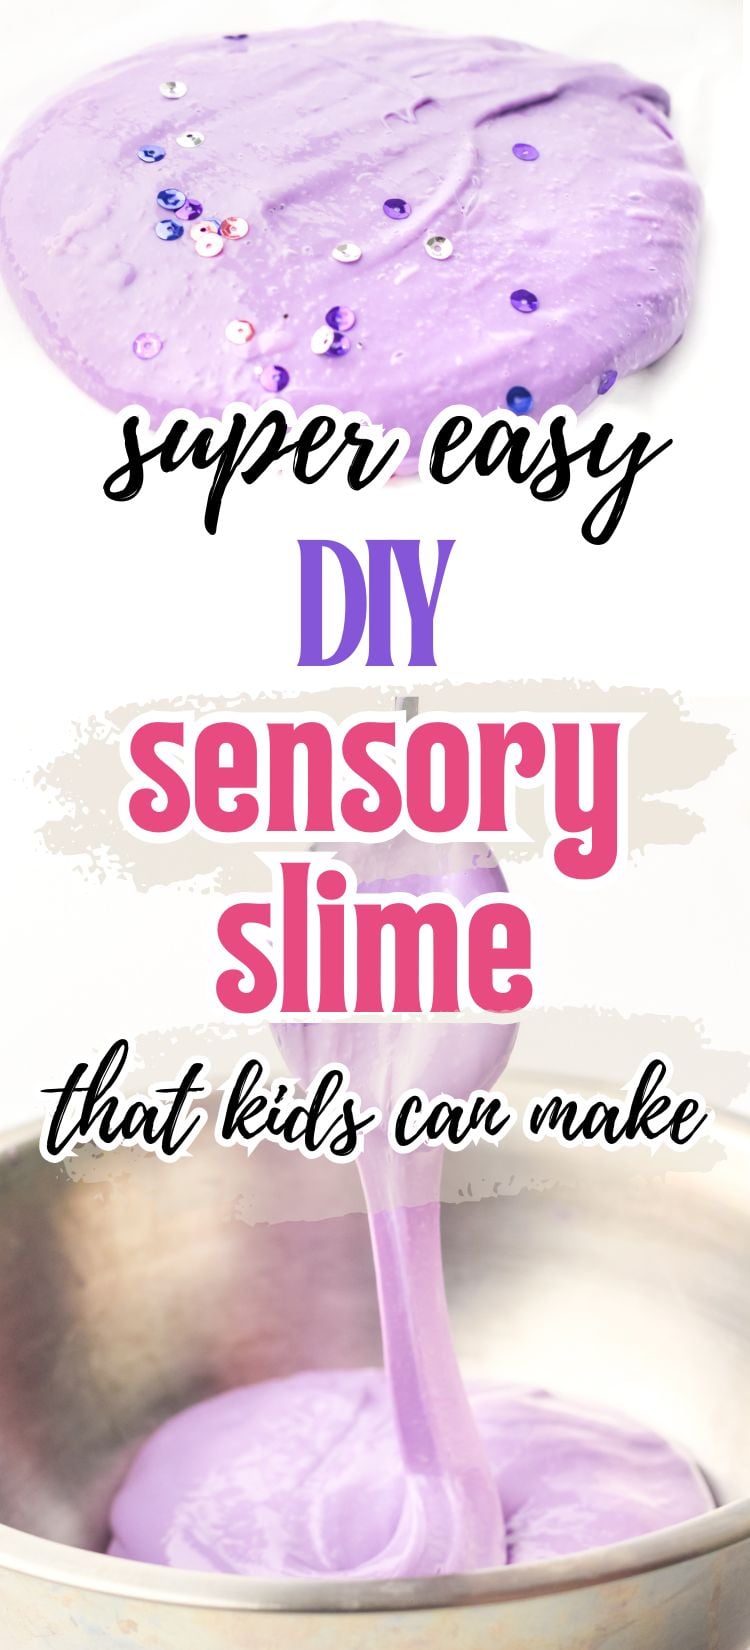
Homemade Slime Recipe
Prep Time: 5 minutes
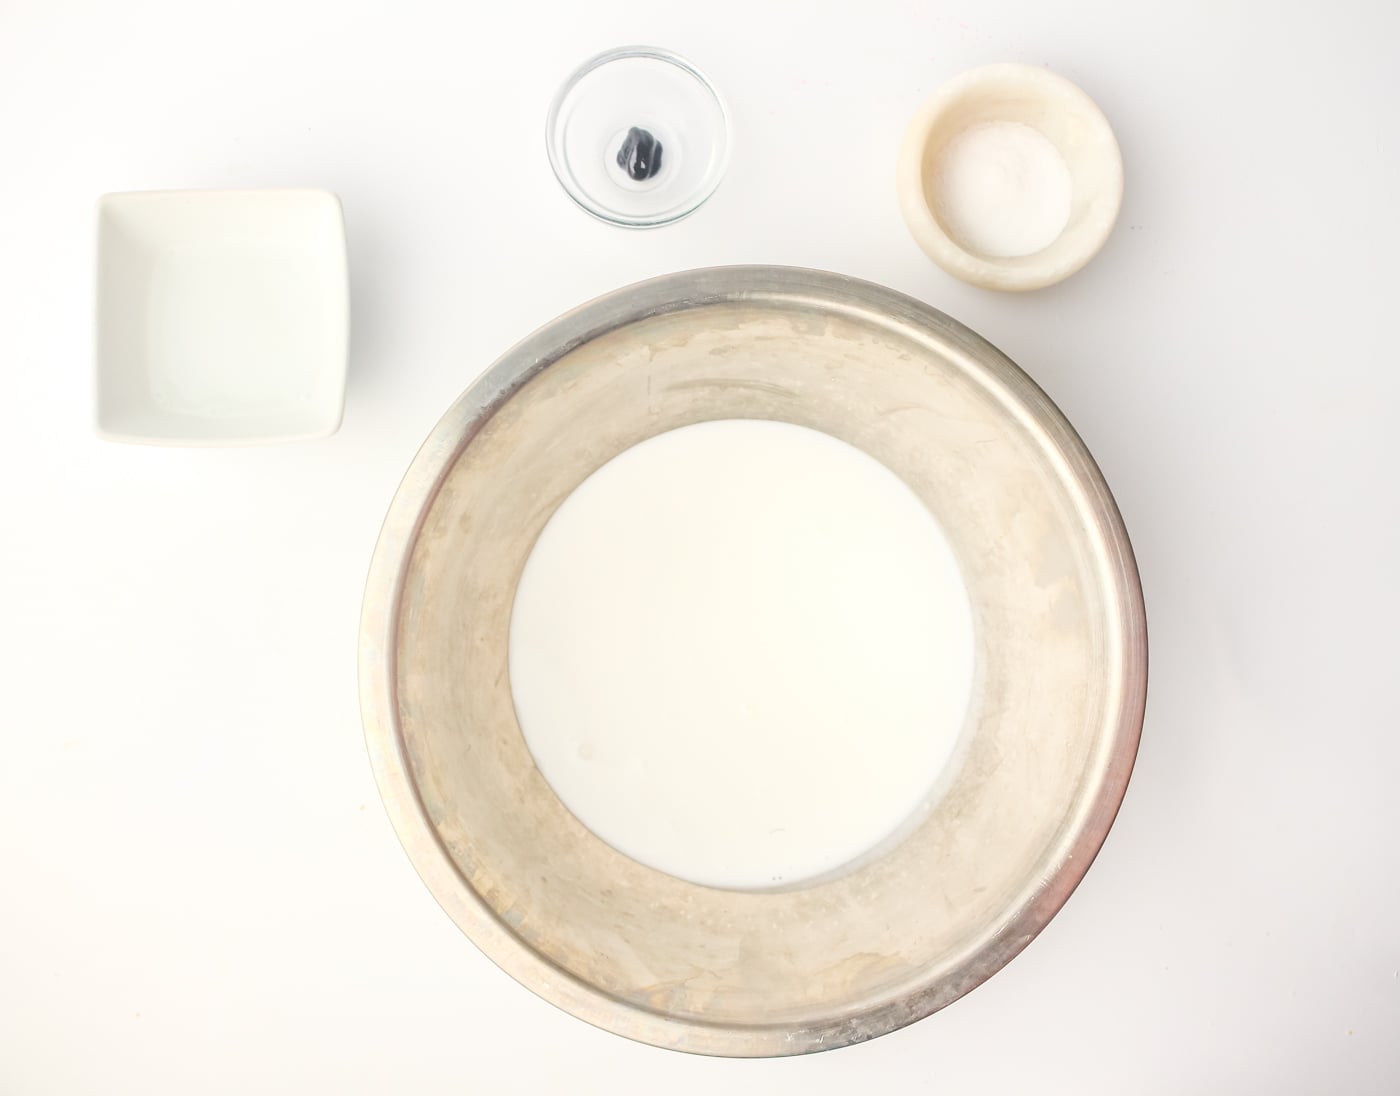
DIY Sensory Slime ingredients
• ½ cup school glue (120 ml)
• ½ teaspoon baking soda
• 1 tablespoon contact lens solution (just get a little travel bottle if it's not something you regularly need)
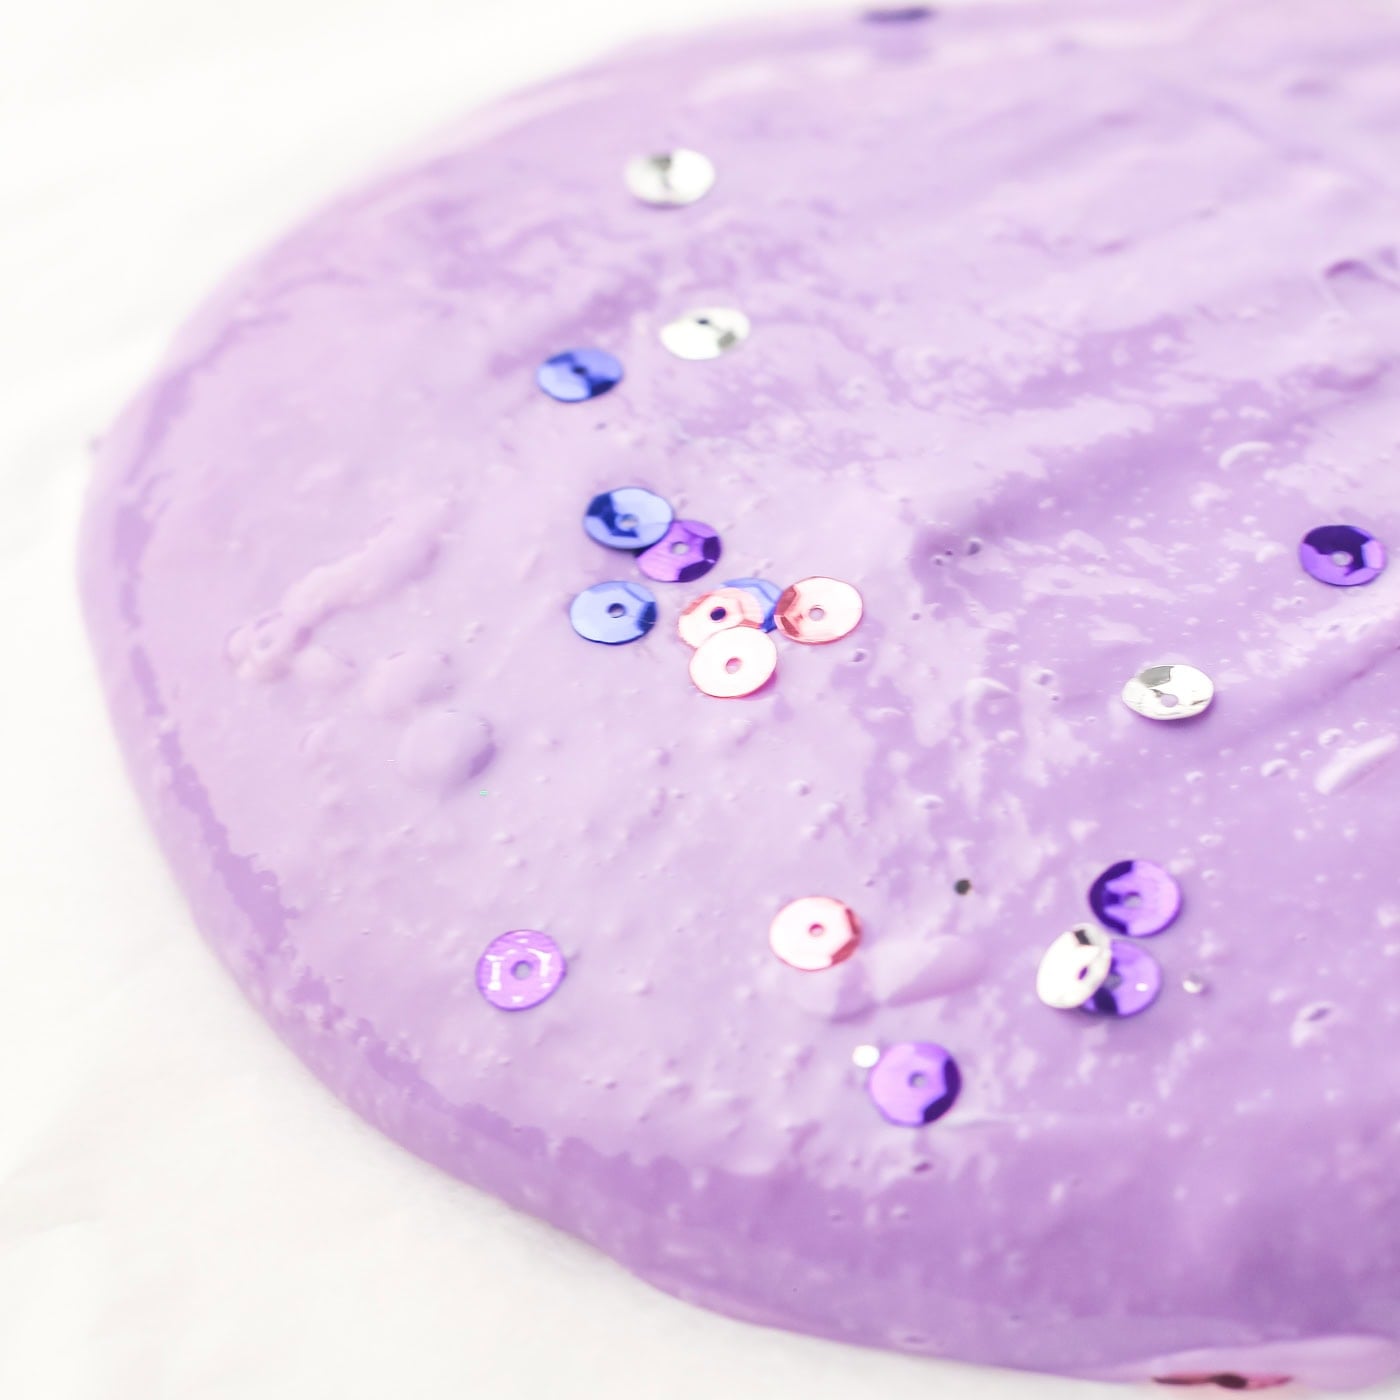
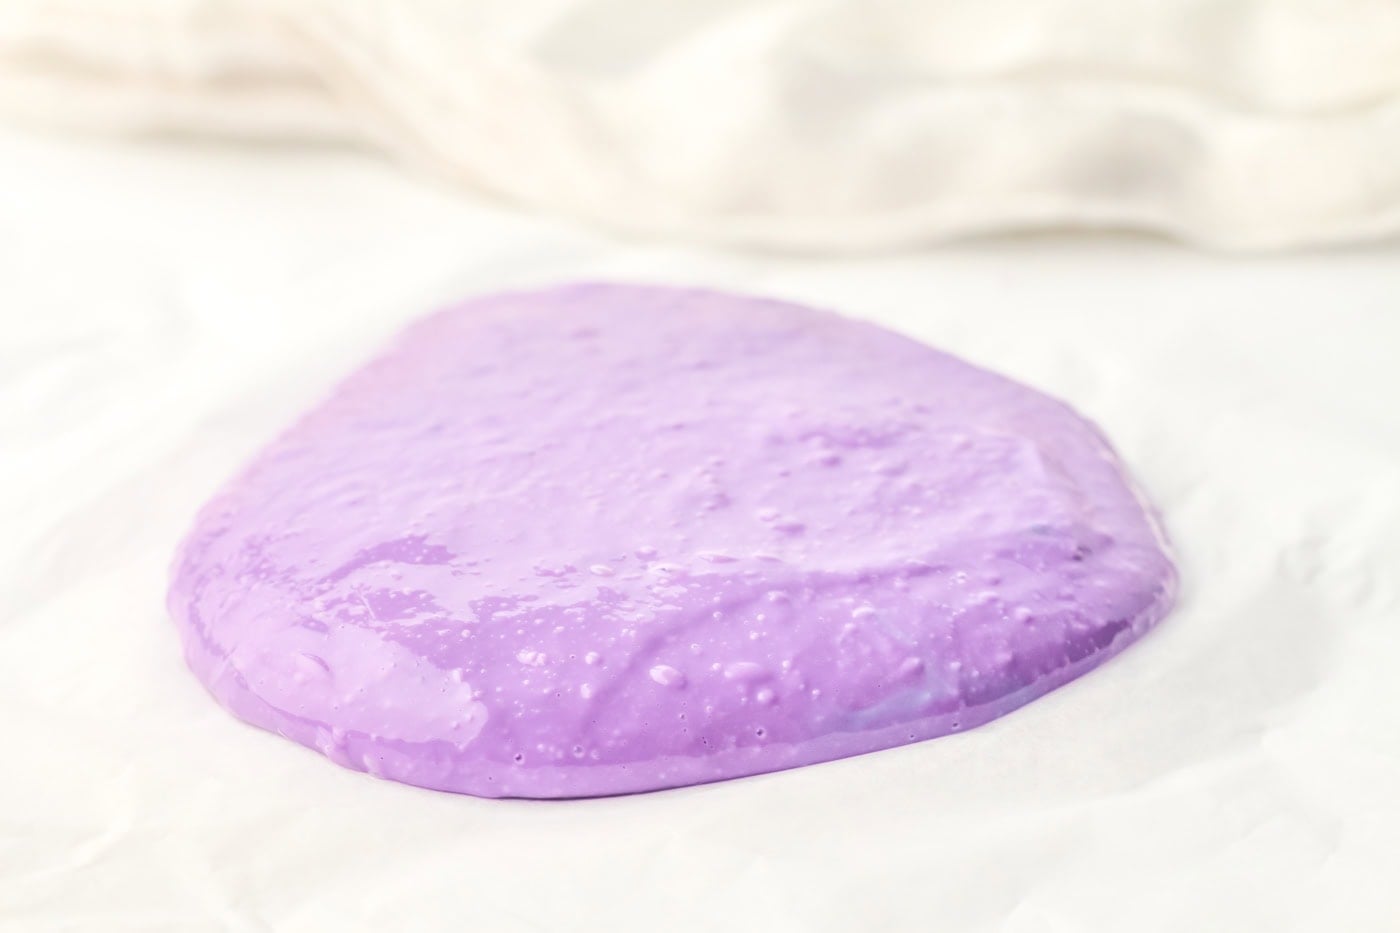
• Food coloring (any color) – I used purple in the pictures!
How to make sensory slime
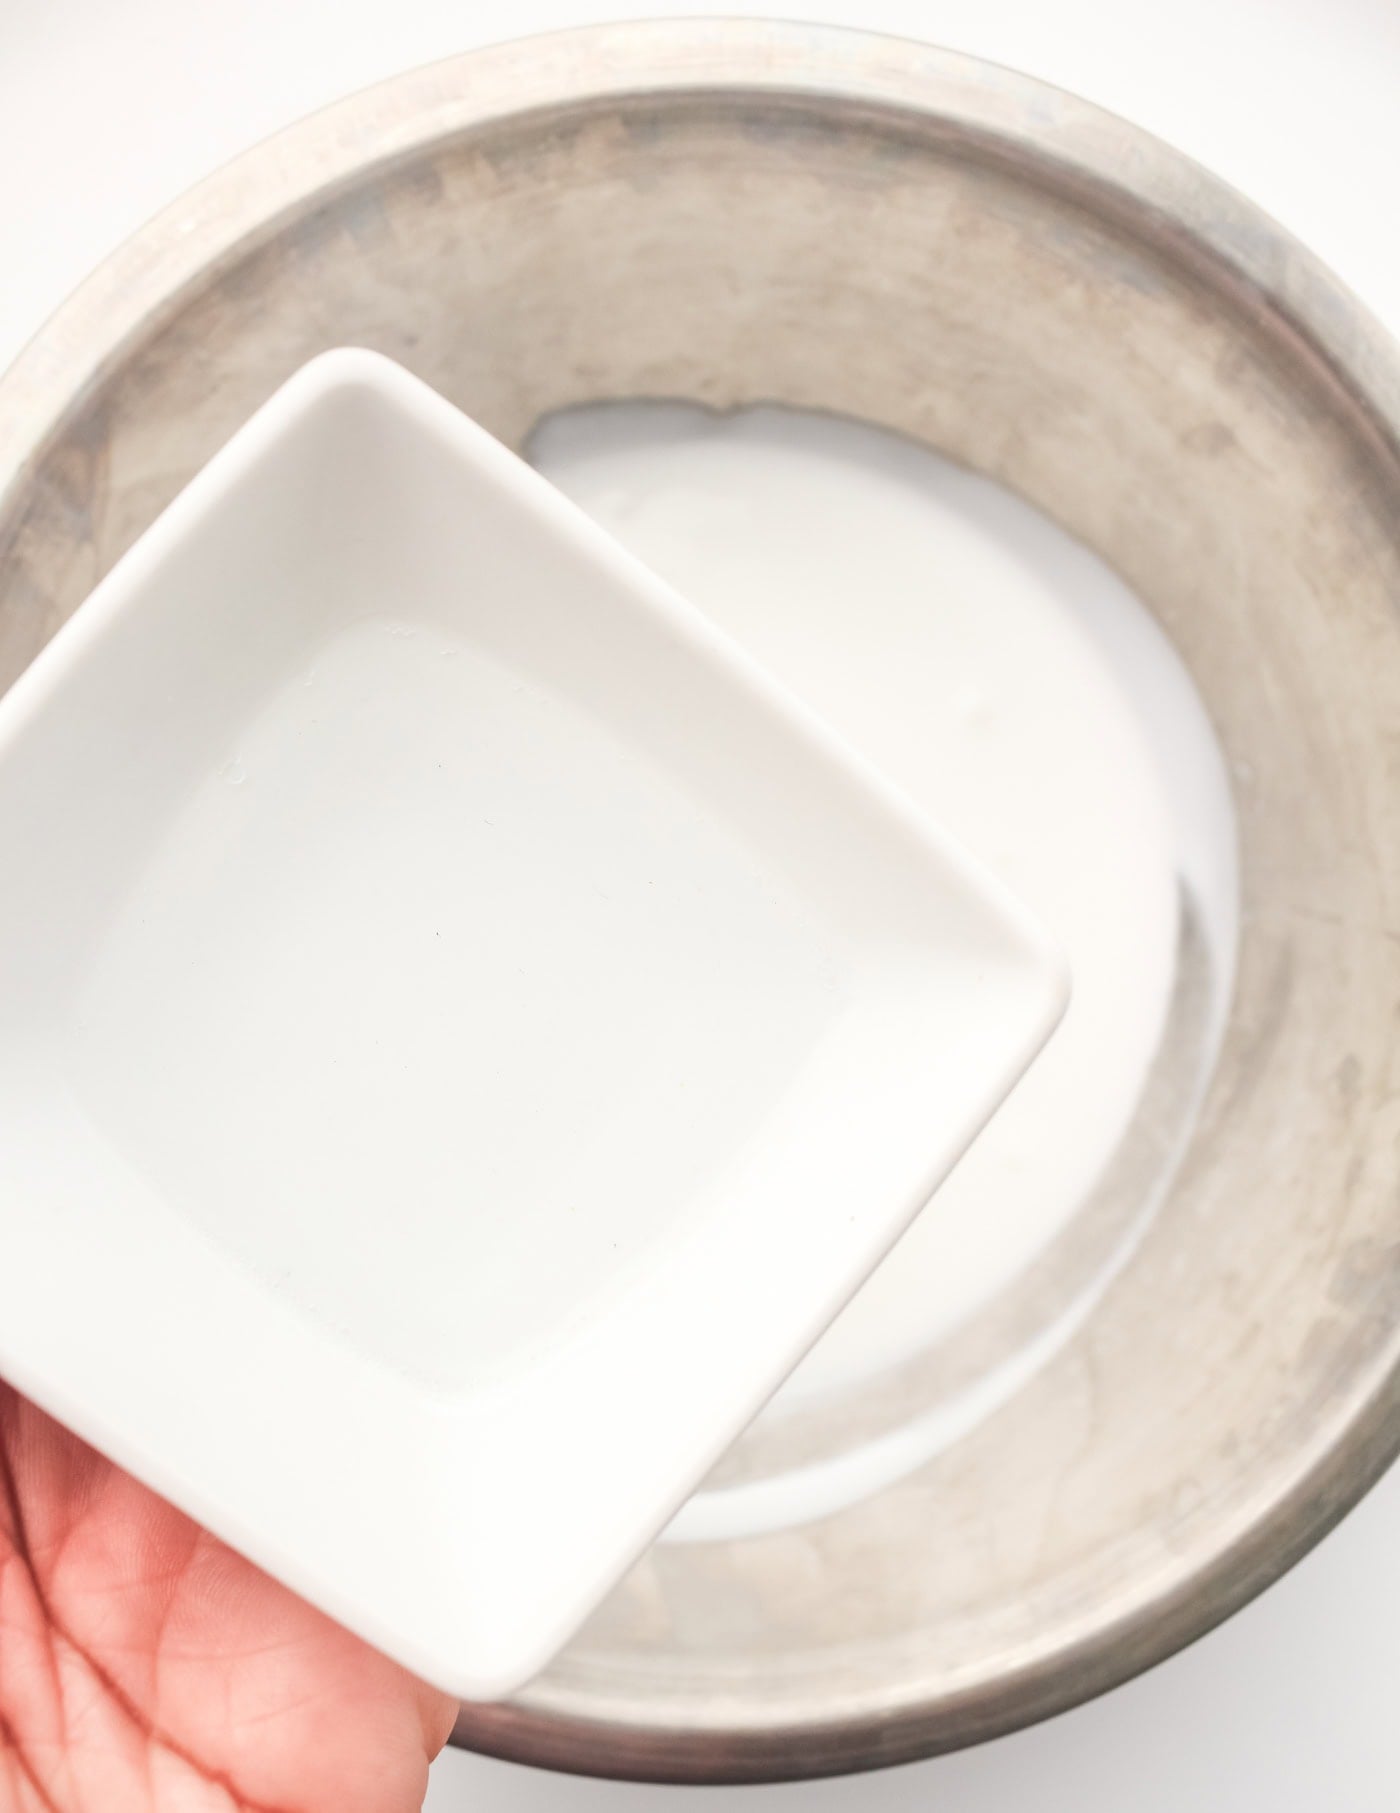
1. Add glue to a bowl. This is a great place for kids to help.
2. Stir in baking soda. Kids like helping with this step, too!

3. Add contact lens solution and food coloring and stir.
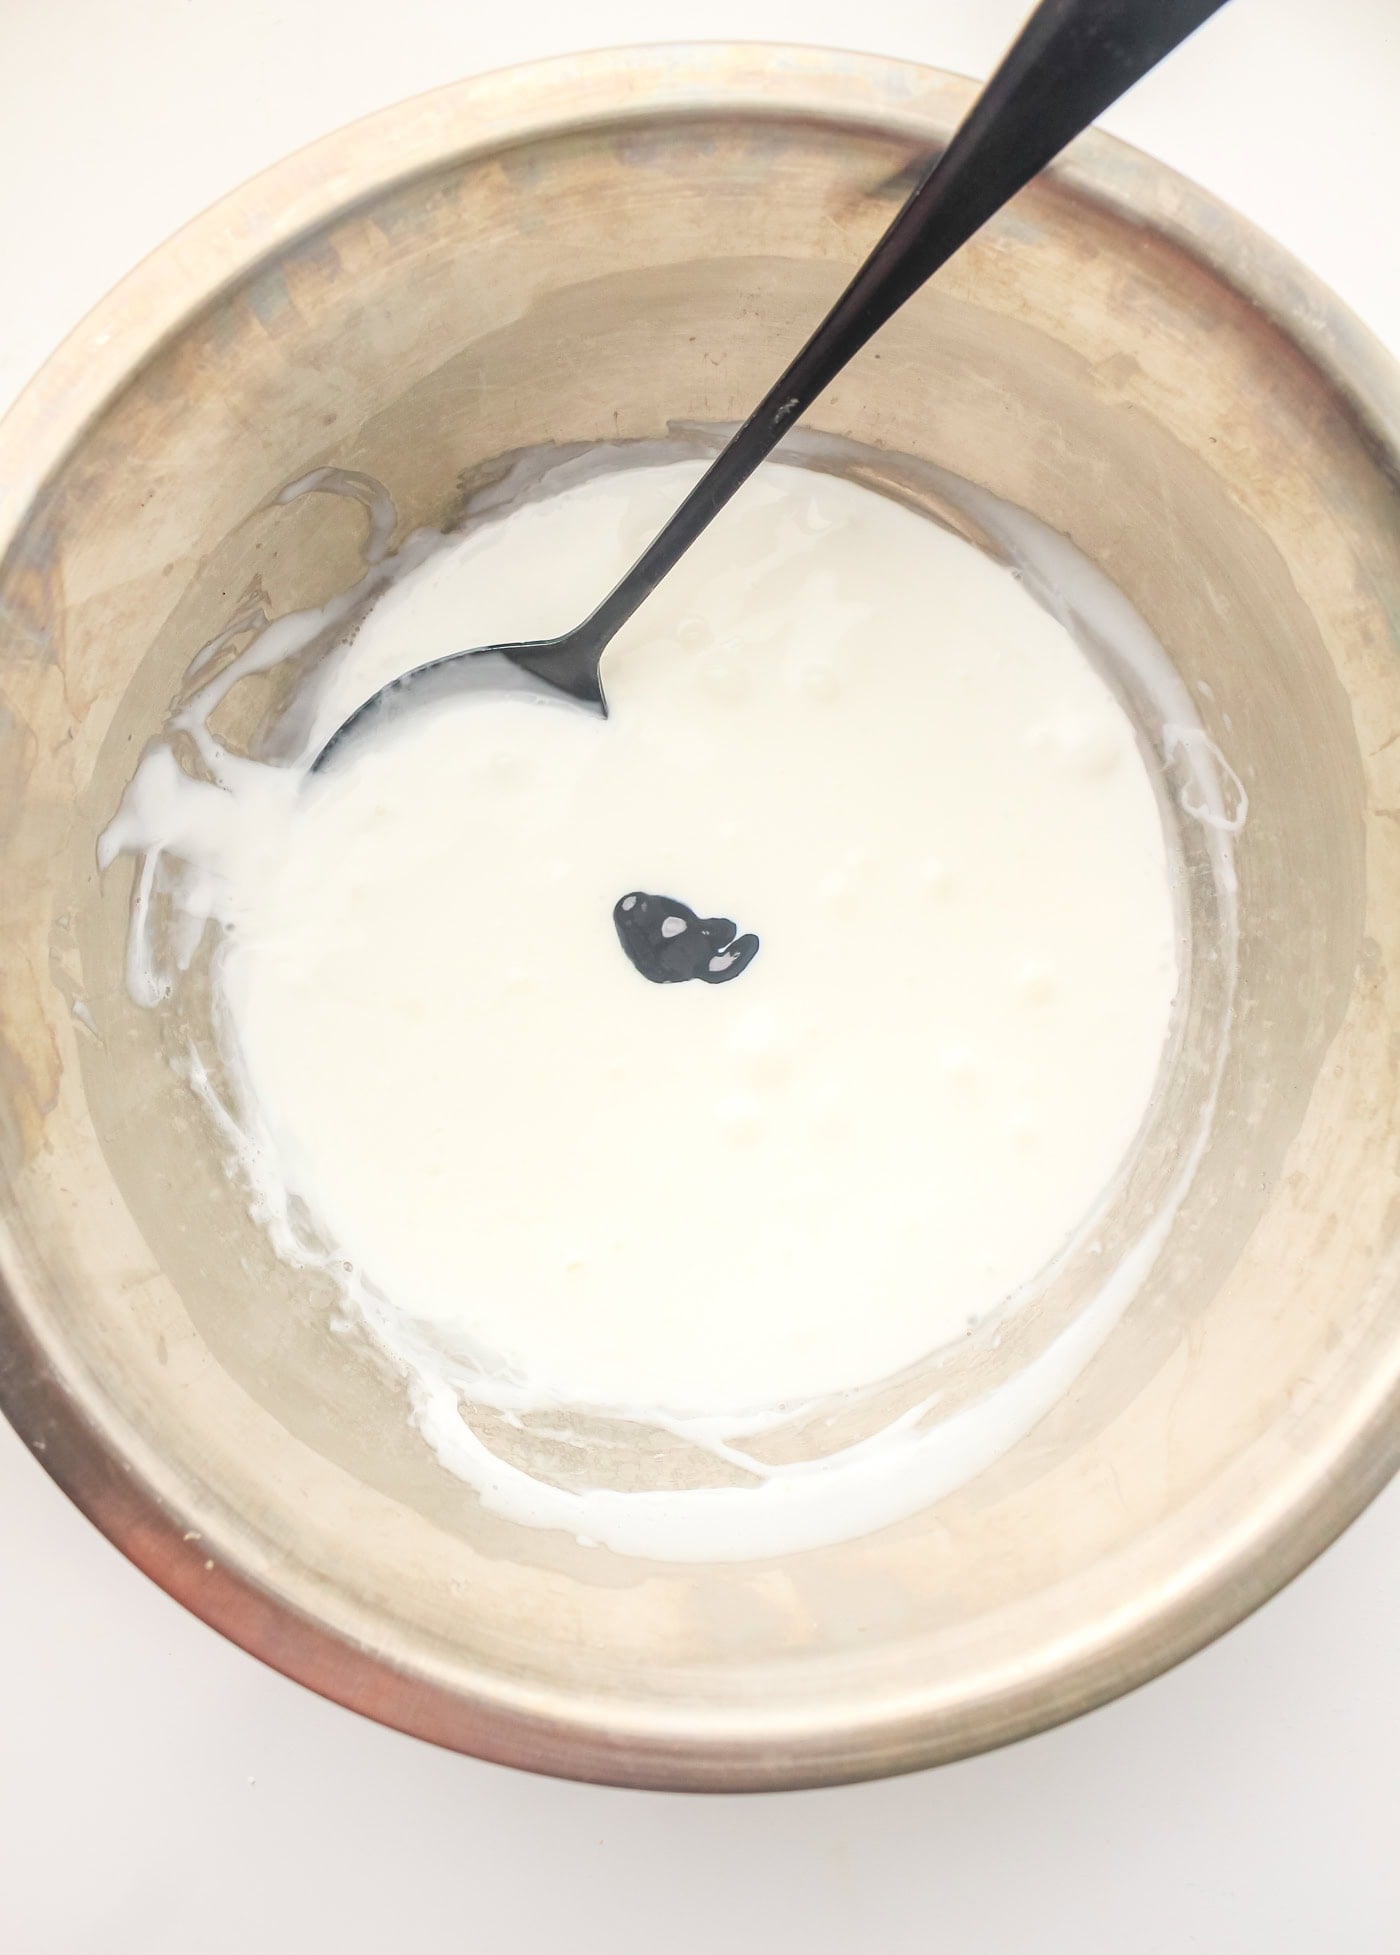
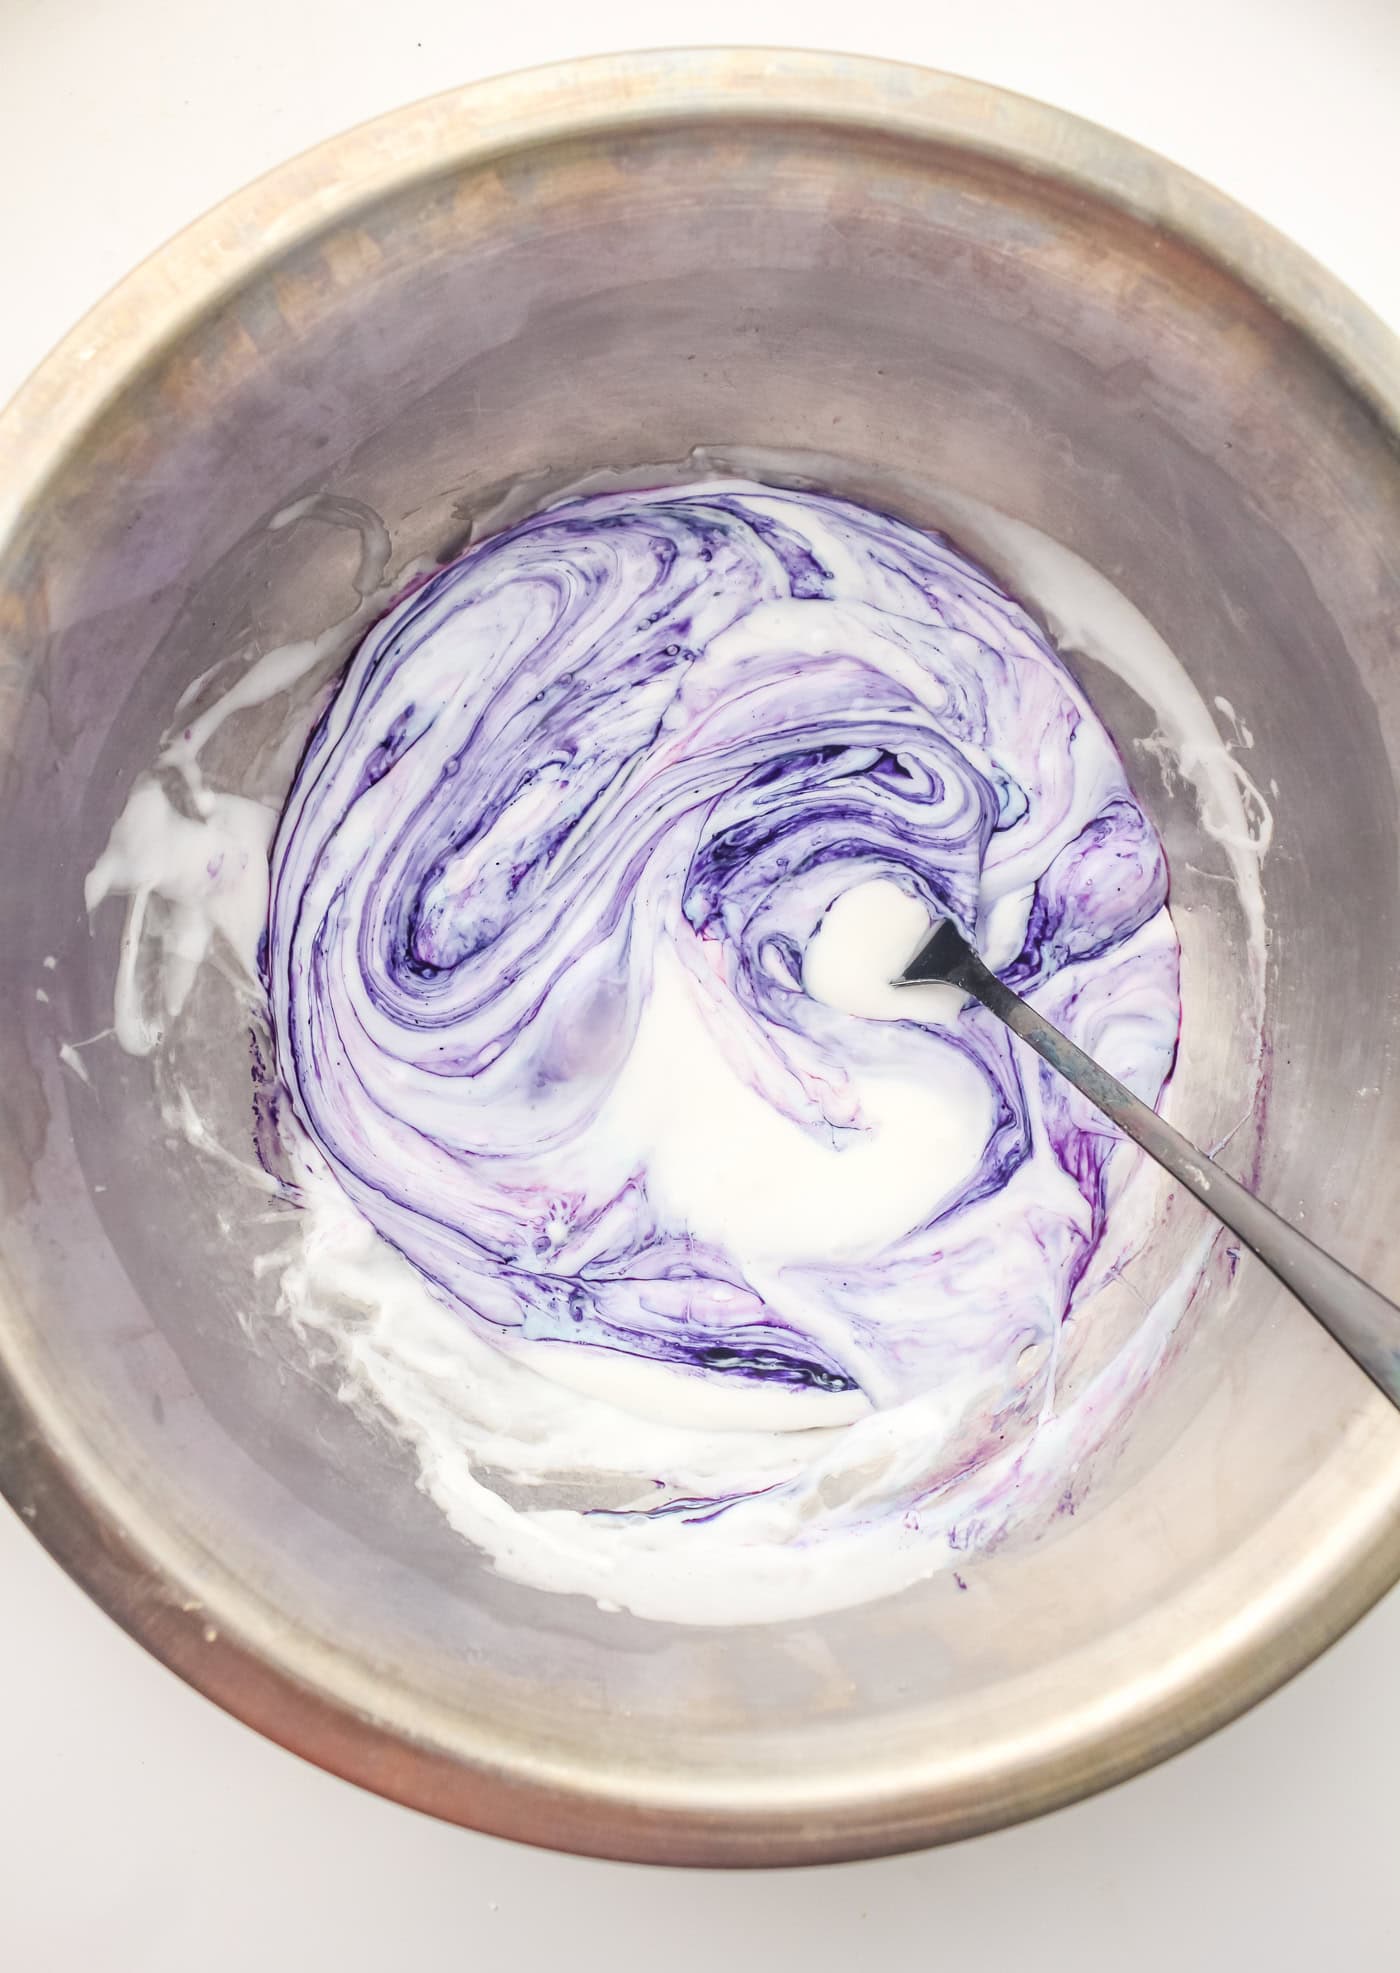
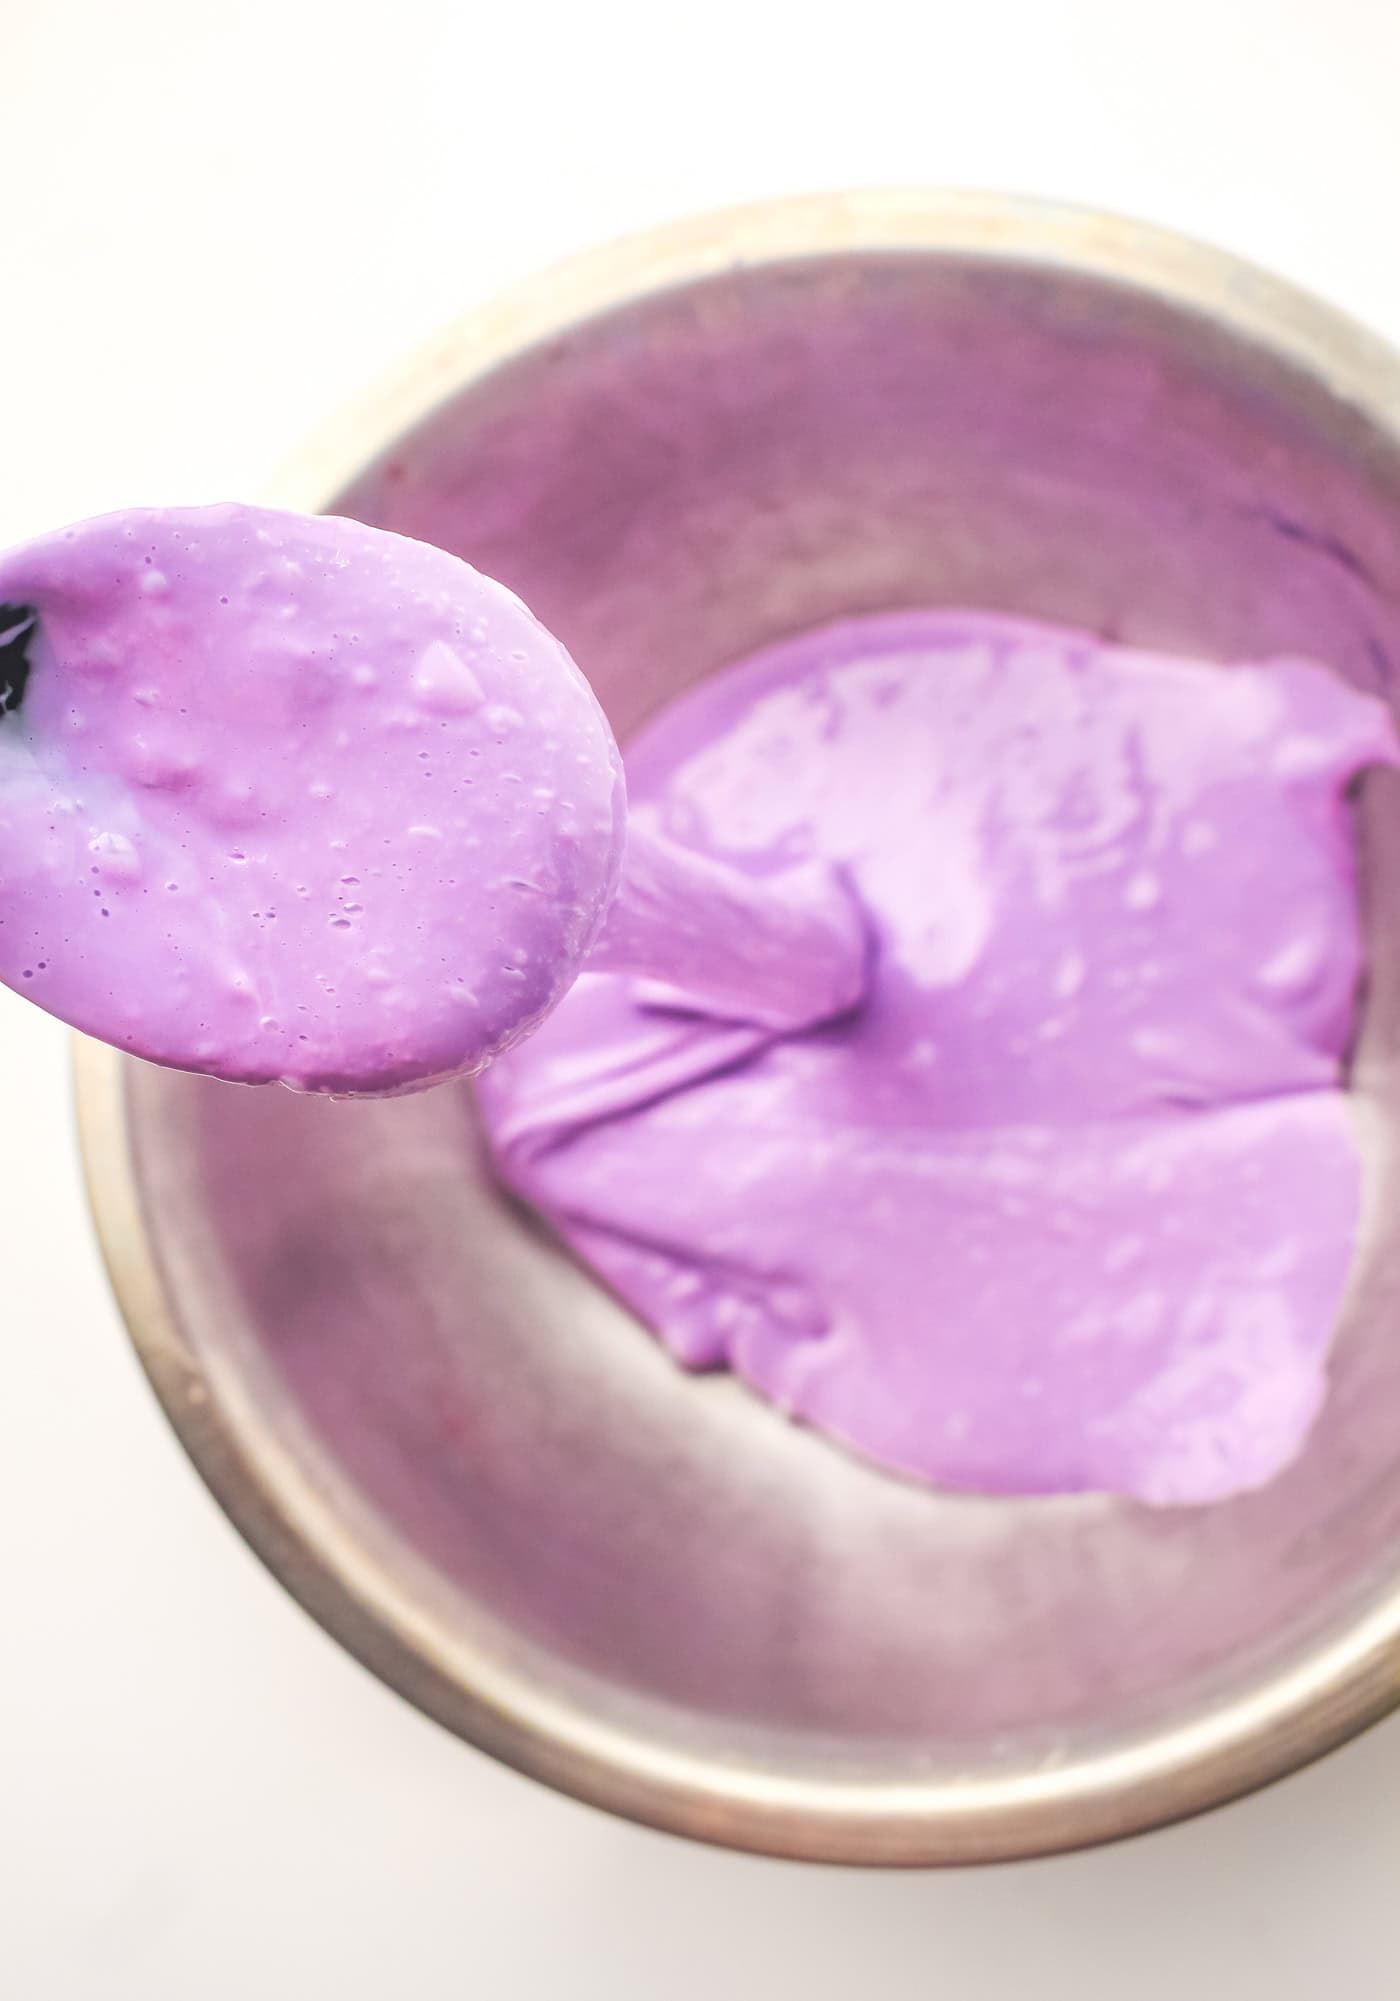
4. Continue stirring until the slime begins to pull away from the bowl (the sides of the bowl will be clear of slime). This step can get tiring for little hands, but older kids will enjoy it.
You can see the progression from sticking to the sides to pulling away from the sides in the photos below:
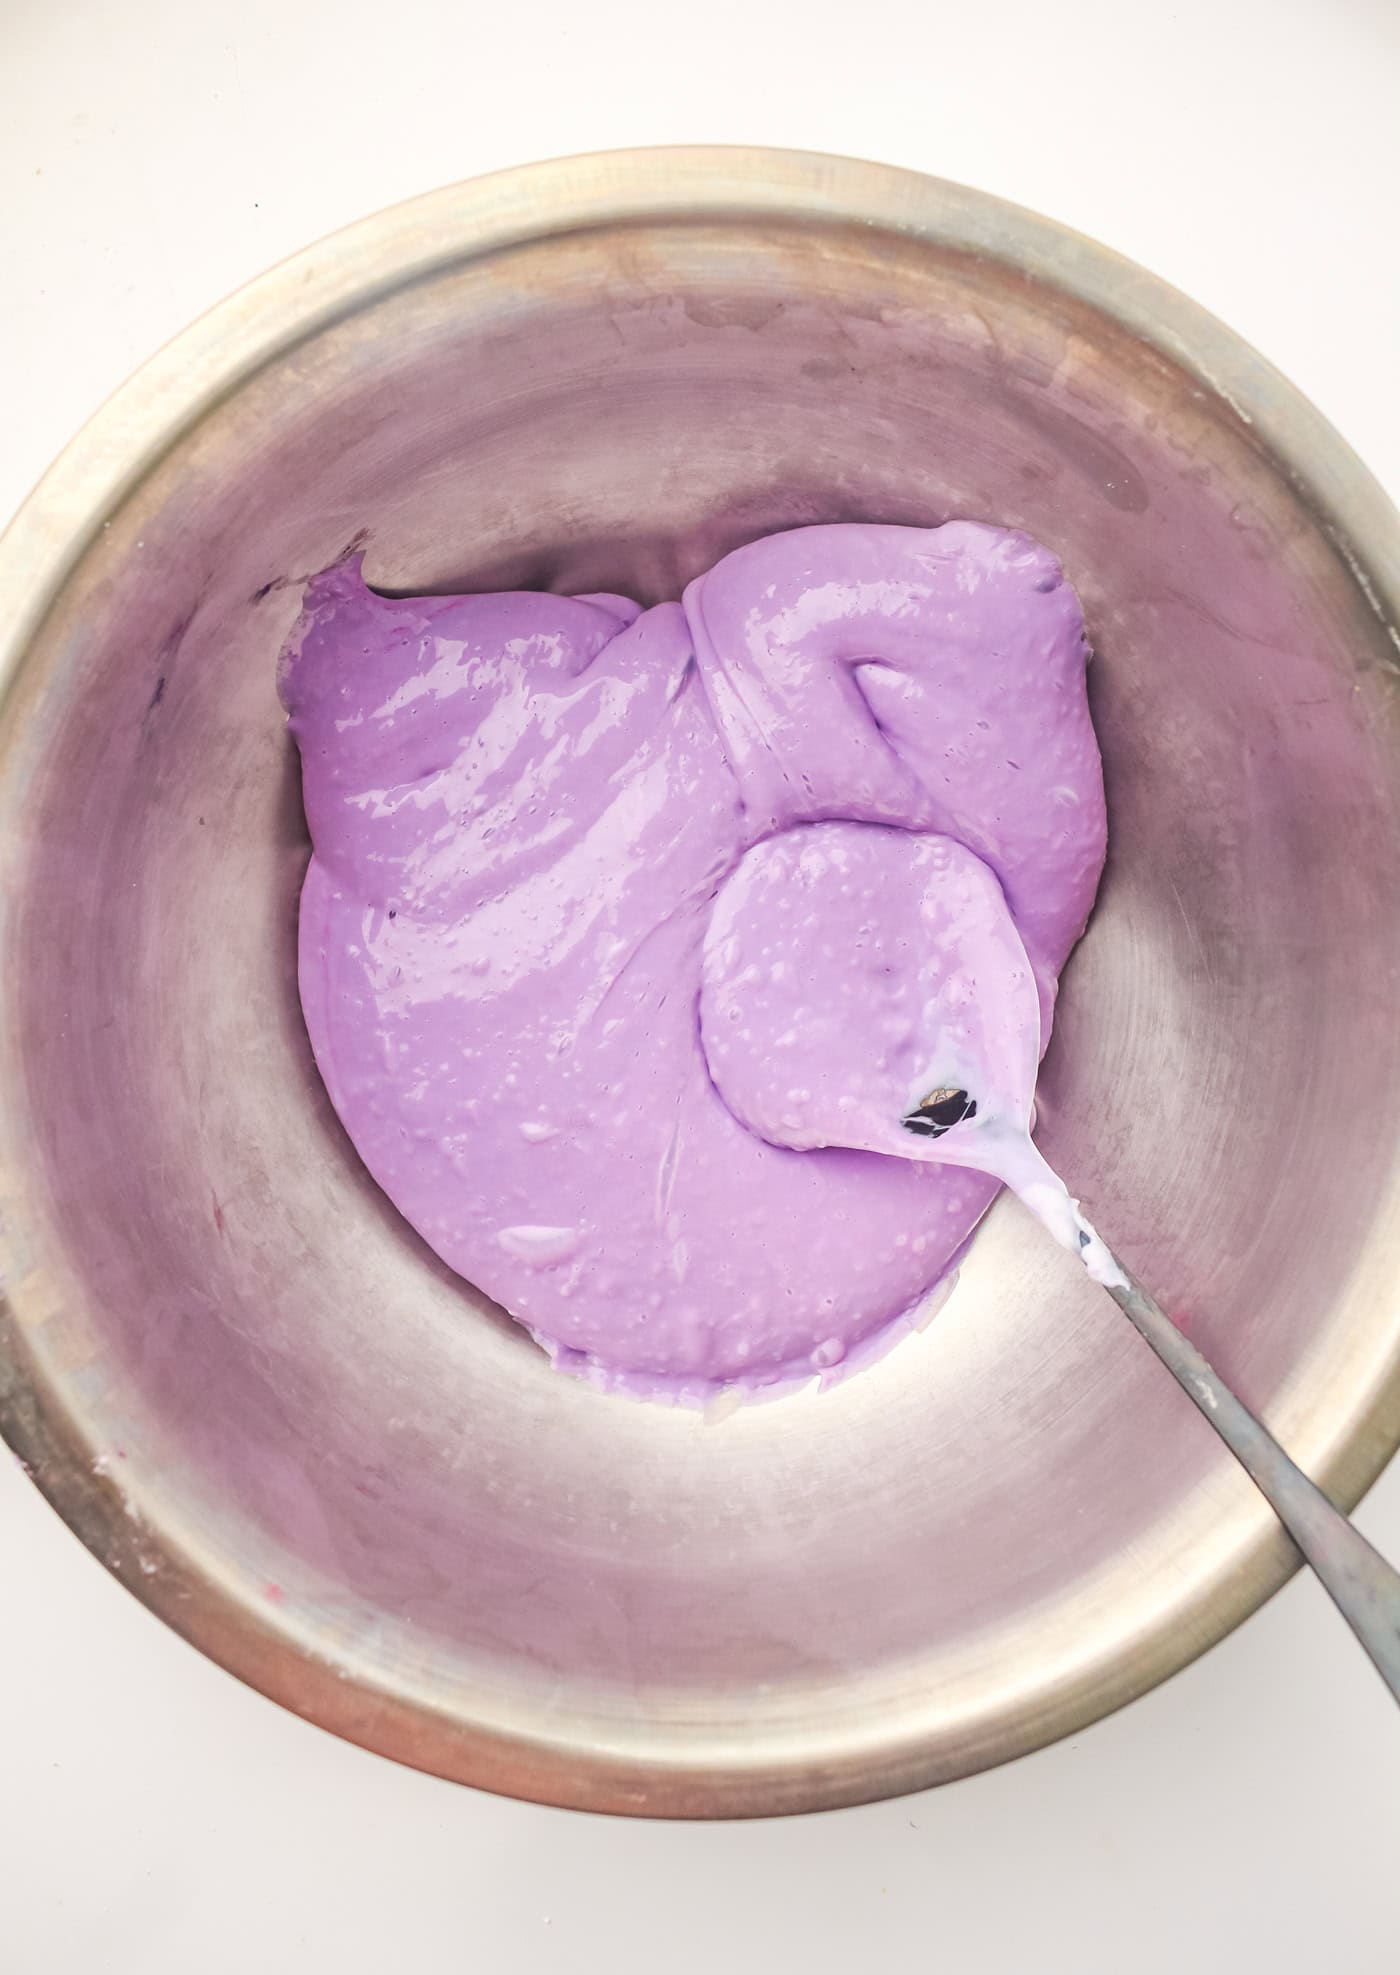
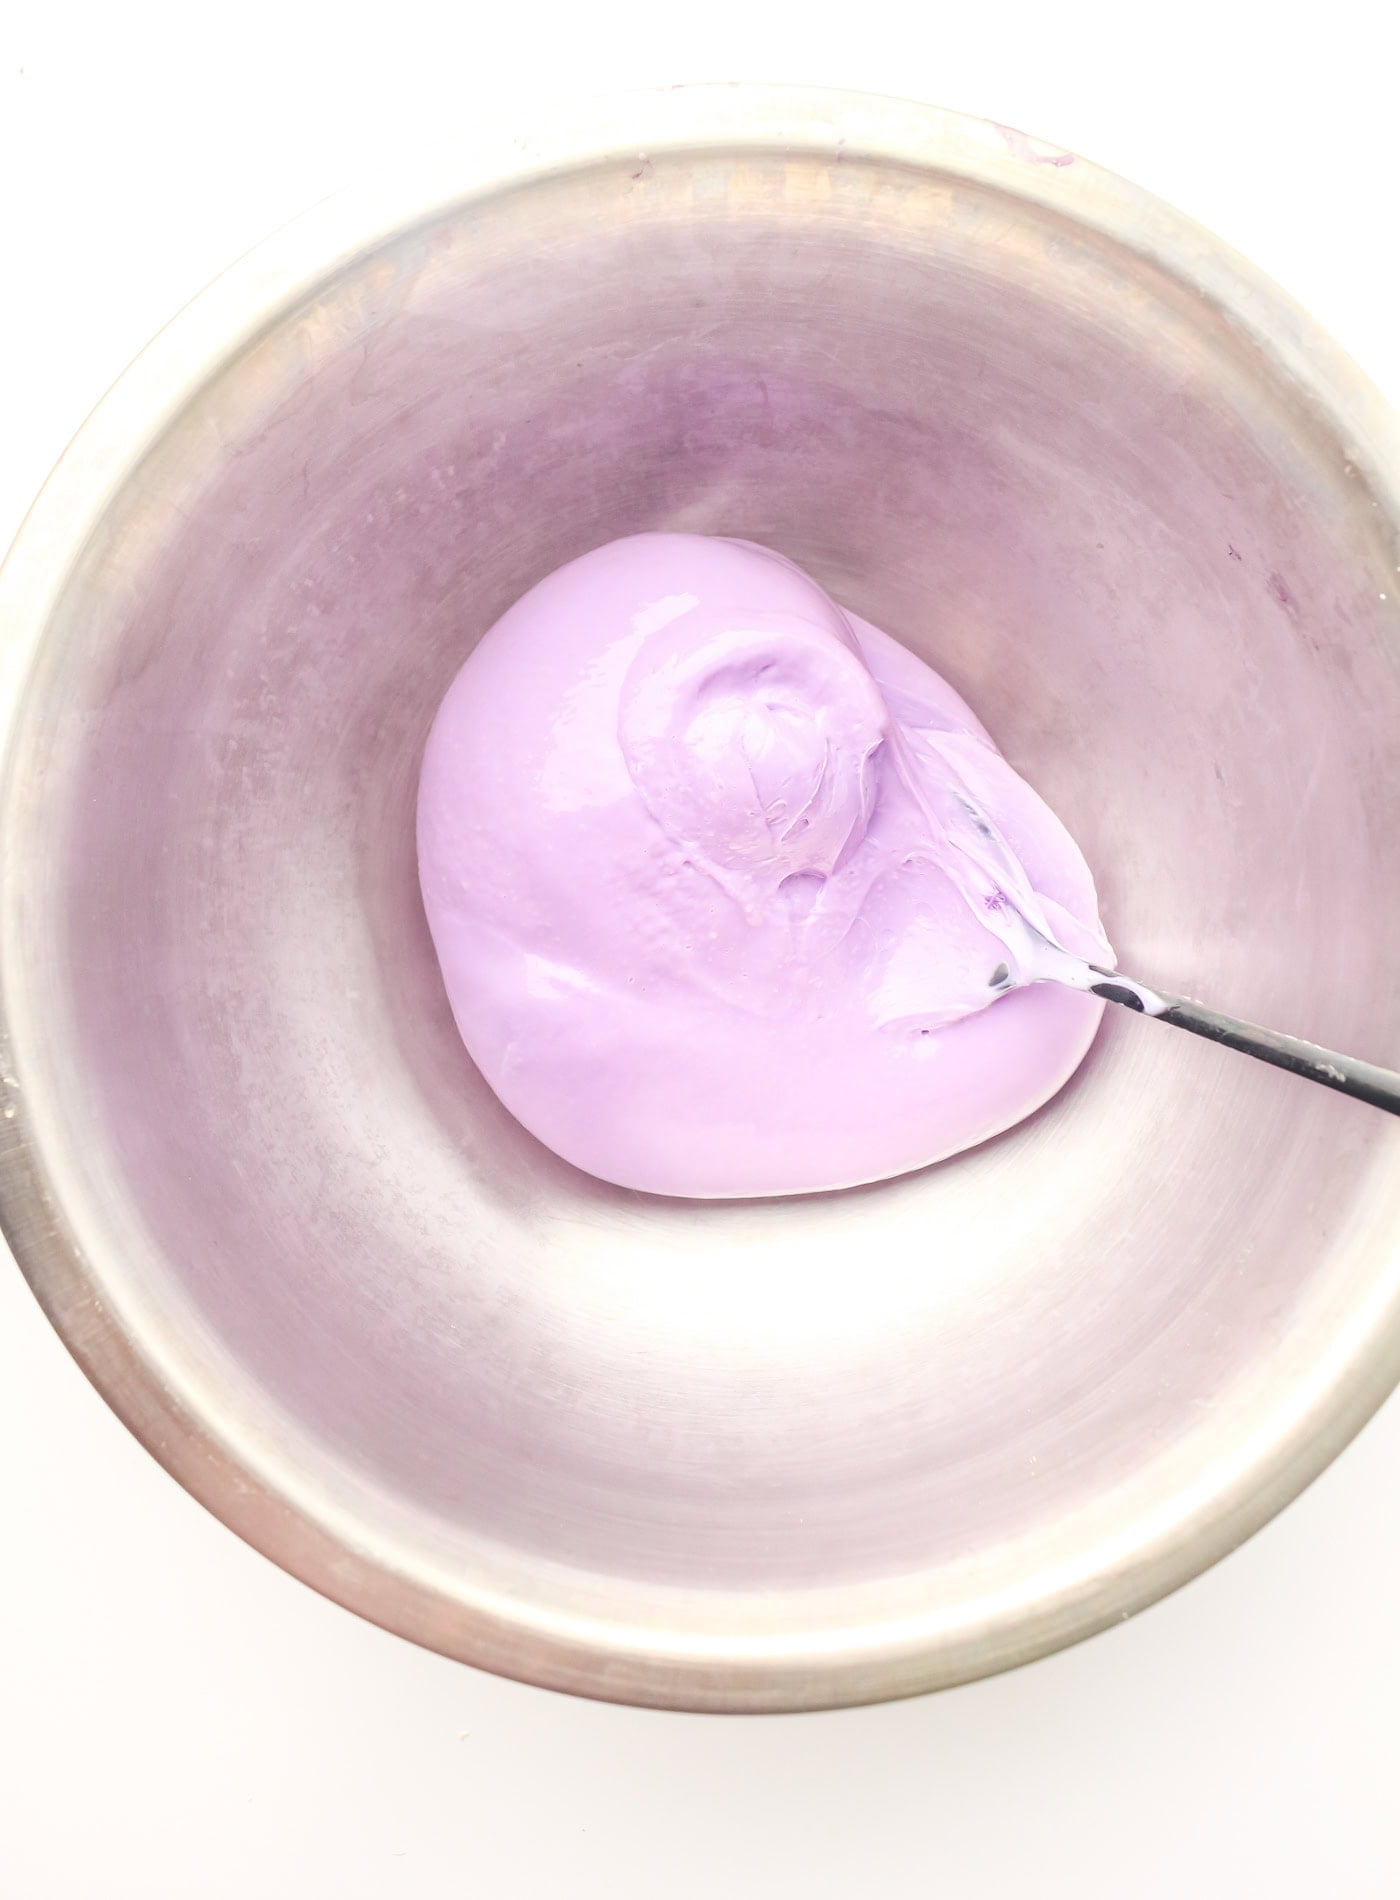
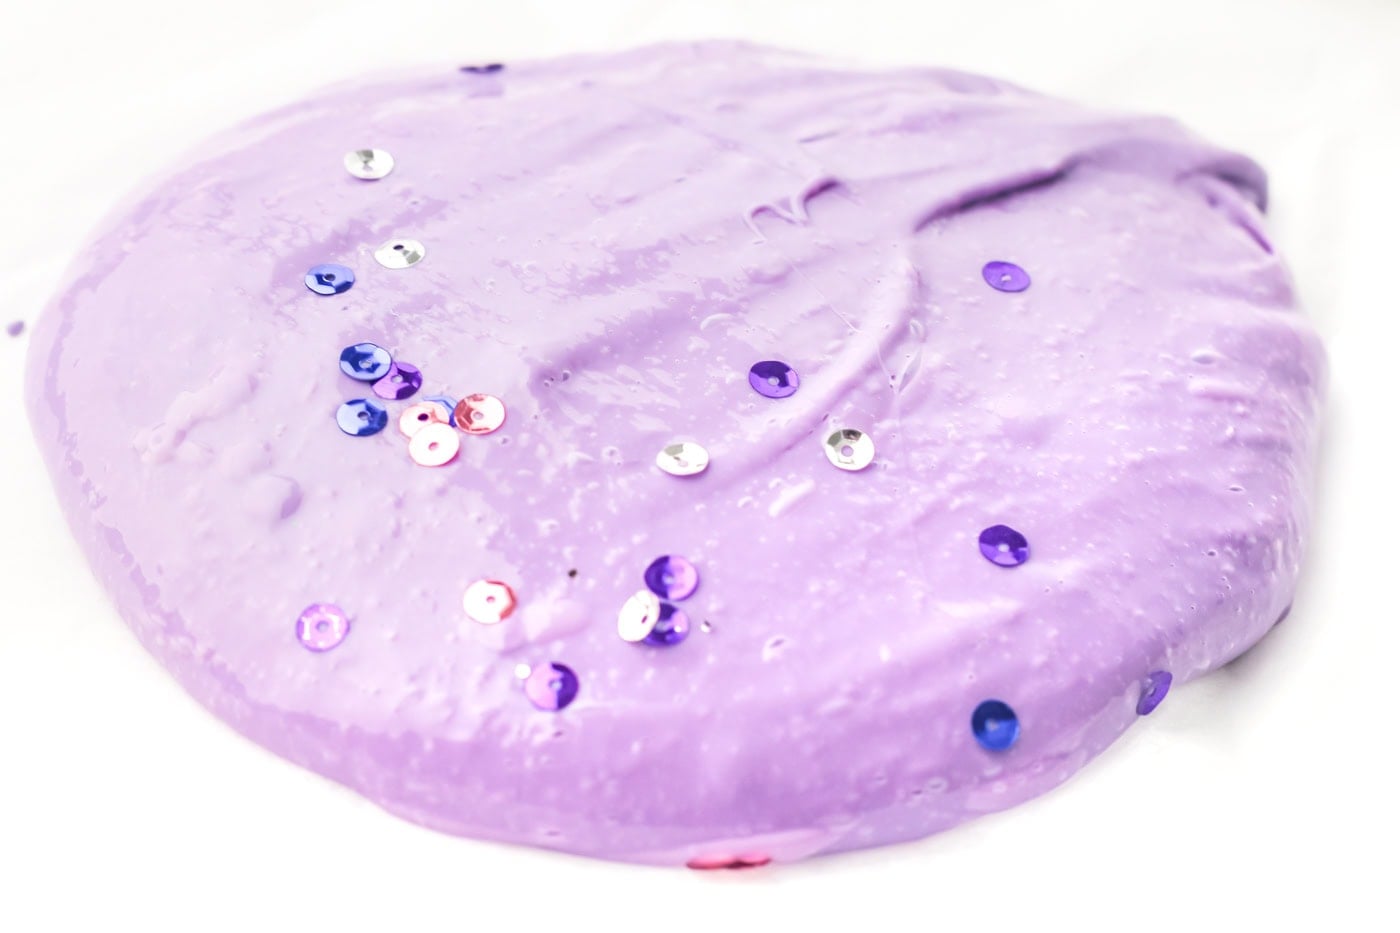
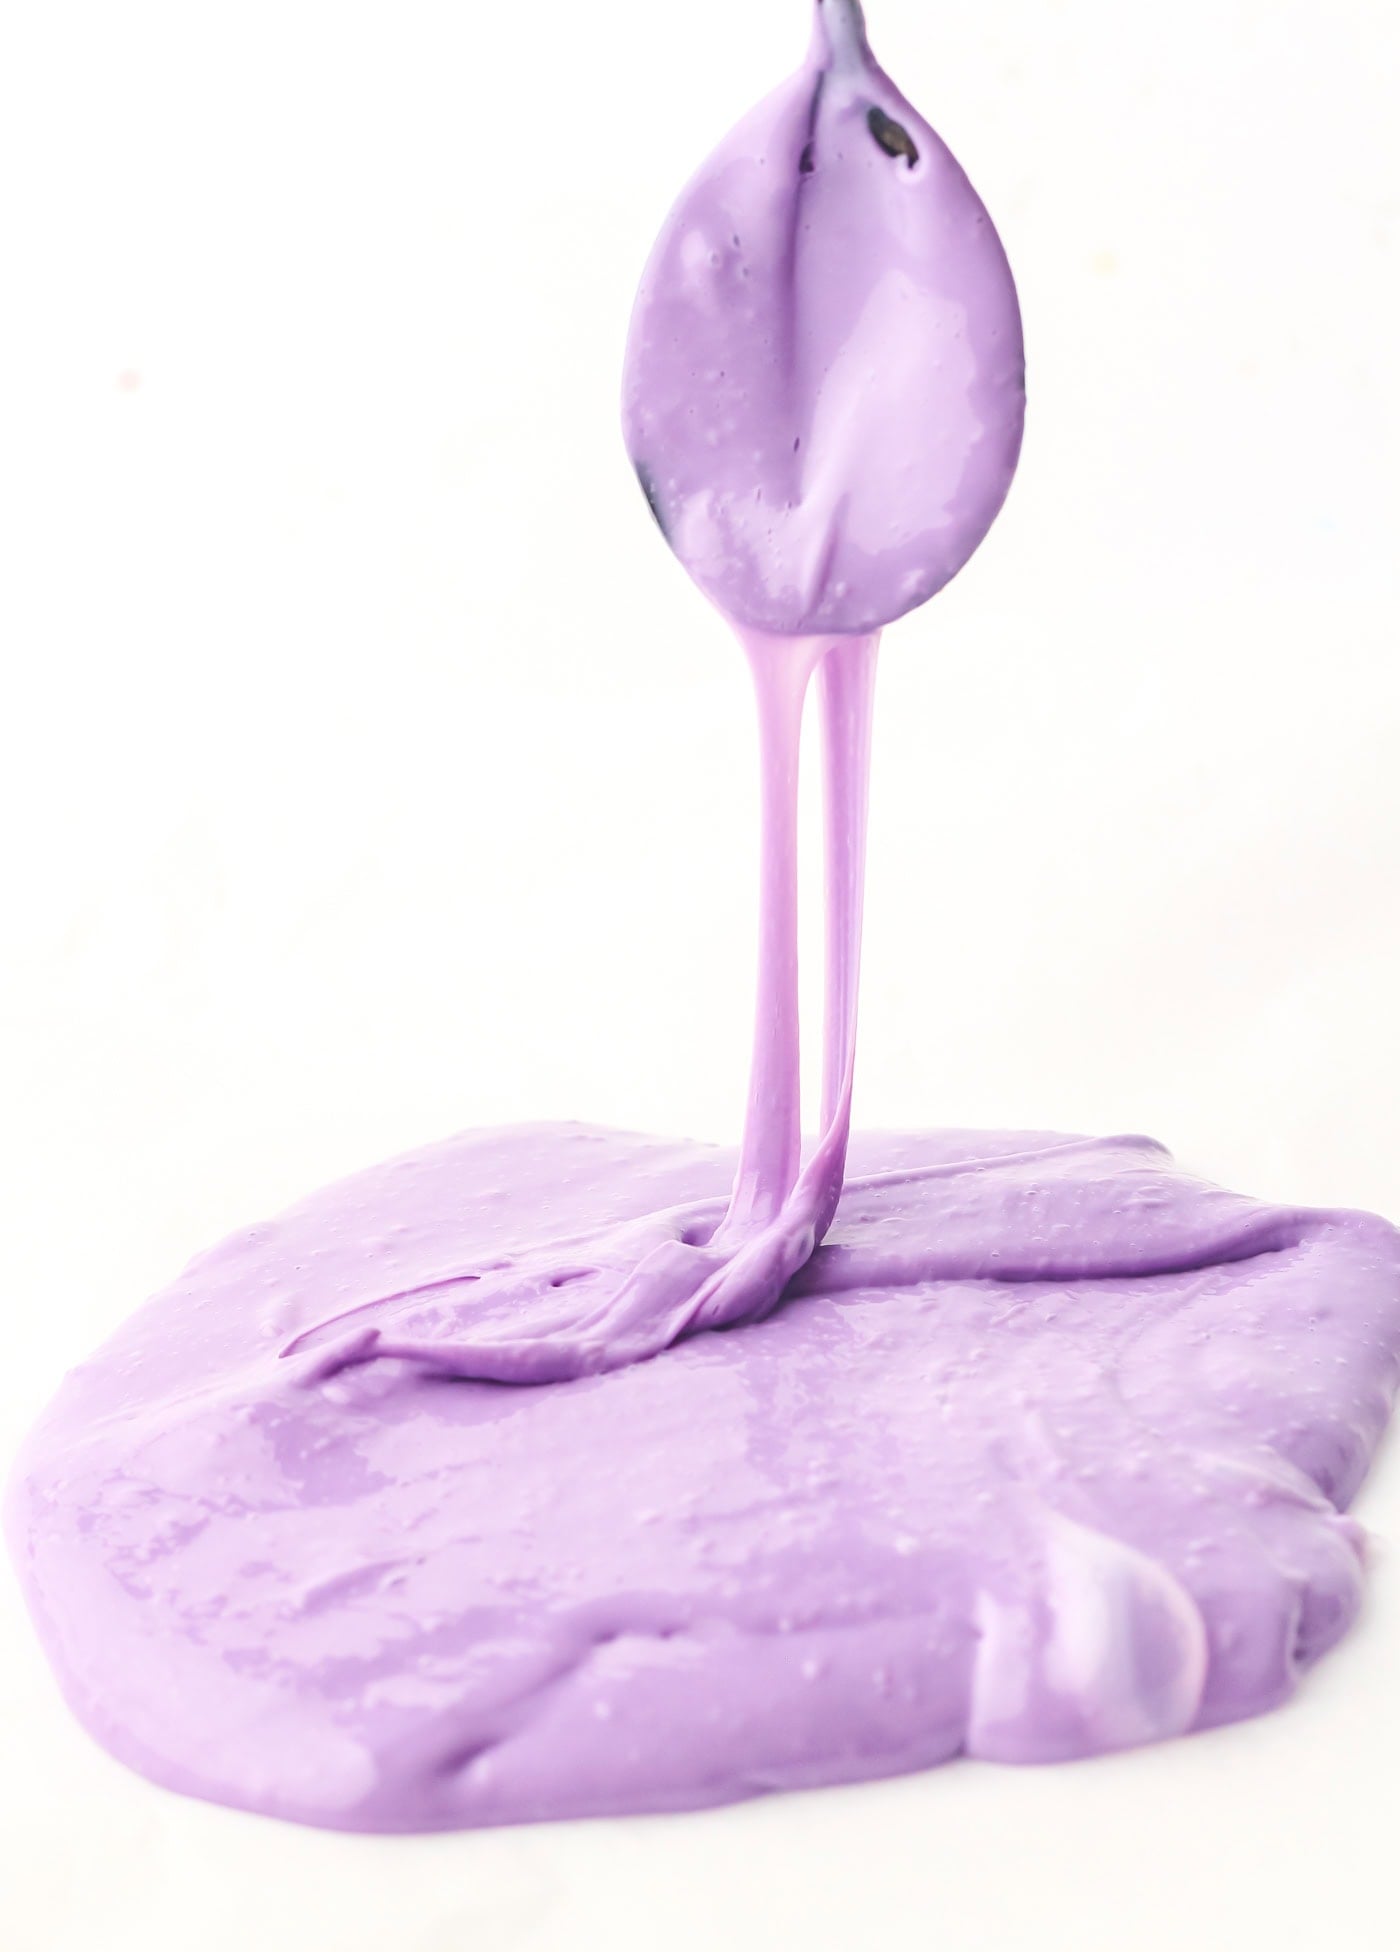
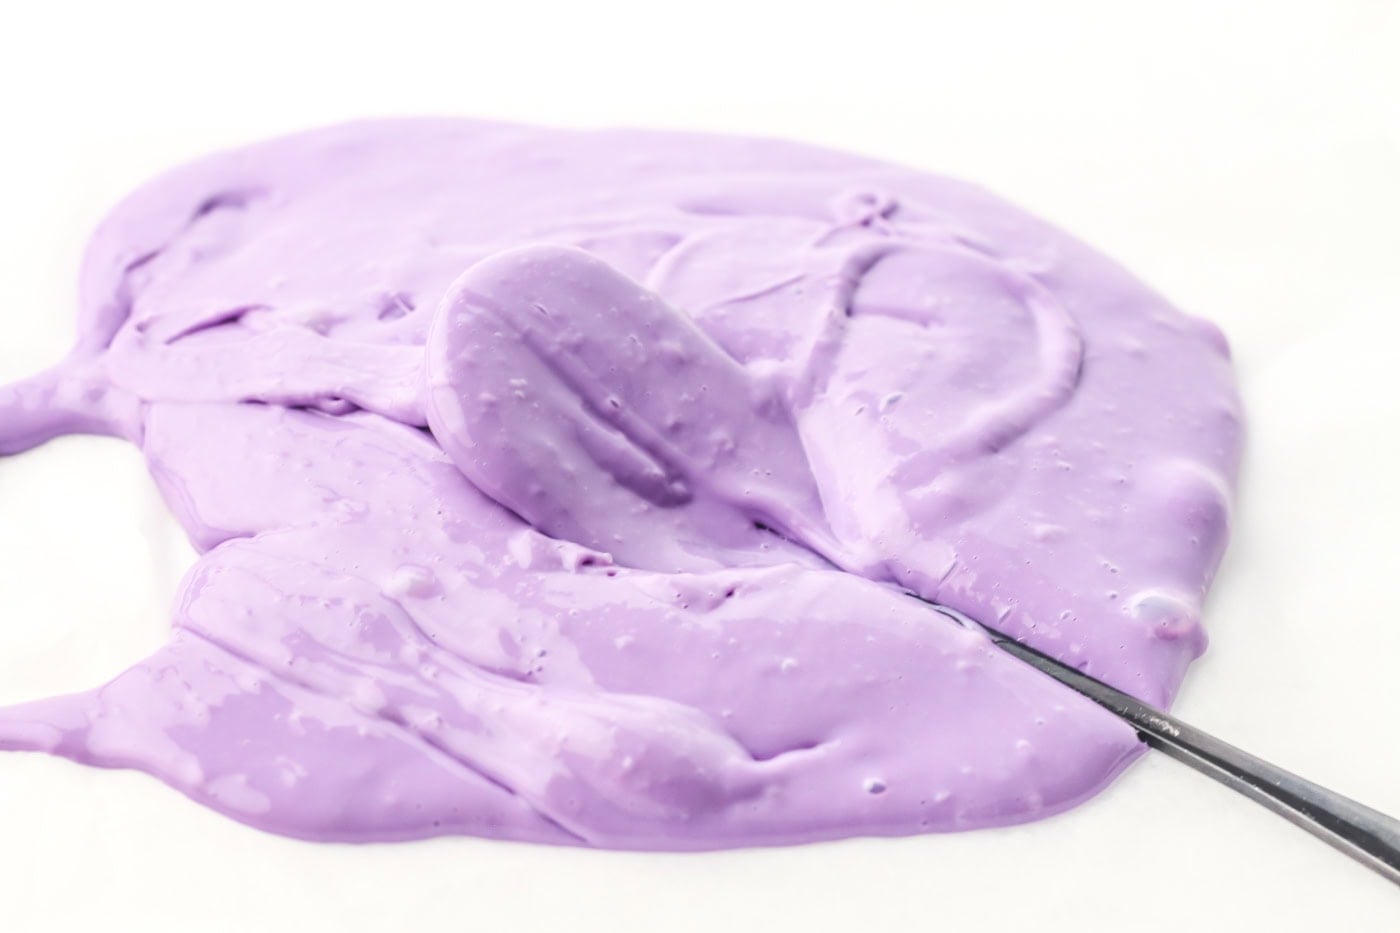
5. Knead with your hands (or spoon) until smooth and stretchy. Kids love to help with this part!
Add in glitter or sequins, if desired.
6. Play or clean!
7. Store in an airtight container or zip top bag when not in use.
Sensory Slime FAQs
Why is my slime too sticky?
Add a few extra drops of contact lens solution and knead until smooth.
Why is my slime too firm/hard?
Knead in a tiny bit of water until it softens.
Can I use any food colouring?
Yes, liquid, gel, or paste food colouring will work.
How long does homemade slime last?
When stored properly, slime typically lasts 1–2 weeks.
Can I make different colours?
Yes! Divide the slime into portions and colour each one separately.
How to store slime
Store slime in an airtight container or sealed food bag at room temperature. Keep it away from direct sunlight / heat.
If the slime becomes dry, hard, or develops an unusual smell, throw it away.
I hope you enjoyed learning how to make your own DIY sensory slime!
Make sure to check out the posts below for more fun activities for your little learners:
Leave a Reply