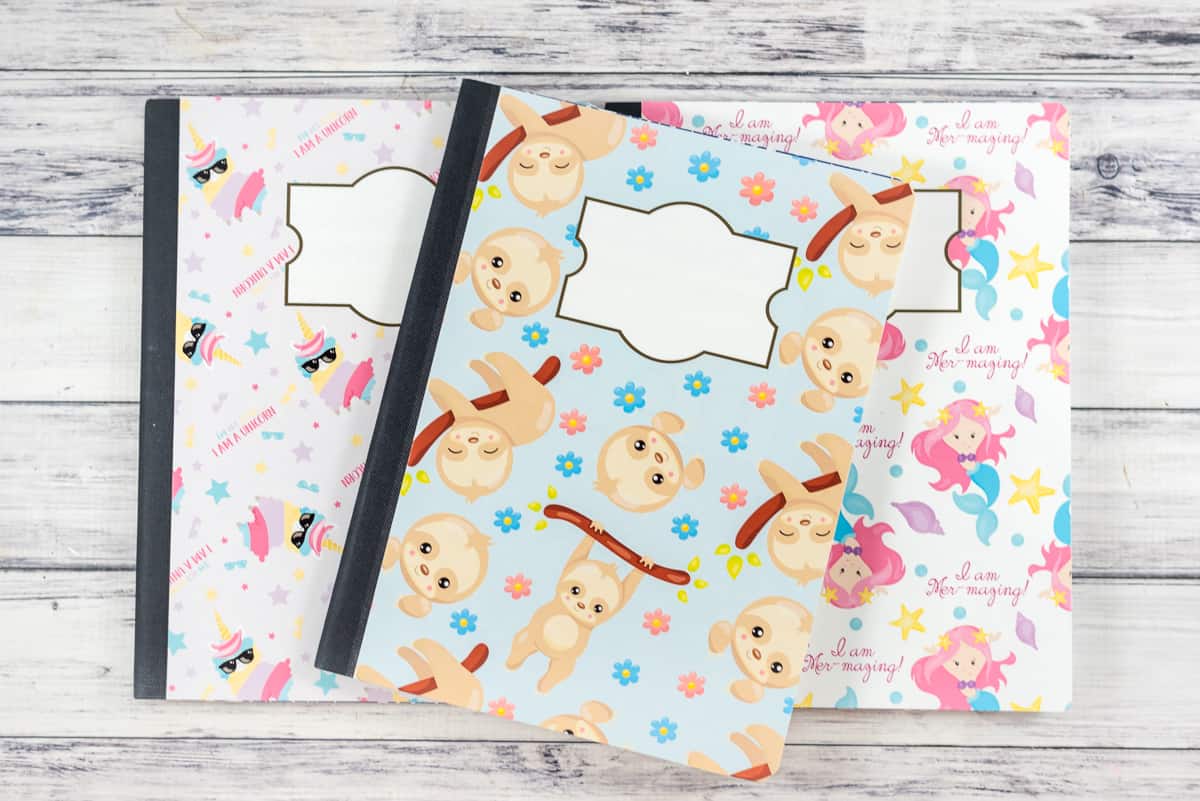
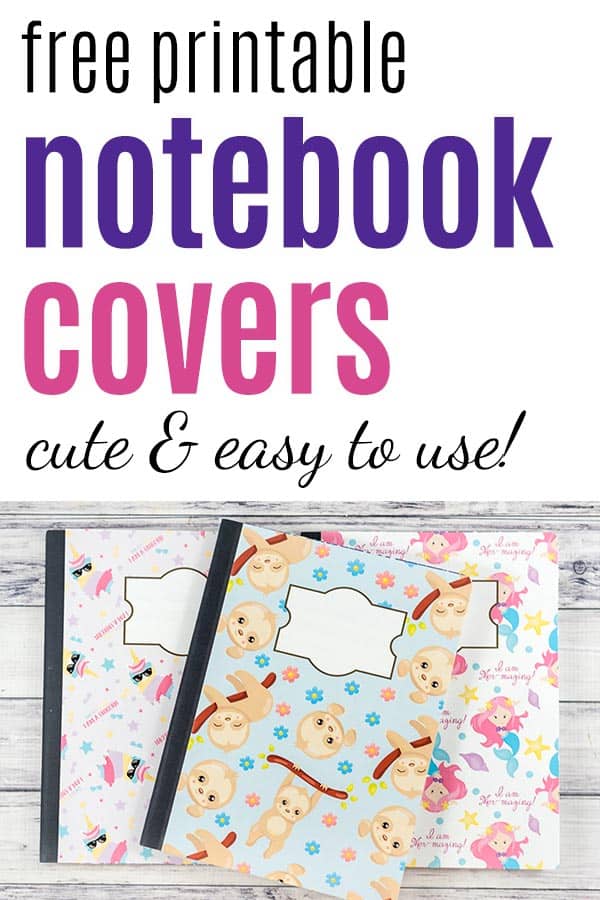
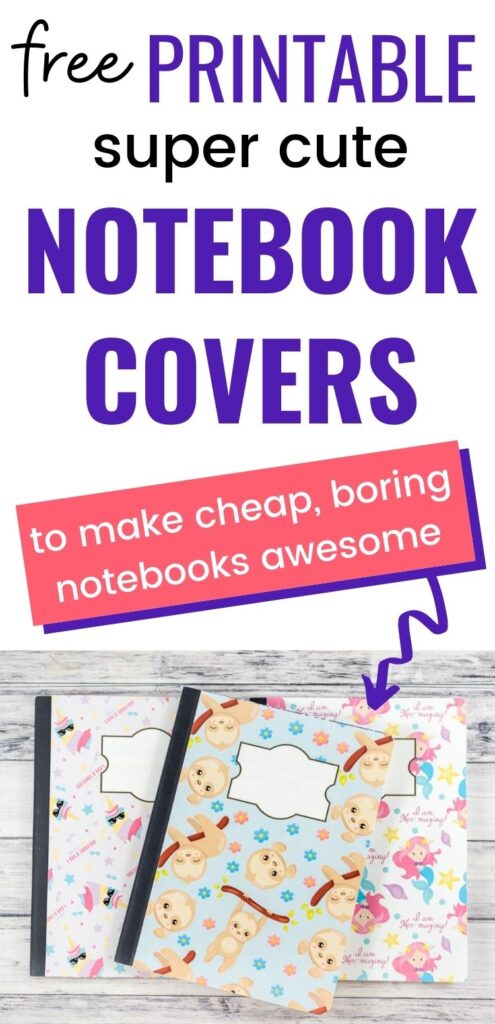
These free printable notebook covers are an easy way to make boring composition notebooks super cute! They're perfect for going back to school in style, even on a budget.
Today I'm showing you a super easy DIY notebook cover to fancy up your composition notebooks and giving you cute free printable notebook covers! I hope you enjoy.
This post includes affiliate links, which means I may earn a commission on purchases made through links at no additional cost to you.
Materials needed for DIY composition notebook covers
There are a couple different ways to make your own composition notebook cover. One really simple way is just to cut pretty, patterned contact paper and stick it in place. It works and it can look great, but it doesn't involved free printables that that's what I'm all about!
Today I'm sharing free printable composition notebook covers and a tutorial showing you how to use them to quickly and easily create your own custom notebook.
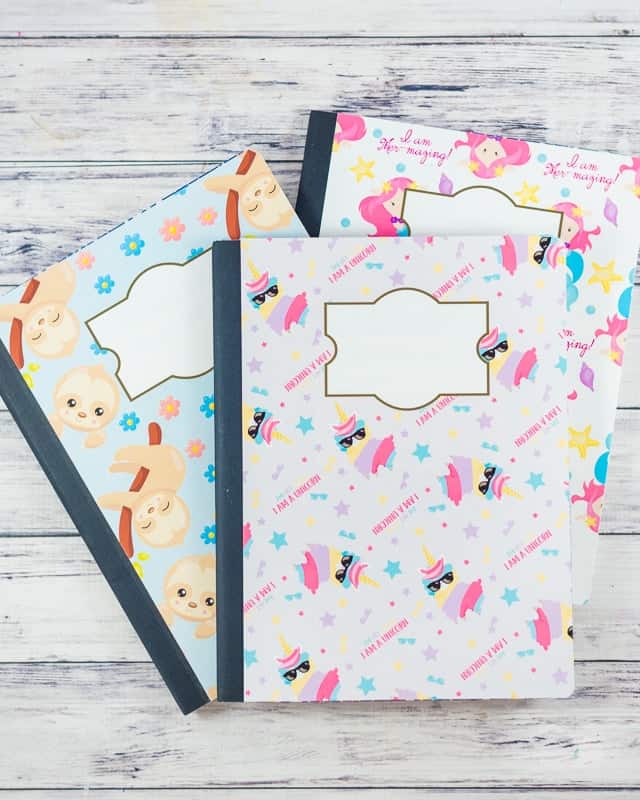
The notebook cover designs include: cute sloths, mermaids, llama unicorns, rainbows, and mermaid scales. The download information is after the tutorial so make sure to check out the full post!
Don't lose track of these notebook covers! Make sure to Pin it now to your crafts board!
Suplies for DIY notebook covers
- Composition notebooks
- Your free printables! (Look for download links below the tutorial)
- You can also use your other decorative paper, like scrapbook paper.
- Paper/white cardstock
- I highly recommend using presentation paper for beautiful covers. It's thicker than regular paper and has a coating for bright, vibrant colors.
- Prints on cardstock won't be as bright and pretty, but cardstock is durable and also a good choice.
- Only use regular printer paper if you have no other choice. The covers won't be as pretty or as durable!
- A paper cutter - optional but handy. I have and use this paper trimmer because the guideline wire makes it easy to see where you're cutting.
- Scissors
- Clear acrylic spray optional but recommended
- Spray adhesive or rubber cement
- Something to protect your work surface (like newspaper or an old box). I also like to use masking tape or painter's tape to protect the spine from spray adhesive and sealant.


You can also use Mod Podge and a brush instead of spray adhesive or rubber cement. If you want to use Mod Podge and you have an inkjet printout, the clear acrylic spray is not optional. Spray each side of both covers with two coats of sealant before using Mod Podge to glue them in place.
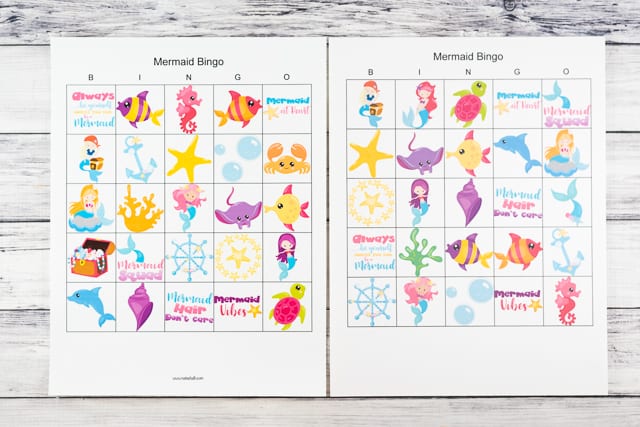
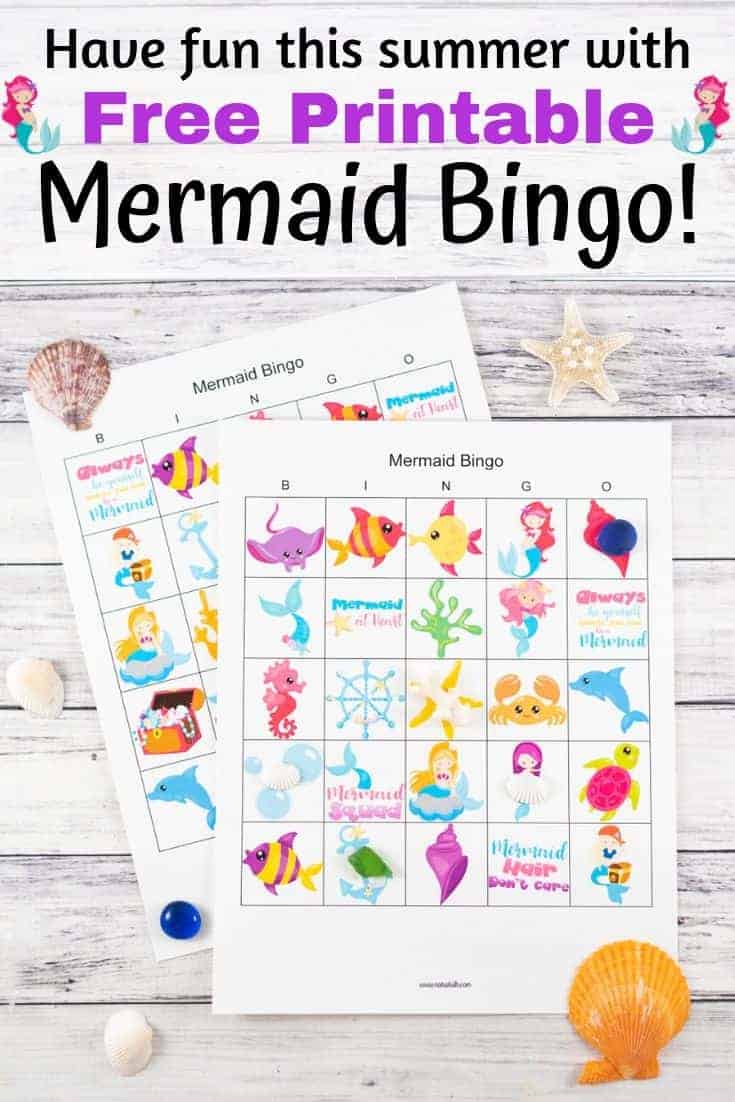
This image shows my free printable mermaid bingo cards, but you can see the difference between printing on presentation paper and cardstock. The card on the right was printed on presentation paper and is more vibrant and crisp.
If you're shopping for back to school supplies online, you need to sign up for a free Ebates account! (They're called Rakuten now, but same thing.) You can get cash back from so many retailers, including Amazon, Target, and several textbook stores.
DIY notebook cover tutorial
1. Print your free printable notebook covers! (Download links are below the tutorial)
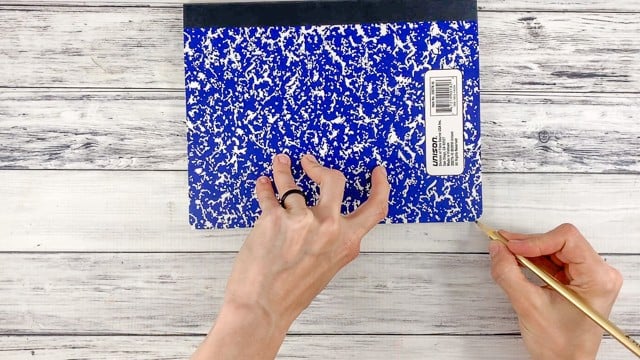
2. Trim the covers to fit.
Use a paper cutter to trim away the white border on your printable covers.

Check the fit and do any extra trimming, as necessary.
Most composition notebooks have a total width and length of about 7.5"x9.75", and they have a fabric-looking binding over the spine that extends about an inch over the cover. I made these printable notebook covers 7"x9.75" since covers and notebooks vary a little bit - just trim them down to size if you need to!
3. Shape the corners.
The corners on composition notebooks are almost always rounded, but the curve can vary from brand to brand. Trim the corners on your covers to get an exact match.
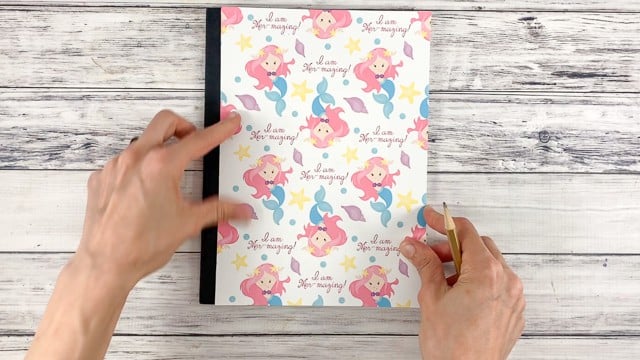
Flip your printed cover patterned side down, then place your notebook on top. Align the spine edge of the cover where you want it, then use a pencil to trace the corner's curve on top and bottom.
Trim with scissors, then use this piece as a template for the second cover.
4. If you'd like, treat the printed side of the front and back cover with two coats of clear acrylic sealant.
This will help protect your notebook and covers. If you printed your covers using an inkjet printer, the ink may run if it gets damp - using a sealant helps prevent that.
If you're using spray adhesive:
5. Protect your work surface and your notebook's spine. You can lay a sheet of paper along the fabric spine to protect it or cover it with masking/painter's tape. Masking it with tape is more effective, but don't feel like you have to buy some if you don't already have it!
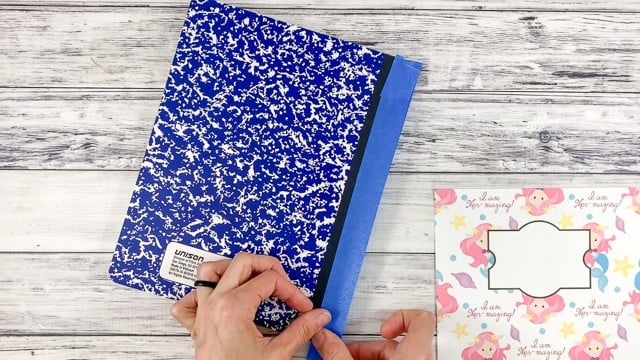
6. Read the directions on your can of spray adhesive. Some require a coat on both things being glued together (your notebook and the printable cover), but others only require a coat on one side. Apply your spray adhesive according to its instructions.
Tips:
Spray only one side of the notebook at a time to reduce the risk of gluing your notebook to your work surface!
Remove the masking tape before gluing the cover in place to make sure you don't accidentally put the cover on top of the tape.
-or-
If you're using rubber cement, coat both surfaces and allow it to dry for several minutes. It should be tacky instead of wet. Stick the cover to the notebook and rub/press in place. Putting the rubber cement on both sides will create a much stronger hold than just gluing one side! I've used this trick for years and it works great.
7. Enjoy your awesome new notebook!
Free printable composition notebook covers
Alright, let's check out the free printable notebook covers!
These are just low resolution previews - please don't try to print them because they'll look terrible.
As a friendly reminder, these are available for personal use only. Please don't share the files - just send your friends to this post so they can download the covers for themselves!
The file is compressed as a .zip so you will not see a preview on Google Drive. Just download and decompress to get the PDF!
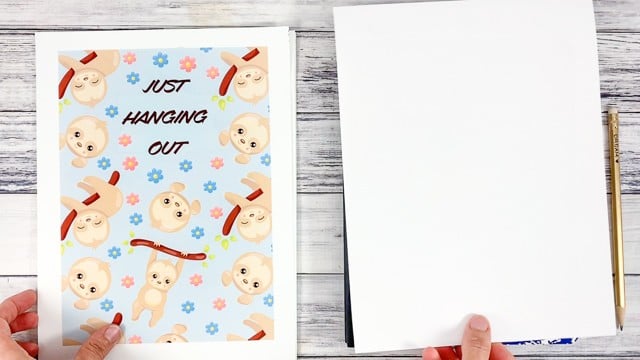
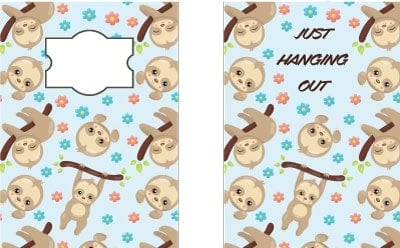
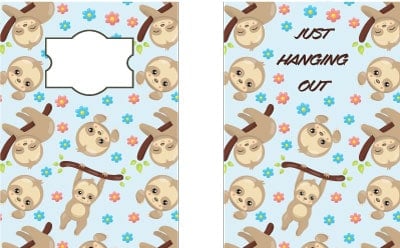
Here we have a super cute sloth with the phrase "Just hanging out" on the back cover:
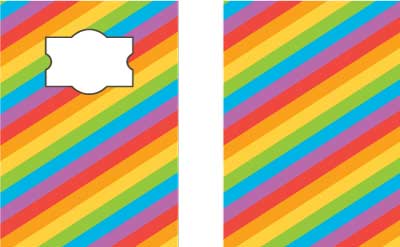
There are also two different rainbow covers. This one has straight lines:
And there's a curved rainbow cover:

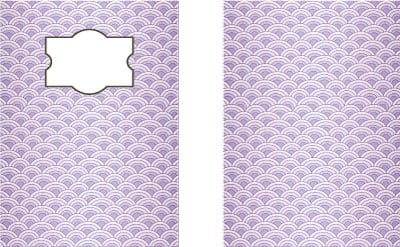
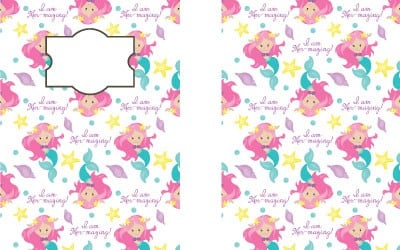
I love this purple mermaid scale cover!
Sloths are cute and so on-trend! This sloth notebook cover is adorable. The back has a place for your name, class, etc. and the back has the message "Just hanging out."
And there's a cover with mermaids and the message "I am mer-mazing."
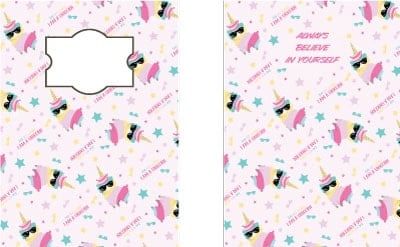
Finally we have llama unicorns!
Easy DIY Notebook Cover

These DIY notebook covers are so cute and a fabulous way to fancy up an inexpensive composition notebook! If you alreay have spray adhesive and rubber cement on hand, this project will only cost you as much as the notebook to make!
Materials
- Your free printables!
- Paper/white cardstock - I highly recommend using presentation paper for beautiful covers. It's thicker than regular paper and has a coating for bright, vibrant colors.
- Clear acrylic spray - optional but recommended
- Spray adhesive or rubber cement
- Something to protect your work surface (like newspaper or an old box).
- Masking tape or painter's tape to protect the notebook's spine from spray adhesive and sealant.
Tools
- A paper cutter - optional but handy.
- Scissors
Instructions
- Print your free printable notebook covers! (Download links are below the tutorial)
- Trim the covers to fit.
- Shape the corners.
- If you'd like, treat the printed side of the front and back cover with two coats of clear acrylic sealant.
- Protect your work surface and your notebook's spine. You can lay a sheet of paper along the fabric spine to protect it or cover it with masking/painter's tape. Masking it with tape is more effective, but don't feel like you have to buy some if you don't already have it!
- Read the directions on your can of spray adhesive. Some require a coat on both things being glued together (your notebook and the printable cover), but others only require a coat on one side. Apply your spray adhesive according to its instructions.
- If you're using rubber cement, coat both surfaces and allow it to dry for several minutes. It should be tacky instead of wet. Stick the cover to the notebook and rub/press in place. Putting the rubber cement on both sides will create a much stronger hold than just gluing one side! I've used this trick for years and it works great.
- Enjoy your awesome new notebook!
If you missed the link above, make sure to download your free printable notebook covers now!
More free printables
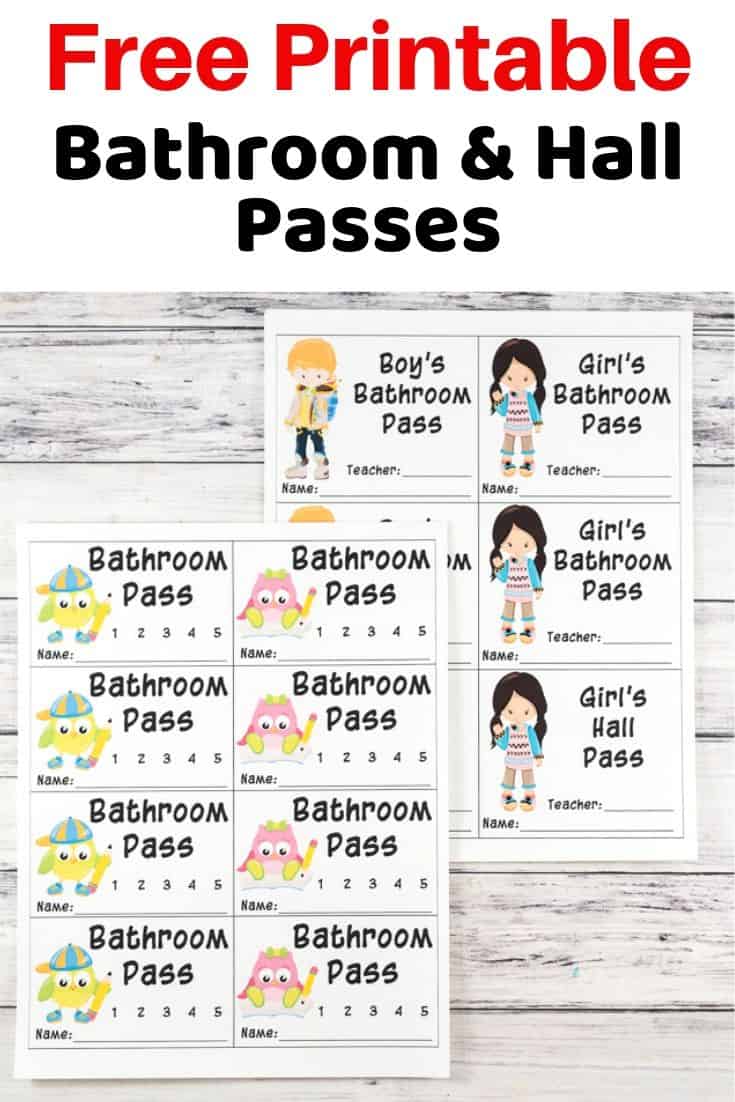
Bathroom and hall pass printables

Leave a Reply