
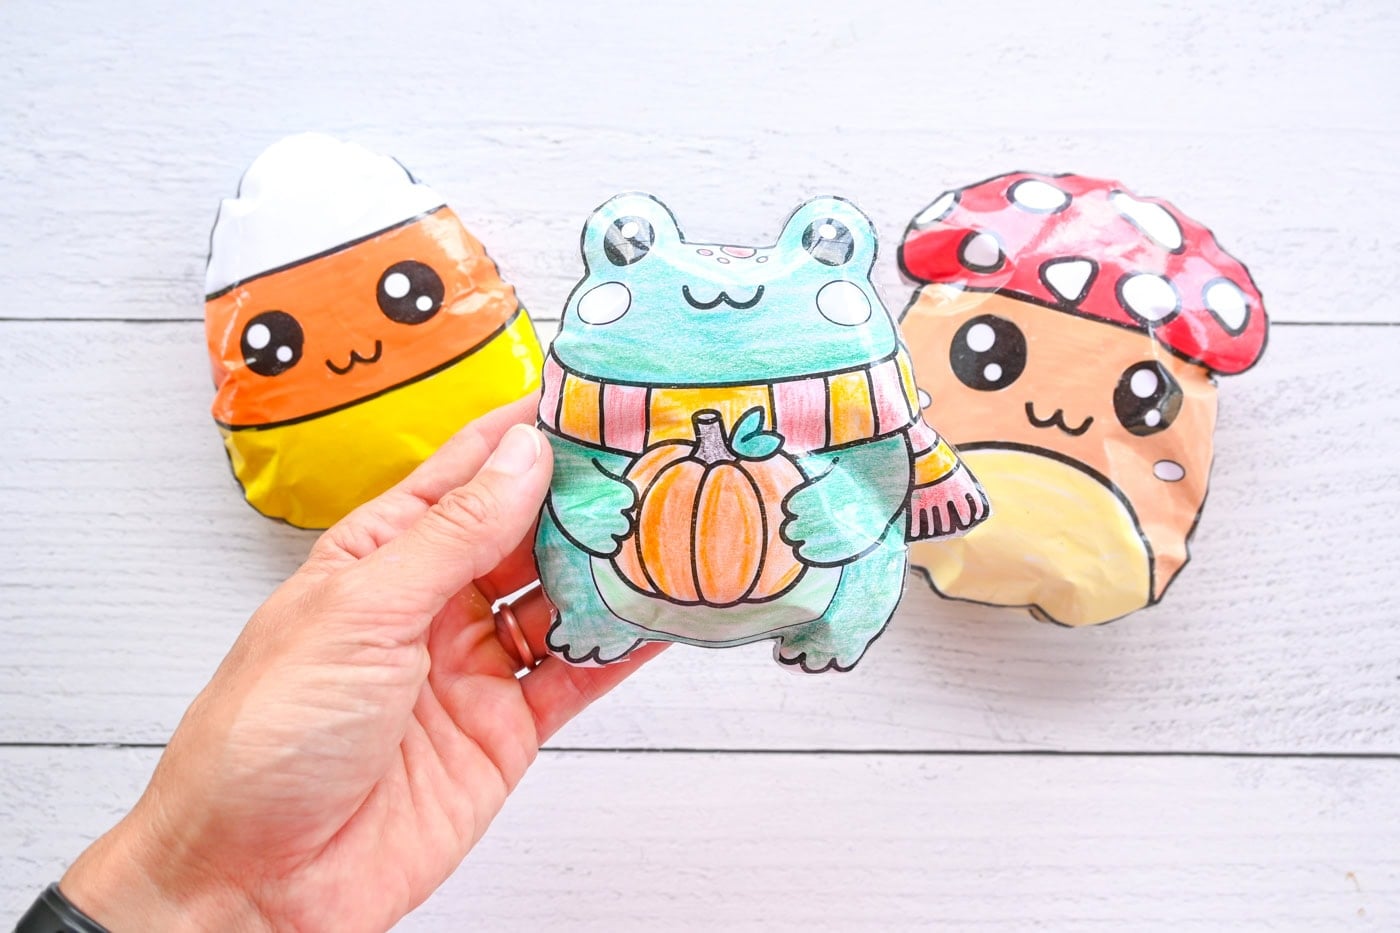
Today, I’m showing you how to make your own DIY paper squishy fall frog using free printable templates. It's absolutely adorable for Halloween, Summerween, or any time you want to make something cute and fun for the fall season!
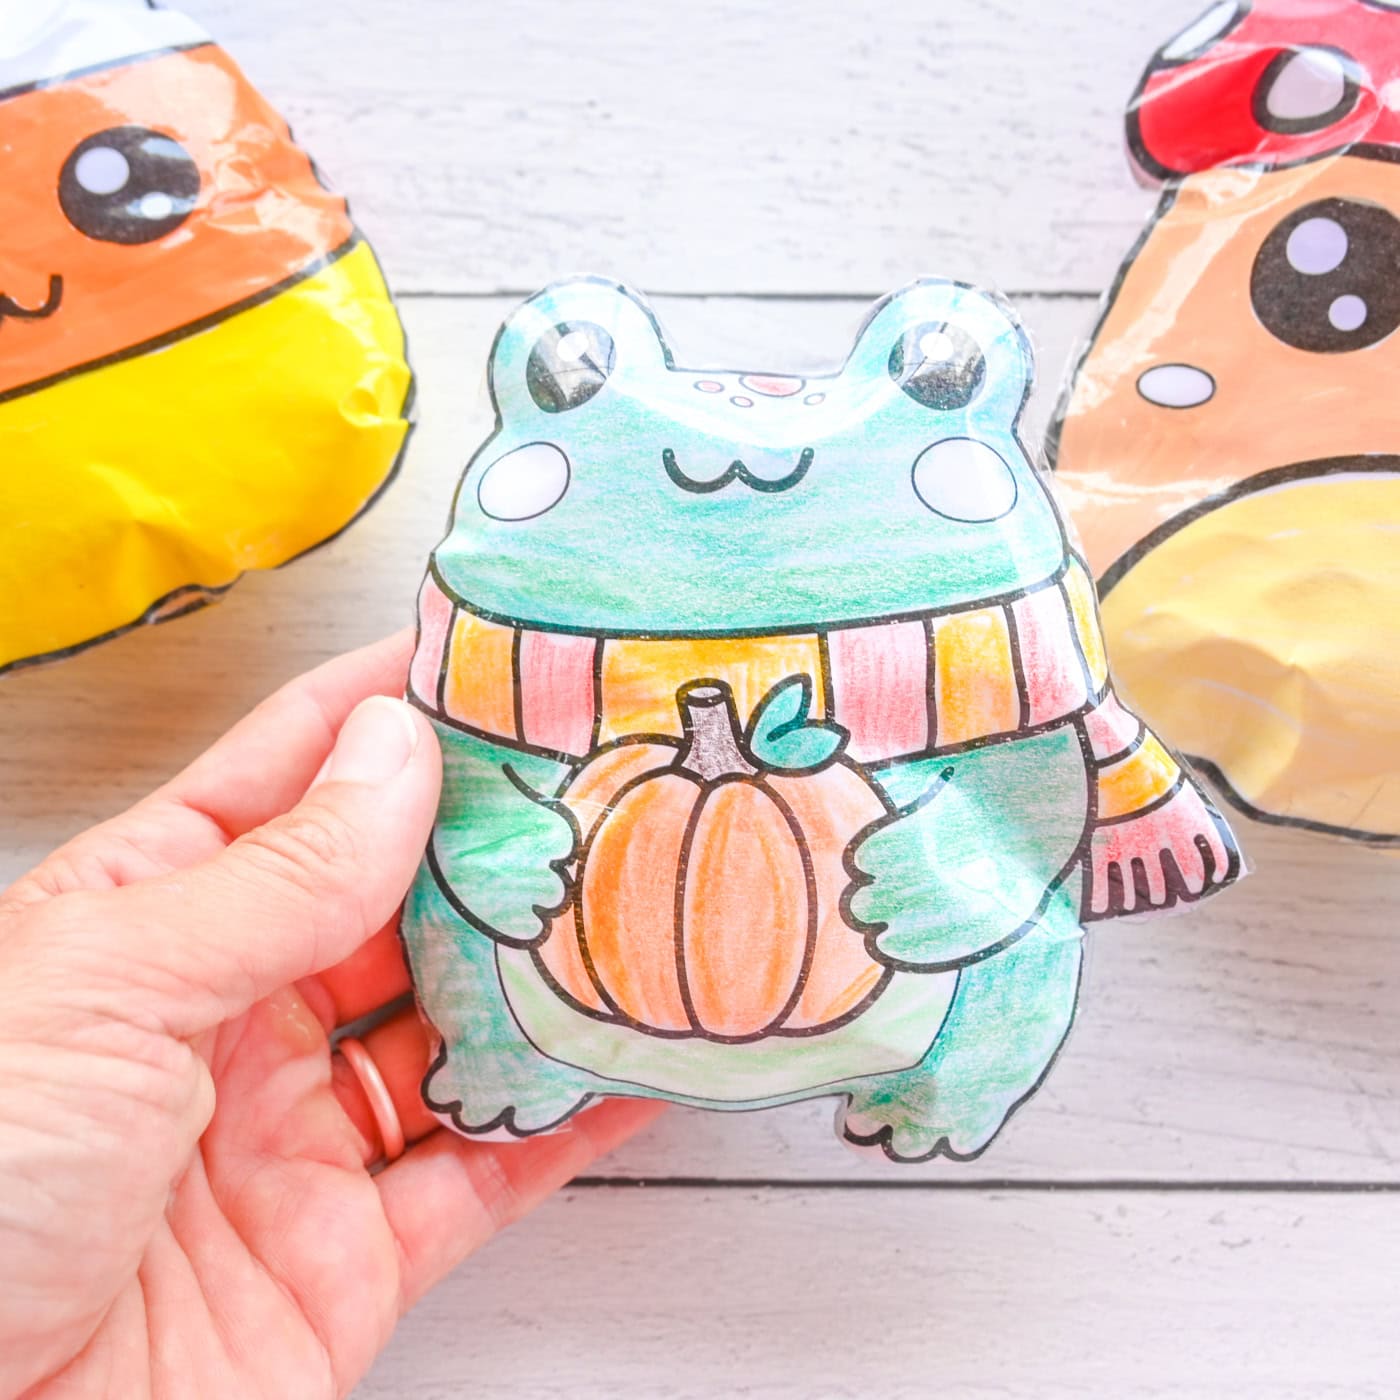
Squishies of all types are very popular these days. I can't believe how much my kiddo and her friends love them!
Squishies can help you relax or be used as a fidget toy. They're also just downright adorable once you've built up a collection of your own DIY squishies.
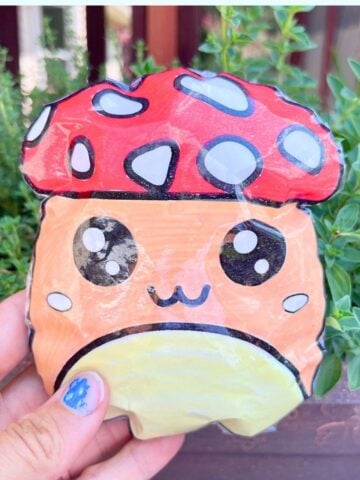
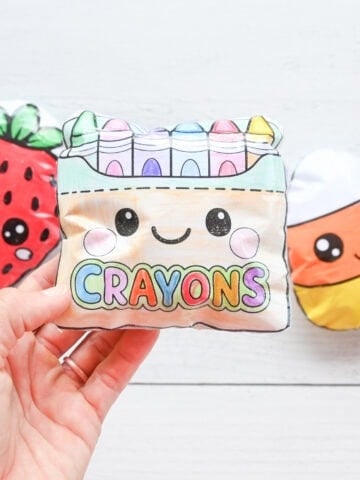
If you want to build your own paper squishy collection, make sure to stop by these posts:
- Candy corn squishy
- DIY cute milk carton squishy
- Adorable avocado paper squishy
- Strawberry squishy
- Cute cookie squishy
This post may include affiliate links which means I may earn a commission on qualifying purchases at no additional cost to you.
How to Make a Fall Frog Paper Squishy
Ready to make your own kawaii fall frog? Let's do it!
Supplies Needed:
- Your frog squishy template (Download is linked below the tutorial. I’ve included both a pre-colored blue version and a black-and-white version to color yourself!)
- White paper (Cardstock is too stiff for this, but I do prefer to use a heavier weight printer paper.)
- Markers or colored pencils (If using the B&W version)
- Clear contact paper or clear vinyl for a vinyl cutter. I used Oracle 651 in the video for this tutorial.
- Clear packing tape for sealing the edges
- Scissors
- Stuffing (You can use polyester fiberfill, cotton balls, or even crumpled-up plastic grocery bags for a "crunchy" feel!)

Step-by-Step Instructions for Making a DIY Cottagecore Frog Paper Squishy
I recommend watching the tutorial video to see the process in action. It's a lot easier to understand what's going on when you can see it!
If you'd prefer to read the written steps, I'm providing that, too.
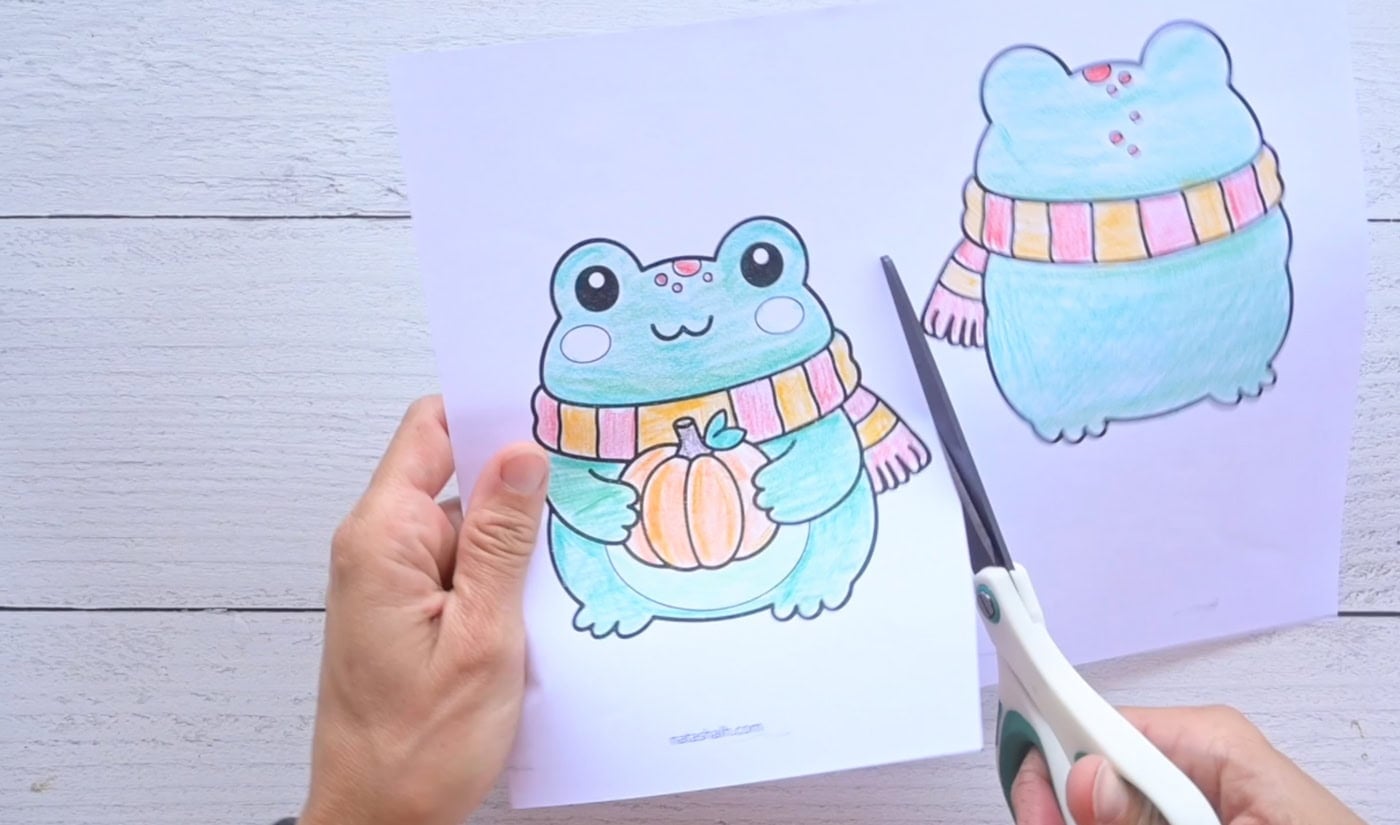
First, grab your free printable! This cute and cozy fall frog has serious cottagecore vibes and is available as a double sided black and white template.
Color in your front and back pieces before cutting them out. I used these acrylic paint markers for my candy corn squishy. They're super vibrant and UV resistant so they're useful for a lot of projects!
I used colored pencils on the fall frog sample shown in this post.

- AUTOMATIC INK CONTROL & VISUAL VOLUME DISPLAY: Experience seamless creativity with Ohuhu paint markers, designed with a direct liquid structure and a...
- 24 VIBRANT COLORS & HIGH OPACITY: Ohuhu acrylic paint pens boast highly pigmented, opaque colors that provide excellent coverage, even on black...
- 1-5MM SOFT BRUSH TIP: Designed with a versatile 1-5MM brush tip, Ohuhu paint pen is ideal for both large area coloring and intricate detailing...
Cut out the font and back pieces. Don't fussy cut around every toe and scarf fringe or it will be very difficult to laminate.
Place your frog pieces face down on the backing side of your contact paper or clear vinyl. I'm just going to call it contact paper for brevity, even though I used Oracle 651 clear vinyl in the example.
Trace exactly around the back piece, but give about .5" extra contact paper around the front piece except for a couple of inches along one side. This will be the gap for stuffing.
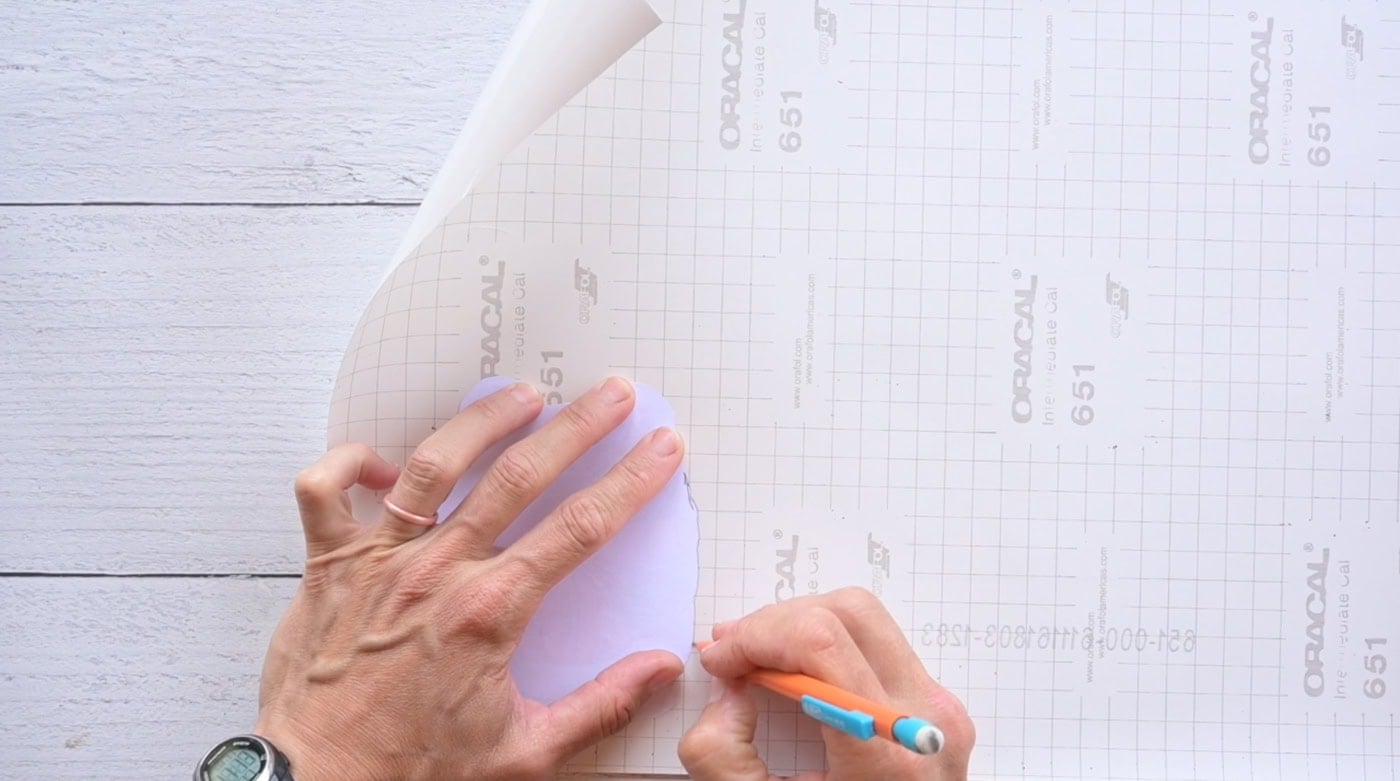
Cut out the pieces of contact paper and set the back piece aside for now.
Peel the backing off the front side piece of contact paper.
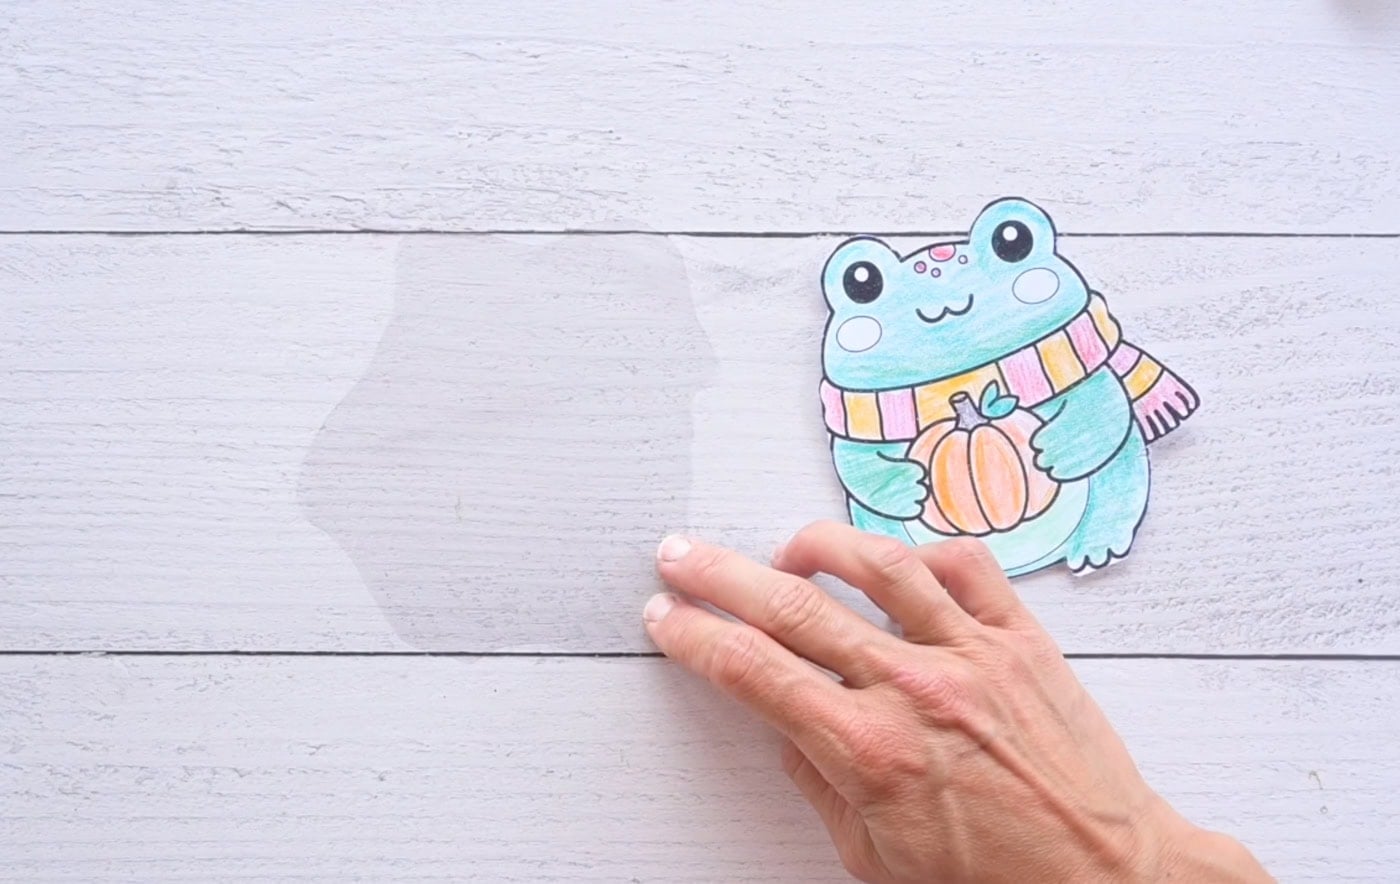
Place the front of the frog face down on the contact paper, making sure to line up the side so it's flush with the edge of the contact paper where the gap needs to be.
I goofed up while filming and my contact paper got a bit out of place. If this happens, don't worry! Just cut some additional pieces of contact paper or use packing tape.
Cut tabs into the excess contact paper to make folding the edges over possible. I usually make cuts every .5" or so on the straight areas. In areas with a lot of curvature, you'll want to make them about every .25"
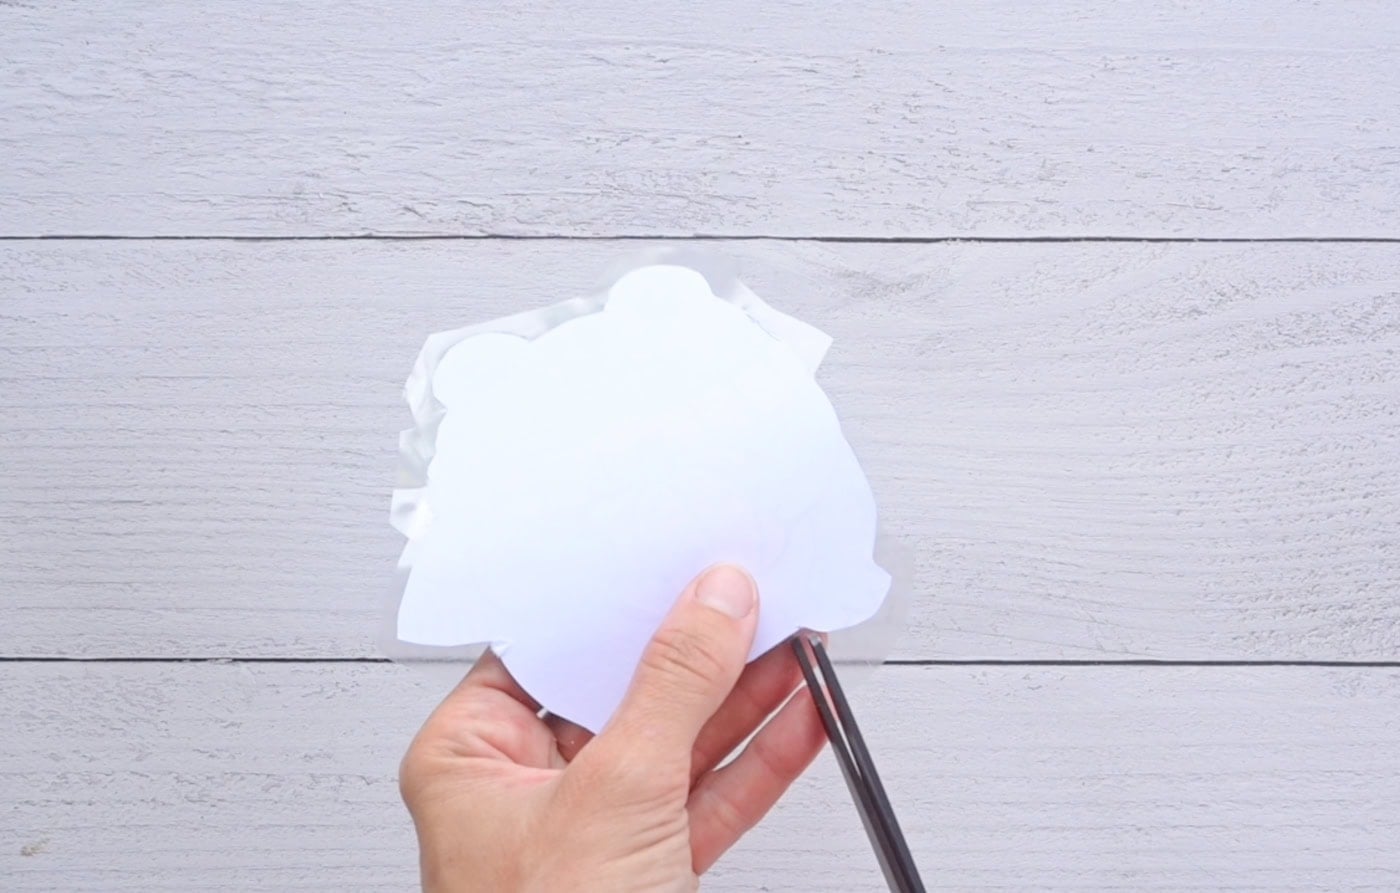
Place the back frog piece on top of the laminated front piece. Place the two pieces wrong sides together, right sides out. Align the edges as closely as possible.
Fold over the tabs to secure the back portion in place. It's important that you do this before laminating the back template piece.
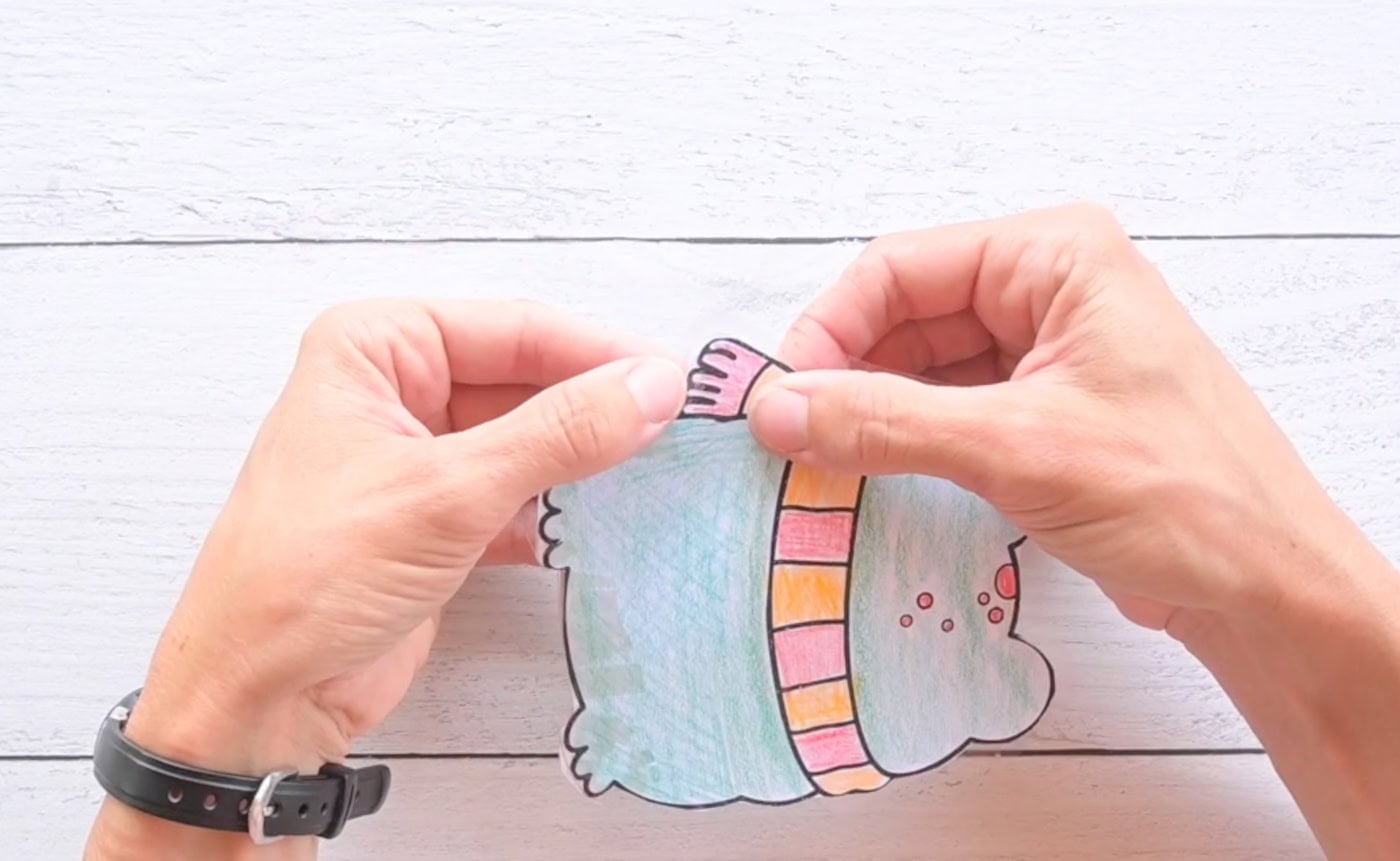
Peel the paper off the back piece of contact paper. "Laminate" the back frog piece.
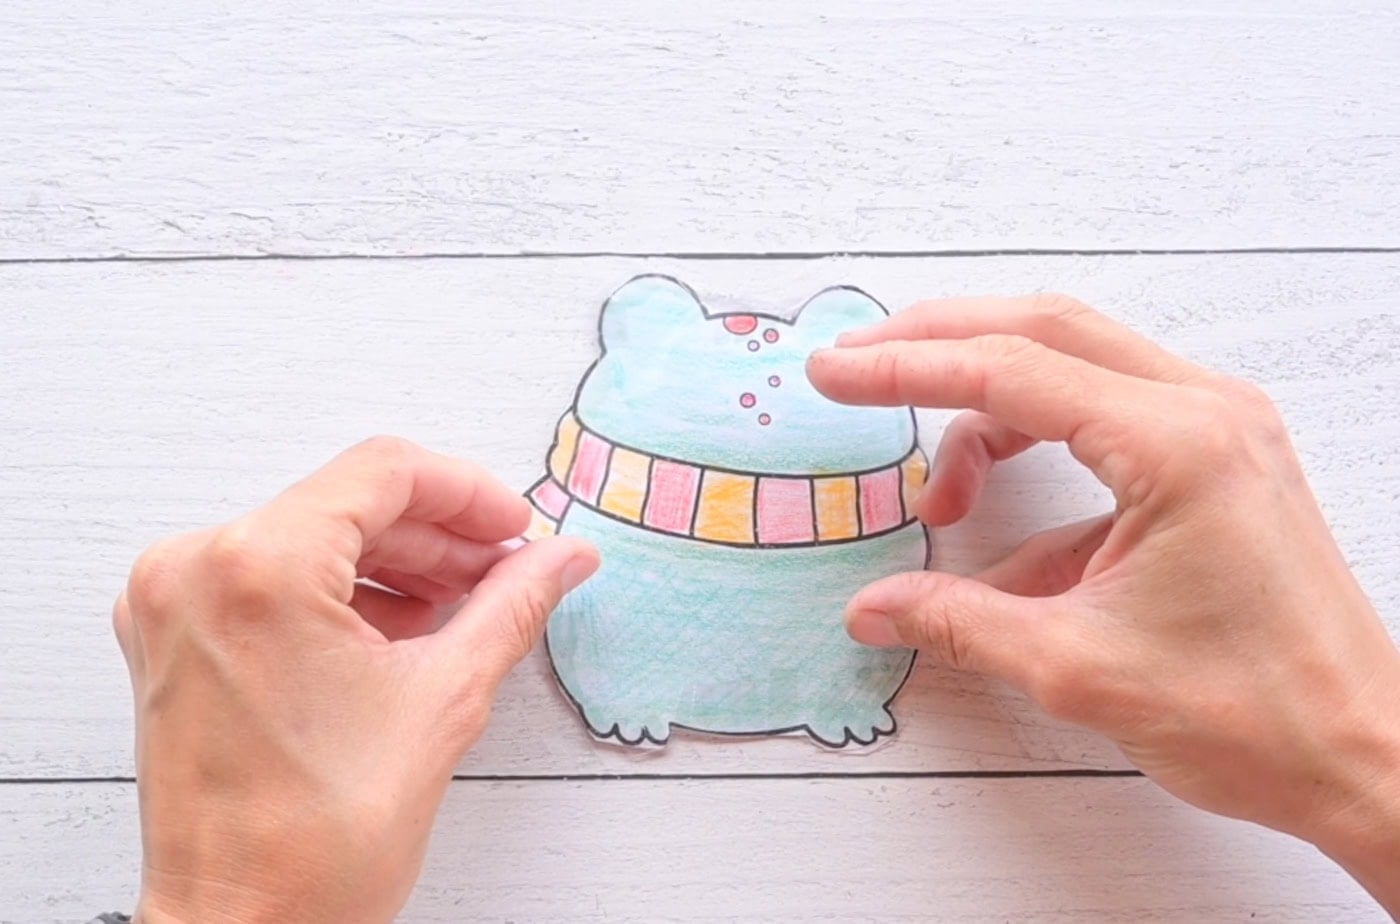
You should have a small gap along one side of the squishy. Use this gap to fill the squishy with stuffing.
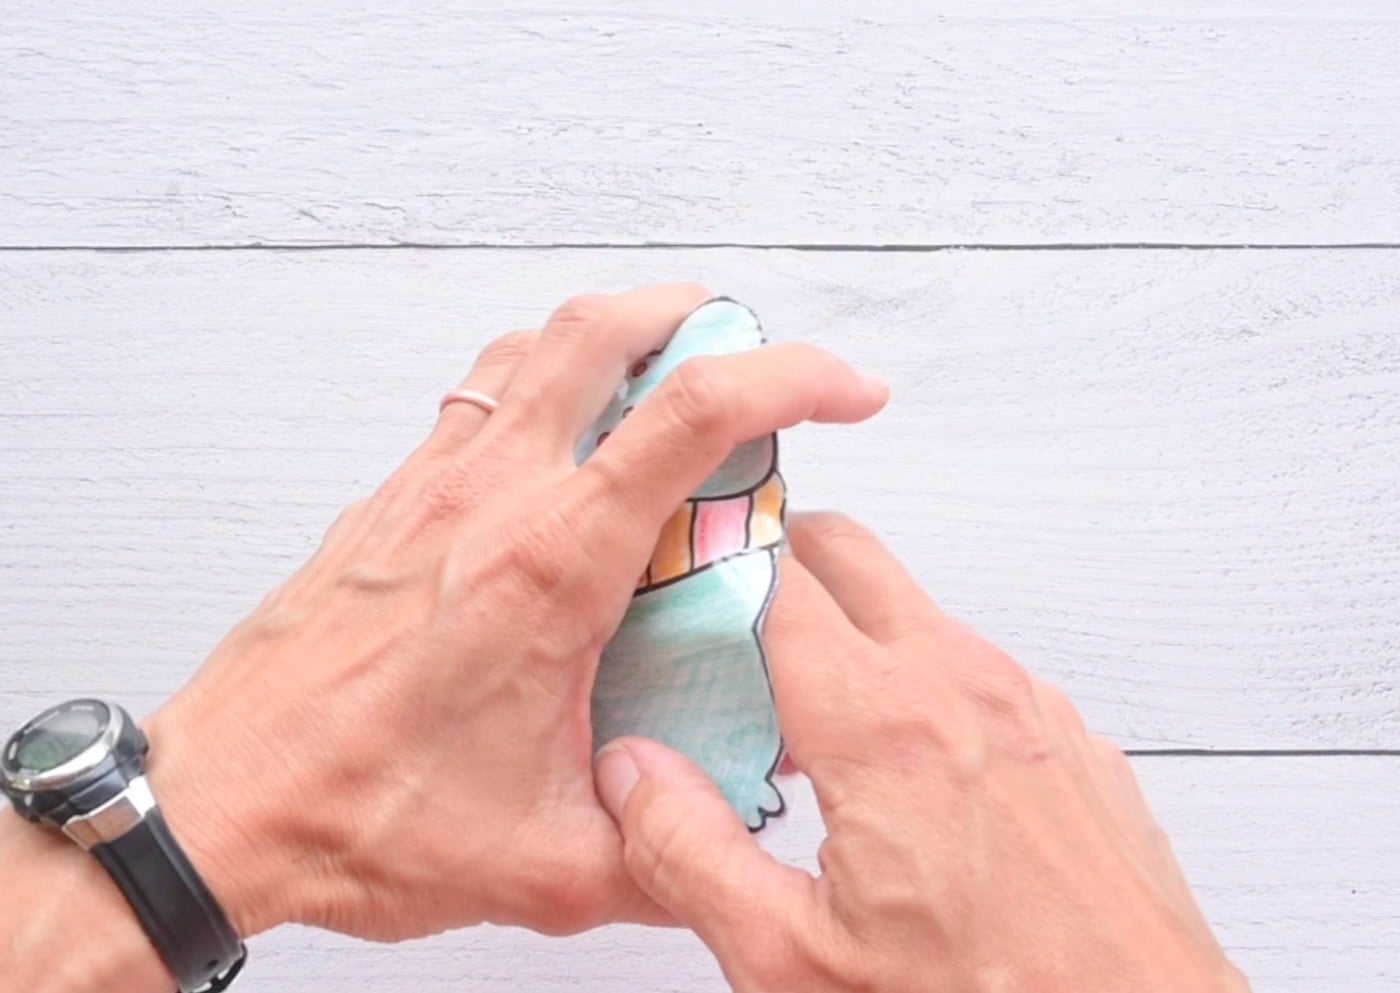
Use enough to make it puffy, but don't overstuff it or you won't be able to close it up.
Once it’s nice and plush, tape the remaining hole shut. I like to work from the front to back because that makes it more likely for any tape wrinkles to be on the back.
Check for any air gaps and reinforce them with extra tape if needed. I squish the squishy and listen or feel for air against my cheek.
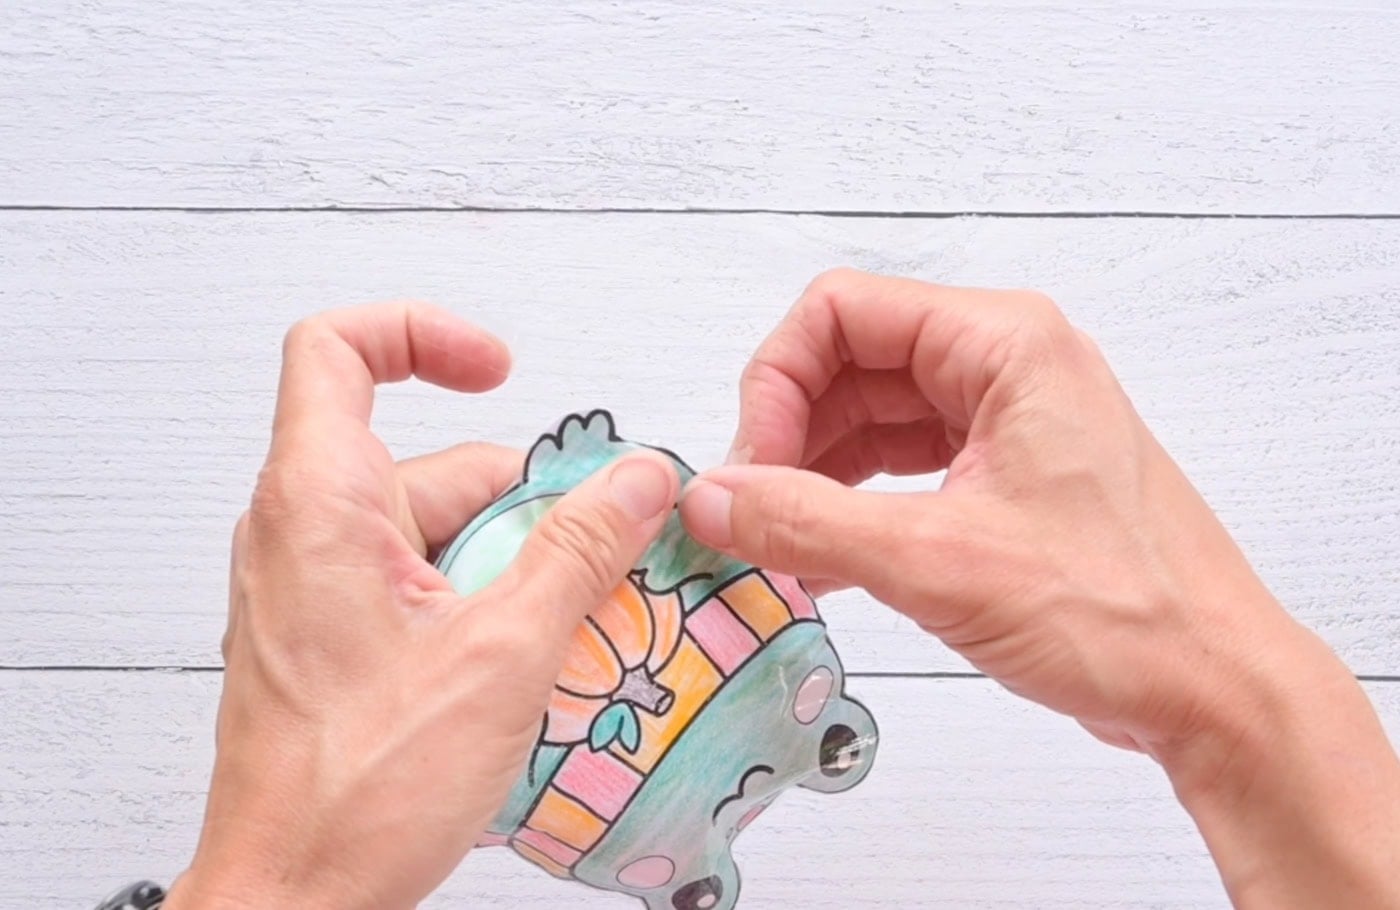
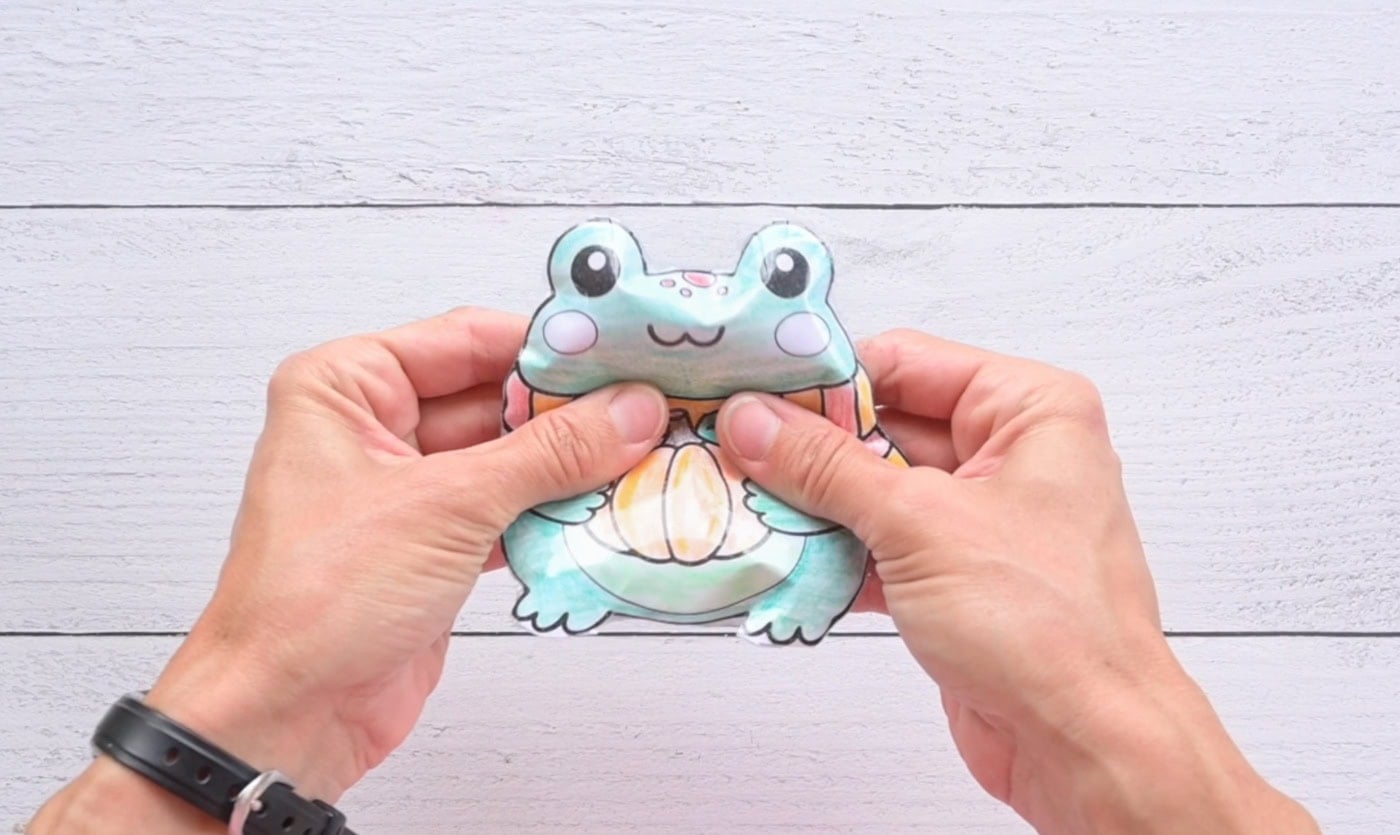
That's it! Your cute fall frog squishy is ready to play with.
Free Printable Cottagecore Frog Template PDF Download Area
These free printables are licensed for personal use, including classroom use, use with summer camps, therapy clients, library activities, etc.
You are not licensed to sell or redistribute the files or print outs to others. Please refer them to this post to download their own copy of the PDF!
If you agree to these terms of use, you may click below:

I hope you enjoy this DIY squishy craft as much as I do! Don't forget to share your creations on my Facebook page.


Leave a Reply