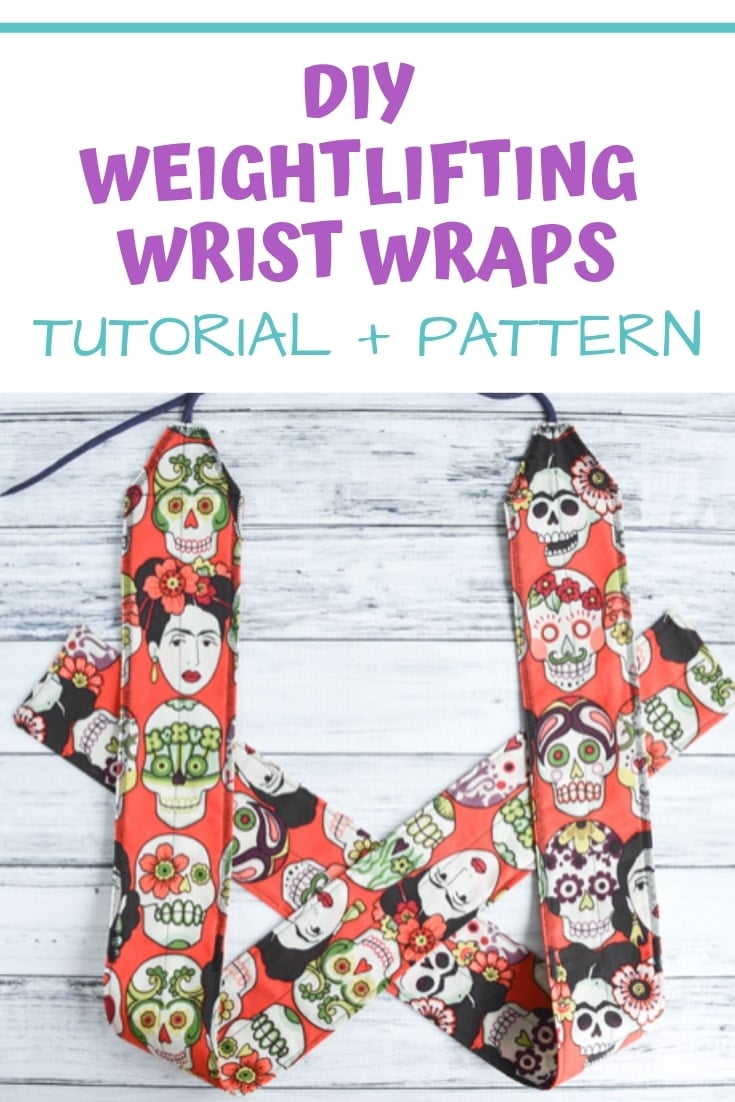
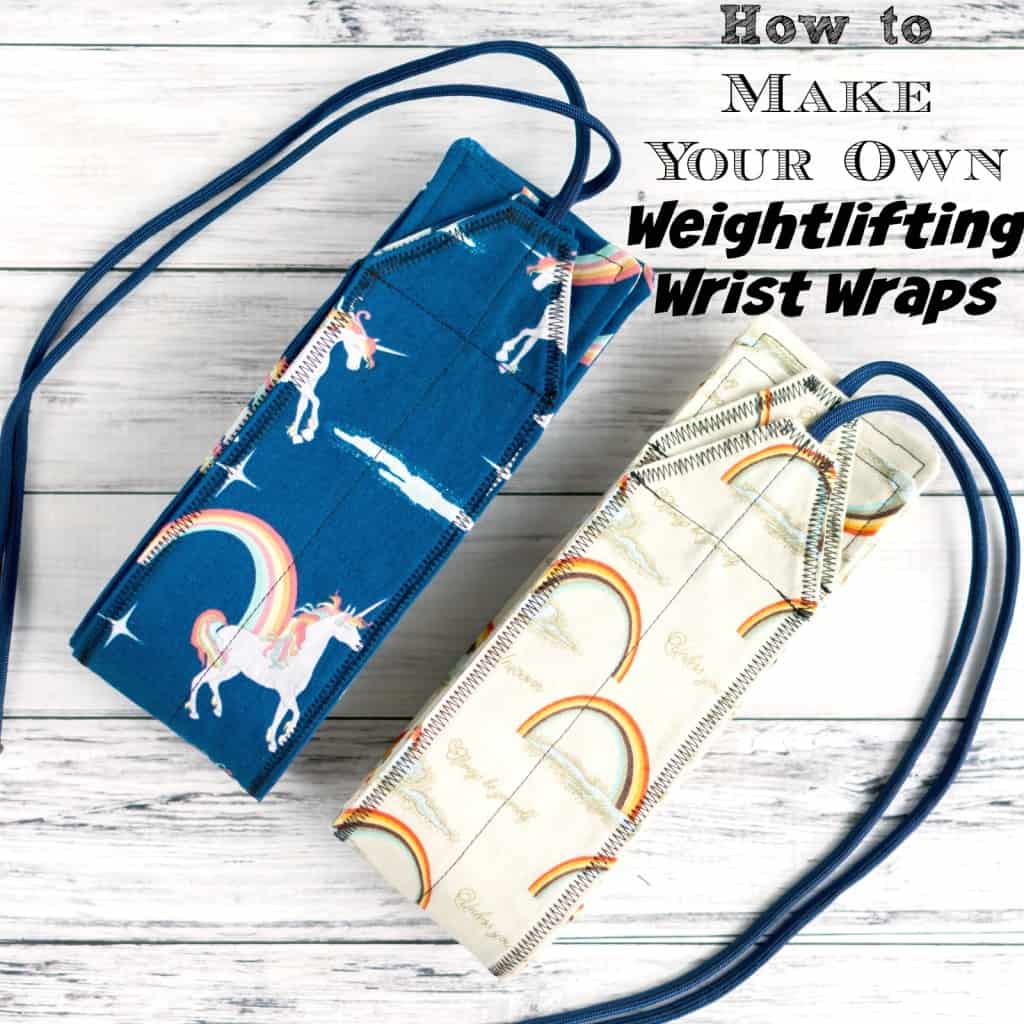
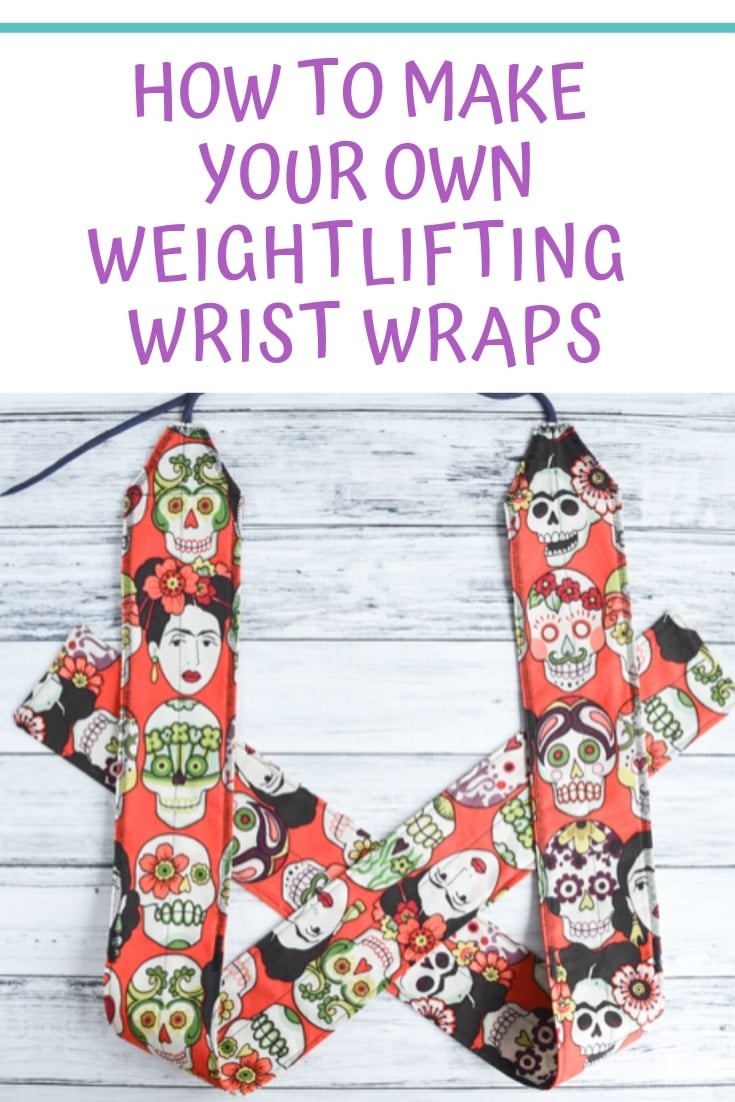
Learn how to make your own weightlifting wrist wraps with this step-by-step tutorial!
Welcome to my weightlifting wrist wraps pattern post! It's one of my most popular tutorials because these wrist wraps are so easy to make and are incredibly helpful at the gym or for your home workout.
With this tutorial, you can make fabric wrist wraps that are great for weightlifting, Olympic lifting, CrossFit, etc., and you can alter the pattern's length to suit your personal needs if you have larger (or smaller!) wrists.
This post has been updated for 2020 with upcycled fabric ideas and thoughts on how to make these with fabric you already have at home.
This post may include affiliate links, which means I may make a commission on purchases made through these links at no additional cost to you.
Wrist wraps are one of those things, like having post workout protein, that I resisted for a really long time for no particularly good reason. Now I know that wrist wraps can be beneficial, just like actually getting my post workout protein and carbs! I personally always pick a plain protein powder, like the grass-fed whey protein offered by Naked Nutrition.
If you've been avoiding making or buying your own wrist wraps, I hope this post helps you out!
This tutorial has lots of photos and written instructions to help someone who at least knows how to use a sewing machine create a pair of wrist wraps. I've tried not to assume too much sewing terminology knowledge, but please let me know if you have questions.
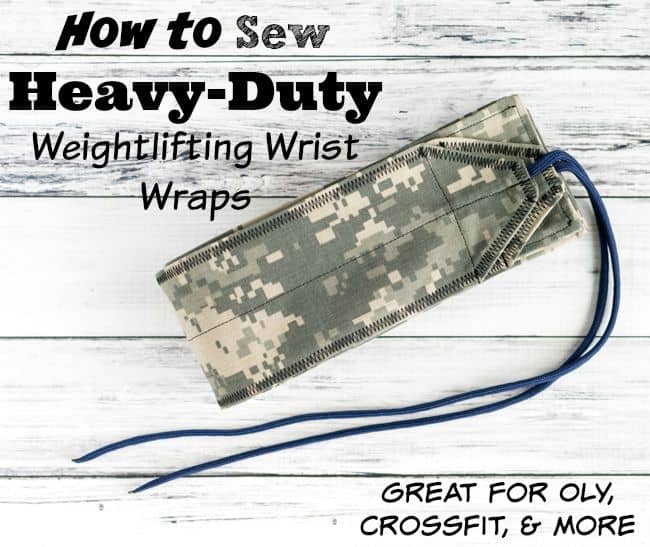
This method works best with mid-weight fabrics. Due to popular demand, I now also have a tutorial showing how to make heavy duty wrist wraps with fabrics like canvas and cotton duck!
If you don't have any experience sewing but want to learn, this is a great beginner project. One of my favorite resources for learning new skills is a site called Craftsy. Update: They're now called Blueprint! They have professionally produced, HD video classes on a ridiculous variety of subjects.
As a quick note on the fabric - I say to use 1 yard, but that's really the maximum amount you'll need. It depends on the design of your fabric and how you want them to look. If the design looks good vertical, or if there is no design, you'll only need about ½ a yard. If you buy one yard and only make one pair of warps, you will have fabric left over.
Materials needed for wrist wraps
- 2 sheets of plain printer paper
- A paper trimmer. I've been using this paper trimmer for 3+ years now!
- A ruler. A good ruler makes life so much easier!
- A pen/pencil. My absolute favorite pencil in the world is my Sakura Sumo Grip .9mm
- Scissors
- Tape
- Pins
- 1 yard of pre-washed fabric. A mid-weight cotton works best. Most quilting cottons are too lightweight to provide much wrist support.
- Thread
- About 1 yard of paracord or twill tape (go for the "real" stuff, craft quality paracord is almost always too stiff or to slippery!)
- A sewing machine (you could sew by hand, but it would take a little while!). I love my Janome HD1000 - it's a real workhorse.
Upcycled fabric ideas:
If you can't get to the store and don't have fabric sitting around at home, here are a few ideas for materials you could use to make these wrist wraps:
- Old pants or woven material shirt. (Stretchy t-shirt material won't work.)
- Old uniforms. Military uniforms and things made from similar material work fantastically for wrist wraps.
- Canvas tote bags. (You might need to sew multiple strips together to make a long enough piece of material - please see the advice below for compensating for your seam allowance.)
- A thicker sheet or pillow case.
If you need to piece fabric together for enough length to make the wrist wraps, be sure to add extra to account for the stitching to sew the pieces together. I sew with a ¼" seam allowance. If I needed to sew two pieces together to make a long enough wrist wrap, I'd add ¼" to each piece to compensate for the extra seam. This may not seem like a lot, but if you use multiple pieces and take ¼" from each end, your wrist wraps could end up too short.
Weightlifting wrist wraps pattern + tutorial
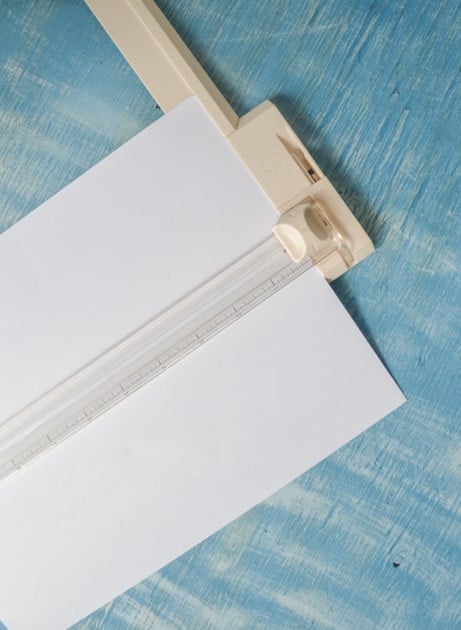
1. To make your patten, cut three 11 x 3.5" pieces from your printer paper. You will need to use two sheets of paper.
Remember to add extra length to accommodate your seam allowance if you need piece fabric together.
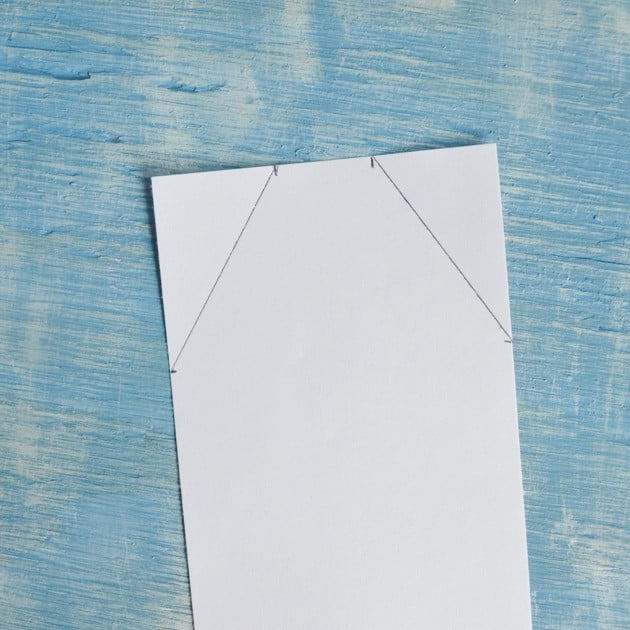
2. Take one strip of paper and use your ruler to mark off 1.25" from the left side and then 1.25" from the right side (the second mark should be at the 2.25" mark on the ruler) along the narrow edge, as shown.
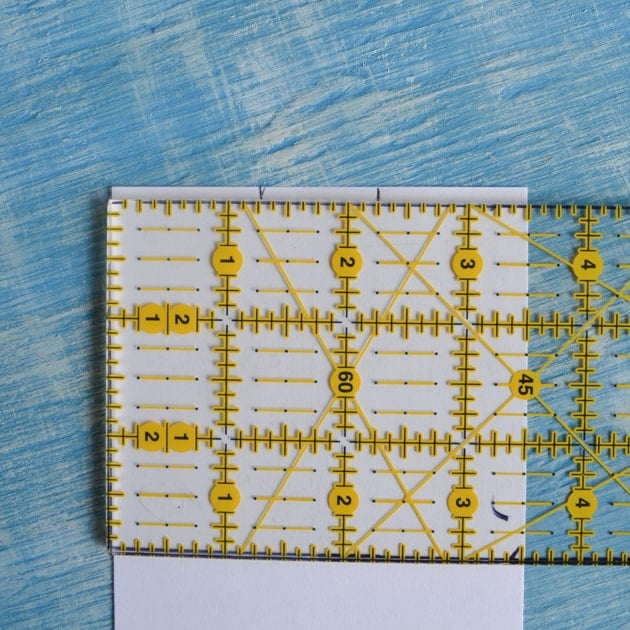
3. Measure down each side 2" and make a mark.

4. Draw lines to connect the marks, as shown, to form a point.
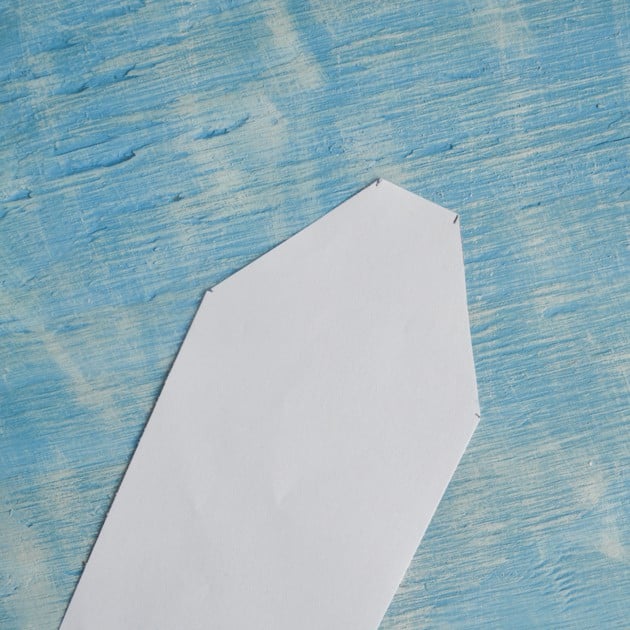
5. Cut along the two marked lines.
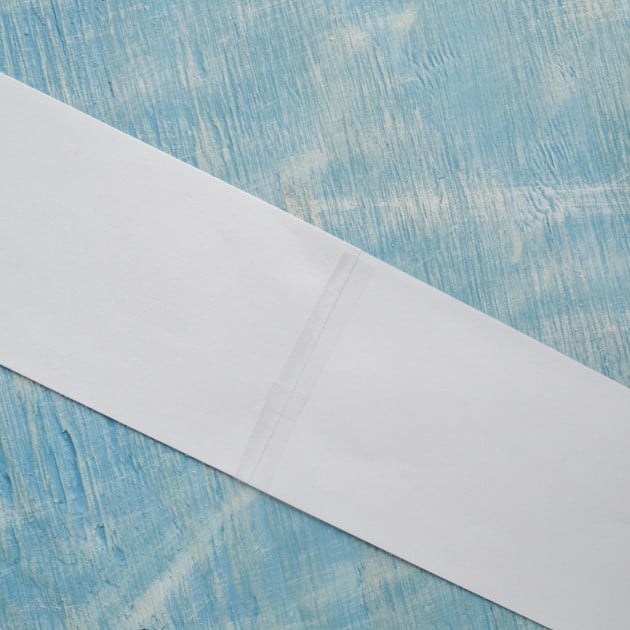
6. Complete your pattern by taping two non-pointed 11" strips of paper together and then tape your pointed strip into place on one end. It's easiest to do this if you overlap the paper very slightly and then tape it in place on both sides. You're finished with your pattern!
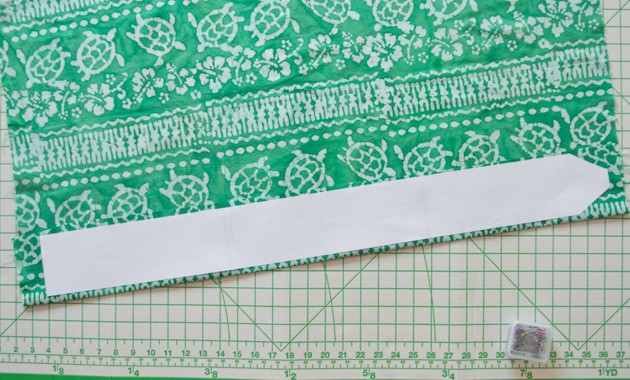
7. Before placing your pattern to cut the fabric, you should iron the fabric. I always iron fabric before cutting anything out because it makes the pieces more exact and the finished product better.
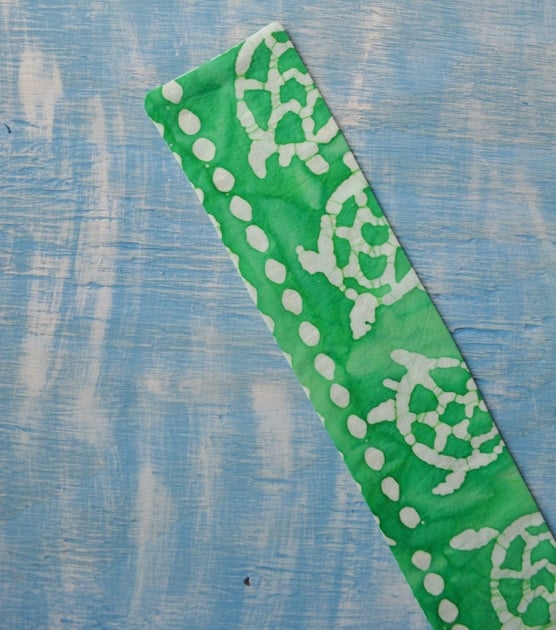
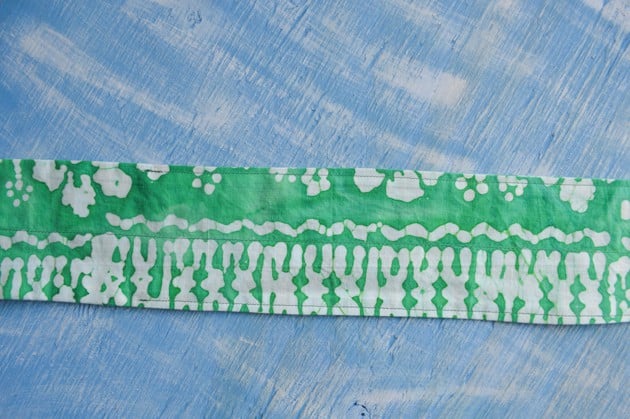
8. Fold your fabric so that the "right sides" face each other, place the pattern piece, and pin it in place. If your fabric has a distinct directional design, make sure your pattern is placed straight along the design instead of at a funny angle that will make the wraps look sideways.
9. Cut along your pattern through both fabric thicknesses.
10. Repeat steps 8 and 9 to create a the pieces for your second wrap.
11. Your fabric pieces should already be basically lined up and facing each other "wrong side out." Make sure the ends are lined up as well as possible and then pin them in place.
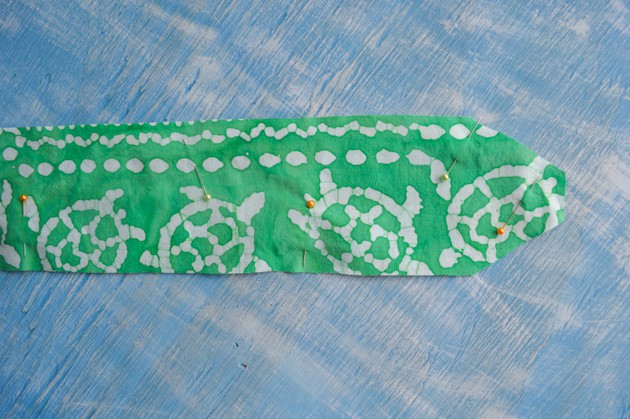
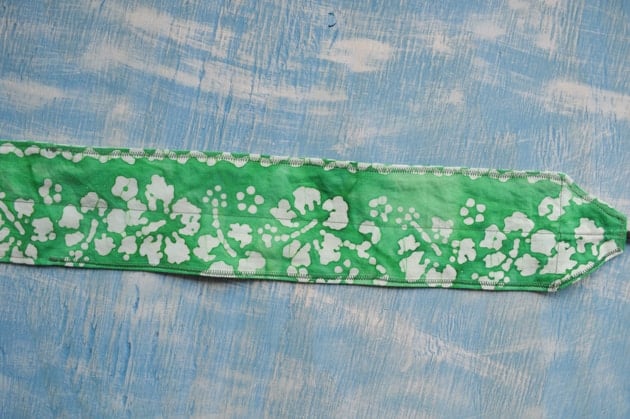
12. Using a straight stitch, stitch all the way around each set of pieces, but make sure to leave the top point open, as shown. I like to stitch about ¼" away from the fabric's edges. If you take in commercial seam allowances of ⅝" using the pattern you just made, the wraps will be too narrow.
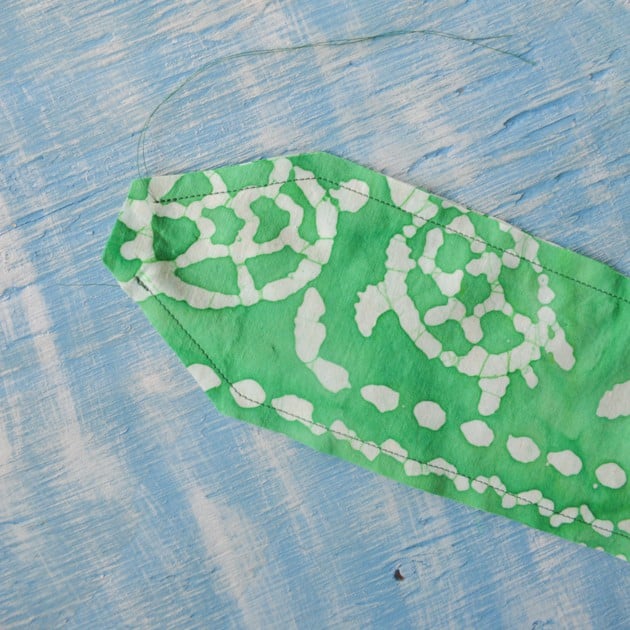
13. Clip the two bottom corners on each wrap to remove excess fabric. This allows the finished wraps to have crisper points without awkward lumps.
14. Turn the wraps right side out by pulling the fabric out through the open point.
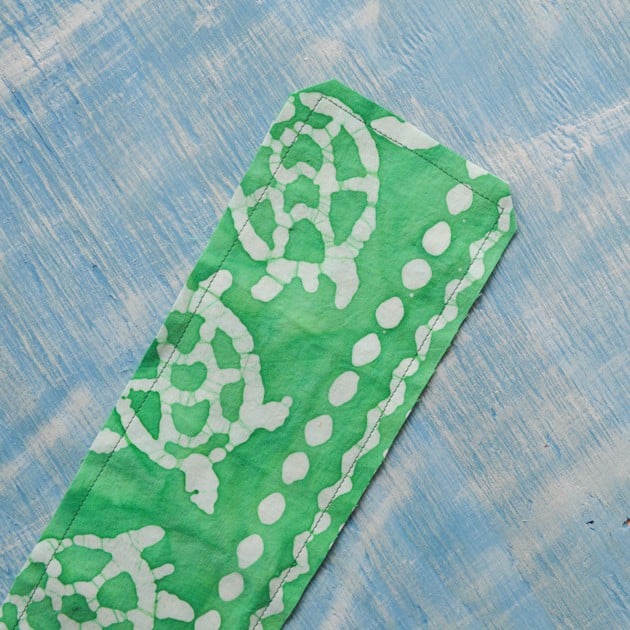
15. Iron the turned wraps, making sure to turn under and press the unfinished edges along the open point.
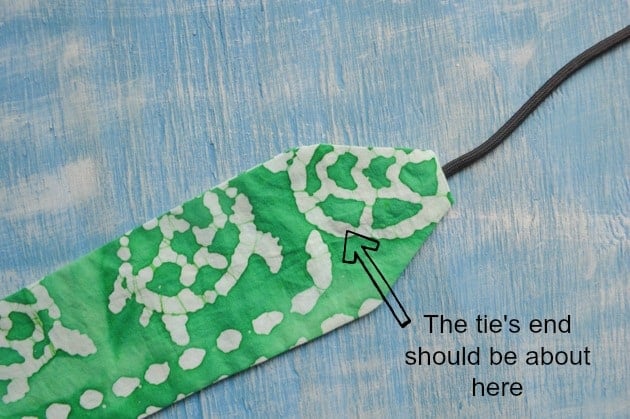
16. Cut your tie material so you have two pieces that are each approximately 16-17" long. If you're using twill tape, you can simply knot one end of each tie to prevent the whole tie from fraying. I like to use paracord for my ties. I strip the inner white strands to use just the outer sheet and melt each end with a lighter to prevent unraveling.
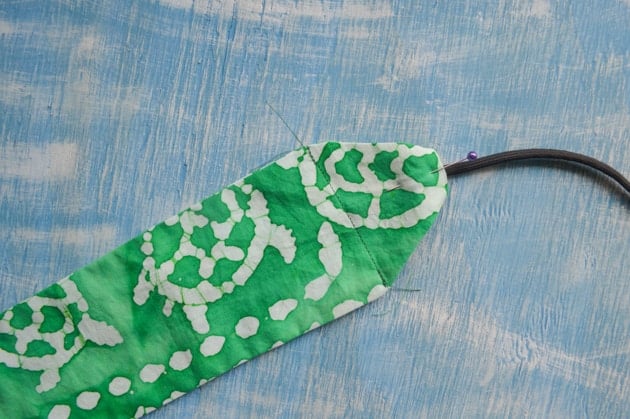
17. Insert a tie end through the open hole and pin it in place so that it's running down the point's middle and ends just below the "shoulders" of the wrap. Repeat for the second wrap.
18. Carefully stitch straight across from shoulder to shoulder, stitching the tie's end in place in the process, on each wrap.
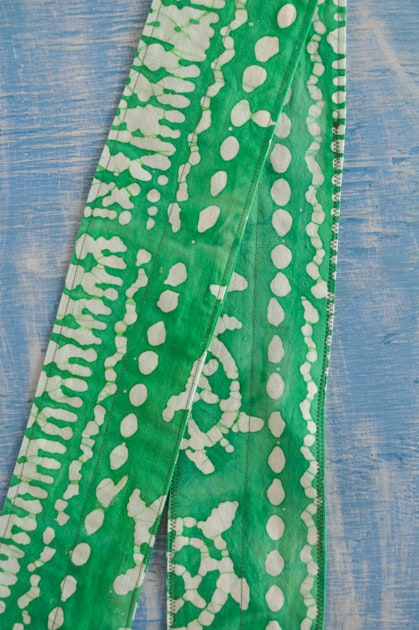
19. Starting at the point end, stitch all the way down the middle of each wrap.

20. Measure 18" up from the flat end of each wrap and mark it on both sides with a pin.
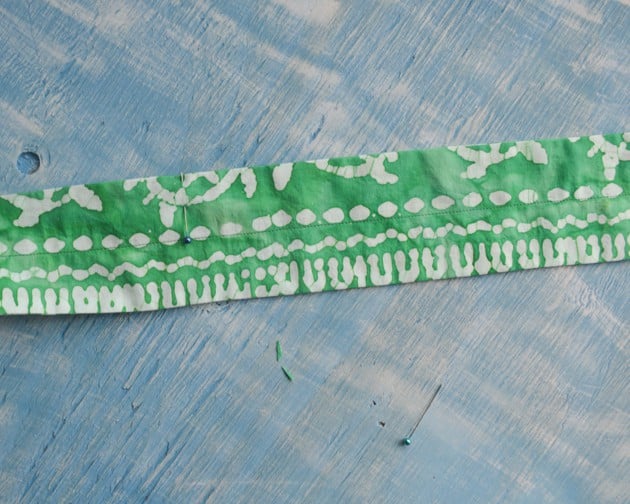
21. Straight stitch from one pin, down along the flat edge, and up to the other pin. Stitch no more than ¼" away from the edge and try to keep the spacing as consistent as possible. Repeat on the other wrap.
22. Change your machine to a zigzag stitch and use this stitch to top stitch where you haven't straight stitched. In other words, the zigzag should go up and around the point, then back down the other side to meet the straight stitching. Overlap the zigzag with the straight stitch slightly, but about ½" or so. Repeat on the second wrap.
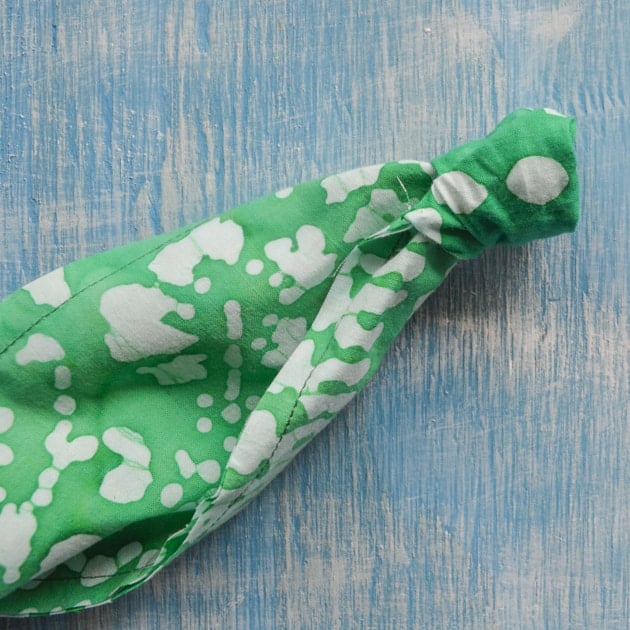
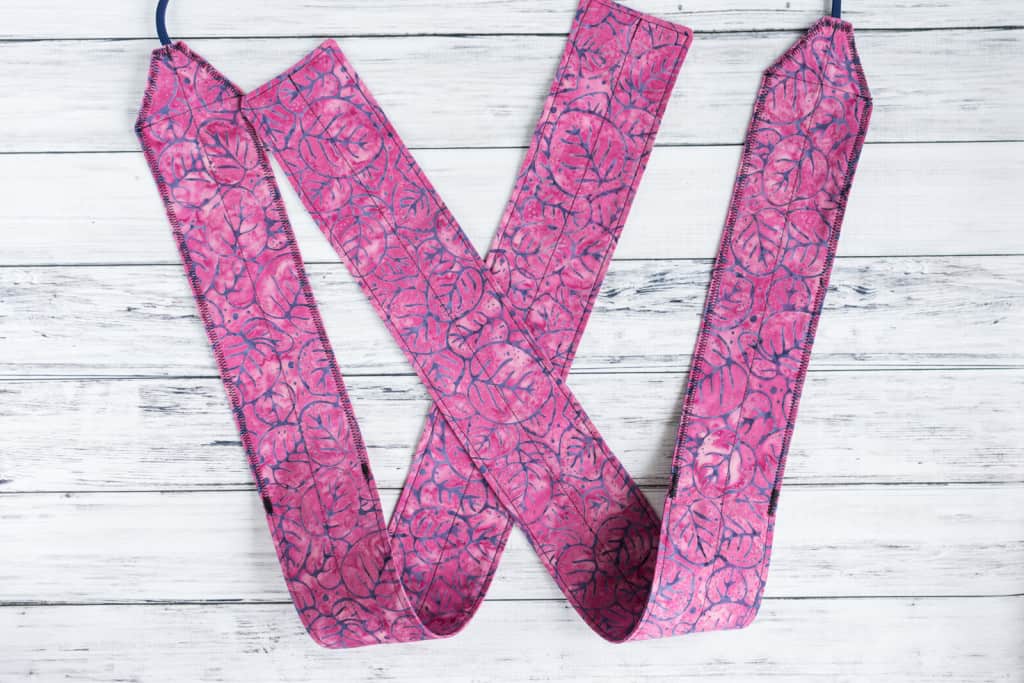
23. Iron your wraps one last time and you're ready to go!
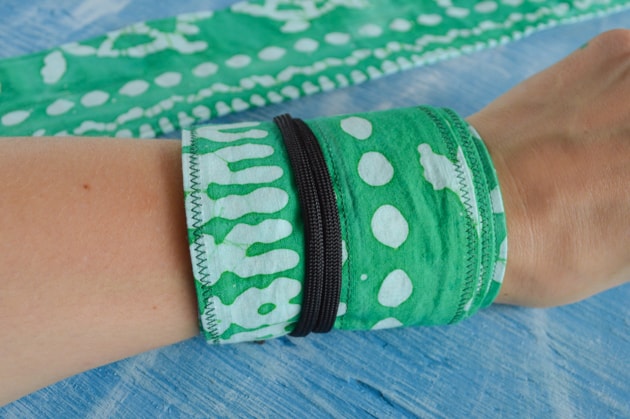
These wraps are very easy to wear - just wrap one around your wrist, then wrap the tie around your wrist, tuck the tie underneath itself, and twist slightly to tighten or loosen.
This pattern works best with mid-weight fabrics. If you want to make a more supportive pair of wrist wraps out of canvas or cotton duck, please stop by my tutorial for heavy duty wrist wraps!


Suzanne
Thank you for the tutorial! I found it easy to follow and my finished product looked a lot like yours! ha! One change I made to speed up the process was after I lined up the strap pieces I (used flat cotton that I had folded over 1/8" twice and stitched to hide the fray) lay the flat cord sandwiched down the center of the unsewn strips, leaving about 1-1/2" extended. Then I stitched from corner to point and down the side to the square edge, leaving square edge open. Then stitched up the other side to the point where I started. Using my thumbs I pushed and gathered the fabric up until I found the cord and then turned the whole piece by pulling the cord through the open end. After that I was able to stitch across, catching the cord. That was when stitched all the way around, tucking the open end in 1/4", and finished with the 'down the center' stitch. Of course, I ironed between steps, but turning it by using the cord saved me some frustration! I have them packaged and ready to mail to my crossfit sister as a surprise!
Natashalh
Cool idea! I'm glad you figured out a way to make turning the wraps a little less annoying. I'm actually thinking of sending my sister a surprise pair soon, too, because she's recently started lifting. =)
I'm so glad you liked the tutorial and thank you for letting me know!
Holly
I'm not a weightlifter (but I do love to sew!) but I found your tutorial to make these for my husband who does lift at crossfit. Since I am not familiar with wrist straps, what is the purpose of straight stitching your top stitch around half of the strap and then doing a zigzag top stitch around the other half? Does it serve a particular function to do it that way, vs all straight or all zigzag top stitch? Thanks!
Natashalh
Thanks for stopping in!
I've seen wrist wraps with out the additional zig zag stitching, I just feel like it offers a bit more strength and protection from stretching than the straight stitch. I put it around the area that will be the top two wraps or so because that part will be on the outside and will be rotated to tighten or loosen the strap and, consequently, will usually be under a little more pressure. If the zig zag stitch annoys you, don't let that keep you from sewing a pair of wrist wraps!