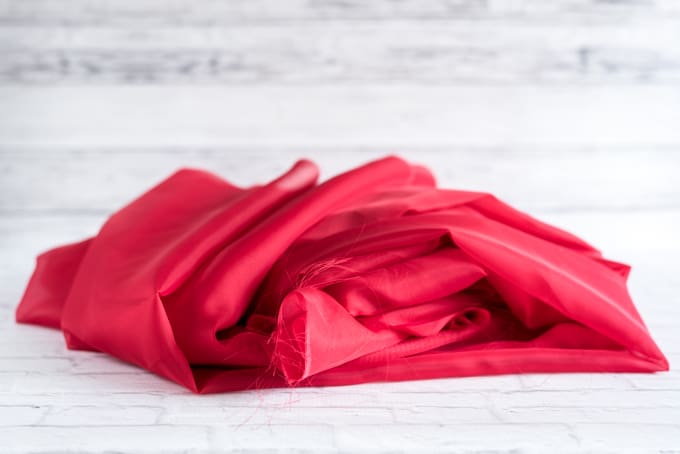
To begin with, let me fess up: this 'DIY costume chiffon skirt/cape" was not, in fact, made with chiffon! I used voile. Both chiffon and voile work wonderfully for this project, though, and I think chiffon is a more widely-known term than voile, so that's what I'm going with. I'm sorry if that irritates any textiles purists out there!
Whether you're using chiffon or voile for this project, it is incredibly easy and the results work well either as a costume skirt with a slit or cape. This tutorial came out of my dislike of sewing with slippery synthetic materials, so I decided to make things as easy as possible!

Although I don't have any photos to share yet, because this skirt is left open on the side it also works really well as a cape. Chiffon and voile are both so wonderfully float-y.

This post may include affiliate links, which means I may make a commission on purchases made through these links at no additional cost to you.
For this skirt, all you need is:
- 3 yards of chiffon or voile fabric {I used 118" inch wide fabric I got for only $2.99 a yard (!!)}
- Ribbon - ⅜" works fine, ½" would work, too. You'll need your waist + 2 or 3 feet worth of ribbon
- A lighter - a large grill lighter works better than a small one (optional but good to have!)
- Sewing machine or needle, thread, and patience
- Scissors
- A safety pin or other tool for threading your ribbon

How to make a costume chiffon skirt/cape
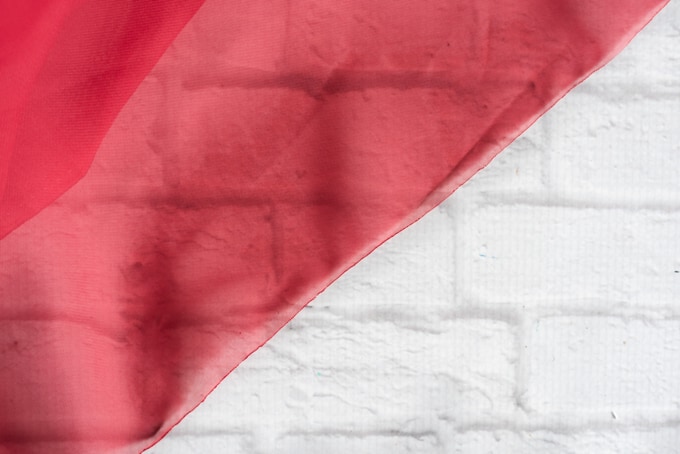
1. Decide how long you want your skirt to be and cut your fabric down to size. Chiffon and voile are frequently sold in very wide widths, which is great! Make sure you cut to remove fabric from the width, not the length. In other words - preserve that 3 yards in length, just make the fabric narrower, if needed. Measure from your waist down to wherever you want the skirt to fall, or make it even longer for a lovely flowy look that's perfect for photography. If you want the skirt to fall at an exact point on your body, add 1" to your measurement. For a cape, measure from the top of your spine at the base of the neck down to whoever you'd like the cape to end. I just cut my 118" fabric in half down the middle to create a nice, long skirt. It isn't that practical for walking around it, but it sure is lovely in photos.
2. I really don't like sewing fabrics like chiffon and voile, but they tend to fray when raw edges are left open. If you don't mind sewing with these types of fabric, go ahead a narrow hem all the way around. If you're like me, grab a grill lighter and very carefully singe the edge all the way around. Please do not burn yourself or melt the fabric to your skin! Or catch your house on fire, that would be bad, too. Actually, I didn't singe just because I didn't want to sew - to me, adding the weight of a hem changed the way the fabric flowed when tossed in the air. Also, the fold and any visible stitching create a visible difference along the edges, which means one more thing to pay attention to when I composite photos taken while wearing the skirt.
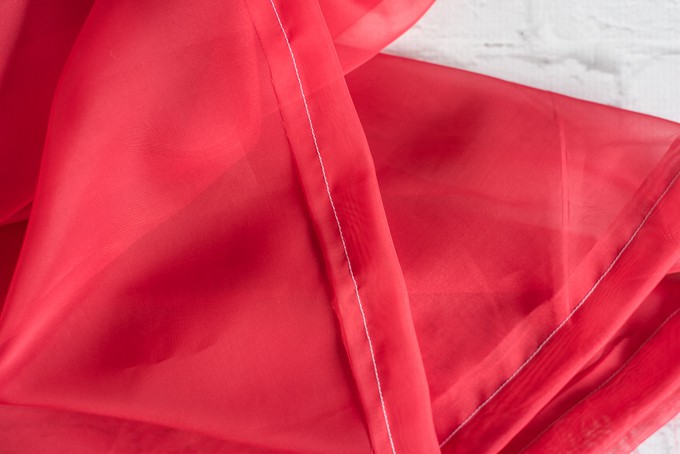
3. Now it's time to make the ribbon channel! I didn't even pin things down, just folded as I went along. I turned down about ¾" on one long side and made one long seam to create a channel about ½" wide for my ribbon.
4. Use a safety pin or other thread tool to work your ribbon through the channel, gathering the fabric as you move along and making sure the ribbon doesn't start slipping back out the other side!
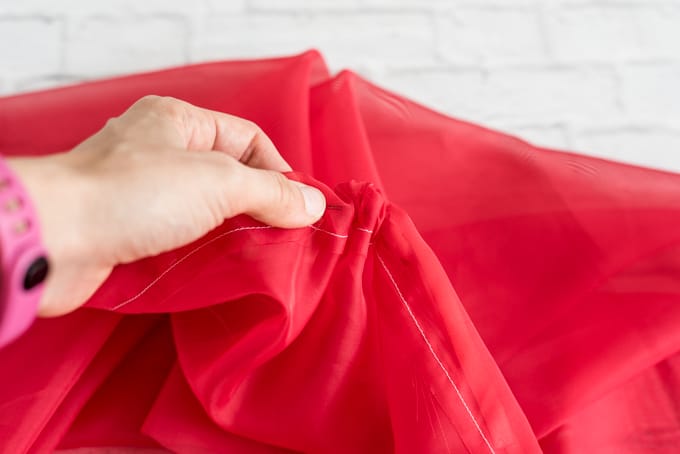
5. Once the ribbon is all the way threaded, pull additional length through to even out the ends, scrunch the fabric up more so that it fits your waist, and tie in place! Alternatively, go ahead and throw it over your shoulders as a cape. =)
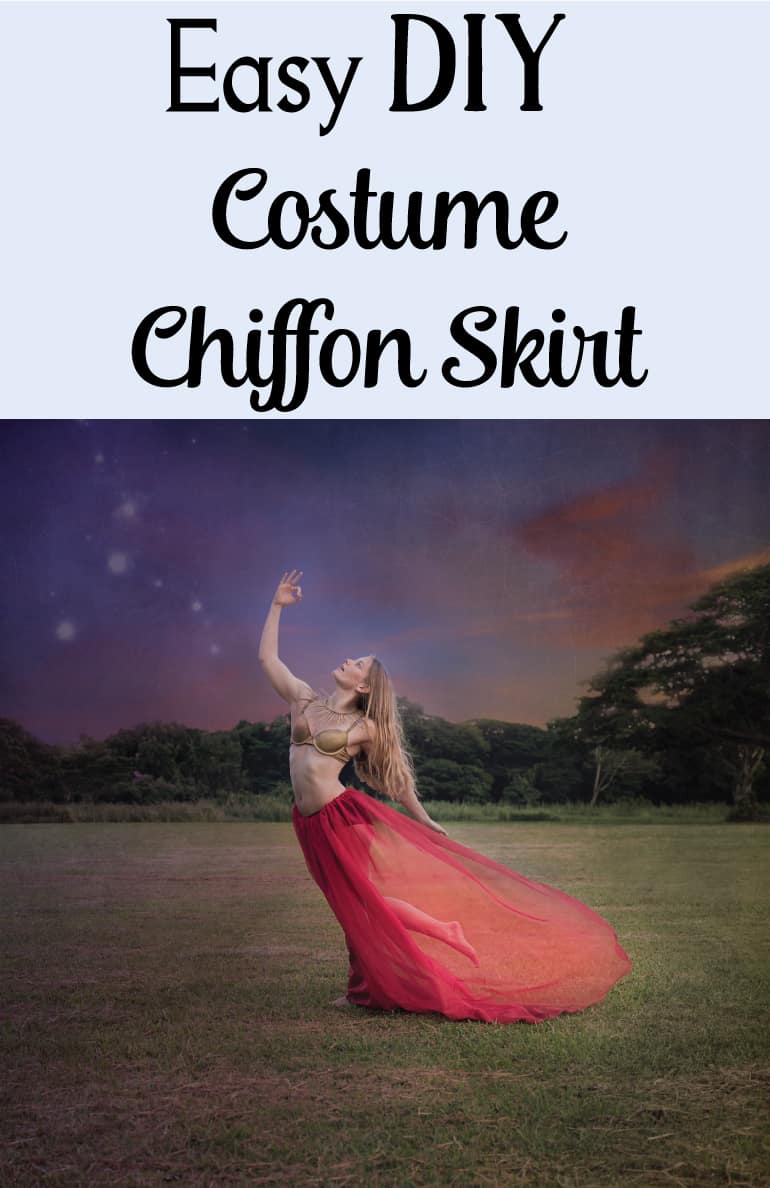
If you like the headpiece/collar I'm wearing in the photos, please stop by this tutorial for how to make a sunburst headdress. It's also a very easy project, so even if you think you 'can't craft,' I'm sure you'll have lovely results!
Do other folks dislike sewing with synthetics, or am I the odd woman out?
More Related Posts
[pt_view id=“15d429e15n"]
[catlist search="tutorial" numberposts=4 orderby=rand excludeposts=this


Linda Pruitt
I don't like slippery fabrics, either. My mom was also a sewer, and I remember her complaining about slippery fabrics!
Natashalh
They are so frustrating! Unfortunately, sometimes slippery synthetics are exactly what a particular piece needs.
Duni
What a wonderfully floaty skirt and gorgeous color!! For sewing with slippery fabrics I usually use a microtex needle. Stunning photos!
Natashalh
I don't have any Microtex needles right now, and I think I'm out of ball points, too! They typically don't have either at the local fabric store, so I wait until I need a few things before I order online because I feel silly having one pack of needles shipped to me!
And thank you - I had so much fun creating these photos. =)