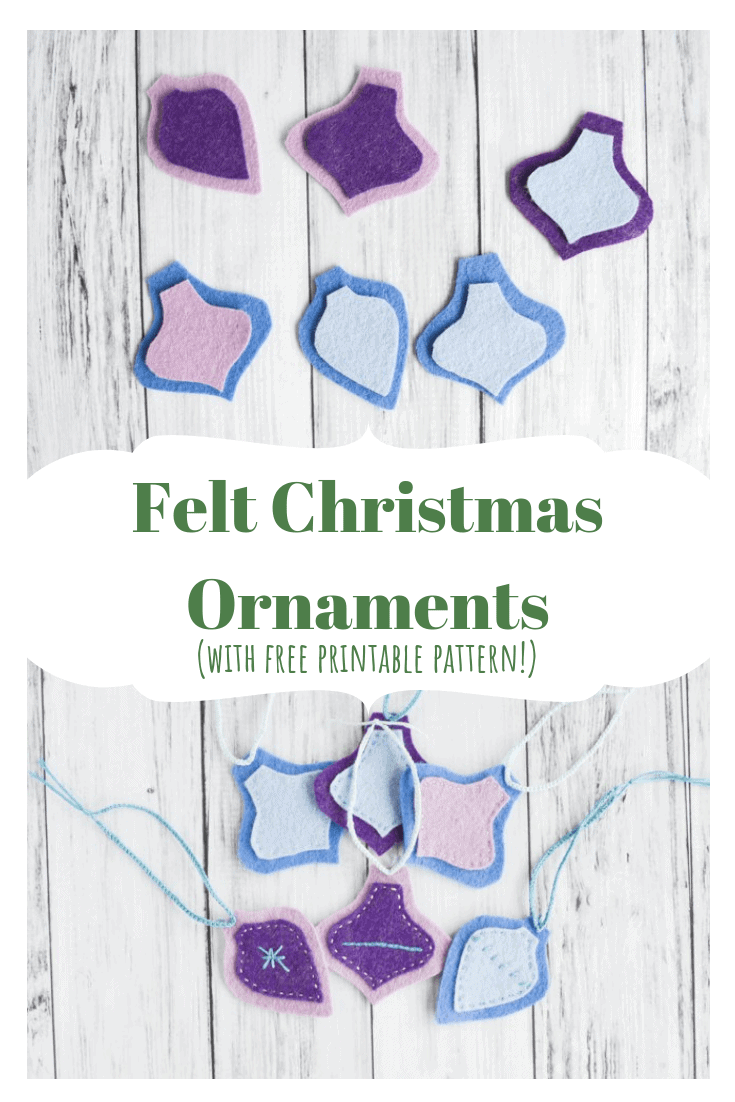
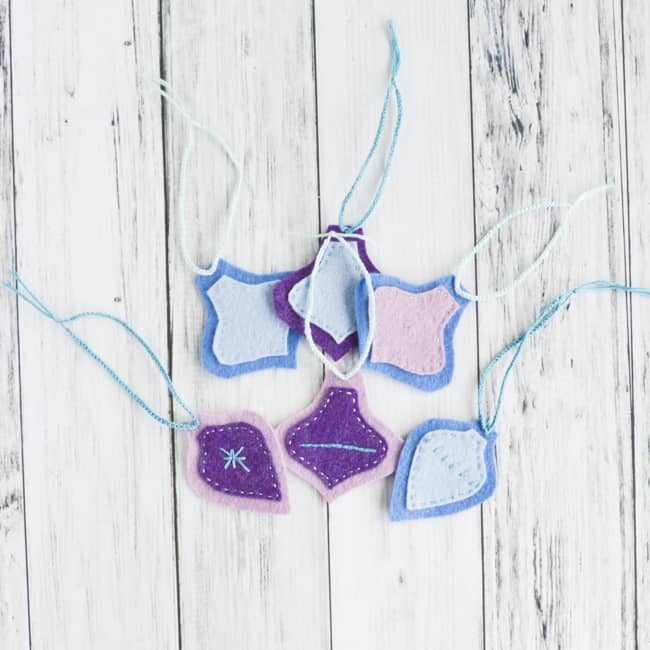
Easy felt Christmas ornaments
Today I'm excited to share a tutorial for easy felt Christmas ornaments. They're cute, easy to customize, don't require any stuffing, and are inexpensive to make. I also think they'd make a super cute garland, don't you?
This post may include affiliate links, which means I may make a commission on purchases made through these links at no additional cost to you.
These ornaments are pretty easy to make, and I like how you can create them in any color scheme. Unlike a lot of felt ornaments, these don't have stuffing. It makes them even easier to make and means they'll take up less space in storage during the other 11 months of the year!
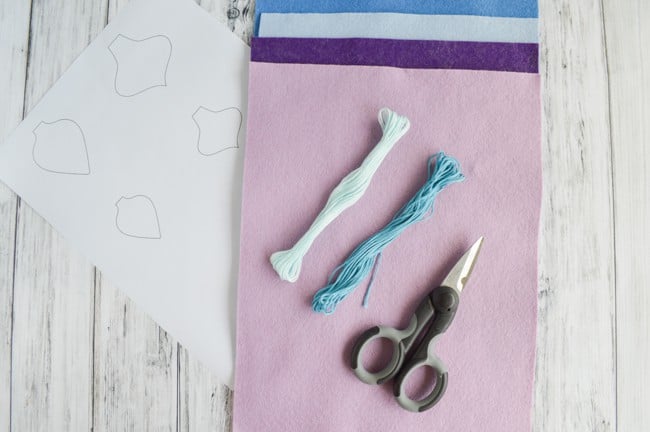
Supplies for felt Christmas ornaments
- Felt - I recommend at least two coordinating/contrasting colors
- Embroidery floss
- Needle
- Scissors
- Felt Ornament Patterns
- Straight pins
- Sequins, buttons. or other decorations - totally optional
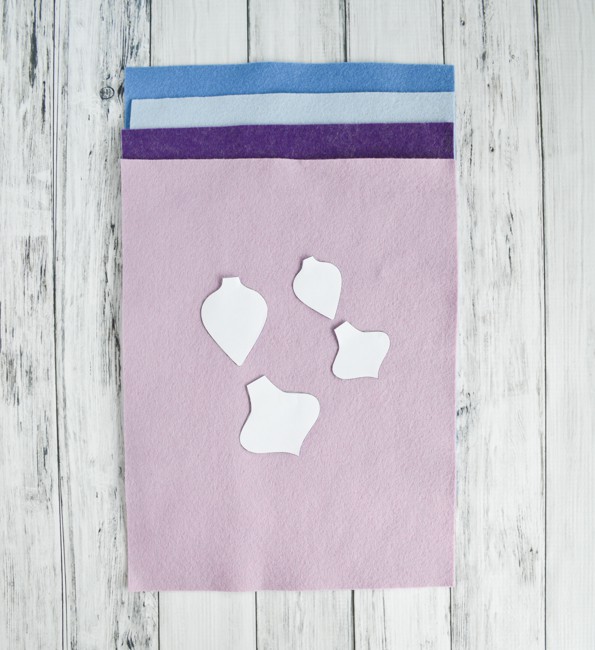
Easy felt Christmas ornament tutorial
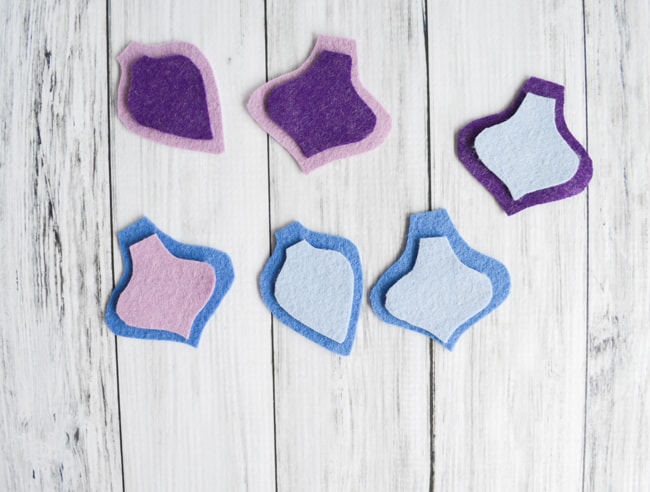
1. Cut out your pattern pieces.
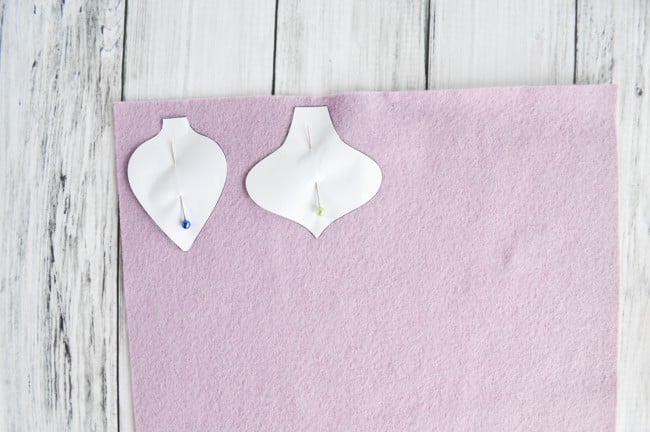
2. Pin the pattern pieces in place. You'll only need one or two pins per piece.
3. Cut the felt out by carefully cutting around the pattern pieces.
4. Cut out as much felt as you'd like! Each ornament needs a matching large and small piece, so you need to cut as many large shapes as small for each design.
5. When all your shapes are cut out, cut a length of embroidery floss and separate out two of the strands. Thread your needle and tie a stopper knot at one end.
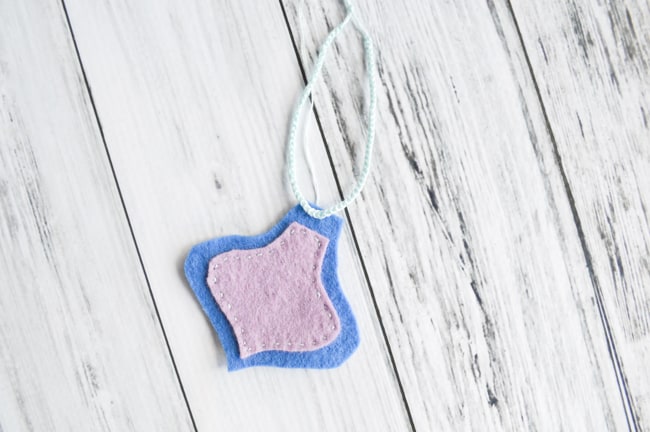
6. Bring your needle up through the corner of one small piece.
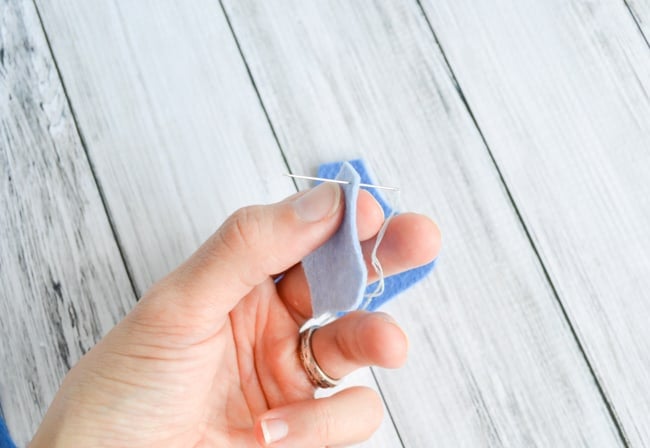
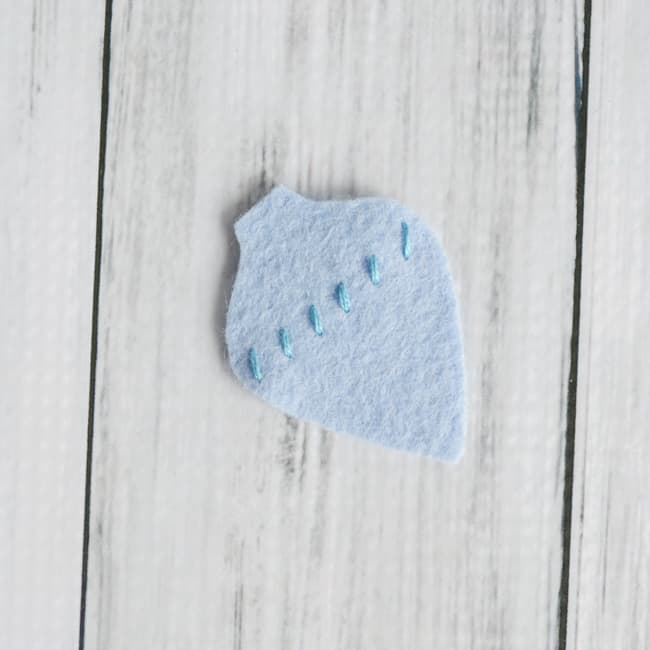
7. Hold the small piece in place on its larger counterpart and use a simple straight stitch to sew the two together.
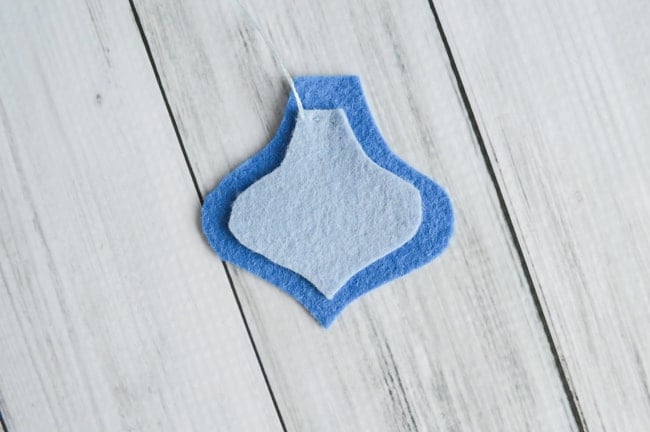
8. Stitch all the way around the smaller shape.
9. Once you've sewn both pieces of the ornament together, either knot the thread off on the back or make it fast with you favorite method. Snip the thread's tails short.
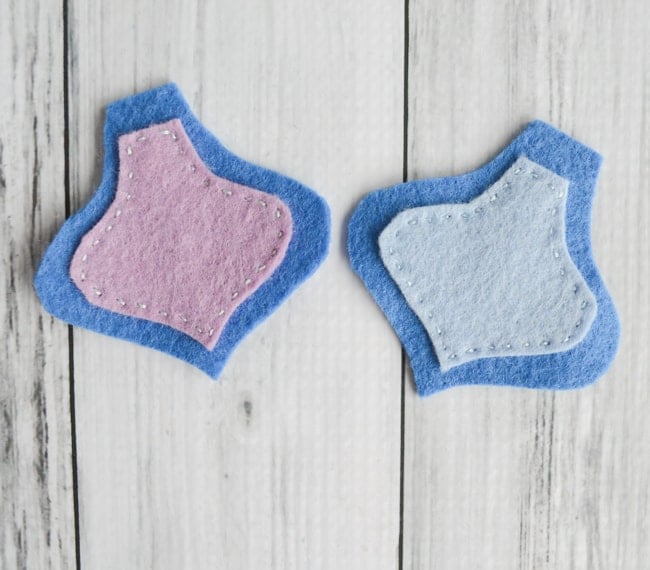
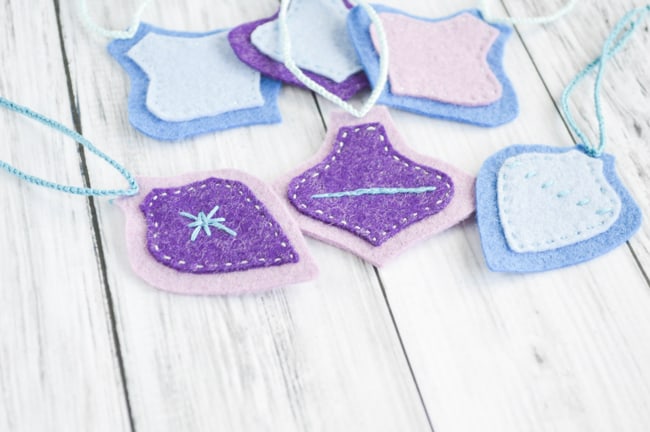
10. If you'd like to embellish you ornaments with free-hand embroidery or stitched on sequins, it looks best if you decorate the smaller piece before stitching the two pieces of the ornament together.
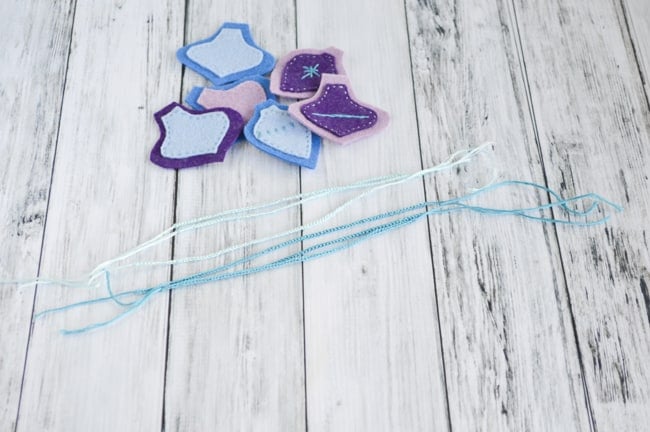
11. When you've decorated and sewn all your ornaments, it's time to make loops for them to hang by! You can use ribbon, but I like making my own finger braided cord. Don't remember how to finger braid? I made a quick video tutorial for you!
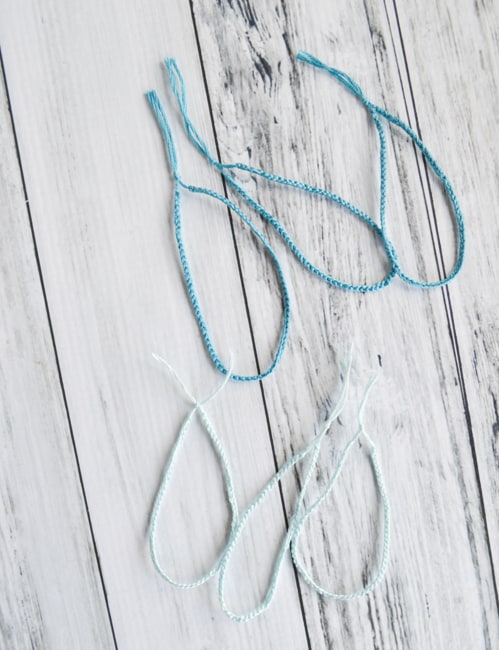
To keep from wasting floss, you can simply finger braid at one end of the skin without cutting it. When your cord has reached a satisfactory length, cut the floss and make the end fast by pulling the tail end through the last loop and pulling it snug. Make sure to leave at least a couple inches of floss free on either side of the finger braid. I suggest braiding with all six strands of floss instead of separating strands out and making each braid about 4" long.
12. Once your cords are ready, go ahead and use the floss tails to tie each cord into a loop. You should trim the tails even, but I think leaving an inch or two looks nice.
13. Thread your needle again with two strands of floss, but don't tie it off. Instead, bring it up through the top of an ornament, leaving a tail behind.
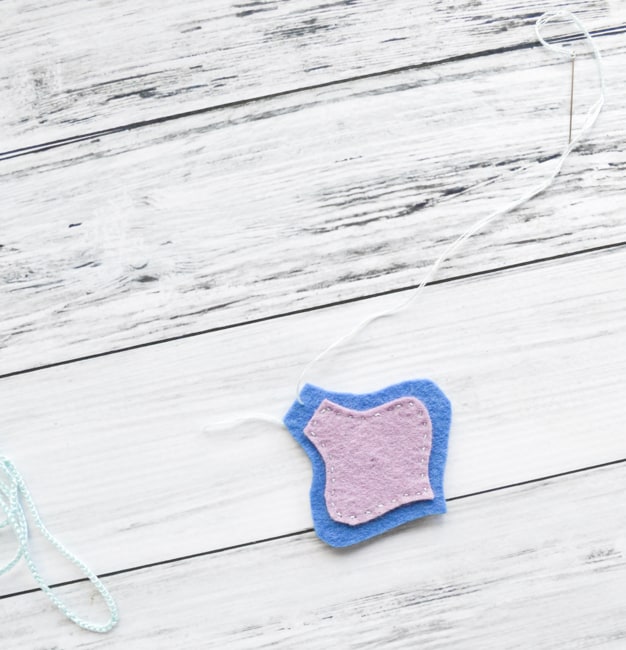
14. Use a single stitch through a braided loop of cord to tack it in place, as shown.
15. Tie the floss ends off in back and then trim the ends.

16. Repeat steps 13-15 until all your ornaments are finished.
17. Admire and enjoy!
Of course, you can use other shapes, too. I've found that scaling the smaller piece to be 75% the size of the larger piece looks nice. I think this idea would work well with my bell and ball pattern from the upcycled book ornaments from last December, and you could even make it work with the Moravian star - it would just take more careful cutting!
If you like handmade ornaments, you may also enjoy these upcycled paper book ornaments!

Do you hang homemade ornaments? Is your tree a collection of ornaments gathered throughout the years, or does it have a very organized, coordinated appearance?

Kristina & Millie
Super cute! Love your felt ornaments, the stitching makes them special and personalizable (is that a word?).
Natashalh
It is now! =) And it's a great word, too. Thank you! And thanks for stopping by.
Splendid Little Stars
very cute!
I was at a house for a meeting tonight and Christmas decorations were already up. They had really just begun since they have more decorations-- and Christmas trees, too. So ensued a discussion of when people put up decorations. I don't like to decorate till after Thanksgiving and then it is a slow process. Not everything goes up all at once.
Oh, and then I leave things up longer into January than you. Because I put decorations out later I'm not sick of them by December 26.
Natashalh
My family definitely put a tree on Christmas Eve before! I agree that it makes everything seem more special when you don't look at it for two months. As we know, though, you really have to plan ahead on the Internet!