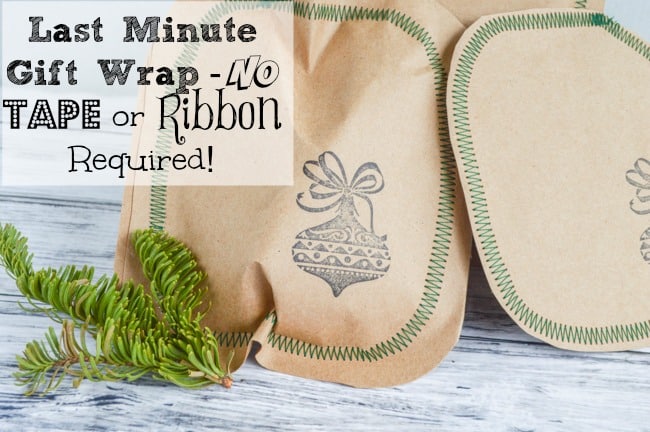
Have you ever found yourself without tape or ribbon while trying to wrap up those last minute gifts? Or really frustrated by wrapping small items, especially stocking stuffers? If so, this quick tutorial is for you!
With some kraft paper, or an upcycled brown paper bag, and your sewing machine, you can wrap up oddly-shaped and small items without tape or ribbon in just a few minutes. How cool is that? I hope you enjoy this easy last minute gift wrap idea!
This post may include affiliate links, which means I may make a commission on purchases made through these links at no additional cost to you.
You don't need much for this project. Here's your supply list
- Kraft paper or an upcycled paper bag
- Scissors
- Sewing machine with an old needle (sewing though paper will dull it)
- Thread
- Markers, pens, stamps, etc. for decoration (totally optional)
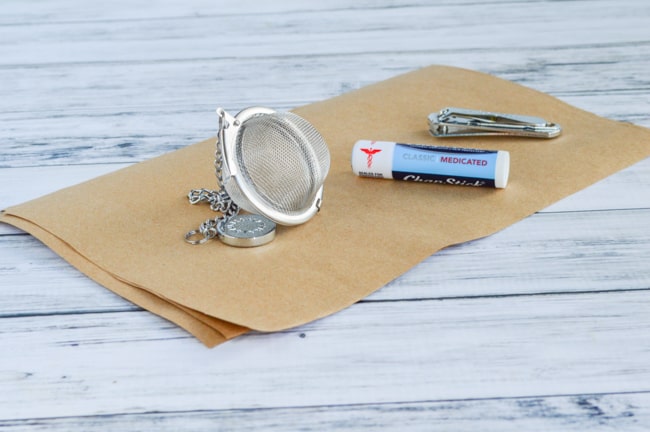
- Oddly-shaped or little gifts that need wrapping!
Want some extra holiday cash? Sign up for a free Ebates account to earn cash back on the online purchases you were going to make, anyway, PLUS cash bonuses for referring friends! (Ebates is called Rakuten now, but it's the same thing.)
Last minute no tape or ribbon gift wrap tutorial
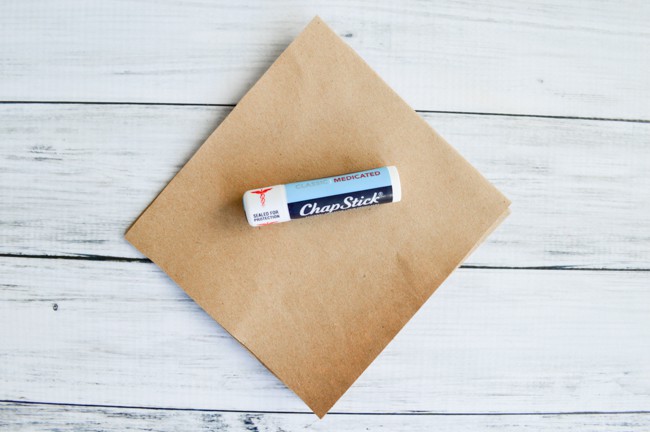
1. Cut your paper. You'll need two pieces for each gift that needs to be wrapped, and you'll need plenty of space around the gift. The larger/more bulky the item, the more extra space it will need. Remember that your pieces don't need to be square - you can make shapes, if you'd like!
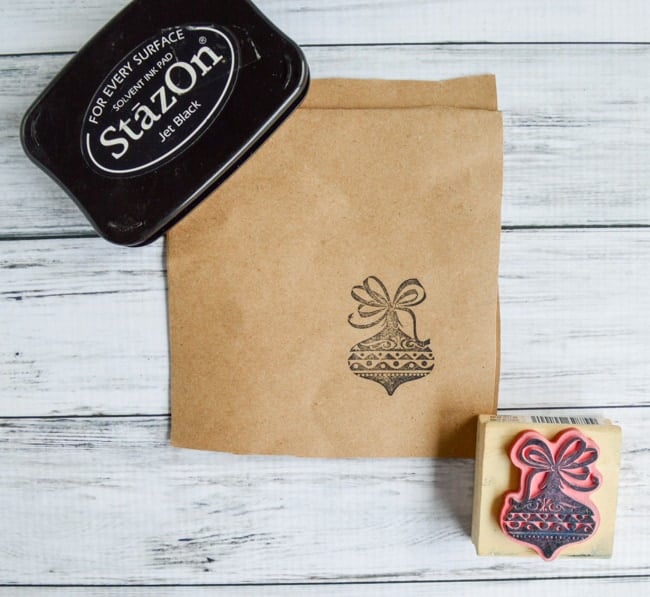
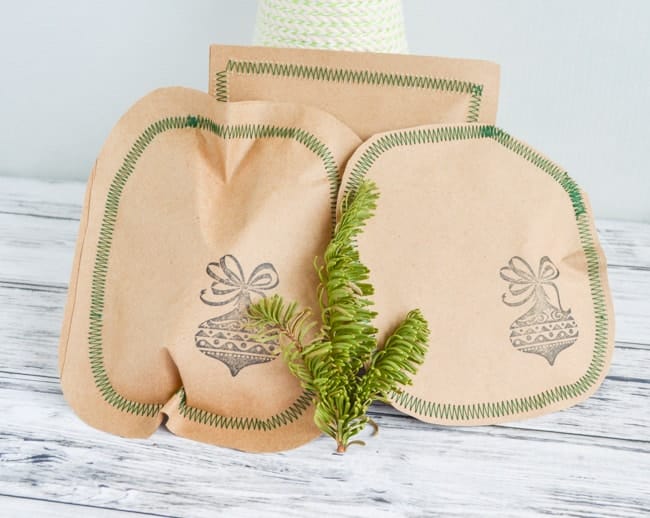
2. Decorate your paper, if you'd like. If you want to write who the gift is to or from, go ahead and do it now, while the paper is still flat.
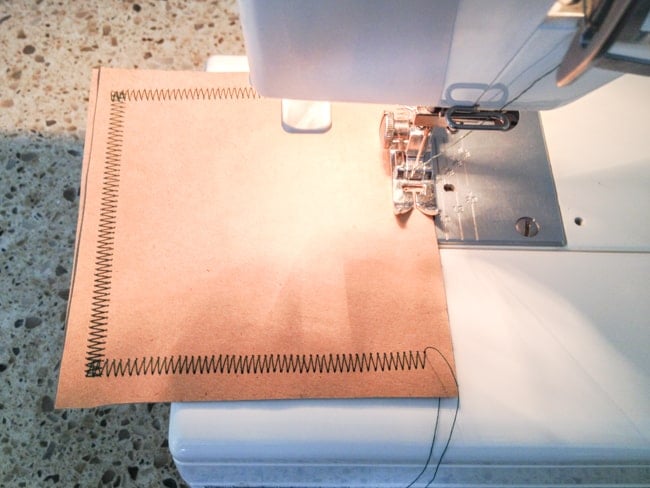
3. Line up the edges of your two pieces of paper. Using the zigzag stitch on your machine, sew at least three sides of the pieces together. Leave a gap that's large enough to insert your gift.
4. Without cutting the thread and removing the gift wrap from your sewing machine, insert the gift into pouch you just sewed for it. You may need to use a pencil to poke it to the far edge of the wrapping paper.
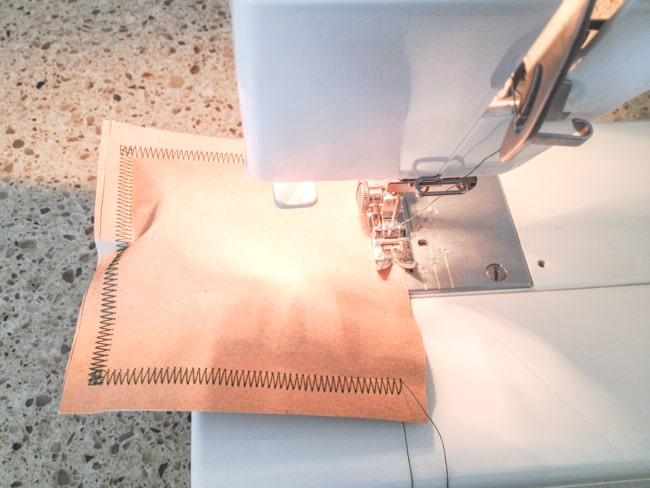
5. Lining the edges on the still-open areas up as much as possible, continue sewing until you've completely enclosed the gift in paper. I've found it's best just to overlap the two ends of stitching a little - backing to secure the stitching can cause the paper to rip.
6. Carefully cut the threads and remove the package from your sewing machine.
7. Trim up the paper's edges, if you'd like, and trim the loose thread ends.
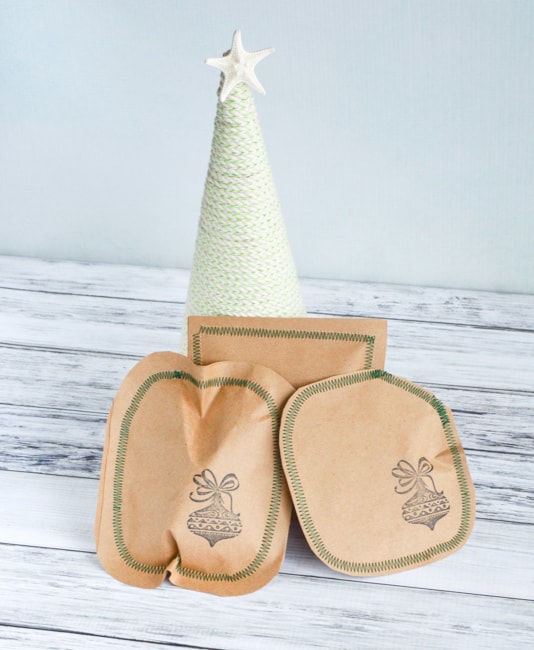
8. That's it, folks! Go stuff those stockings. =)
Speaking of stockings, I think I'd better find ours. I think I know where they are, but I'm not 100% sure. I also need to find a couple more stocking stuffers because I don't have anything silly or random enough yet for my husband's!
Are you done with stocking stuffer purchases, or are you still looking at the last minute like me?
![]()


Elizabeth T
This is such a clever idea, Natasha! They look so pretty and rustic but yet it's so simple....love it. Merry Christmas!
Natashalh
Thank you so much! I hope you have a Merry Christmas, too.
LeAnn
What a great idea!!
Natashalh
Thank you! I need to use it again today for some stocking stuffers. =)