This week's tutorial shows you how to make heart treat pouches that are a fun and creative way to package candy.
The recipient only needs to tear open the pouch to reveal the treats hidden inside! The heart pouches are also a great way to use some of the always cute baker's twine, show off some doodles, or even upycle a paper bag.

This post may include affiliate links, which means I may make a commission on purchases made through these links at no additional cost to you.
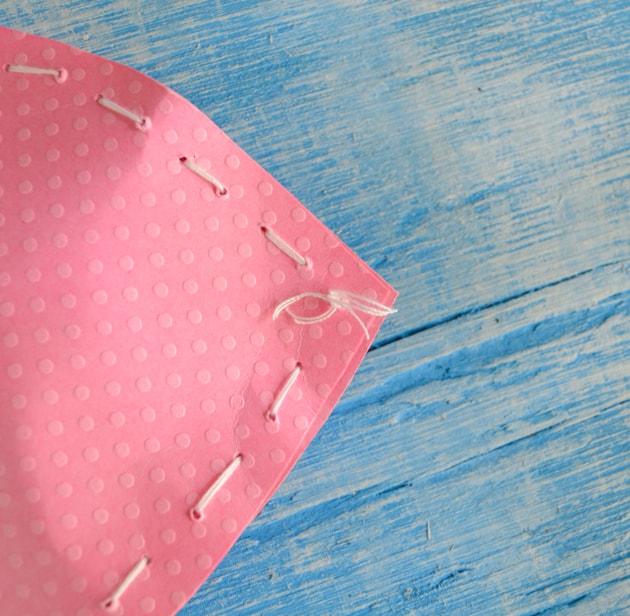
As you can see from the photo, you can use a variety of different materials for these heart pouches. One was made with scrapbook paper, another with a brown paper grocery bag, and the third was drawn on computer paper.
Of the three different materials, the brown paper bag was easiest to sew through and the computer paper is the easiest to rip into for the treats inside. =)
Materials for Valentine's heart candy pouches
- Paper - thicker paper holds up better, but printer paper works, too
- Pen or pencil
- Scissors
- Bakers' twine or other twine
- Large needles, like darning needles or a doll-maker's needle
- Small candies
- Heart template or printables (optional)
How to make Valentine's heart pouches
Before we get going, I'd like to apologize for the lack of photos sewing the second, I think better/easier way to sew the heart pouches. Somehow the pictures were lost in a tragic software glitch/importing accident and I didn't have any more bakers' twine to redo them!
1. Print out a heart template or draw your own heart. Ideally, it should be about 4" across, give or take a little. If you make it smaller than about 3" you won't be able to fit much candy inside, and larger just gets awkward. Here are a few ideas - please feel free to print and use them! I made their apparent size far smaller than their actual size so they don't take over the page - they'll be much larger if you open them in a new window or save them.

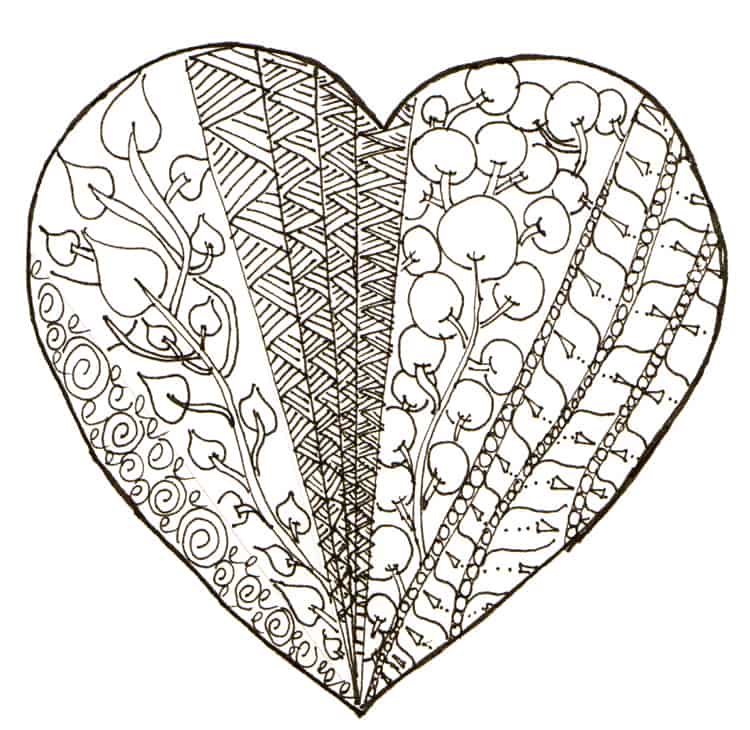

2. Decorate your heart, if desired. =)
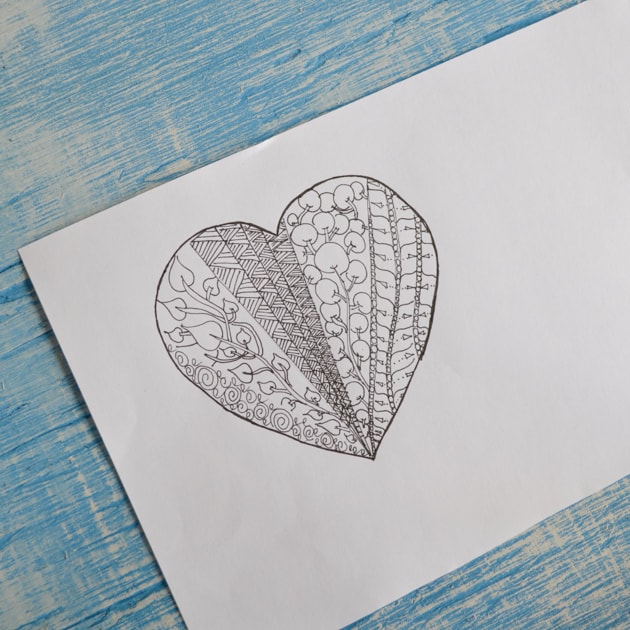
3. Cut out two copies of the heart.
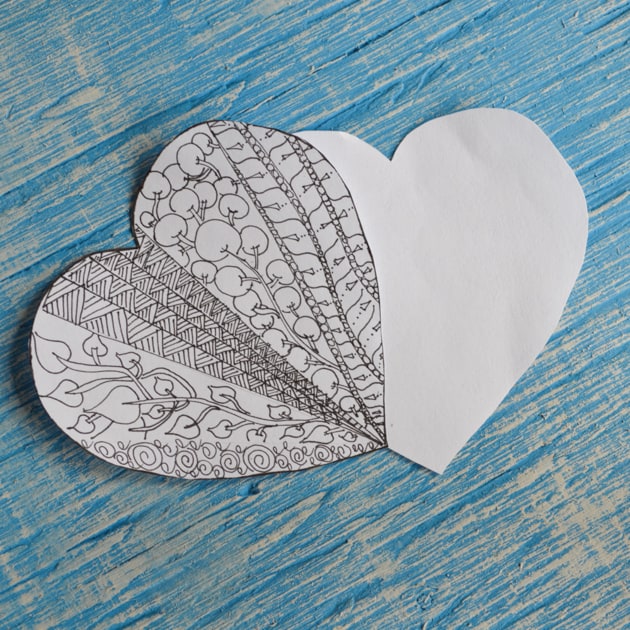
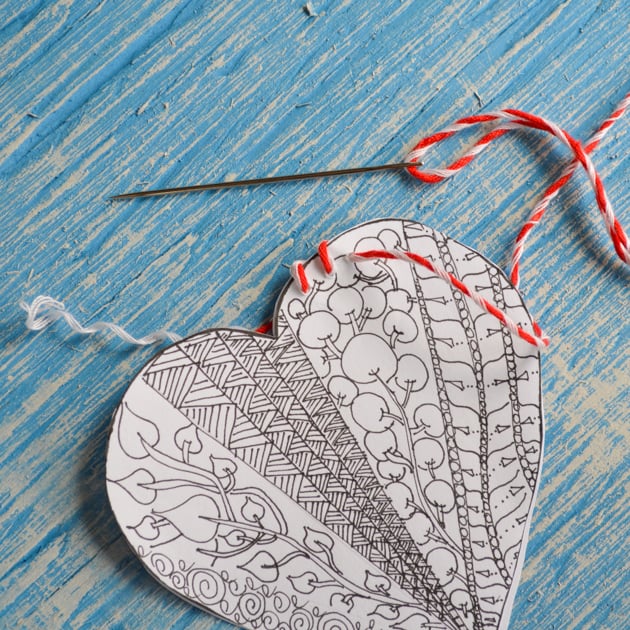
4. Thread a large needle with about 3 feet of twine but do not knot the end.
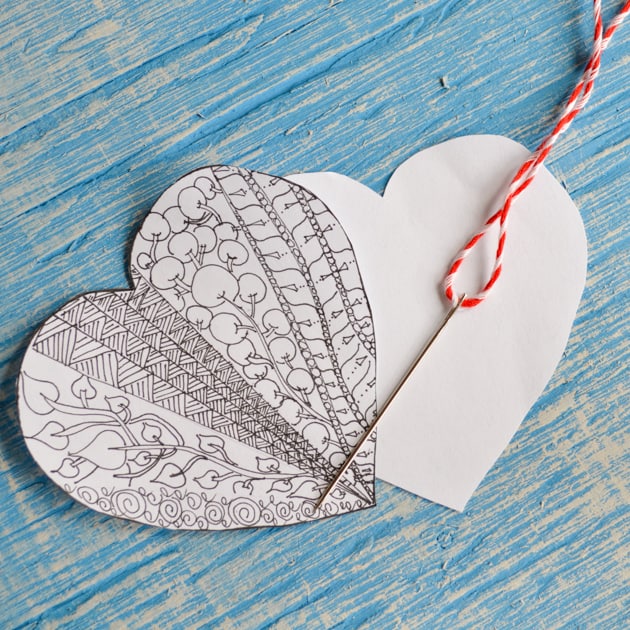
5. Begin stitching. This photo shows whip stitching that begins near the heart's center, but it is ultimately far easier to begin stitching at the point. Unfortunately the photos showing this were lost!
6. Whip stitch or straight stitch the two hearts together until you've closed up all but about 1.5" of the hearts. You must take care to keep the two hearts lined up with each other or else they'll slip and get out of alignment. The whip stitching looks neat, but a running stitch uses less twine and is more secure. Leave about a 2" tail when you start stitching instead of knotting the twine off.
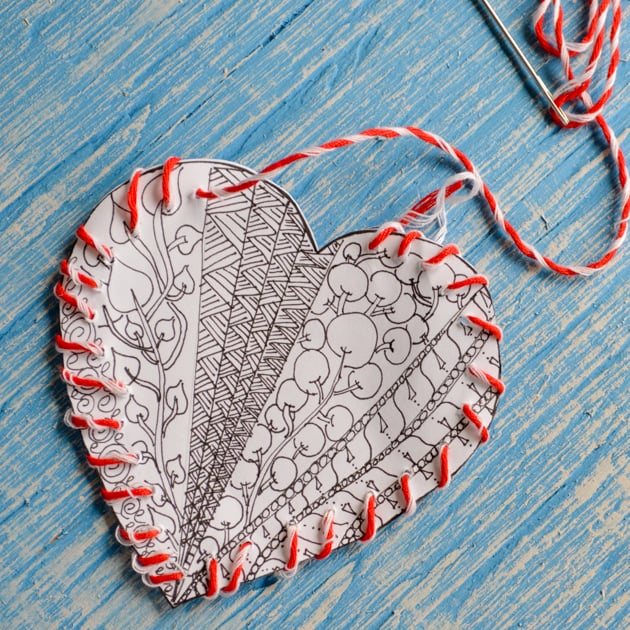
7. Once you've mostly stitched the hearts together, add candy until the heart is full but can still be sewn closed.
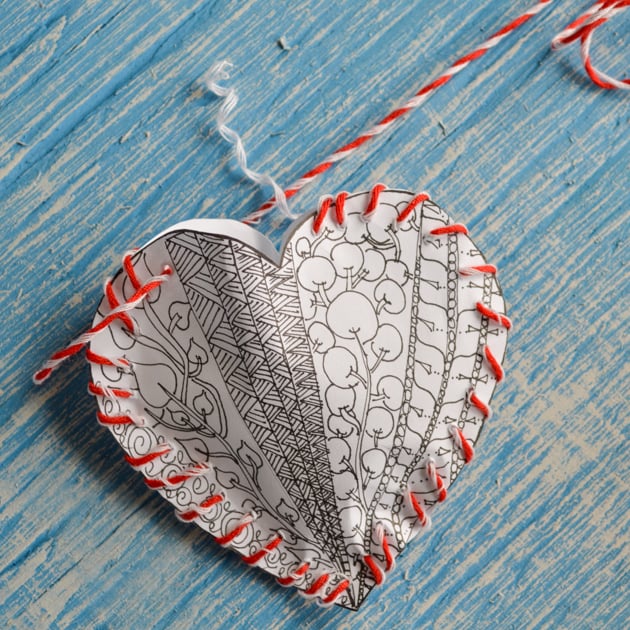
8. Finish stitching the heart together and then tie the working end securely to the leftover tail. Once the knot is secure, snip away excess twine.
9. Repeat as many times as you'd like!

In order to enjoy the candy, the recipient just needs to tear into the bag or snip the twine and have at it! I think of these pouches kind of like a larger Valentine's Easter egg because they serve basically the same purpose.
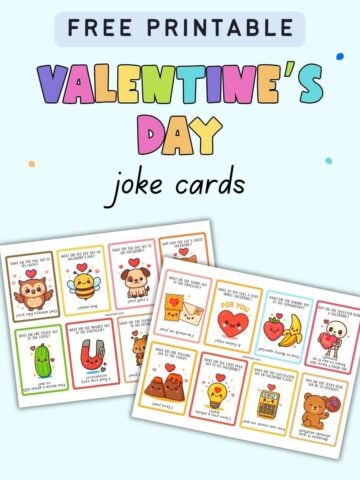
More free printables!
[pt_view id="a1c6360oxf"]
Bonnie @ The Pin Junkie
Thanks for sharing your Valentine's Day treat pouches at The Pin Junkie. They were featured in today's Valentine's roundup. https://www.thepinjunkie.com/2014/01/valentines-day-crafts.html Please stop by to grab a featured button and don't forget to join the party this evening! Hope to see you there!
Natashalh
That's so exciting! Thank you for letting me know and for the feature. =)
Sarah ~ Magnolia Surprise
Those are all so cute! I know a little granddaughter who would like to make them for her mom for Valentines.... 🙂