Radishes are one of the easiest vegetables to grow in your garden. They can be planted way early in the season and are quick to mature. This means you can start enjoying your harvest just weeks after planting!
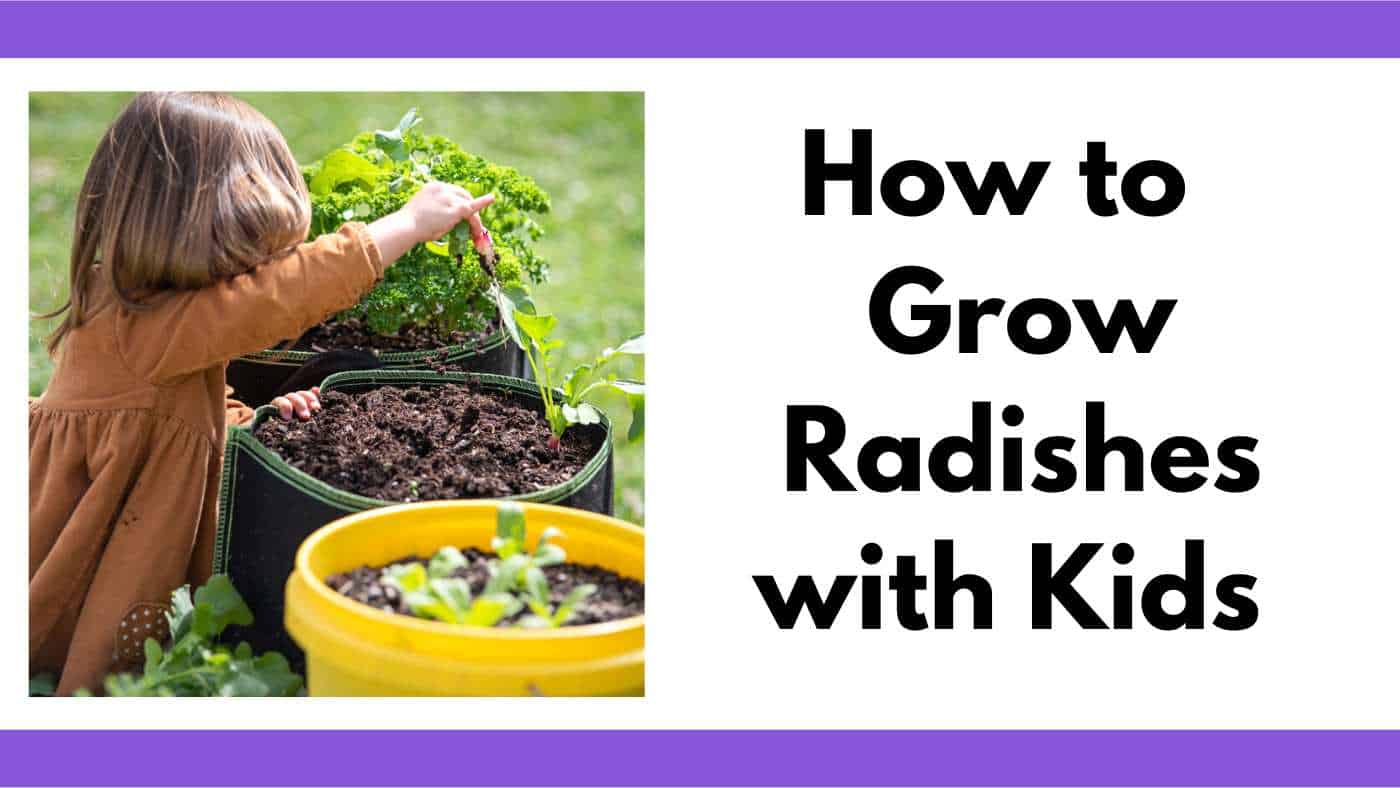
Because they grow quickly and are well-suited to containers, radishes are a great choice for classroom gardens and seed-starting lessons with your kids.
Here’s a guide on exactly how to plant and grow radish in your garden for a great crop in only a few weeks. Roasting radishes tames their bite. You may be pleasantly surprised to find your little gardener enthusiastically asking for seconds. Mine does!
This post may include affiliate links which means I may earn a commission on qualifying purchases at no additional cost to you.
Radishes grown as a root vegetable, but the leaves and seedpods of radishes are also edible.
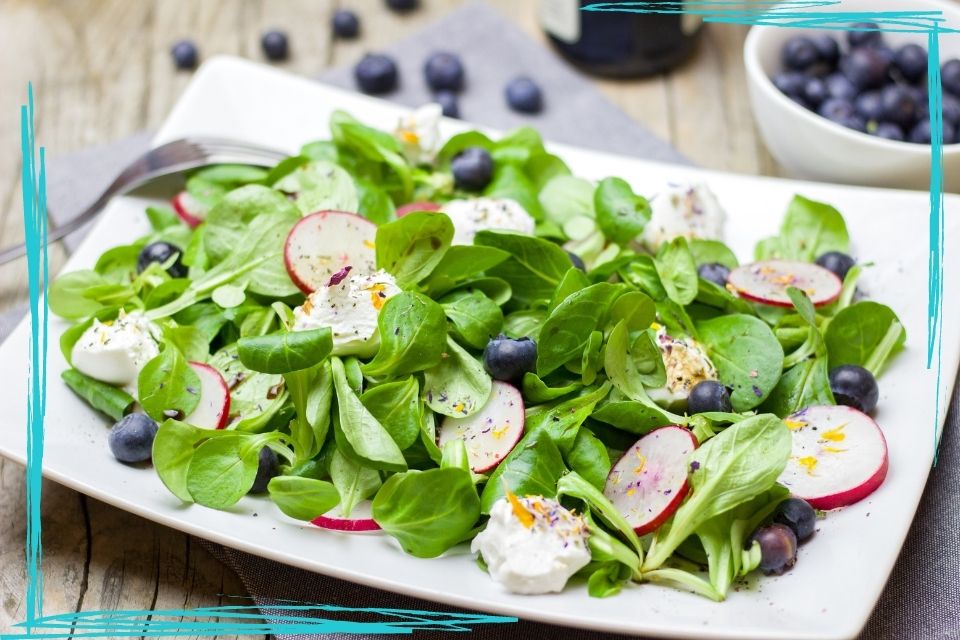
My favorite way to enjoy radishes is roasted and served with sautéed radish greens - yum! You can cook radish greens or use young and tender leaves to make a spicy pesto.
Radishes aren't just one of the fastest growing vegetables. They are also nutritious and healthy! Radishes contain a variety of vitamins and minerals. One serving of radishes has almost ¼ of your recommended daily allowance of vitamin C. (source)
Radish roots, greens, and even seedpods are edible. All can be eaten raw or cooked - there are so many ways to enjoy this fast-growing, nutritious vegetable!
Radish growing requirements
The first step for success with radishes is to give them the right growing conditions. If you do this, your plants are likely to thrive. Here are the most important things to pay attention to:
Radish growing temperature
Radishes are a cool season crop. They grow well in the cool weather of early spring and fall. They can be grown over the winter growing season in milder climates. Avoid trying to grow them during the summer heat. In hot weather, radishes will be tough, woody, stunted, or just not grow at all. They are ideal for succession planting. Plant radishes in areas of your vegetable garden that you'll use for heat-loving plants like tomatoes and peppers during the summer season.
Radishes love temperatures between 50 and 70ºF, but some varieties will do okay up until the low to mid 80s.Radishes are frost-tolerant once they're established. Mature radishes can endure a frost and will be okay down to about 26ºF. (source)
Radish soil requirements
Like most root crops, radishes will grow best in loose soil. They do not thrive in heavy, compacted, or rock filled soil. They will also grow in sandy soil.
If you have clay or rocky soil, don’t despair! Just amend your radish section with compost and other organic materials to loosen it up, and clear it of rocks as much as possible.
Before planting in the ground, use a garden fork to loosen the soil to a depth of about 6". I do not recommend tilling your garden. Tilling degrades soil quality, promotes soil runoff, nutrient loss, and weed growth. (source) This isn't necessary if you're growing in containers.
Most radishes do not grow well in heavy soils. Some larger varieties, usually called "tiller radishes," are grown to help break up heavy soil. You don't usually eat these radishes, though. These fodder radishes, also called tiller radish, are grown as a "green manure" to improve soil quality. If you have particularly challenging soil, you might want to plant a fodder radish cover crop to improve your soil for next season.
Avoid adding too much nitrogen, but do work compost or earthworm castings into the soil before planting your radish seeds.

- Organic Worm Castings for Garden Soil - Plantonix Worm Bliss is a 100% organic fertilizer and soil amendment that mixes with potting soil for indoor...
- 100% Vegan & Manure-Free - We raise our worms in a climate controlled facility and feed them a strictly vegan diet. Our earth worm castings for plants...
- Supports Beneficial Microbial Activity - Using earthworm castings for plants encourages soil microbes that break down organic matter and convert...
Radish light requirements
Radishes need full sun (6+ hours a day), but can benefit from some partial shade when the weather heats up in the spring. Too much shade will result in leafy radish plants with small roots.
How to plant and grow radish from seed
Radishes are best grown from seed sown directly in your garden or container of choice. They don’t transplant well and grow quickly from seed, so there’s really no reason to start them indoors.
How to pick radish seeds
It's important to pick the right type of radish for the season.
Spring radishes are probably the most popular variety of radish because they mature quickly, usually in 3-4 weeks. Despite the name, you can sow them either in spring or fall.
There are two main types of spring radishes: round and long. Round varieties are small and globe-shaped. 'Cherry Belle' is a classic round spring radish and ‘Champion’ is a hardy and quick-maturing choice. Try ‘Easter Egg’ for a mix of purple, red, and white radishes.
Long or cylindrical radishes grow about 3-4” long. A popular choice for this type is ‘French Breakfast.’ This variety is red at the top and white on the bottom and does better in hotter weather than other varieties. I love growing French Breakfast radishes in containers in the spring. White icicle radishes are also cylindrical and have white flesh.
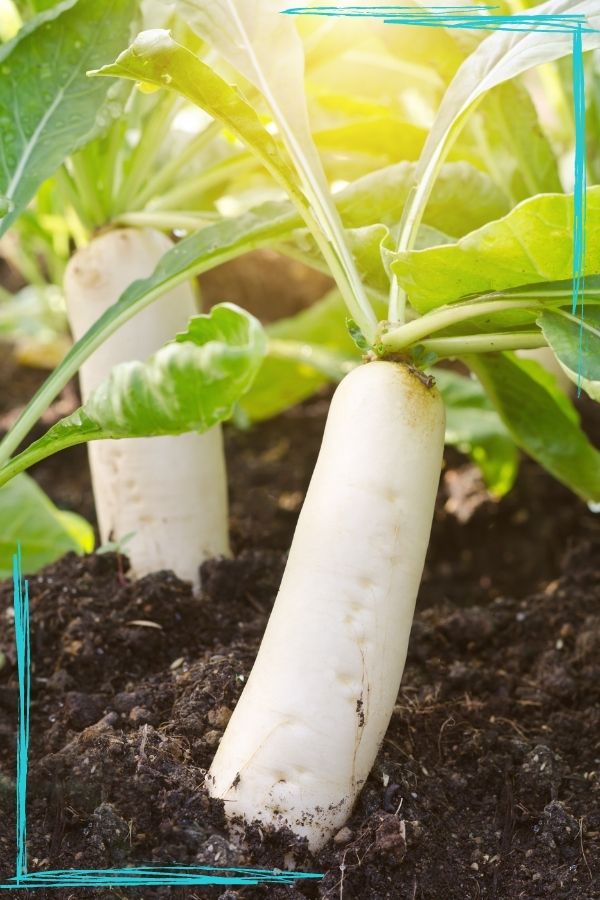
Winter radishes are the second option. They take longer to mature but are larger and starchier than spring radishes and usually have a stronger (though not necessarily spicier) flavor.
This type needs to be sown in late summer or early fall, since they won’t reach maturity in time if planted in the spring. Popular winter varieties include daikon radish, ‘Watermelon’, ‘Black Spanish’, and ‘Red Meat’. As suggested by their name, Black Spanish radishes have black roots and black skin!
Do not plant fall radishes in the spring - the weather will be too hot before they are mature.
How to plant radish seeds
Once you’ve chosen your seeds and prepared your garden space, planting your radishes is easy.
Sow seeds in the spring about 3-4 weeks before your last average frost date or as soon as the soil becomes workable. Seeds should be planted about ½" deep and 1-2” apart for spring radishes, 2-3" apart for most winter rashes.
Radish seeds usually have such a high germination rate that most will sprout. I don't plant extra radish seeds - I just plant one every 2 inches so I don't have to thin them out.
If you want a continuous harvest of radishes, sow seeds every 7-10 days while the weather remains cool.
For fall planting, sow spring radishes about 4-6 weeks before the average first frost date in fall. Winter radishes can be sown a little earlier, about 6-8 weeks before the first expected frost. Winter radishes grow more slowly and need the extra time to mature.
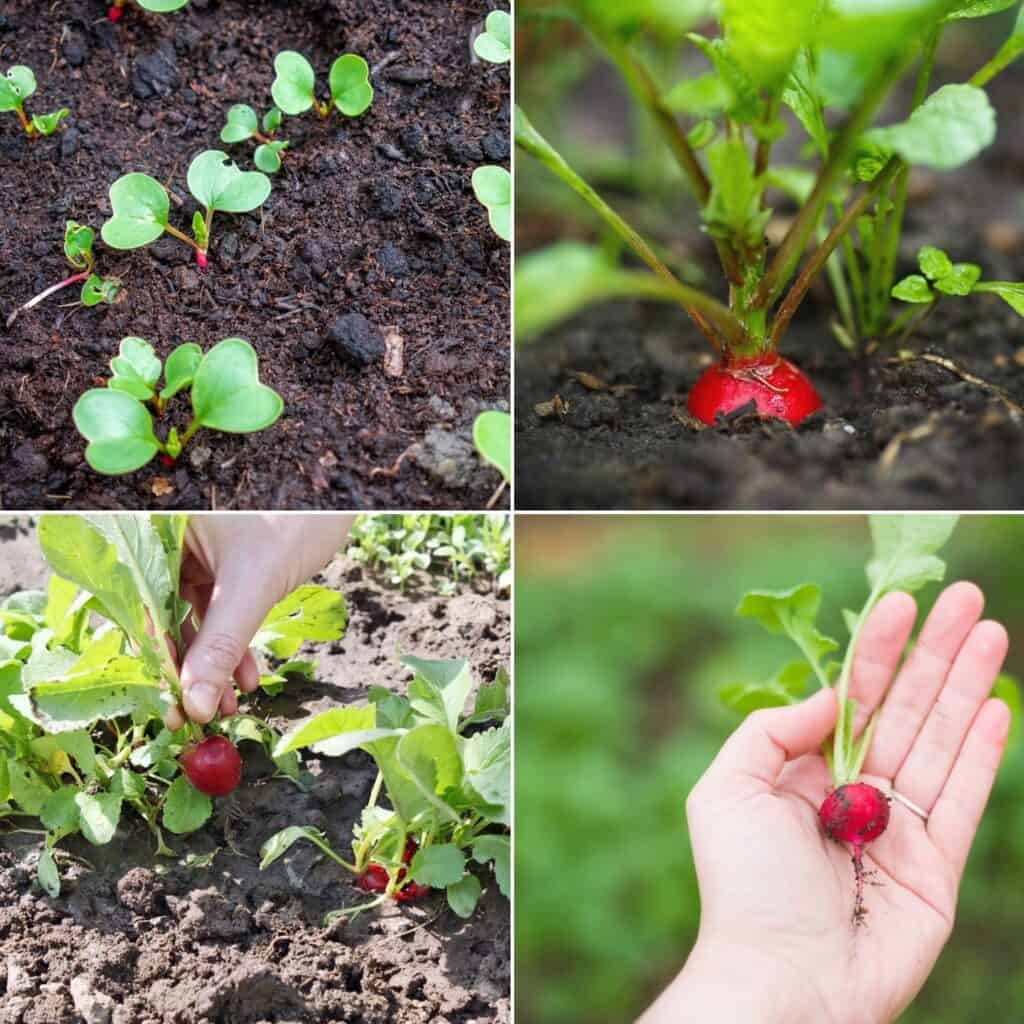
Radish seeds are quick to germinate, so you should see them sprout up in less than a week. I've frequently seen radishes sprout in just 2-3 days. Once your seedlings have grown for about a week, thin seedlings out (if necessary) so that there’s 2-3” of space between each plant.
You can eat these mini radish thinnings. I like to wash mine off and throw them in green smoothie!
If you don't thin your radish plants on time, most varieties will not form full-sized roots. Do not allow your radish roots to crowd one another.
How to grow radish
If you’ve thinned your radishes to the proper spacing and given them good soil and sun to grow in, you may not need to do much else.
Radishes do grow best with consistently moist (but not soggy) soil. Spring rains take care of this for most people, but if you planted in dry, fall weather, you may want to water them regularly.
In my experience, radish seedlings need to be watered more frequently than larger radish plants. Once the radishes grow several sets of leaves, the leaves shade the soil and help prevent evaporation.
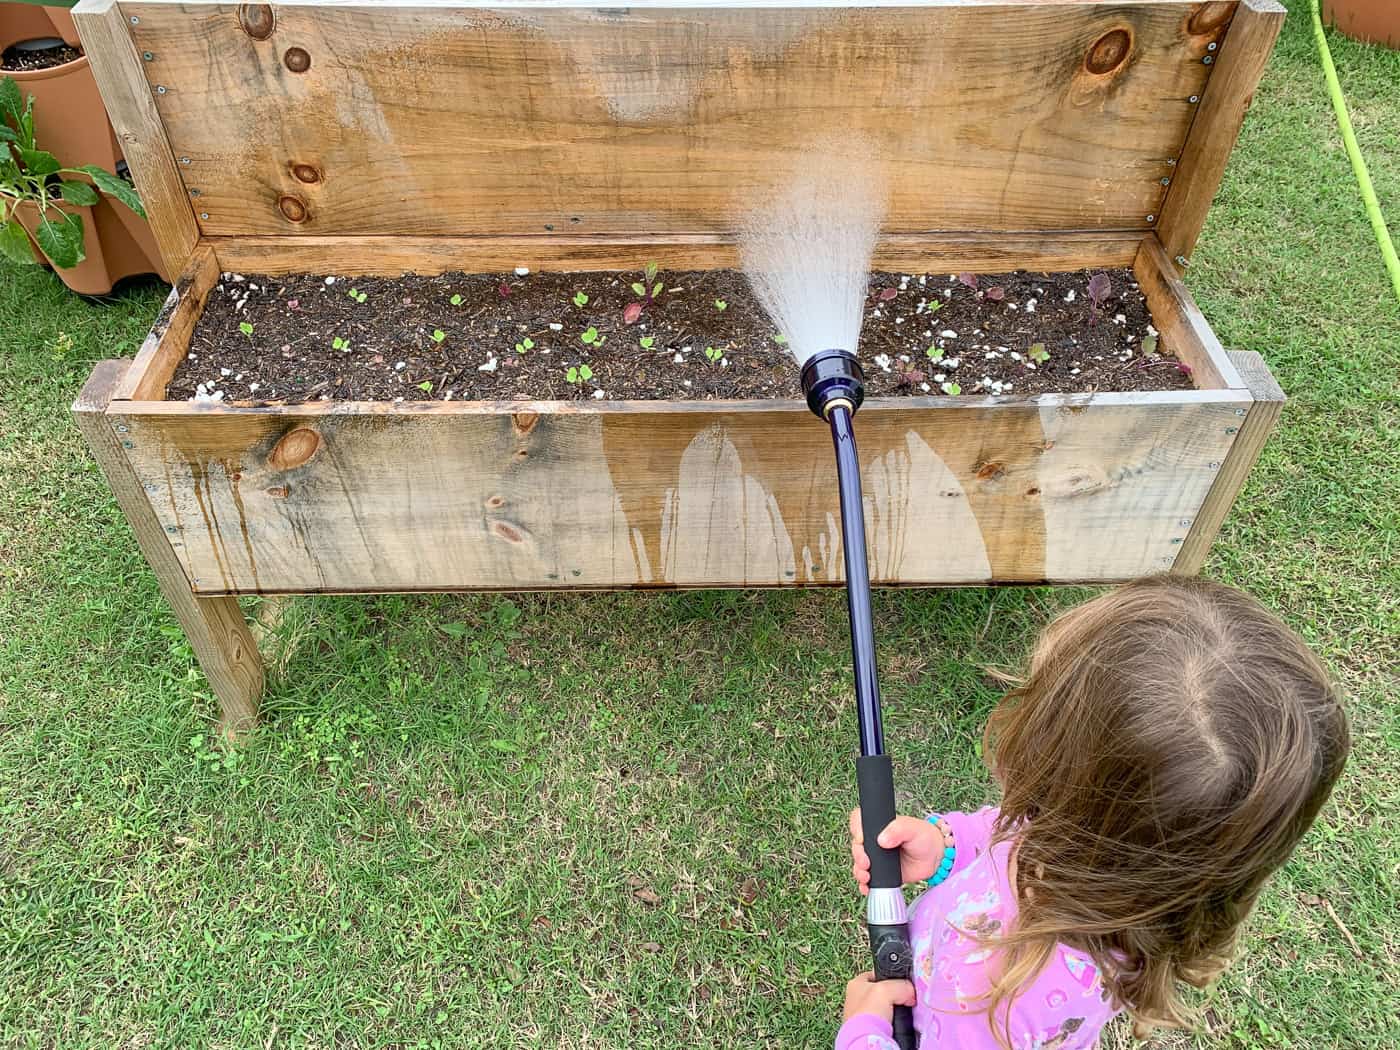
Do not let your radish's soil to dry out. Keep the soil moist. Dry soil can cause your radishes to become tough and woody and/or crack. Kids usually love watering. You may need to set up a watering schedule or designated classroom helper for the day to make sure your radishes don't get over-watered! Here's my little gardener watering radish seedlings with our watering wand:
Weeds are the most serious “pest” that will affect your radish crop. They can crowd out your plants and steal nutrients and water, so keeping your garden bed weed-free is important.
Radish can also be affected by slugs and snails, which can be common during wet springs, aphids, and cabbage loopers/cabbage worms. These caterpillars love to feed on the leaves of kale, broccoli, cabbages, and radishes.
Sluggo can be used to combat slugs in your garden. There are many other natural slug control methods that some people swear by and others say don't work at all. I'm experimenting with copper foil tape to repel slugs on containers this fall. Place a piece of copper foil tape all the way around raised beds or garden plants to deter slugs.
To prevent cabbage looper and cabbage worm damage, cover young seedlings with lightweight row covers or insect mesh covers.
Cabbage loopers are from moths and cabbage worms are from those little white butterflies. These white butterflies are an imported species, so don't feel bad about disrupting their lifecycle!
Radishes are usually one of the first crops to mature in your garden, but if you planted them next to larger vegetables, make sure they don’t get shaded out, or you’ll end up with all leaves and no roots.

Growing radishes in containers or pots
If you love the spicy taste and delightful crunch of radishes but are short on space, you can grow them in containers. Because of their small root system (compared to root crops like carrots), radishes grow well in pots as long as they are spaced correctly. You can even use a large flower pot to grow a few radishes!
I like growing radishes in large non-woven cloth grow bags. I plant 16 (small/spring) radishes in each of my 7 gallon grow bags. Although they're deeper than the radishes "need," soil shallow containers dries out more quickly.

- Made of growth friendly felt with sturdy handles straps, washable and reusable.
- Prevents circling roots and air-prunes the plant's root structure.
- Great air circulation and water drainage - Prevents circling roots build-up, air prunes the plant’s root and allows excess water to drain structure.
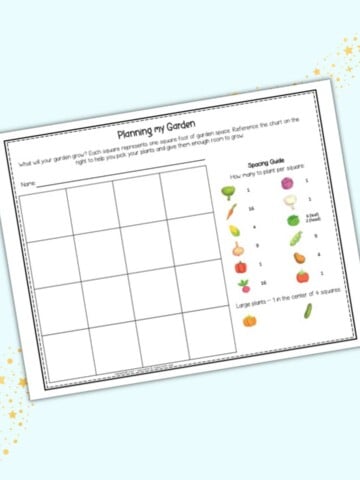
If you use a container or pot to grow your spring radishes, follow the Square Foot Gardening method for spacing them with 16 radishes per square foot of surface area. Space larger fall radishes like turnips with only 4-9 per square foot.
No products found.
I find that one square foot of radishes plus their greens makes a nice serving of vegetables for our family (two adults and a child). I slice and roast the radishes in the oven with olive oil, salt, and pepper and sautée the greens in a pan.
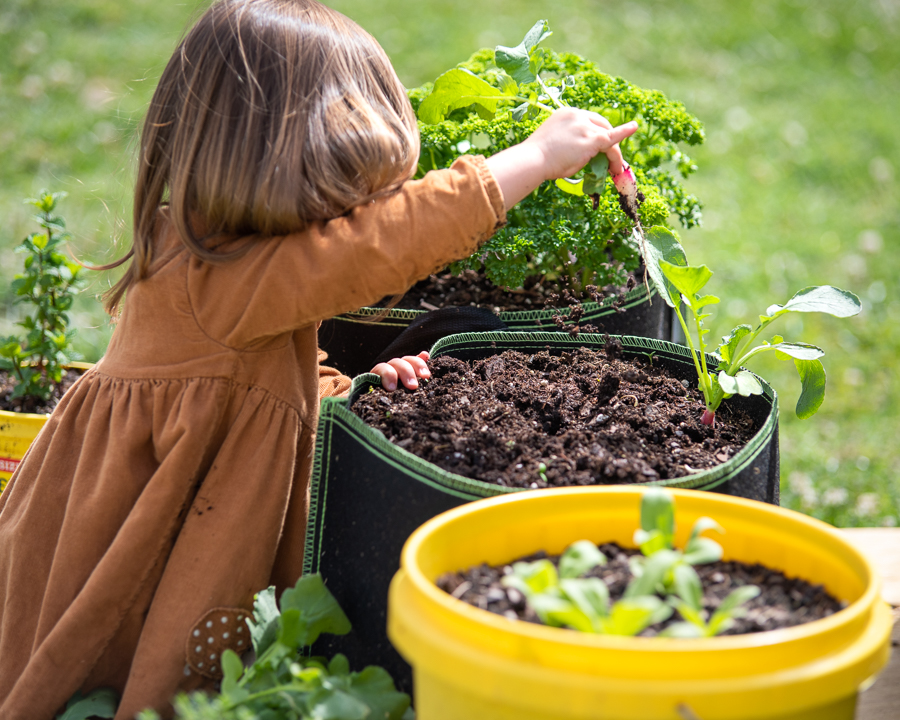
Container radishes were my very first garden project as a young child. I planted radishes and tomatoes in wood planters with my dad when I was four. My daughter loves taking care of "her" radish planter (though she tends to pick them a bit early because she's so excited!)
How to harvest and store radish
Spring radishes can be harvested when they are about 1” in diameter. Pull one out of the ground and test-taste it before harvesting the rest of your crop. Some radishes, especially winter radishes, grow larger without becoming woody. Make sure to check your seed packet for more information.
Radishes quickly get tough if left in the ground too long, so pick them as soon as they’re ready.
Harvest radish leaves when they are young and tender for best flavor and texture. Snip a few outside leaves off and let the rest keep growing. If you do let any radishes sit in the ground too long, go ahead and let them go to seed. Radish seed pods are edible, too!
How to store radishes
To store your radishes, cut the greens and root tail off right after pulling them out of the ground. The greens can be stored separately in plastic (or silicone) bags in your fridge if you want to keep them.
Cutting the greens and taproot off immediately is key to keeping your radishes crispy in the fridge.
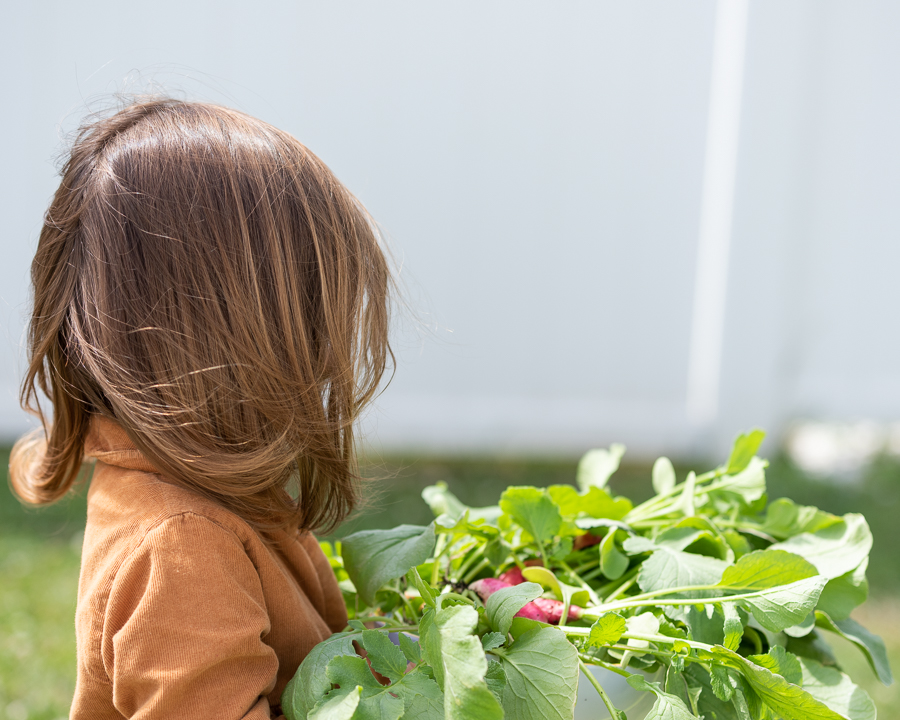
Even though I knew we'd be cooking the radishes pictured below a few hours later, I went ahead and cut the tap roots and greens off and stored the roots and greens in their own separate bags. Just a few hours of sitting in the fridge with roots and leaves attached can make radishes wilt-y and sad.
You can either brush off as much soil as you can or wash your radishes and dry them well before storing. They keep best stored in sealed bags in the refrigerator. I place washed radishes between layers of paper towel in a resealable silicone bag. Any immature or split radishes should be eaten first, since they won’t keep as long.
Most spring radishes will keep for anywhere between one week and several weeks in the refrigerator.
Winter radishes have thick skins and store better. They can last for months in storage.
However you grow them, radishes can be a very rewarding crop that your child or students will love to watch grow!

Leave a Reply