This post may include affiliate links, which means I may make a commission on purchases made through these links at no additional cost to you.
I can't believe tomorrow is our two month anniversary! It really doesn't seem that long ago. (Especially because we had some leftovers for supper earlier this week. They'd been frozen. Don't judge.)
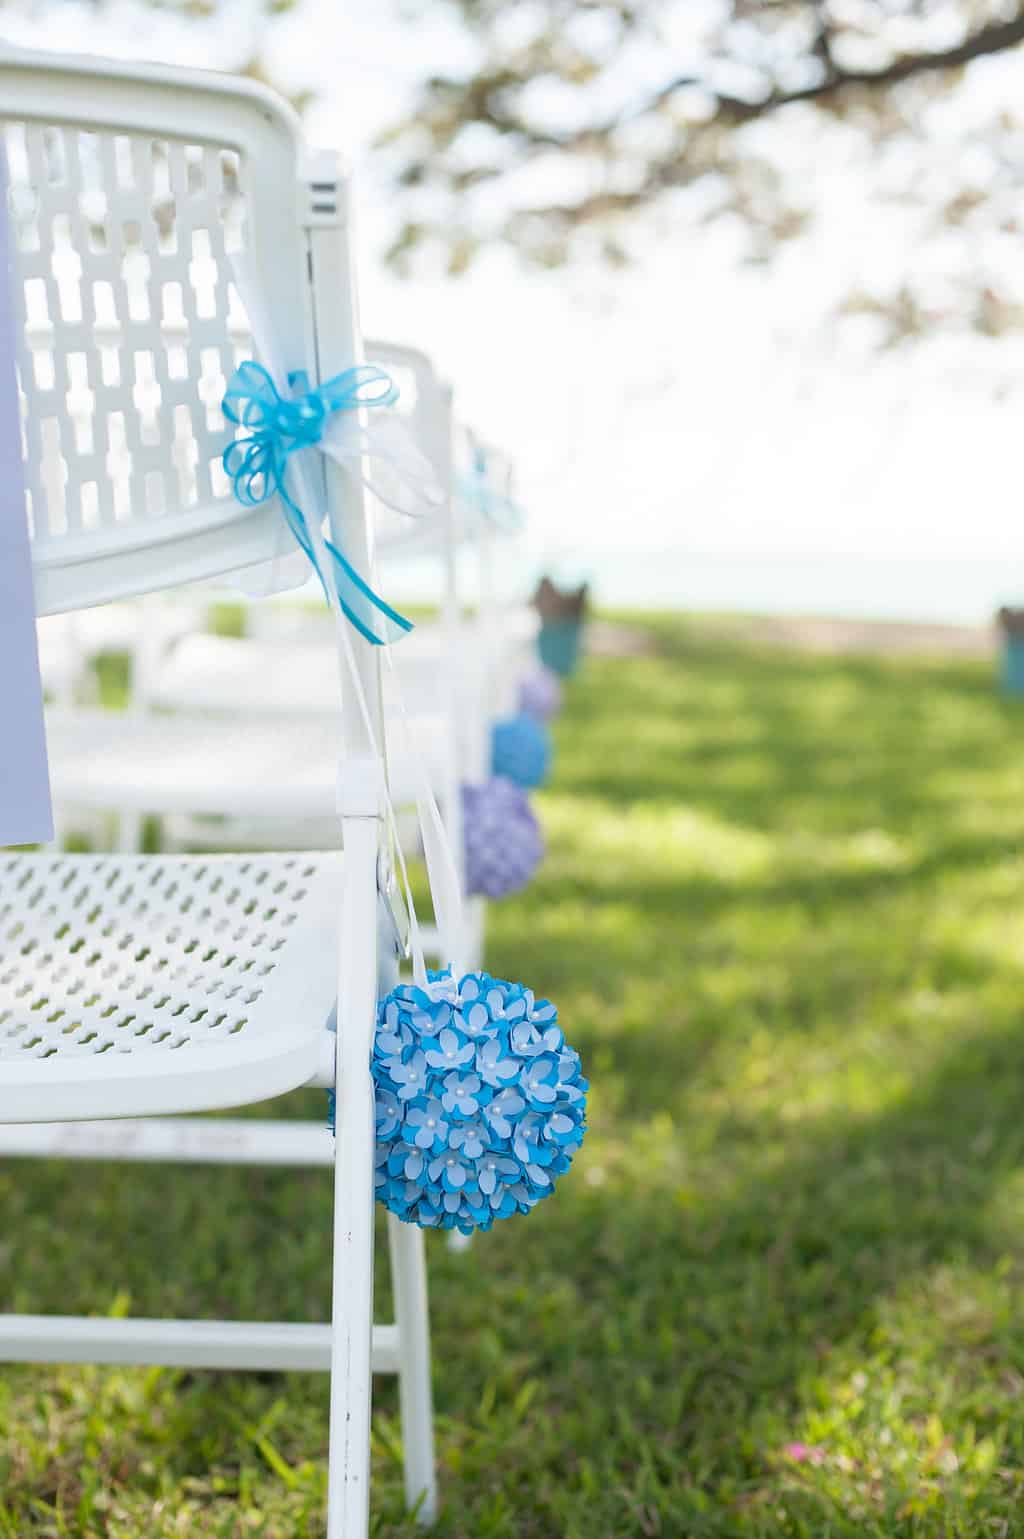
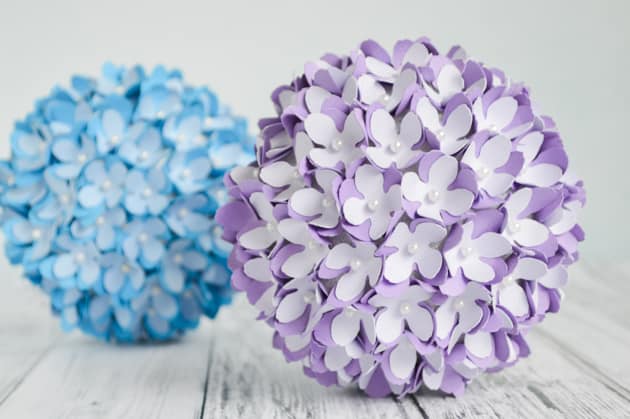
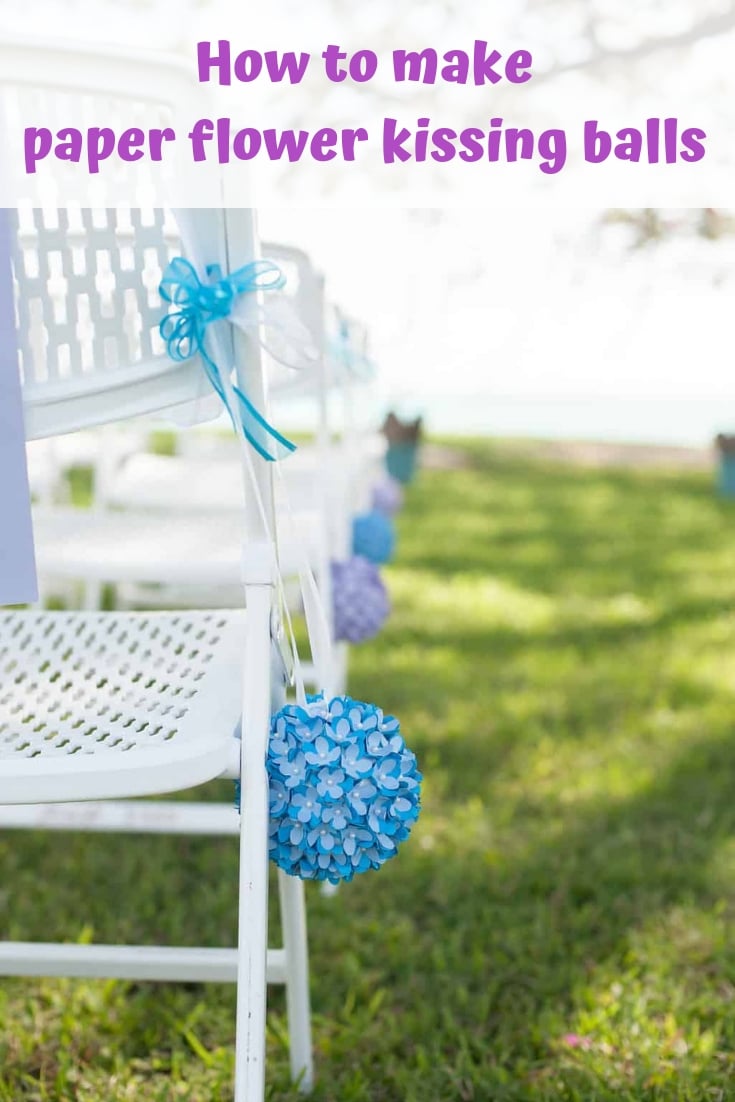
Among the many DIY projects involved with the wedding were eight paper flower pomanders, also called "kissing balls." We used alternating blue and purple pomanders as chair decorations to make an aisle en plein air.
 If you buy handmade flower pomanders, they can cost you $25 or more each. In retrospect, it's with good reason - they take a while to make. Even though they take some time, they aren't at all difficult.
You don't need to have any particular crafting experience to make them, just a bit of patience. And possibly someone who can help you tie beautiful bows to hang them with. (Thanks, mom!)
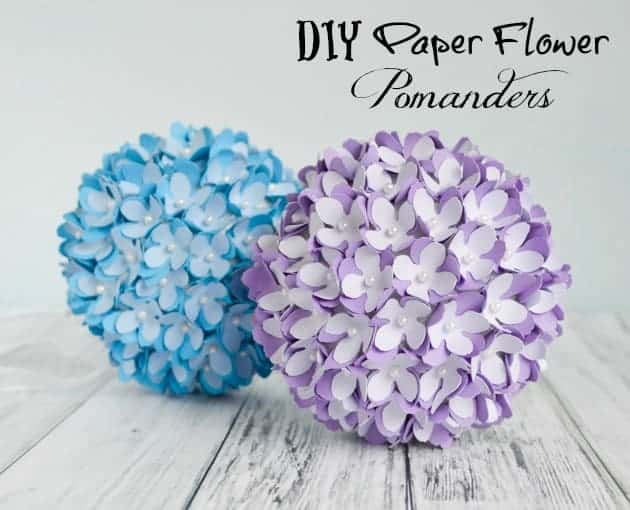
I used two different shades of each color for my balls, and I made the inner petals slightly smaller than the outer ones.
I was able to do this because I cut my flowers using my Silhouette Cameo. If you don't have a Silhouette, you can still do this project with a handheld punch. Even if you don't have two different sizes of petals, I highly recommend layering the flowers for a nicer appearance. Because I layered the flowers and put lots of blooms on each ball, the pomanders took about two pieces of 12"x12" cardstock each (one of the lighter tone and one of the darker tone).
The uses for these decorative balls are pretty varied, and you don't have to be planning a wedding to enjoy them!
Here are a few of my favorite ideas for flower pomanders:
- Use them as chair/pew decorations
- Use a large flower ball as an alternative bouquet or as a bouquet for a flower girl
- Set one on a candle stick as a decoration
- Make a lot and use them as vase filler
I'll be perfectly honest with you - making eight flower pomanders for our wedding took me a long time.
The good news is that they really are easy to make.
You can curl the flower petals on autopilot while enjoying your favorite movie or TV show, and you can always work on the project for a few minutes each day. You don't need to knock them all out at once! I decided to make at least one a week and just kept at it until they were finished.
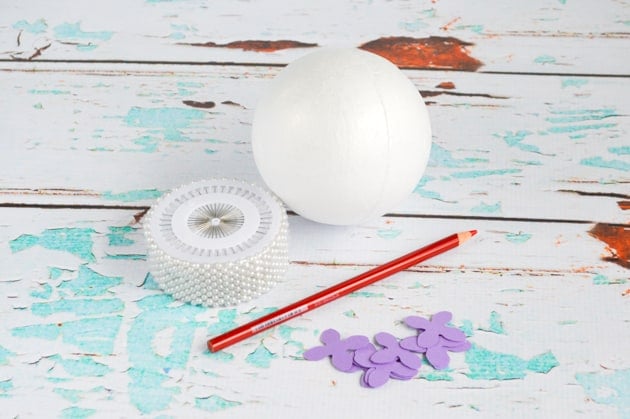
Materials for paper flower pomanders
- Cardstock
- Styrofoam balls - I used 4"
- Lots of pins - I used nearly 1000 for 8 balls
- A Silhouette machine and the provided files or a flower punch
- A round pencil or pen
If you have a Silhouette, please feel free to use these two files:
Large hydrangea petal Silhouette file
Small hydrangea petal Silhouette file
How to make paper flower pomanders
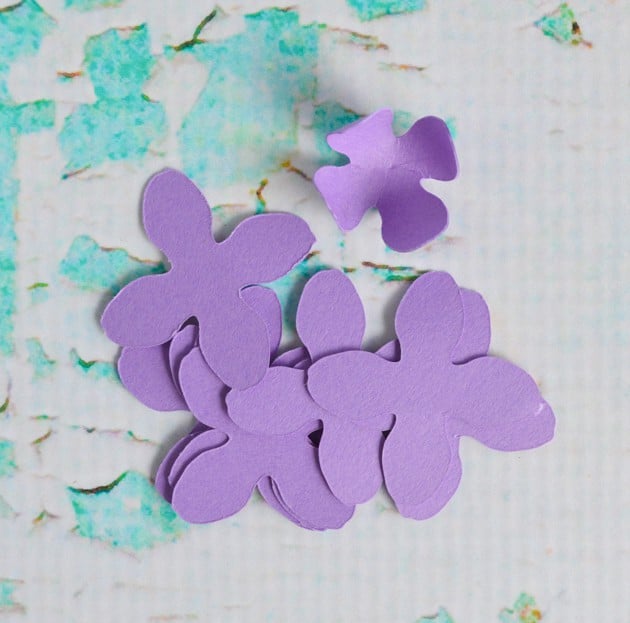
1. Make a whole lot of flowers. I usually cut one sheet of the large and one of small petals in each color and then worked with them until they were finished. If you're punching by hand, try to make as many as you can stand to. Streamlining the process makes it feel tedious sometimes, but it actually makes the whole project take less time, overall.
2. Use your round pen/pencil to curl all the petals on one flower "in," as shown.
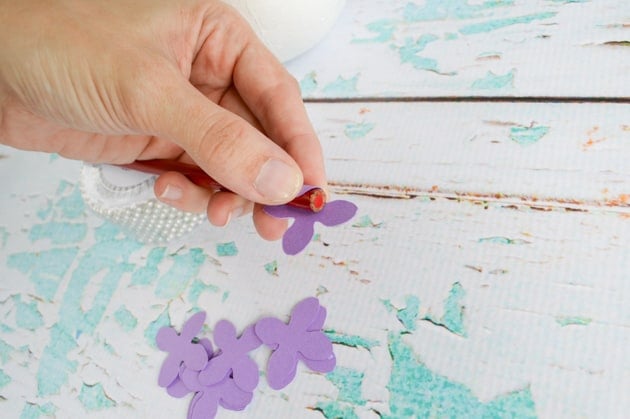
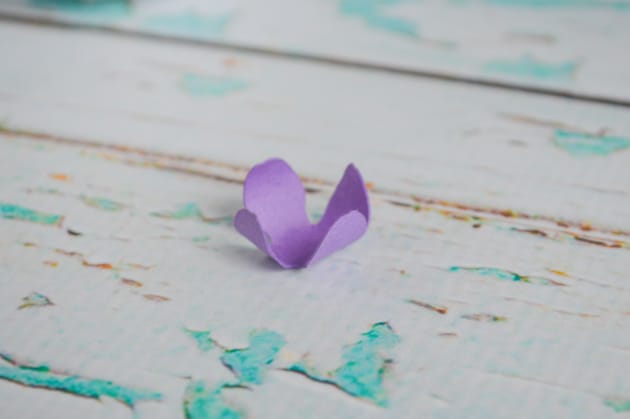
3. Curl as many petals as you can stand to (and don't forget to curl the same number of petals in your second shade, if you're using one!)
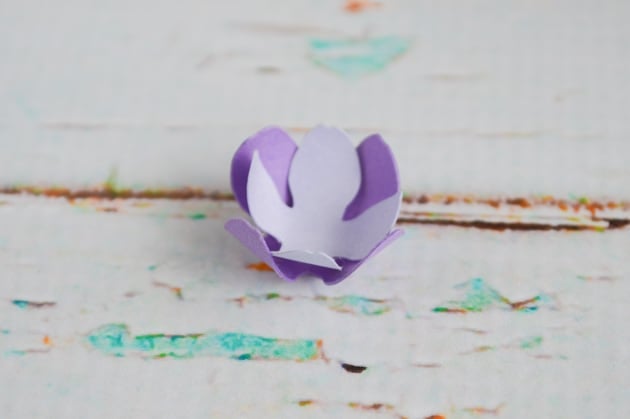
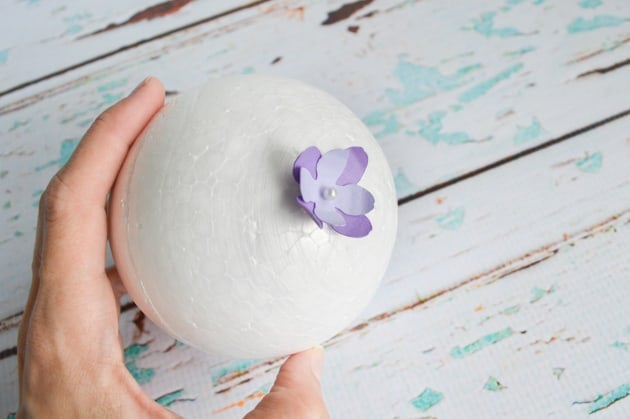
4. Once you're done (for now) with curling petals, you can start putting your pomander together. Stack two flowers on top of each other, small one on top if you have different sizes. Try to offset the petals, as shown.
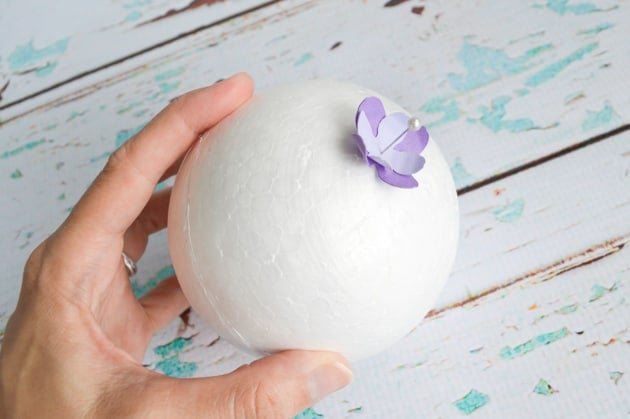
5. Hold the compound flower in place on your styrofoam ball and then stick a pin through the flowers' center and into full into the ball.
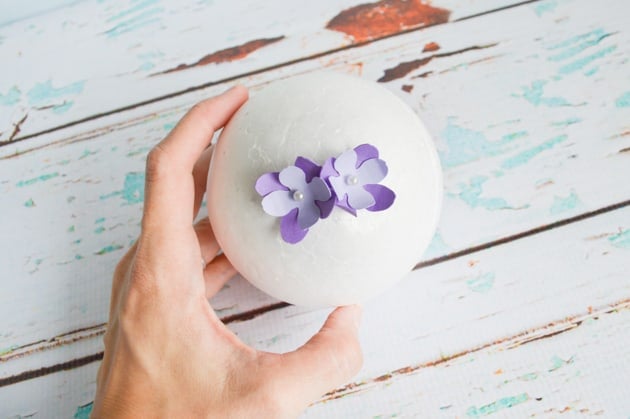
6. Continue making compound flowers and adding them. Try to make your flowers lightly crowd one another so their petals are pushed out. This helps eliminate gaps where the foam can show through and gives the finished balls a more full appearance.
7. When you're ready to add another row, try to offset the flowers so they nestle in with one another. Once again, it looks better this way!
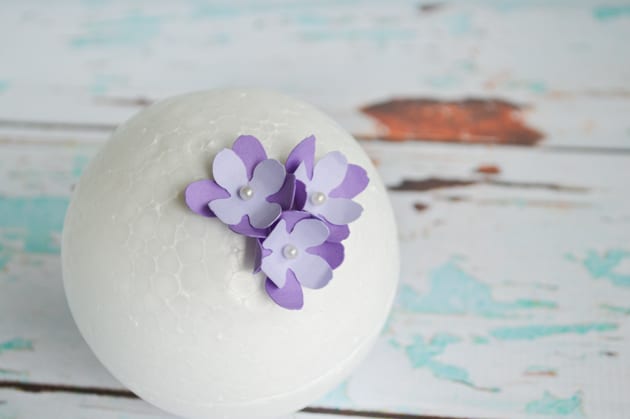
8. Keep repeating steps 1-7 as many times as necessary.
9. Enjoy!
As you can see in the first photo, we hung the balls with ribbons. We just used several pins to anchor the ribbons in place and my mom made beautiful bows to add some additional flair. I'm great with knots, but for some reason I'm pretty awful with bows! Never forget that having a DIY wedding does not mean you have to do it all literally by yourself - ask for help if you need it.
Remember to save this paper flower pomander tutorial to your favorite Pinterest board so you don't lose it!
Are you looking for more DIY wedding project ideas? You can find everything tagged "DIY Wedding" right here!
Here are a few of my most popular DIY wedding posts to get you started:
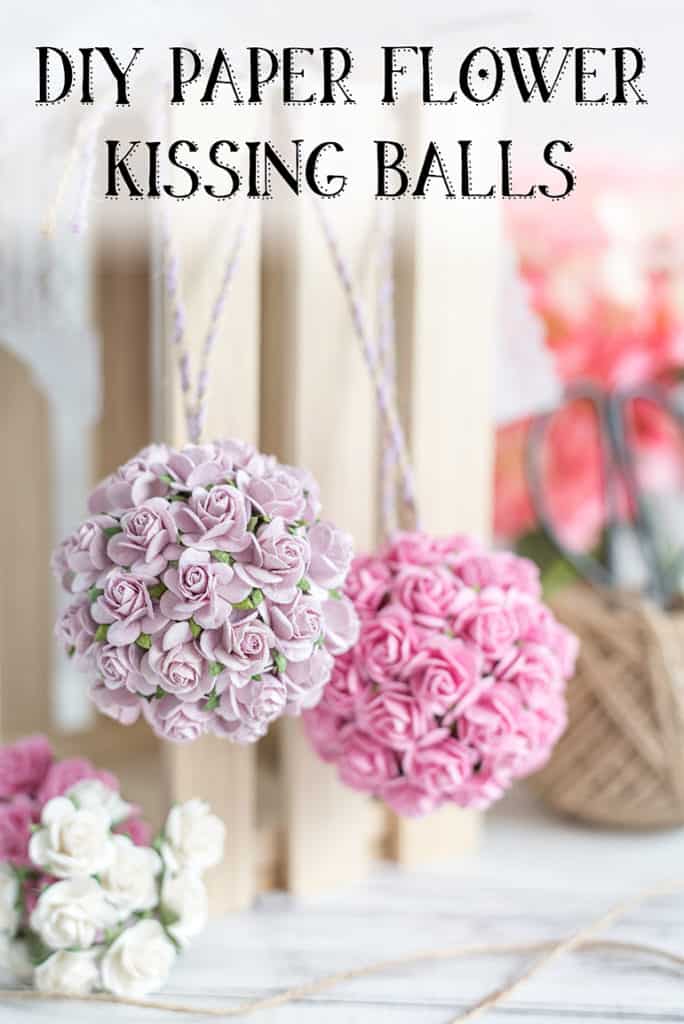
Although I used the paper flower pomanders shown in this tutorial for our wedding, I created a second version of the kissing ball using pre-made paper flowers. You can find that tutorial here.
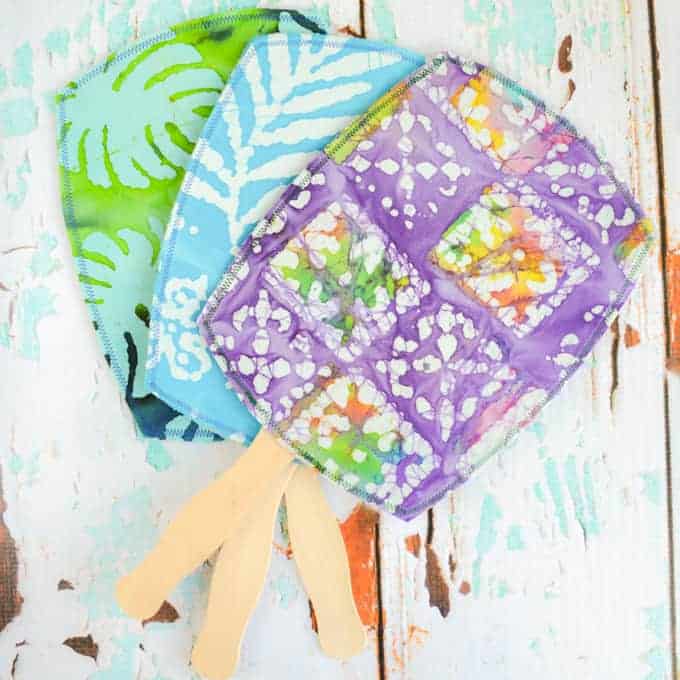
Fabric covered wedding hand fans:
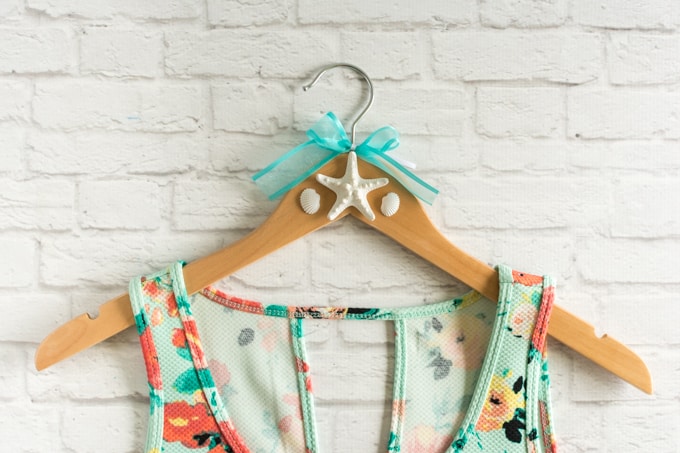
Beach Wedding Bridesmaid's Hanger
What will you use your paper flower pomanders for?
More Related Posts
[pt_view id=“15d429e15n"]
[catlist search="tutorial" numberposts=4 orderby=rand excludeposts=this]
Diane
Hi, love these pomanders and thought i might make some for christmas, however you dont say what size cardstock you used. Can you tell me was it 120gsm or 95gsm...I have not used cardstock before so i have no idea of thicknesses.
Thank you for sharing! xx
Natashalh
Thanks for stopping by!
The size sheet I used was 12"x12", but any size will work. =) As for thickness, I used the Neenah Creative Collection Classics Starter Kit, which is 65lb/176gsm. You obviously don't have to use the exact same cardstock, though! The 95gsm might not hold the curl as well and could be a tad less durable, so I'd go for something a bit thicker, like the 120 you mentioned or the 176 I used. Generally with this project, I've found that thicker is better.
I hope that's helpful!
Shallu
What's the puncher size used here?
Natashalh
I actually didn't use a punch - I used a Silhouette Cameo cutting machine and the file I provided for free. =) The flower punch I linked is the best match I've found for a paper punch, but I don't know exactly how big the flower it produces is since I didn't use it. I hope that's a least a little helpful!