This post may include affiliate links, which means I may make a commission on purchases made through these links at no additional cost to you.
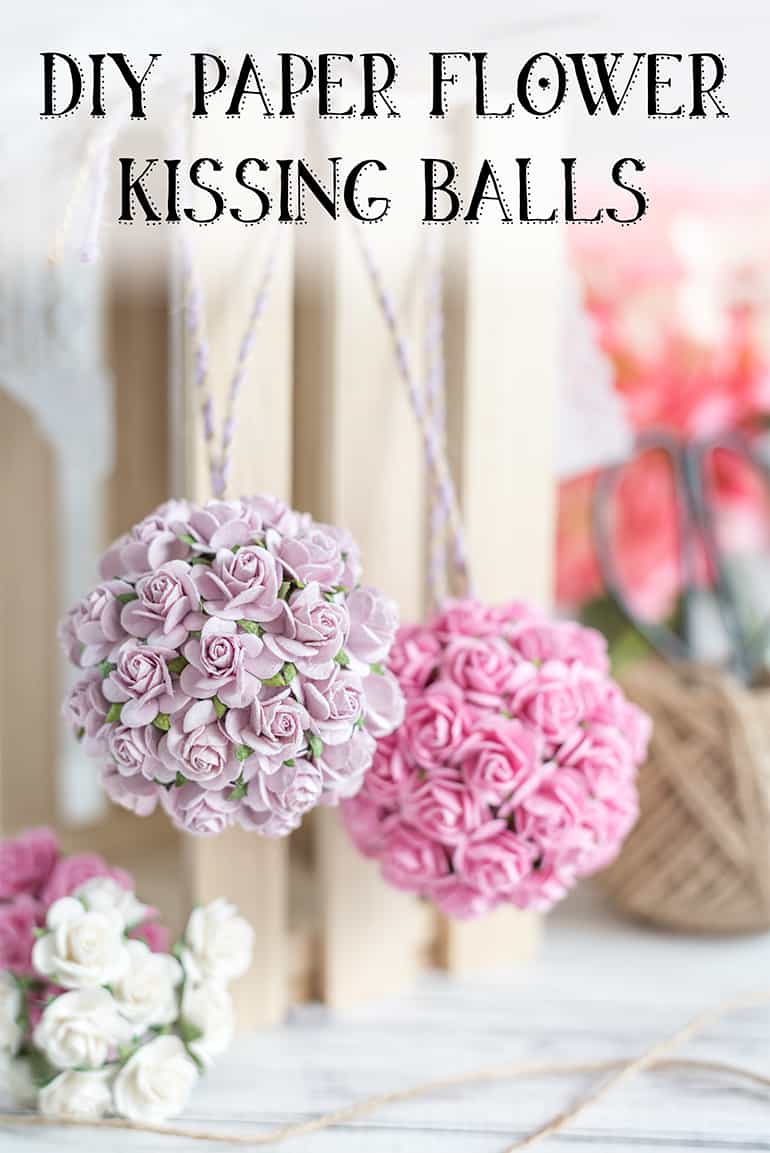
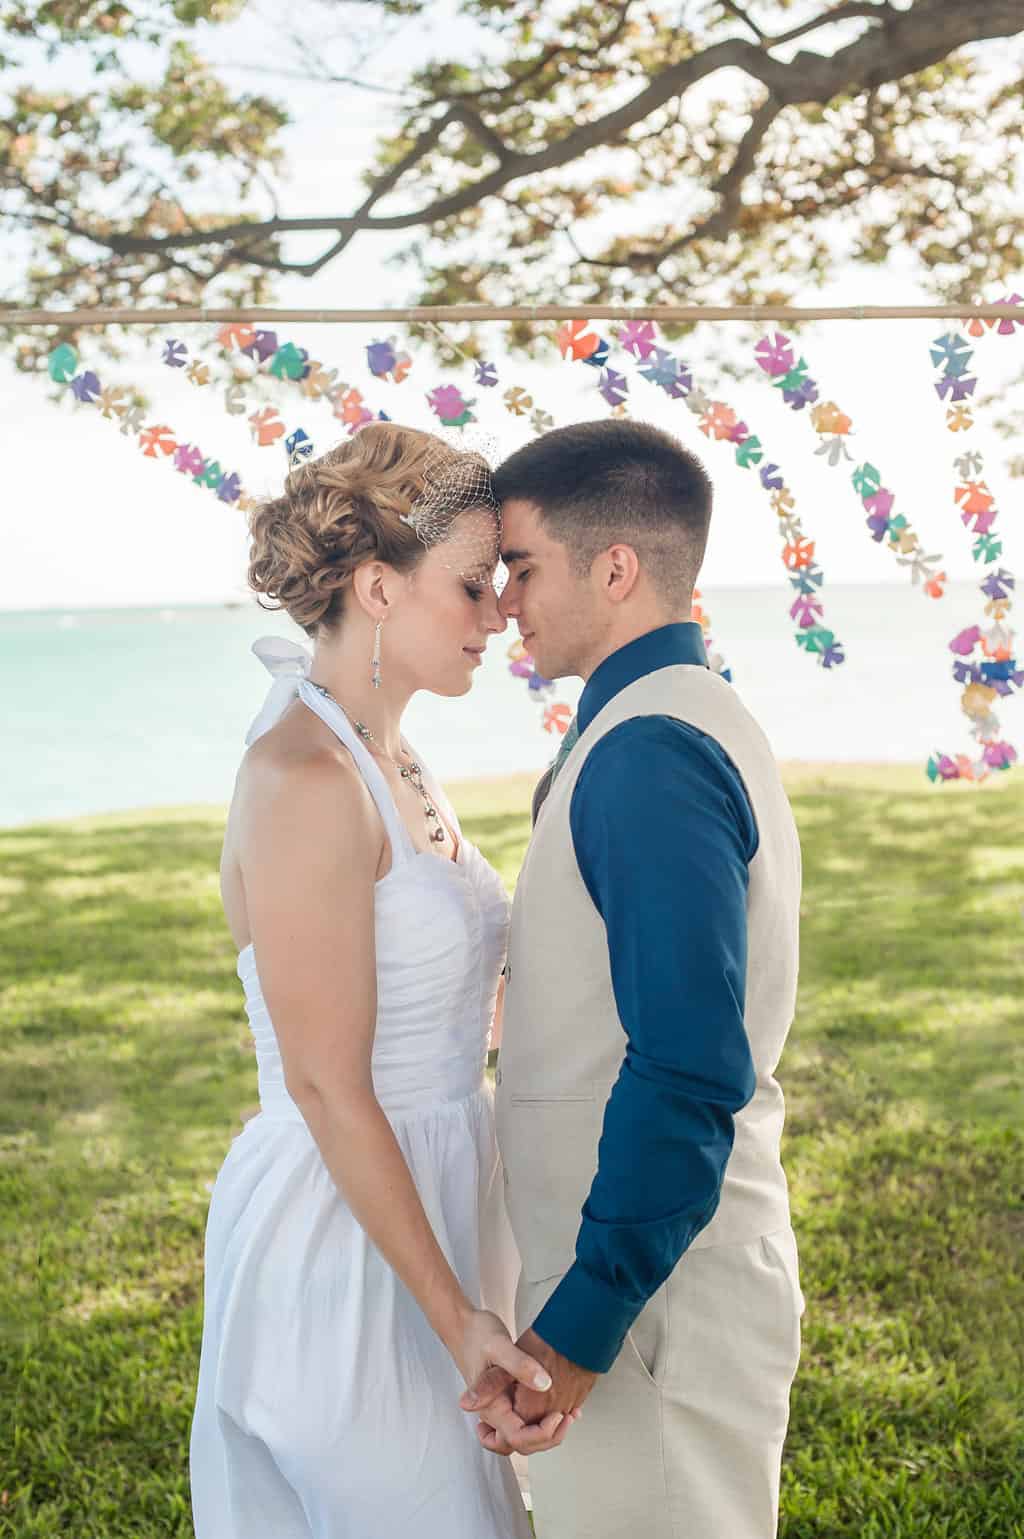
Paper flower pomanders, or kissing balls, have had a special place in my heart ever since I made a bunch of them for our DIY wedding!
With our anniversary coming up next month, I decided to create another style of pomander that doesn't require a paper cutter and, to be quite honest, is overall much quicker to make than the paper flower pomanders I made for our wedding! You can see that original tutorial right here.
This new paper flower kissing ball tutorial uses pre-made mulberry paper flowers. They are inexpensive and easy to find in a variety of colors! I hope you enjoy this paper flower kissing ball tutorial and that it helps you plan your own DIY wedding!
Mulberry paper flowers are very affordable, but you can also use virtually any other paper or "silk" artificial flower for this project.
For larger pomanders, consider going with larger flowers to cut down on the amount of time (and quantity of blooms needed!) for each pomander.
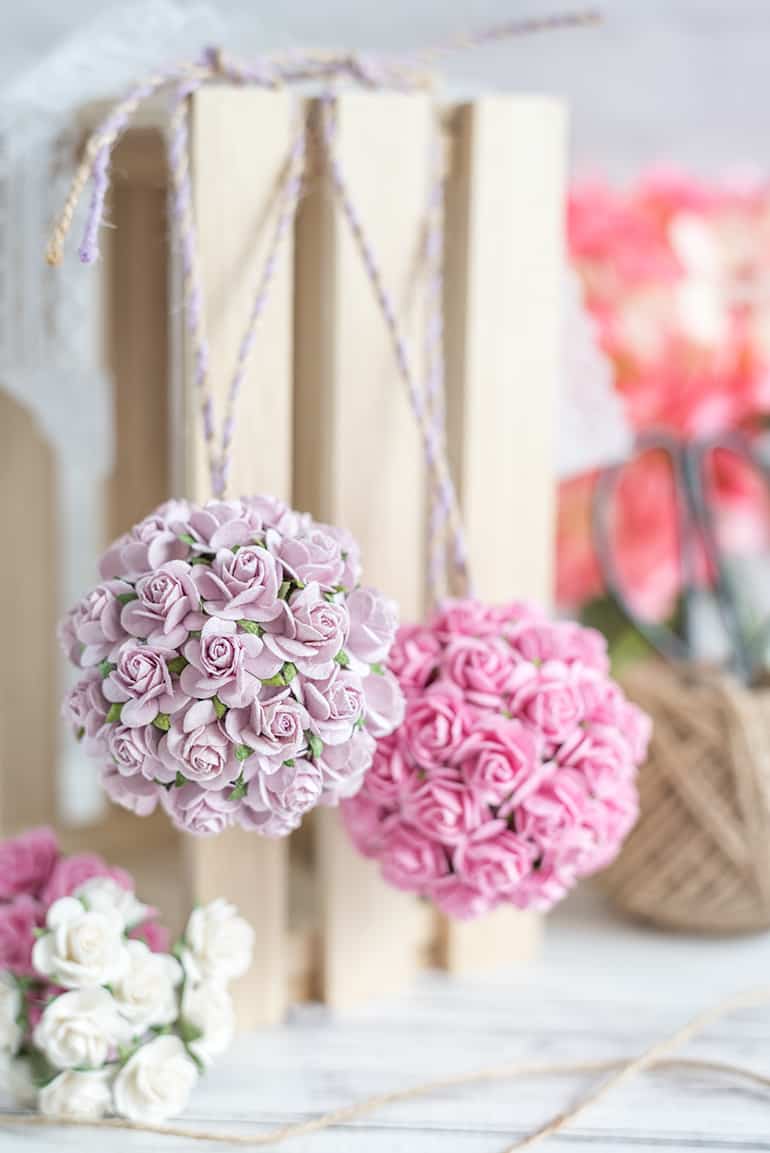
You can make large kissing balls with this tutorial, or cute little ones like I made for demonstration purposes. Small kissing balls are adorable as ornaments - wouldn't they look sweet as part of a centerpiece, too?
What do you need for paper flower kissing balls?
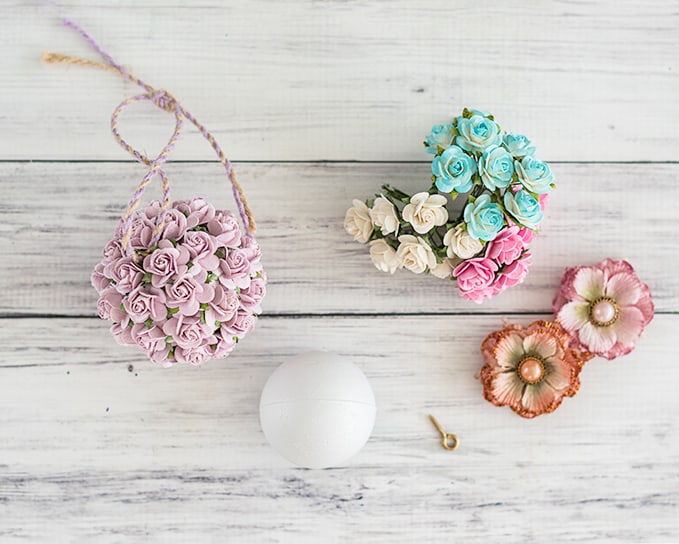
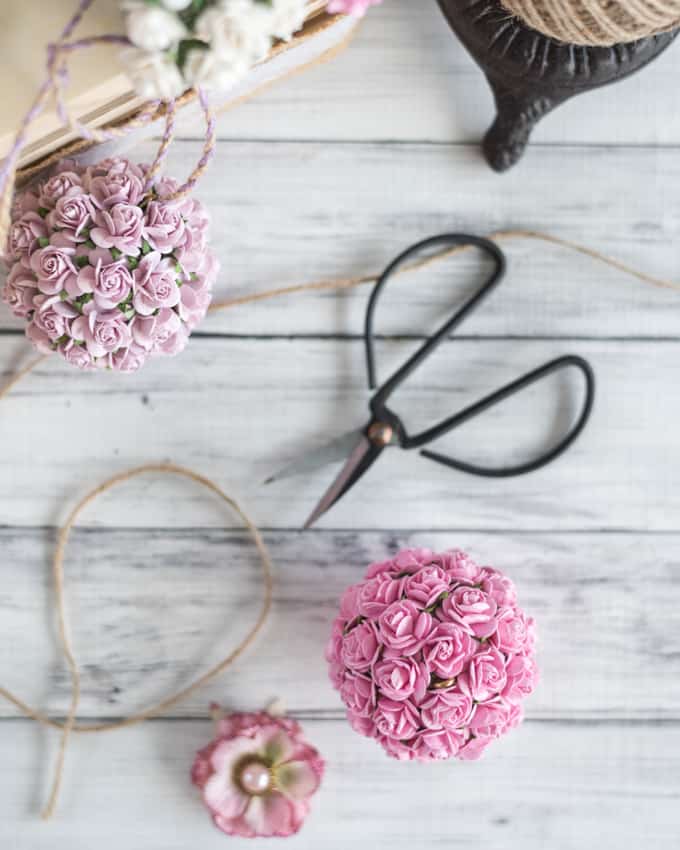
- Foam balls. Look for the "smooth" foam balls because they are denser, sturdier, and hold up to hot glue better. In the example I used a 2" ball.
- Paper flowers! I used 200mm "open" roses in the tutorial.
- Each of my samples used 60 200mm flowers
- For larger kissing balls, choose larger flowers. When the diameter of a sphere doubles, it's surface area multiplies by 4. That means a 4" ball would take 240 of the 200mm roses!
- A pair of wire cutters or pliers that can cut wire. A sturdy pair of scissors could also work - mulberry paper flowers aren't difficult to cut from their stems.
- Low temp hot glue. Not sure why you need low temp? Check out these hot glue gun tips & tricks
- One screw eye per ball. I used 13/16" brass screw eyes. Screw eyes of various sizes and materials are typically available at hardware and home improvement stores. Pick a larger screw eye for larger balls!
- Leave the screw eye off to make really cute vase or bowl filler instead of a hanging kissing ball!
- Twine or ribbon to hang your kissing balls
Update! If you're making these, especially if you're making a lot of them for your wedding, you need these silicone finger protectors! They're such an easy and inexpensive way to protect yourself from burns while using hot glue!
No products found.
How to make a a paper flower kissing ball:
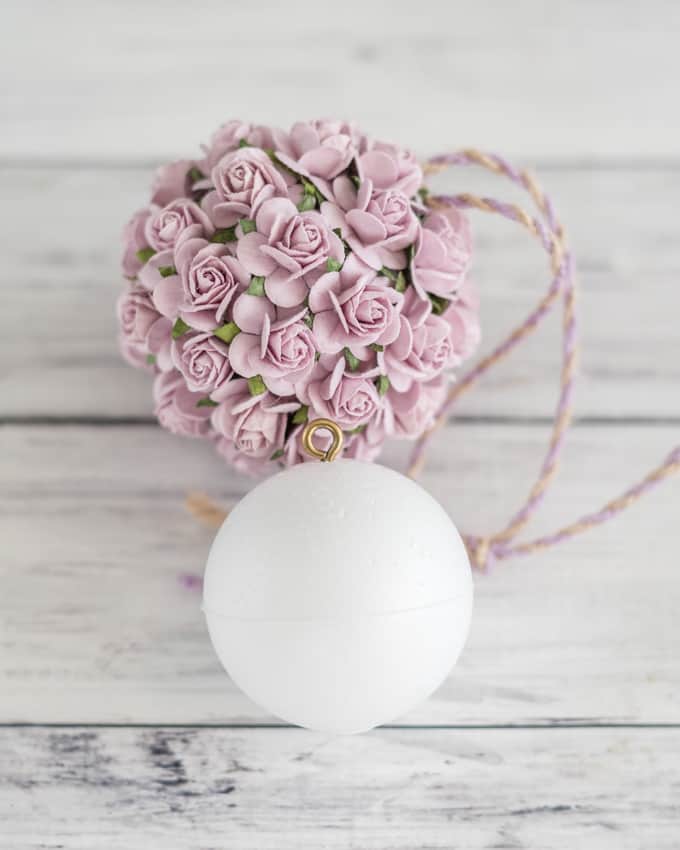
Screw your screw eye into your foam ball. If the foam isn't dense or the screw eye feels loose, secure it with a dab of glue.
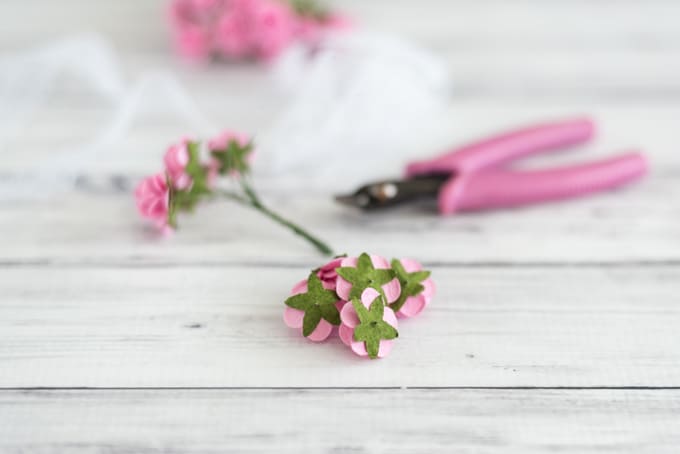
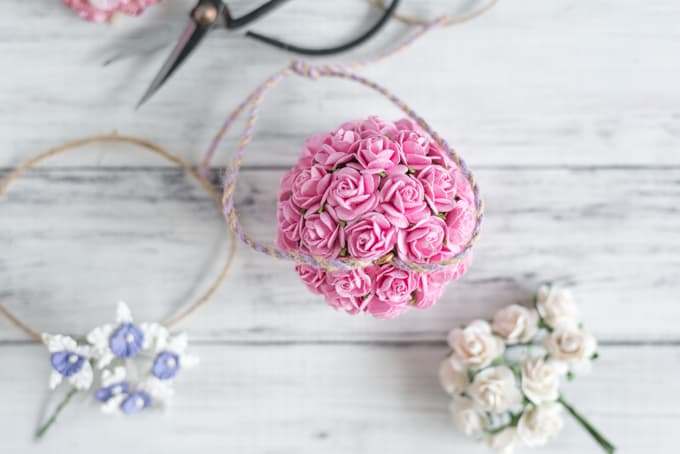
Cut the mulberry paper flowers off their wire stems, leaving about 1/16" of wire on the back of each flower. You don't need to cut all the flowers you plan to use at once - I usually cut bunches of 10 at a time to keep things neater! It is very important you leave a small nub of wire, but it's also important to make sure it isn't too long - just enough to poke into the foam.
Poke a flower's wire stem into the foam ball. Place the first one close to the screw eye. Remove the flower, add a dab of hot glue to the back, then press it back into place. Making a guide hole first and then re-inserting it after applying glue is far, far easier than trying to combine the two steps into one! Trust me on this one - I experimented with a zillion ways to cut and adhere the flowers before I found the simplest method to share with y'all. =)

Continue adding flowers until the kissing ball is finished! It's easiest to work sort of in rings as you enclose the ball. Make sure you nestle the flowers in between each other, instead of allowing them to be in straight rows, so you don't see any foam showing through.
Cut a piece of twine or ribbon (the exact length depends on the size of your ball and personal preference, but 12" is a good length to start experimenting with), thread it through the screw eye, and tie to form a closed loop for hanging.
Repeat, as necessary, until you have as many paper flower kissing balls as you need!
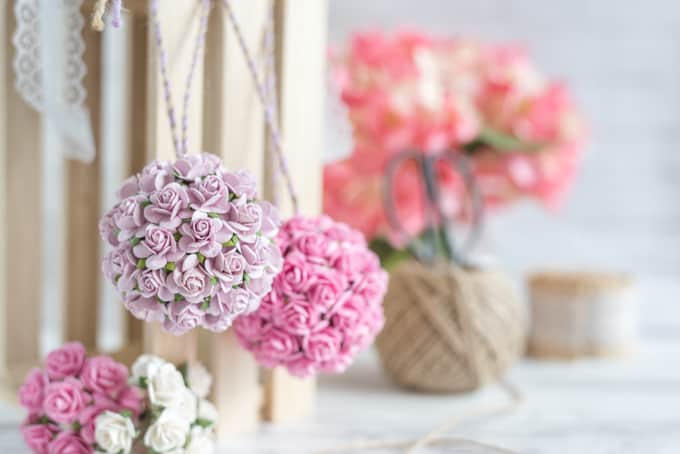
Smaller pomanders, like the ones I made for this tutorial, would make such cute ornaments or centerpiece decorations for a wedding, bridal luncheon, or even a baby shower!
If you're planning a DIY wedding, I have so many resources for you! We did virtually everything at our wedding ourselves, including the food.
DIY wedding resources
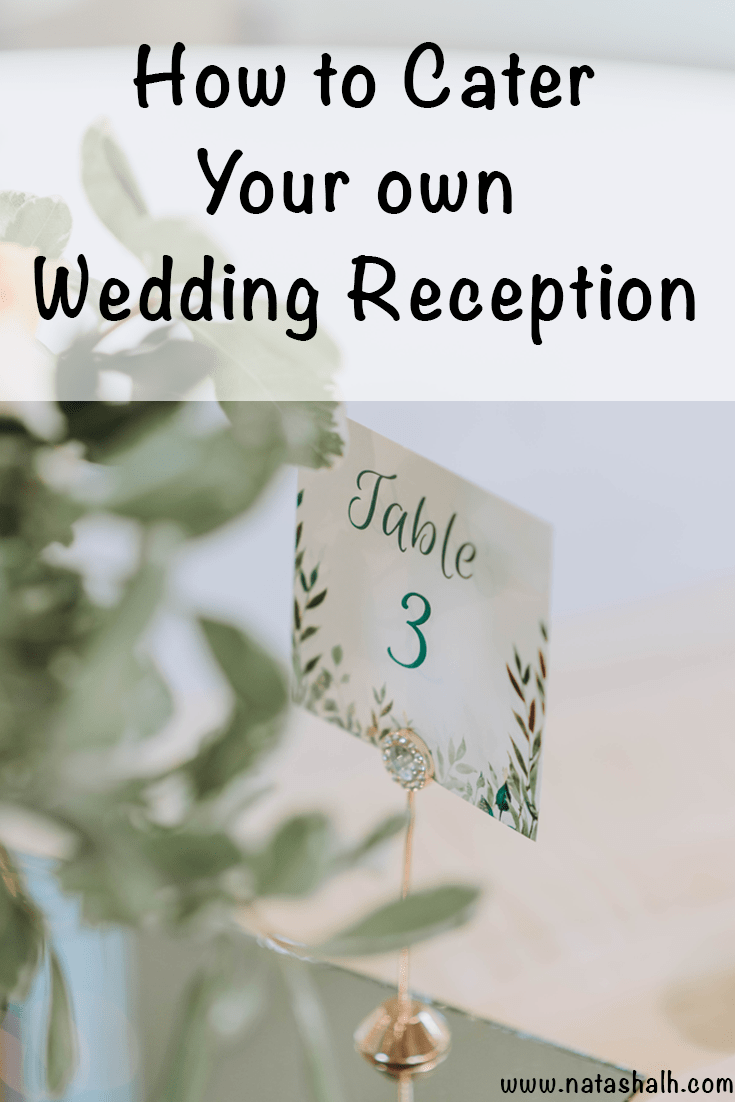
How to self-cater your own wedding
I hope you enjoyed this paper flower kissing ball tutorial and best of luck planning your DIY wedding! If you have any questions about this tutorial, or are looking for more advice for your DIY wedding, please just leave a comment!

More Related Posts
[pt_view id=“15d429e15n"]
[catlist search="tutorial" numberposts=4 orderby=rand excludeposts=this]


Pamela Baker
ps - going to share your Blog with her as she does a lot of decorating for her friends and parties - she would love making these "Kissing Balls"!
Pamela Baker
Until now I had never heard of a "Kissing Ball". Although I have seen these balls of flowers - I never realized that had a name. Great idea! Love that you and your husband did all the decorating, etc for your Wedding by yourselves.
When my daughter got married, since they were paying for it themselves, she had so many wonderful ideas of decorating. Everyone said it was the nicest wedding they had added. I will have to a Blog to share some of our wonderful ideas!
Natashalh
We had a very inexpensive wedding and a lot of fun! I just don't see the need to spend lots and lots - and the end of the day you're just as married.