This post may include affiliate links, which means I may make a commission on purchases made through these links at no additional cost to you.
May Day is Lei Day in Hawaii! While I tend to think of May as graduation season, many places hold graduation in June, instead, so plenty of people want to know how to make ribbon lei for that special someone's graduation.
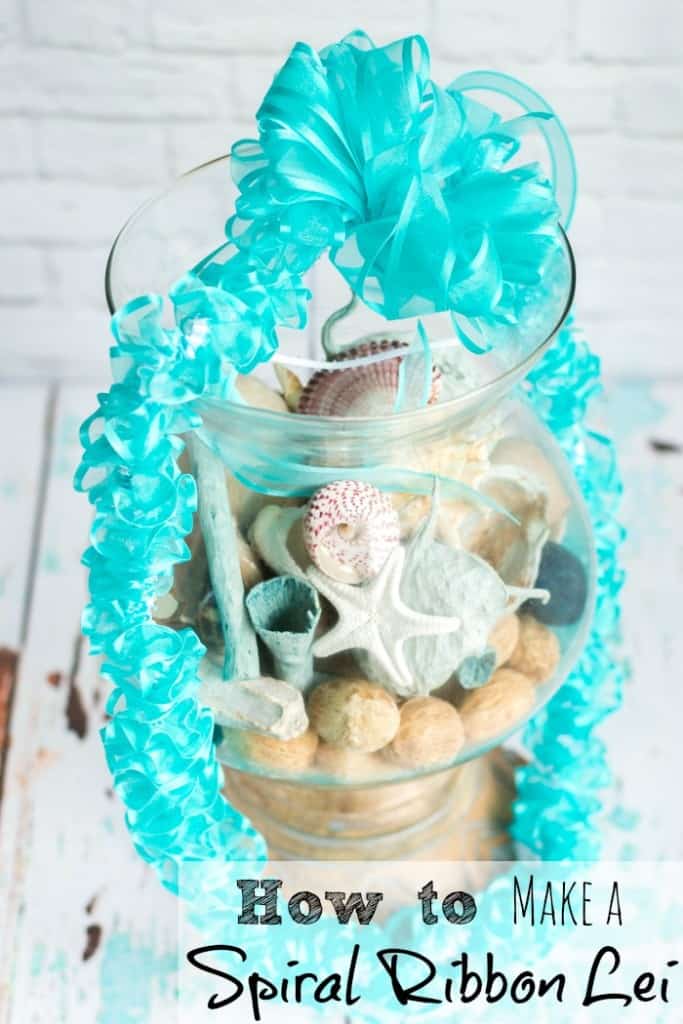
Today I'm sharing how to make a spiral ribbon lei, which is, I think, a bit nicer than the looped ribbon lei I've demonstrated in the past. It also takes way longer to make a spiral lei. As in several hours longer. If that has you a little nervous, please check out my basic ribbon lei or my four strand, double braid ribbon lei tutorial!
Even though the spiral lei takes longer to make and uses far more ribbon, the technique is simple and this is the kind of project you can work on while listening to an audiobook. Or, if your more normal than me, watching your favorite show.
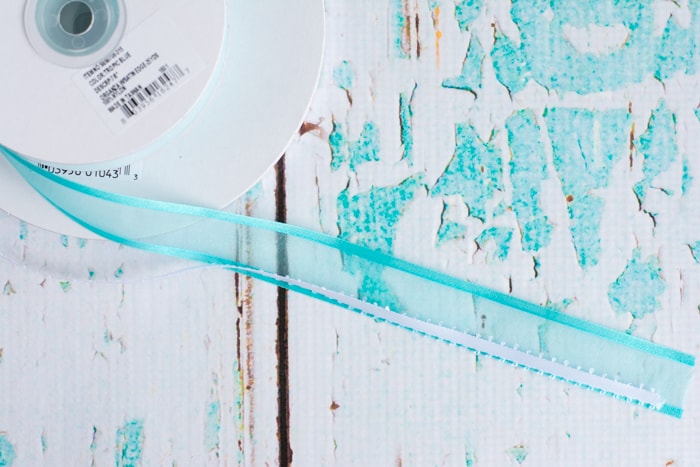
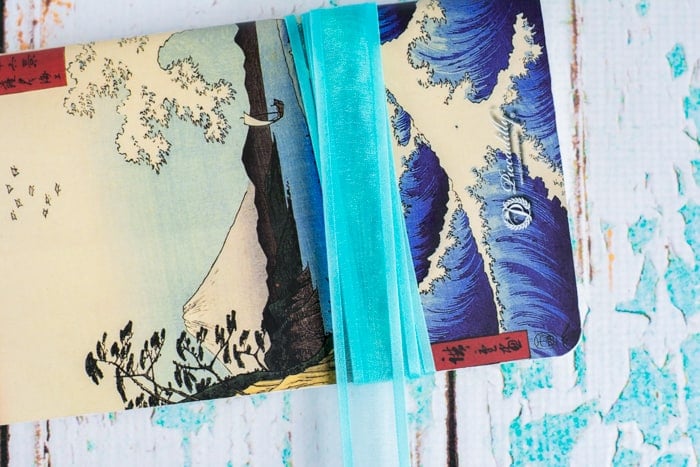
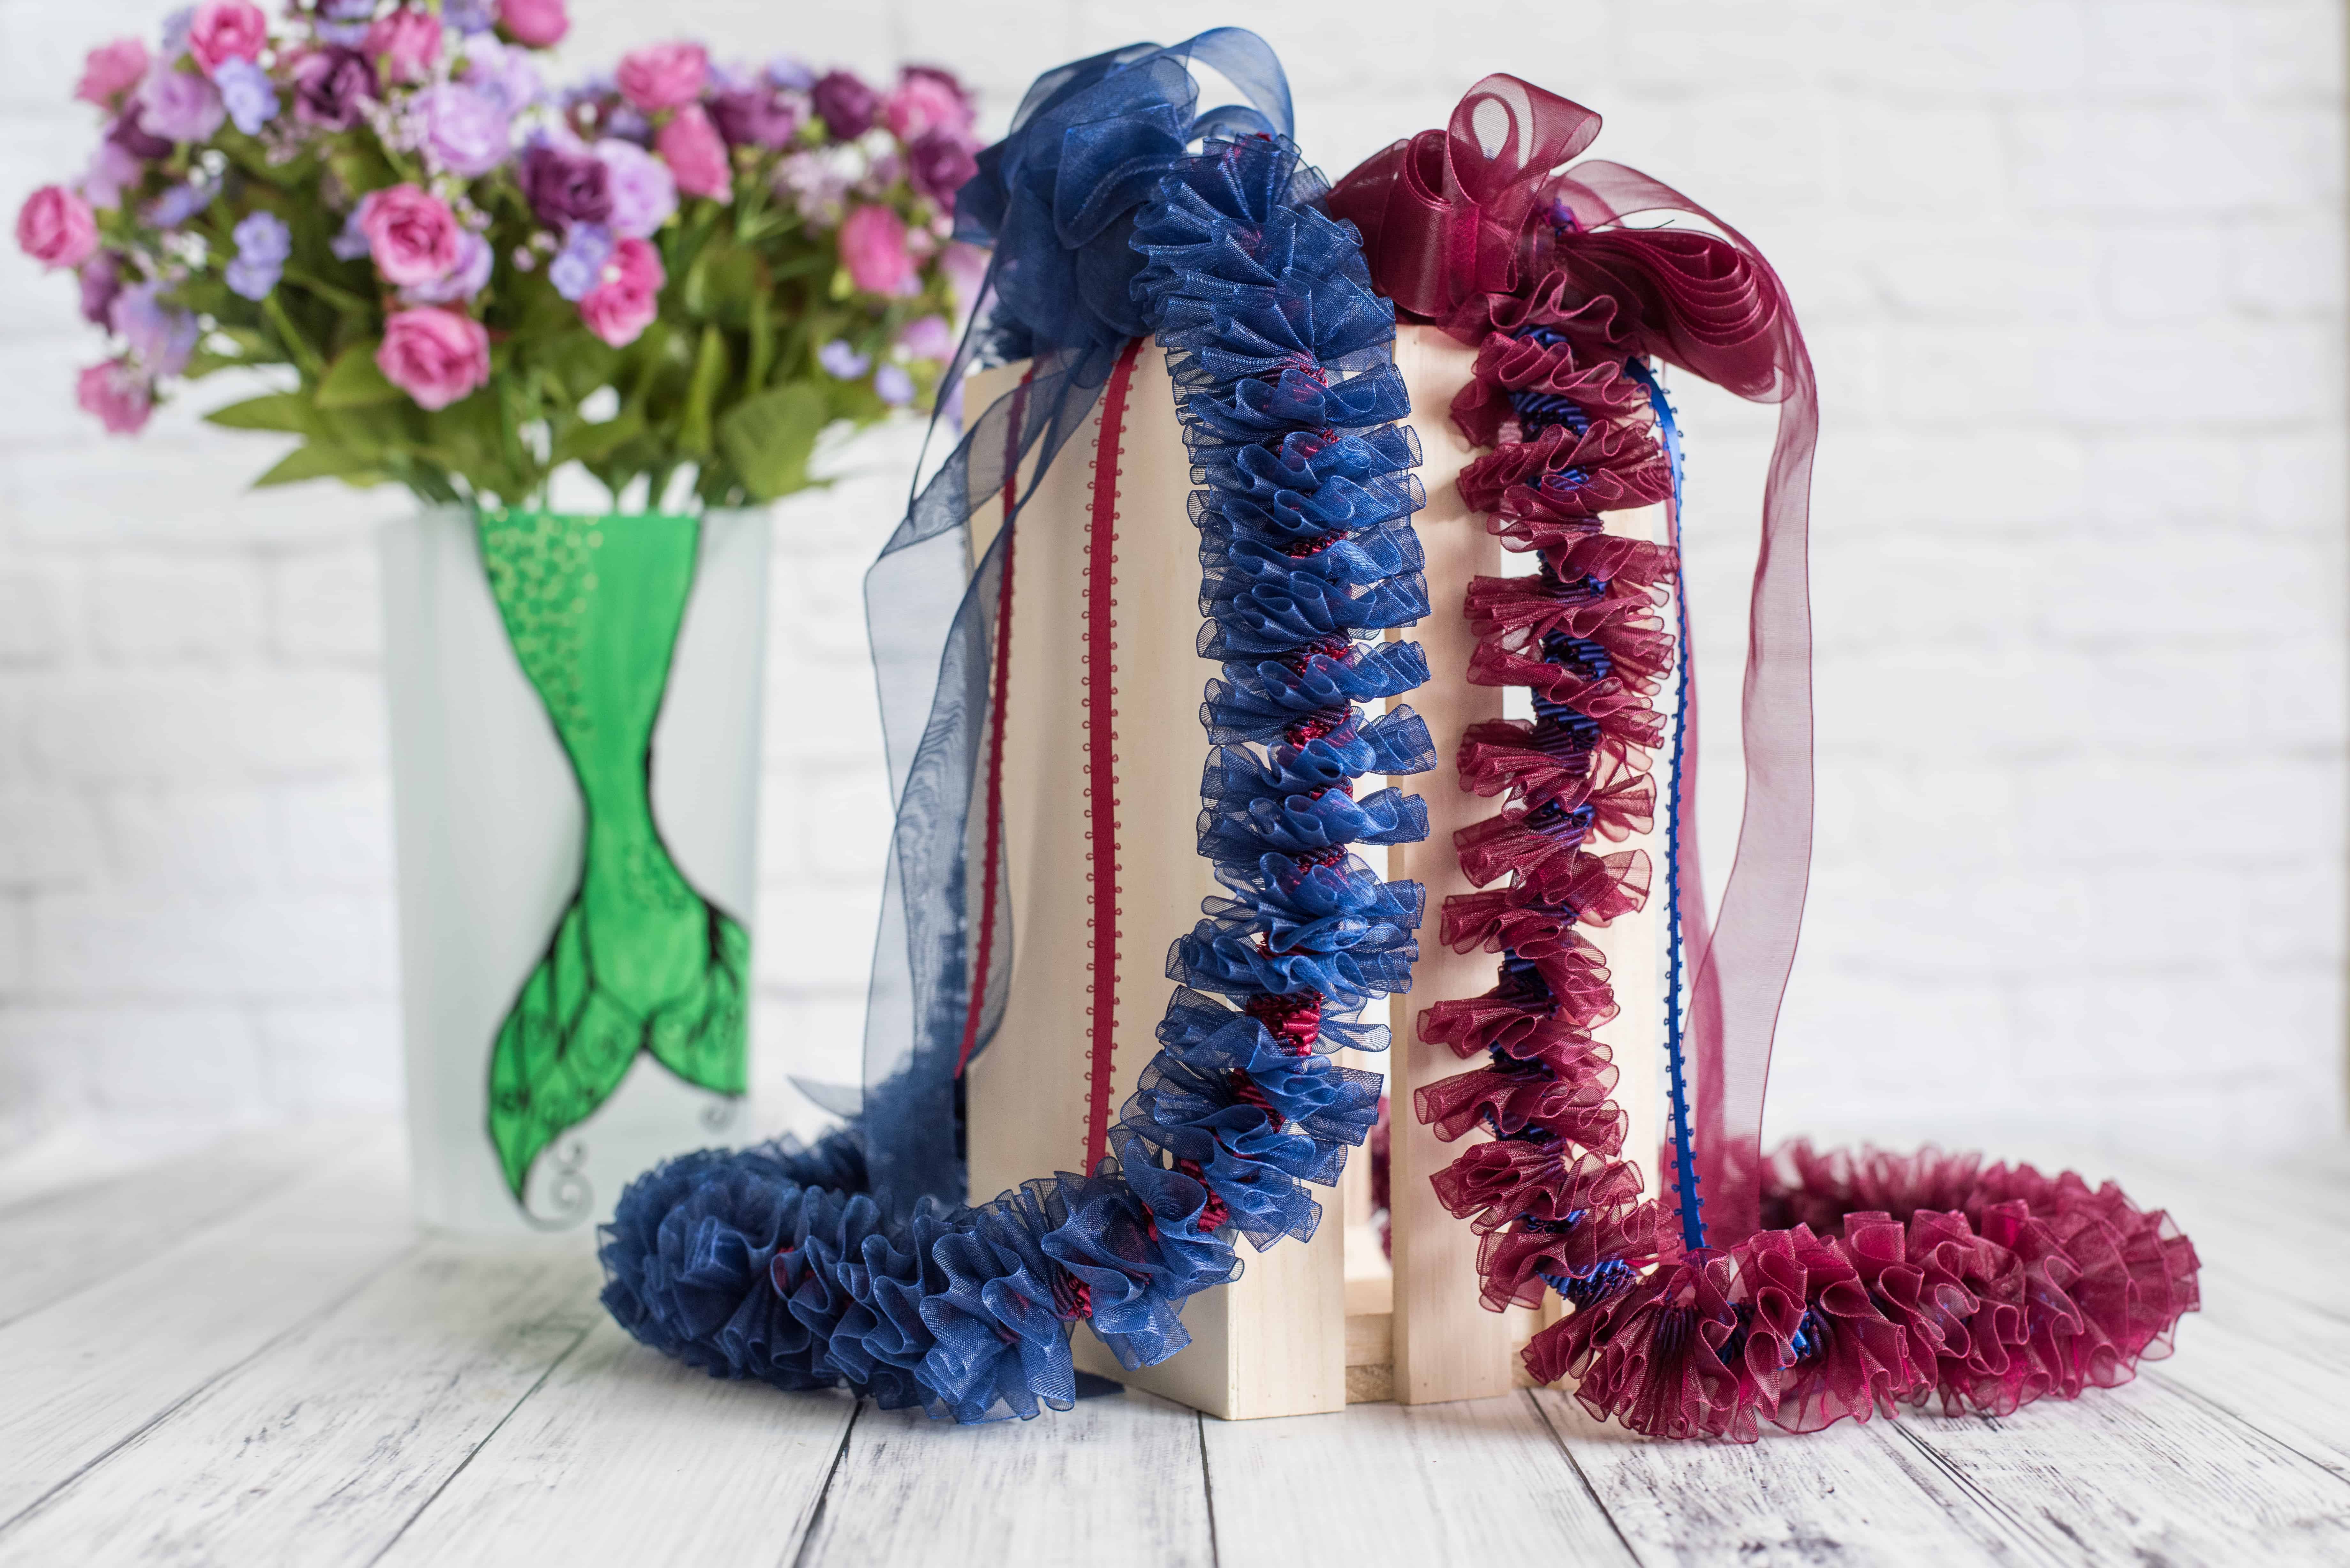
 The neat thing about a spiral ribbon lei is that you can use two entirely different ribbons. Unlike the other lei that need both ribbons to be the same type and size, with this one you can use pretty much whatever you'd like! I used a ⅞" organza ribbon with a satin edge and a 3/16" double faced picot. The picot was a little bit narrow when compared to the organza, but I absolutely loved the two colors together. Whatever ribbons you choose, make sure to get a lot. You can use multiple spoons if you need to, but simply buying a 25 yard spool will ensure you don't run out of ribbon half way through! Then you'll have plenty left over for a nice, fluffy bow, too. You probably won't use all 25 yards, but ribbon is fairly inexpensive and it's better to have extra than run out!
Materials needed to make a spiral ribbon lei
- ~25 yards of your wider ribbon - anything from ½" on up will work. I used a 1" organza ribbon.
- ~25 yards of your narrower ribbon - just pick whatever you like with your other ribbon!
- Spool of heavy duty thread
- Sewing needle
- Ruler
- Pen or Pencil
- Scissors
- Thread wax (optional)
- A thin notebook or paperback book (optional)


 If you're wondering what the book is for - it's a bow tying aid! Just wait and see. =)
I've seen a lot of lei making tutorials recommend tying your thread off to a large bead to anchor it. I did not do this and here's why: your lei will need to be at least a yard long and you will sew through 10 times that much ribbon. Long pieces of thread tangle and knot easily, and being pulled through the ribbon so many times will fray your thread slightly and make it progressively more likely to knot. If you do not cut your thread off the spool and work by feeding thread through the lei as needed, you have the freedom to simply cut the thread at any time to remove frayed or knotted areas. Also, if your thread breaks, you can simply feed more thread through and resume making the lei without starting all over from the beginning. Also, running your thread through a piece of beeswax periodically will help prevent snags and fraying.
As a final "word to the wise" before beginning: don't skip measuring and marking the ribbon. I know it seems tedious and time consuming, but it is actually more difficult and time consuming to use a technique like inserting your needle a certain amount between stitches. Also, it is vital that you stitches be as even as possible in order to create a pretty lei.
How to make a spiral ribbon lei
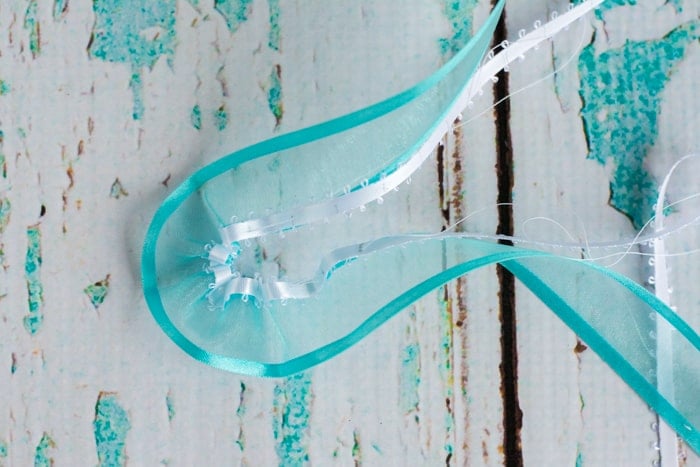
1. Pull about 18" of both ribbons free from the spool. You will leave these pieces as a tail so you can tie the lei together.
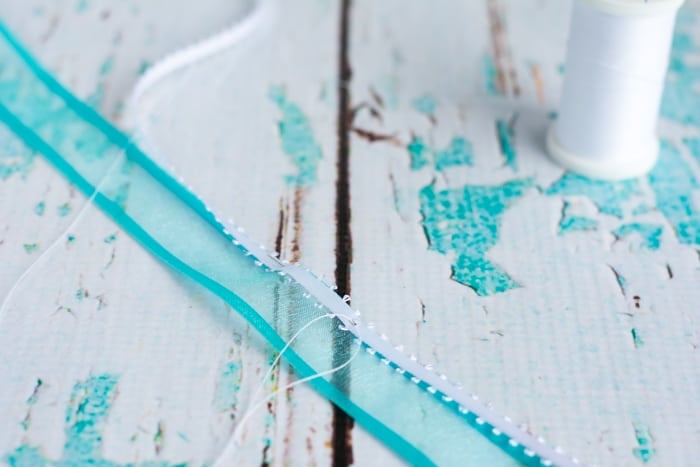
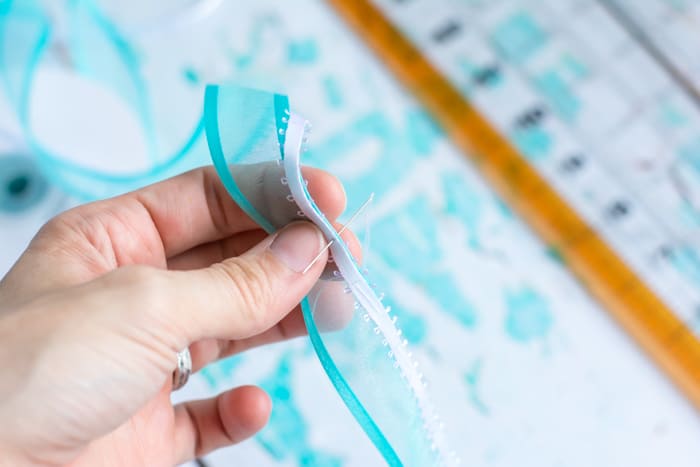
2. Beginning at the point about 18" along the narrow ribbon, place it on top of a ruler and mark off your stitches. Some people like to go all out and mark the entire ribbon at once, but I prefer to only mark about two feet at a time. The exact stitch length you'll need depends on your ribbon and desired effect, but if your ribbon is wide and has thick edges like mine, I recommend making marks every ½". If your ribbon is narrower or you want a tighter spiral, try marking the ribbon every ⅓".

3. Pull a couple feet of thread off the spool and run it through your thread waxer, then thread your needle. Line up the ends of you ribbon, then find where your marks begin. Align the narrow ribbon with the right edge of the wide ribbon and make your first stitch, pushing the needle from front to back at the first mark and then pulling it from back to front and the second mark.
4. You can make several running stitches before you need to pull the thread tight. There are several ways to make the stitches. Many people sort of scoop the needle through fabric when making running stitches in regular sewing, and you can do that there. You can also use the marks as a target and poke the needle through at each one, or you may even prefer to sort of fold the ribbon and insert the needle through several marks at once. Whatever works for you is fine!
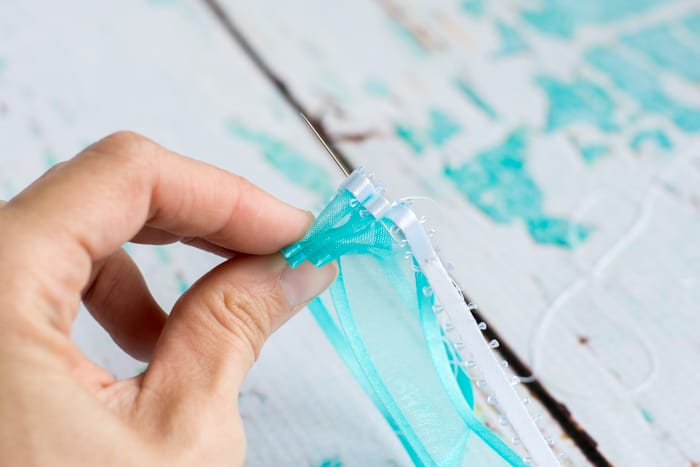
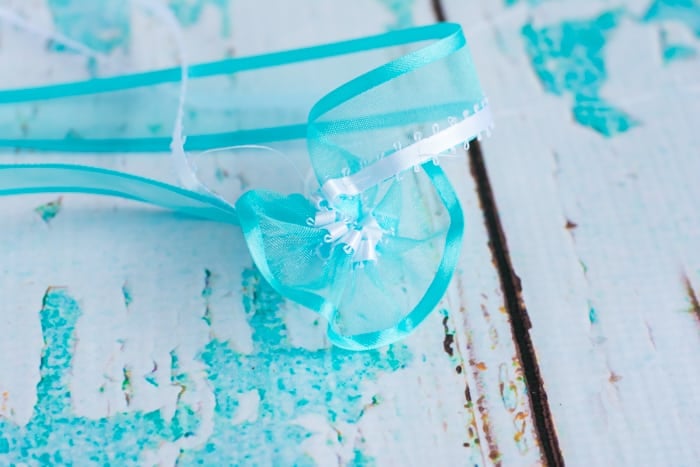
5. Every half dozen or so stitches, scrunch the ribbon down some.
6. Before long, you'll be able to start turning the ribbon in a spiral. Don't stress about getting the spiral perfect at this stage - it will be messed up some as you pull additional thread through.
7. That is all there is to it! Keep marking, stitching, and working thread through the ribbon, as needed. Once your lei gets longer, it's best to pull the thread through in small pieces instead of through all the ribbon at once. This helps prevent breakage.
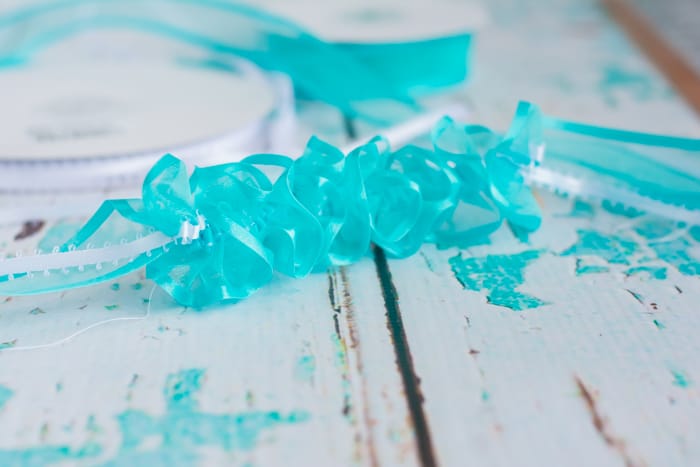
The process is easy, but once you scrunch the ribbon down and spiral it, feet of ribbon become inches of lei.
Just keep working and you'll get there eventually! You may need to un-twist the working ends of your ribbons every once in a while - you'll see what I mean. You may also notice the tail end of your thread becoming frayed - it's totally okay to tim it off and work more thread through the lei to replace it. In fact, trimming the frayed in can help prevent tangles! If you get a knot in your thread, don't panic.
Simply trim the thread to cut away the knot and feed more thread from the spool through the lei! This is why I like the thread on spool method so much. =)
8. Most lei are at least 36" long, but make yours as long as you'd like. Once you're satisfied with the length, arrange the ribbon so it spirals nicely.
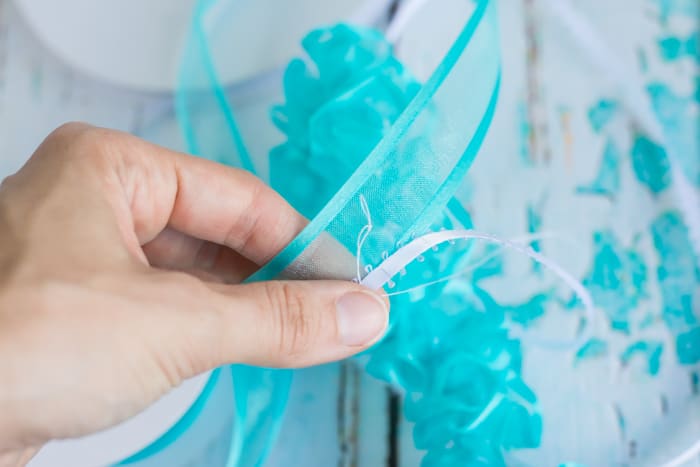
9. When you're happy with how your lei looks, you're ready to fasten off the thread. I do this by making several small stitches in the same place, pulling my thread through the loop formed by the stitch, and tightening down. Simply tying a knot at the end of the thread is not particularly secure, but if you have a different preferred method of securing thread from prior sewing experience, feel free to use it. Trim the thread's tail, leaving at least half an inch extra to help keep the knot from coming undone.
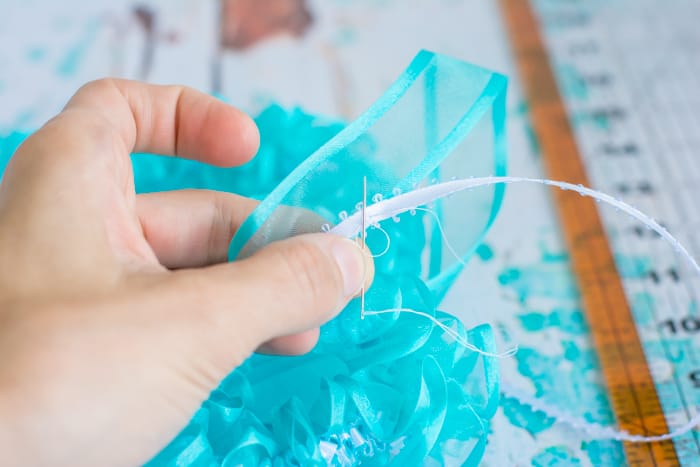
10. Go down to the spool end of the thread and cut it free, leaving about a foot extra. Thread this through your needle, tighten the ribbon as much as possible, and then secure the thread in the same manner you used in step 9.
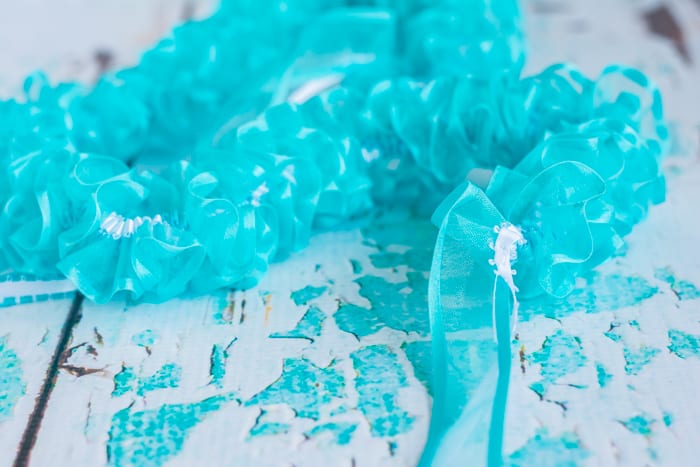
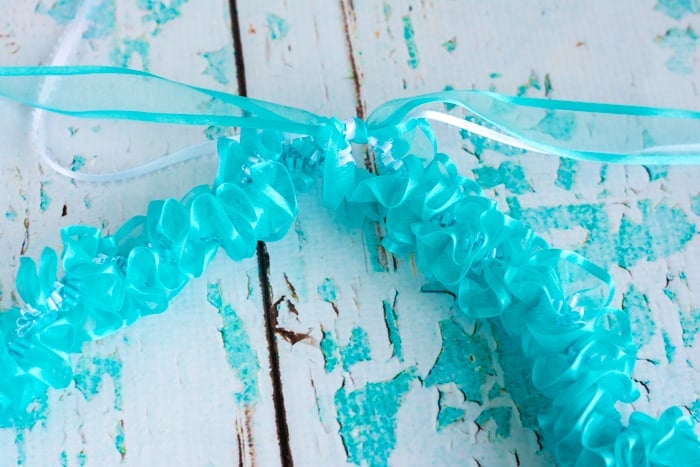
12. Cut the spool ends of the ribbon free, leaving at about 18" of additional ribbon.
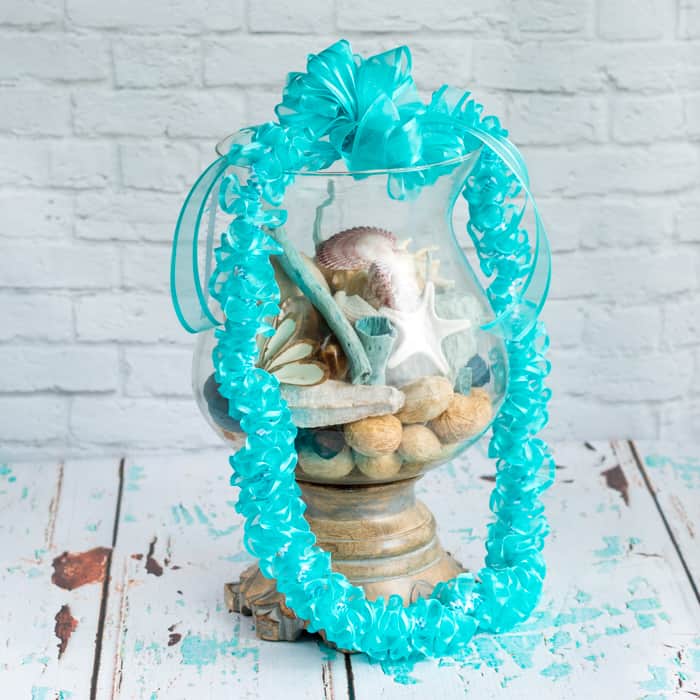
13. Tie the ribbon ends together with a square knot to form you lei! Finish it off with a "normal" bow, or make yourself a fancy bow.
14. To make a fancy bow, cut about 3 or 4 yards of your wide ribbon, Then cut an additional section of about 18". Wrap the longer section of ribbon around a thin notebook or paperback book, as shown.
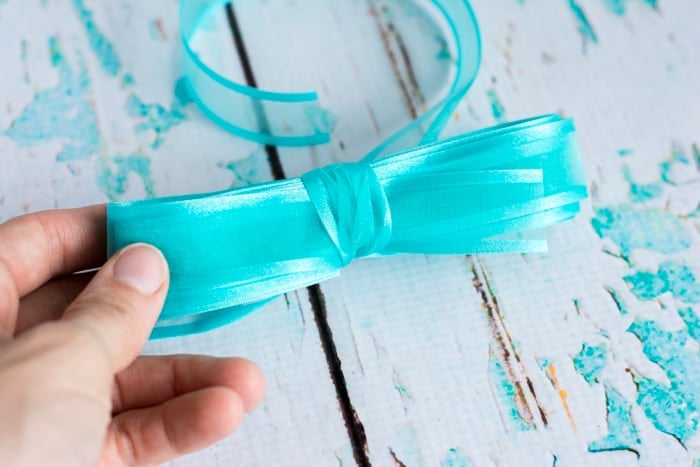
15. Carefully slide the ribbon off the book, keeping the loops intact. If your loops were tight, you may need to bend the book a little.
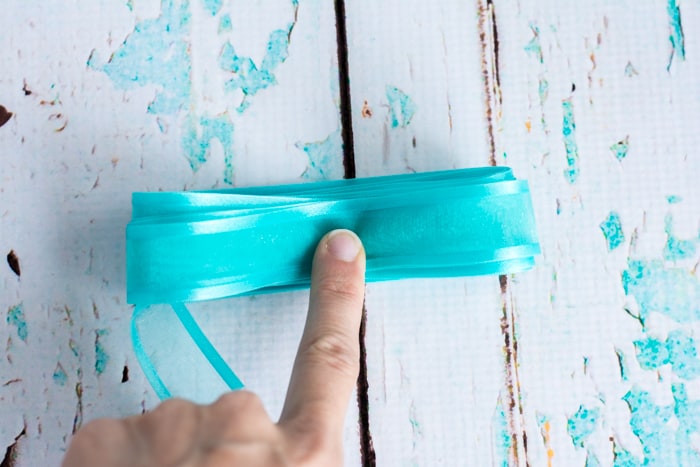
16. Secure the loops in place with the shorter piece of ribbon. I like to make sure I have the middle of the short piece around the center of the loops (where my finger is pointing in the picture above!) and I secure the shorter ribbon with a square knot.
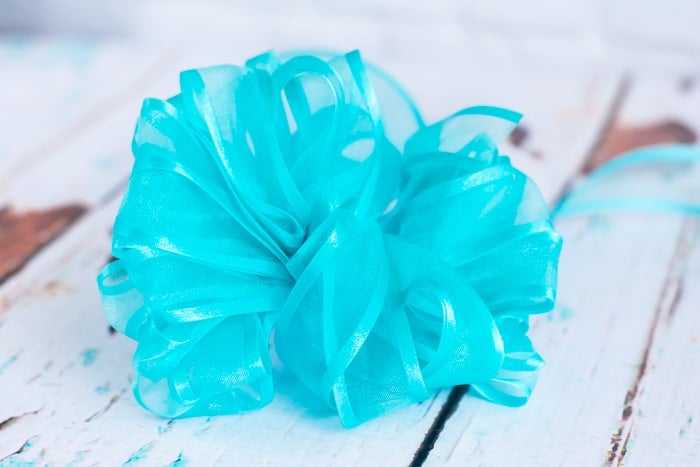
17. Fluff the bow by pulling the loops apart from one another and pulling some forward and others back. Just play around with it until you're happy!
18. Use the ends of the shorter ribbon to secure the bow to the lei. I suggest using a square knot to secure the bow over the square knot made in step 13. Trim the ribbon ends to your desired length and you're done!

The steps are simple, but it really did take me a couple hours to make the demo lei for this tutorial. If someone is graduating, celebrating a wedding, returning home from deployment, etc., it is totally worth it, though, to have a handmade lei for that special occasion! Unlike a flower lei that fades, a ribbon lei is a keepsake the recipient can hold on to for years to come.
I believe handmade gifts are so much more meaningful than store bought ones, don't you?
I now have a video tutorial for this project! If you find the pictures a little tricky to follow, please stop by this post to learn more. =)
So, how about it? Are you ready to try your hand at a spiral ribbon lei, or will you stick to the "braided" style made with loops?
More Related Posts
[pt_view id=“15d429e15n"]
[catlist search="tutorial" numberposts=4 orderby=rand excludeposts=this]

Duni
Your lei are so cute!!!
I like this tradition and thanks for sharing the great tutorial 🙂
Natashalh
You are so kind! Thank you.
Judy Nolan
This is such a clever idea with oh-so-pretty results!
Natashalh
Thank you! I have added to the collection of leis our miniature David statue is wearing. He makes a great lei-holder!