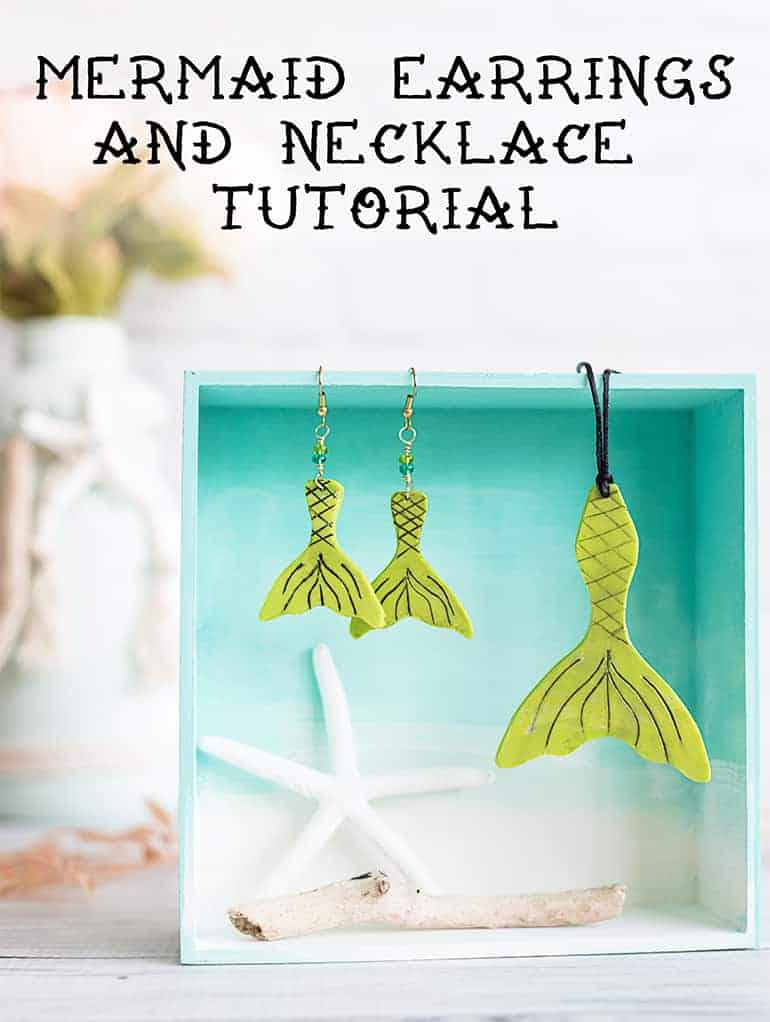
These mermaid tail earrings and mermaid tail necklace are super easy to make with polymer clay and a free printable mermaid tail pattern!
Summers are for mermaiding! Our return to Hawaii and first glimpse of the beach for a while has me in a mermaid frame of mind. I've been playing with polymer clay a lot lately - I love how lightweight and flexible thinner pieces of clay are - so I decided to make a pair of mermaid earrings! Okay, so... actually I ended up making several pairs of mermaid earrings matching mermaid tail necklaces!
I hope you enjoy this mermaid tail earring tutorial and the free mermaid tail pattern for both earrings and a necklace!
This post may include affiliate links, which means I may make a commission on purchases made through these links at no additional cost to you.
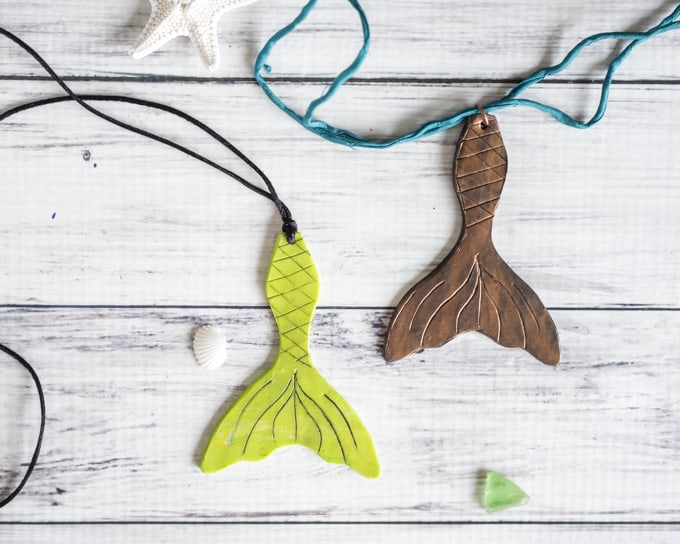
There are two main ways to approach these mermaid earrings.
You can either use black clay and add sparkle and color with mica powder (or paint, after the clay is baked), or you can go ahead and use a mermaid-y color clay and add detail back in with black paint after baking. You can pick your favorite way to make the mermaid tails or just make both, like I did. 😉
I absolutely love the shimmer that comes from using mica powder on the black clay. It's basically impossible to catch in a still photo, so here's a little clip for you to demonstrate just how lovely it is.
If you don't have mica powder, don't worry - the non-shimmery version of the mermaid earrings is also pretty darn cute! And totally easier to photograph - I'll be showing the green pair for most of the mermaid earring tutorial.
Materials needed for DIY mermaid earrings & a mermaid tail necklace!
- Polymer clay! About an ounce of either black clay or your choice of colors. For the green mermaid tails, I mixed in some shimmery white for a bit of a glow (both greens and the shimmer white are in this Premo! sampler pack). I highly, highly recommend you use a "nicer" polymer clay like Premo! Sculpey or Kato. These clays are more flexible and durable, which means your lovely mermaid earrings will last longer.
- A pasta machine for polymer clay use or an acrylic clay roller
- A small ball head tool, darning needle, or colored pencil
- A hobby knife
- A small piece of cardstock, an index card, or even just a plastic card (like an old gift card or library card)
- Black acrylic paint or mica powder. I used a "bronze" Perlex from this set
- A small paintbrush
- Jewelry findings and tools.
- For the earrings you can use a simple pair of jump rings and French wires, or you can get more elaborate with making your own beaded links.
- For the necklace, you can keep in simple with a length of narrow "rattail" satin cord, or you can use a silk cord, chain, or whatever else you'd like.
- If you need to cut wire to make jump rings, you'll also need wire cutters and jewelry pliers.
- A piece of printer paper or plain cardstock. You can use this both for your work surface and to bake the clay on.
- Your free printable mermaid tail pattern!

Mermaid earring tutorial
Print and cut out your mermaid tail patterns!
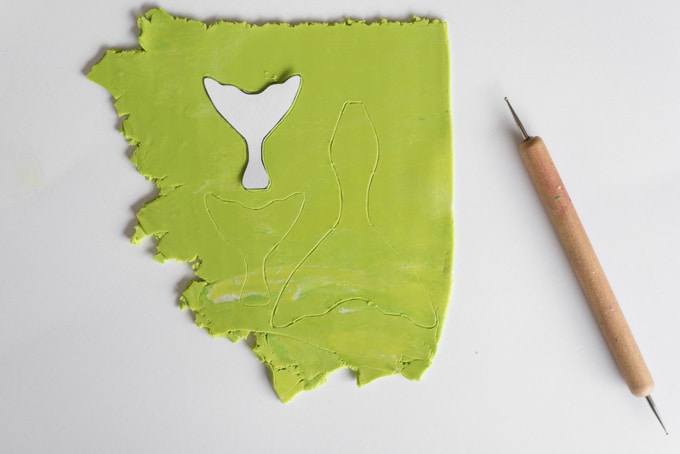
Condition and roll out your clay to about ⅛" thick. Condition just means knead or run through your roller until it becomes softer and more malleable. For the green fins, I mixed together some green clay with a bit of pearl white for a shine. Trace around your pattern pieces with your ball head tool or colored pencil. Make sure to trace two of the smaller mermaid tails for a pair of earrings! I recommend working with your clay on a piece of printer paper or cardstock. This helps keep your clay and your work surface clean.
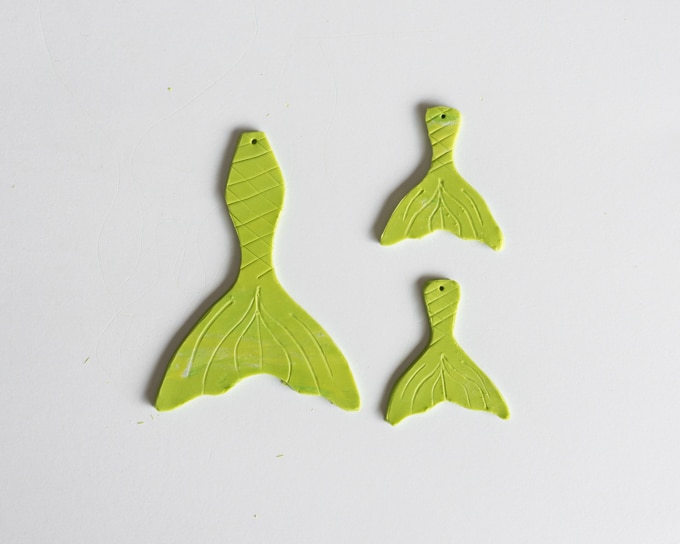
Use your hobby knife to cut out the mermaid tails along the lines you just traced, then add details. Use your ball head tool or colored pencil to etch lines on the fins, then your index card (or other card/small piece of cardstock) to make cross-hatching for the scales up the tail. Press hard enough to leave a visible mark, but make sure not to cut too deeply! Make a hole at the top center of each tail for a jump ring. To make the hole, simply press your ball head tool, needle, or pencil all the way through the clay. Poke it through again from the opposite direction, if needed, to make sure the hole is large enough for your wire.
If you're working with black clay, paint on your mica powder at this point.
Bake you polymer clay according to the package's directions. Premo! bakes at 275ºF for 30 minutes per ¼" of thickness, so I baked my mermaid tails for 20 minutes. If you're using a different brand or product line, please make sure you follow the specific instructions for your clay.
If you used non-black clay and want to make the details pop, paint black acrylic paint along the detail lines. Allow it to dry for a minute or two, then use a damp paper towel to wipe away excess. If you're having a particularly difficult time removing excess paint, use wet or dry 400 grit sandpaper and sand the fins until the extra paint has been removed. Always make sure to sand polymer clay wet - you don't want to breath in polymer clay dust! Do not sand pieces you've coated with mica powder - it will remove the powder.
Now it's time to make your jewelry! You can use a simple jump ring to attach the mermaid tails to your ear wires, or you can make a beaded link if you're more familiar with jewelry making.
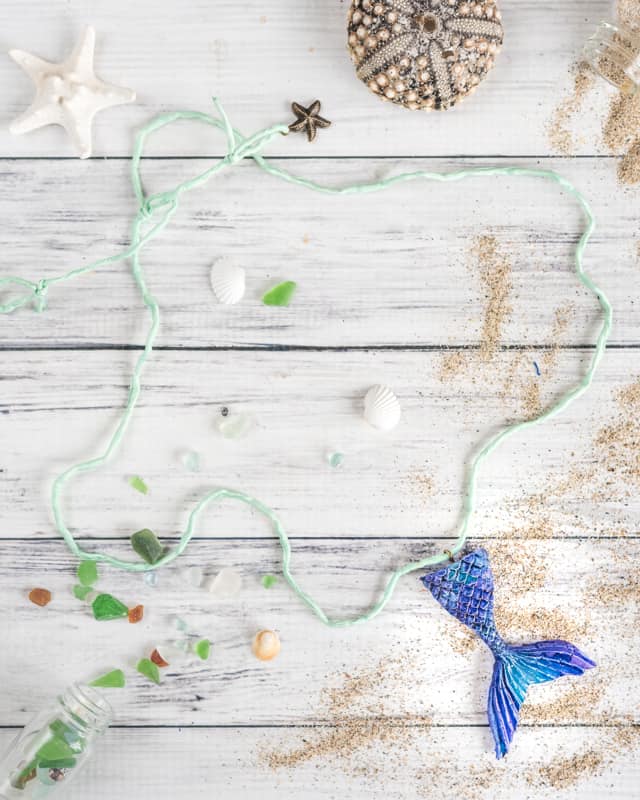
To make the larger tail into a mermaid necklace, you can loop cord directly through the hole, as I did with the green fin, or make a jump ring/beaded link to attach the fin to a cord or chain. You can tie the cord with a square knot, bow, or a sliding barrel knot.
 To show some potential variations, I used a jump ring and copper ear wires with my shimmery mermaid earrings:
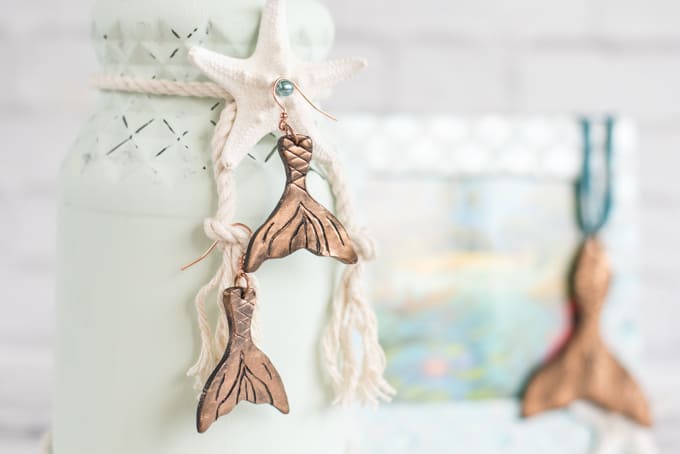
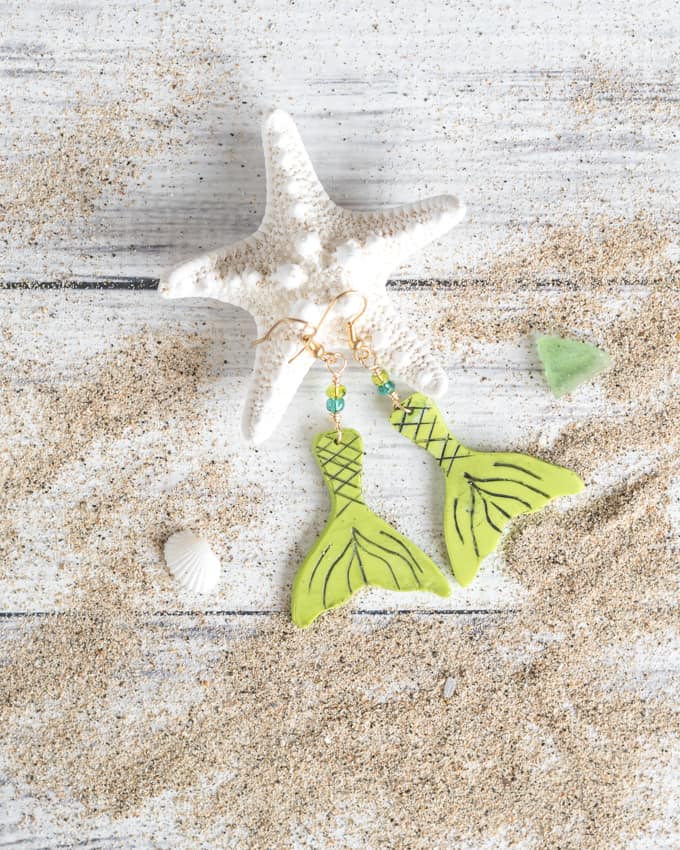
And I made simple beaded links for the green earrings:
I really hope you enjoy this mermaid earring tutorial! I have sensitive ears and can't wear heavy earrings, but the polymer clay is surprisingly light and, when you use Premo!, flexible and durable. Since polymer clay is waterproof and the earrings are so light and easy to wear, they are absolutely perfect for day at the beach!
More mermaid craft tutorials
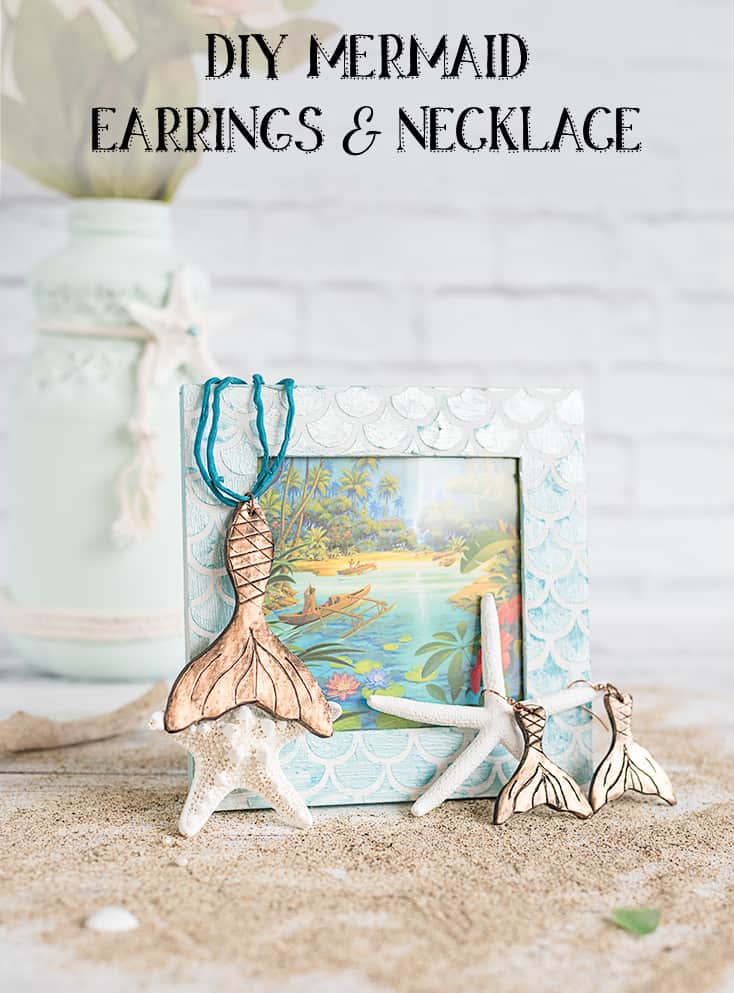
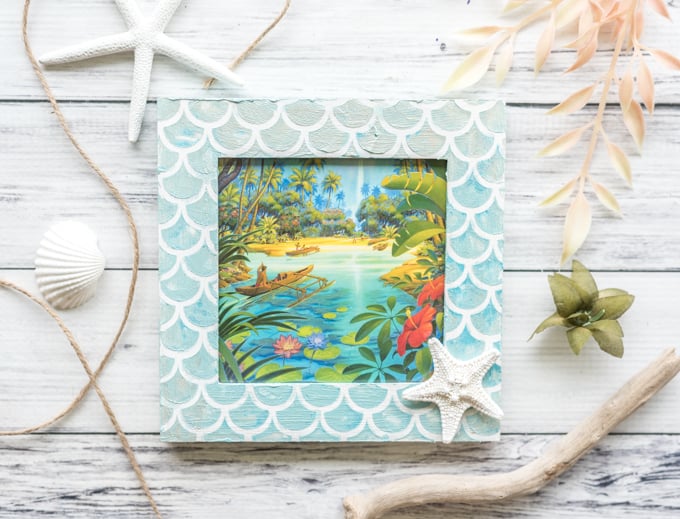
If you need more mermaid in your summer, I hope you stop by a few of my other tutorials for fun things like a mermaid picture frame:
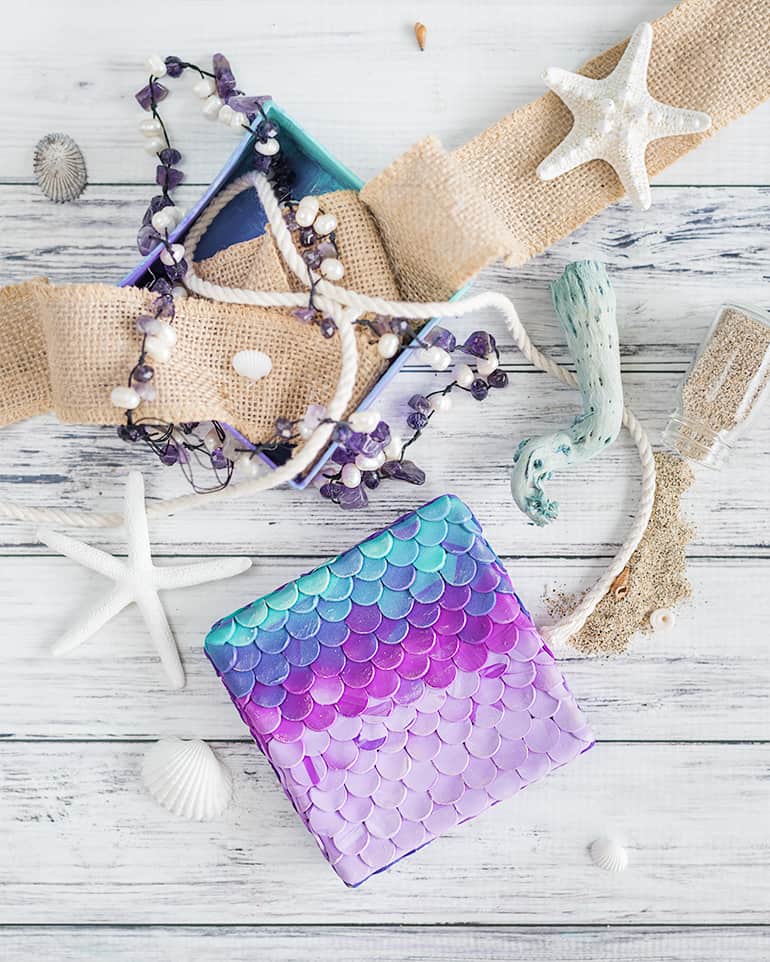
And a mermaid box for your sea treasures!
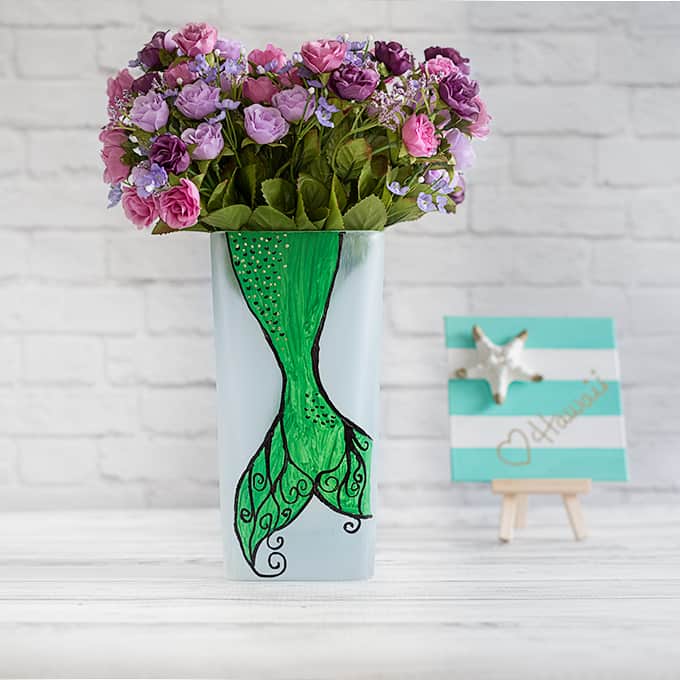
Or perhaps this mermaid vase?
Mermaid tail necklace (made with hot glue!)
How are you mermaiding this summer?

More Related Posts
[pt_view id=“15d429e15n"]
[catlist search="tutorial" numberposts=4 orderby=rand excludeposts=this]
marieken
What a fun tutorial, I've never seen mermaid earrings before. I haven't visited your (or another blogs) for a while. I always love the positive vibe your blog has.
Natashalh
Thank you! =) I hope you've been away from blogs because you're busy in a 'good' way.
Julie
This is so cute! Love mermaids! Almost got a mermaid tattoo but in the end I didn't.. Hehe
Natashalh
Sometimes I feel like the only person in Hawaii without a tattoo, but I can't stand needles! There's just no way I could deal with it.