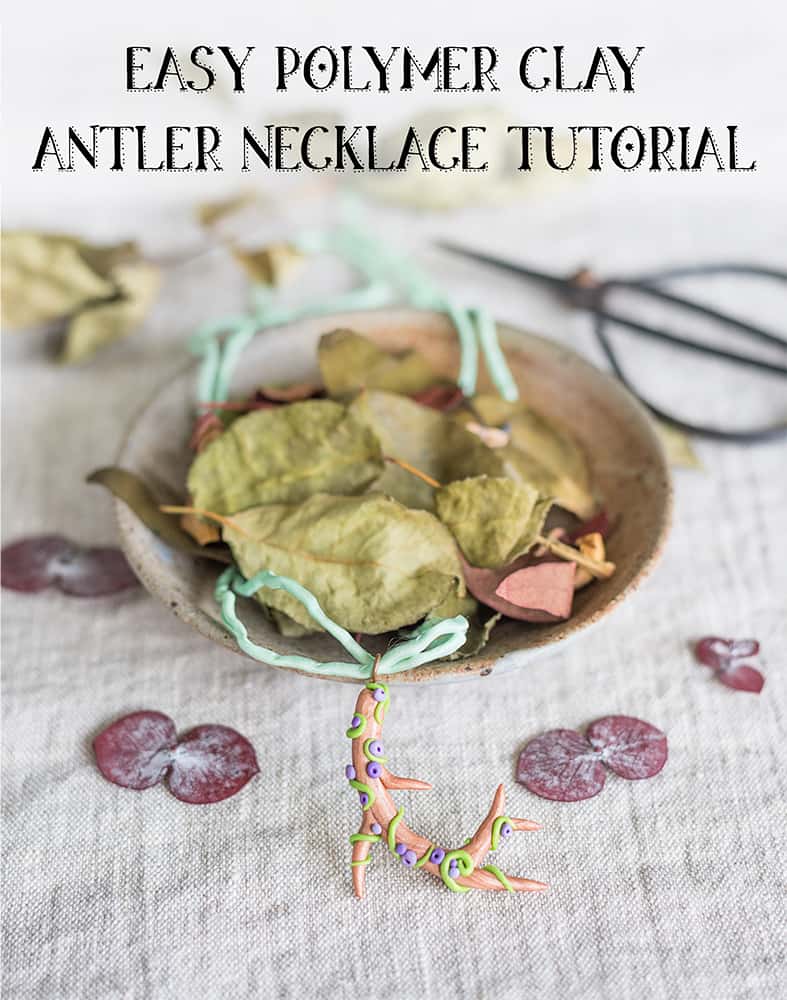
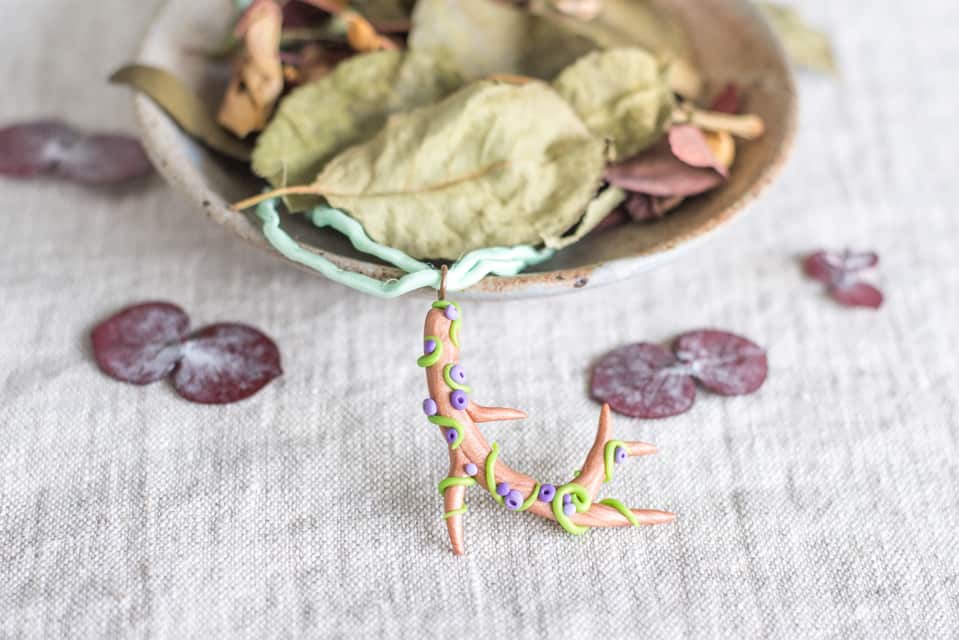
This polymer clay antler necklace is cute and so easy to make!
Have you ever been walking through the woods and found a shed antler? Deer shed their antlers every year, usually sometime in late winter-early spring. Other animals seek out these shed antlers as a free vitamin supplement! They gnaw on (and ultimately eat!) antlers because they're provide calcium and phosphorous. Animals from mice to beavers and even bears have been spotted gnawing on antler!
Our recent trip to WV, and all the deer we saw, inspired this polymer clay antler necklace tutorial. It's quite simple and doesn't require any special clay/sculpting tools so I hope you enjoy!
This post may include affiliate links which means I may earn a commission on qualifying purchases at no additional cost to you.
Table of Contents
Materials needed for an easy polymer clay antler necklace
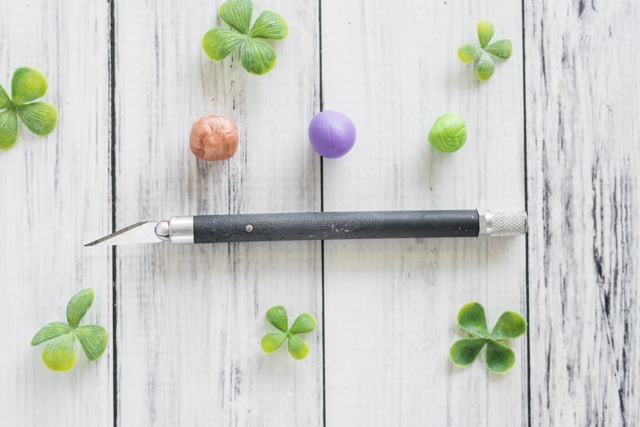
- Polymer clay - a roughly grape-sized amount of polymer clay in each color you plan to use. Use more clay if you'd like a large antler or pair of antlers!
- I used copper, green, and purple Premo! Sculpey. I mentioned it every time I have a polymer clay tutorial, but I really recommend you use Premo! instead of "regular" Sculpey like Sculpey III. It cost a few cents more, but it's much more durable. This Premo! sampler pack is a great way to get started.
- A hobby knife
- A small ball head tool/"dotter" or a colored pencil. A regular pencil leaves graphite marks in the clay, but a colored pencil doesn't!
- A piece of paper or cardstock. This will be your work surface and you can bake you clay on it.
- An eye pin or wire, pliers, and cutters to make your own.
- Bake & Bond, liquid polymer clay, or glue - optional
- A cord, chain, etc. for your necklace. I love using hand dyed silks from Etsy seller Jamnglass.
Polymer clay antler necklace tutorial
Condition your clay to get it warm and malleable.
Conditioning just means kneading the clay around to prepare it for use. When clay is warm and well conditioned, it adheres better to itself so it's important to make sure your clay is conditioned before starting your antler necklace!
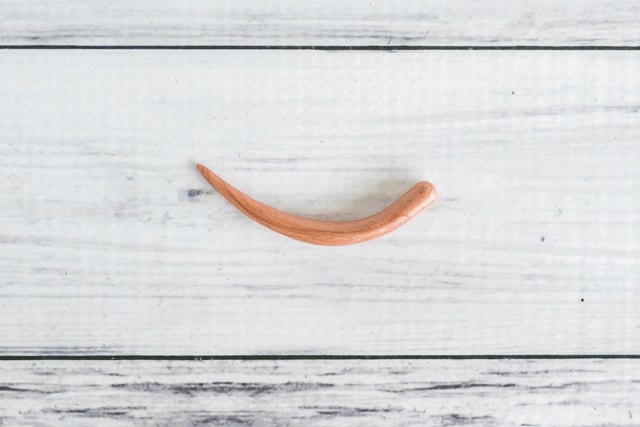
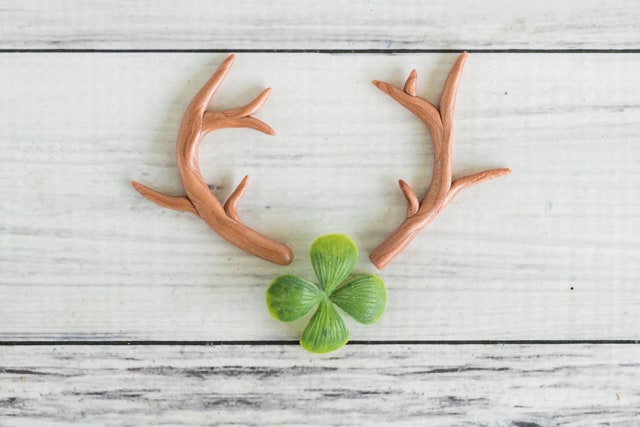
Begin by creating the main portion of your antler.
Make a "snake" of clay, just like when you were a kid with Play-Doh. Taper it so it's fairly thin on one end and thickest at the other. My antler is just under ¼" at its thickest., but you can make yours as large or small as you'd like. If it looks too long, simply use your hobby knife to cut away some length.
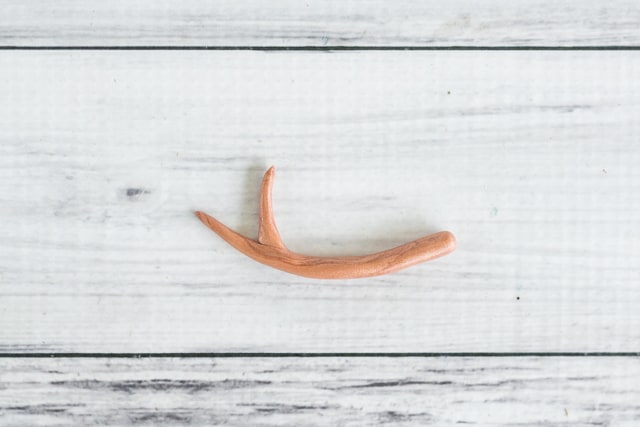
Start making the points and branches! Make smaller, shorter "snakes" of clay and use your hobby knife to cut them at an angle. This angle cut makes it easier to place on your antler base.

Stick the point in place and smooth down with your fingers.
Normally when I sculpt with polymer clay I obsess about smoothing everything completely, but it can be difficult to smooth the antlers pieces much without messing things up or flattening pieces out. Don't stress any visible seams as long as the pieces are firmly attached! We'll be using vines and berries to help hide the creases. If you're having trouble getting your antler pieces to stick together, use your hobby knife to lightly score the base of the point and where you plan to attach it to the antler. This scoring can help the pieces stick together better.
Keep adding on more points until you're happy with your antler.
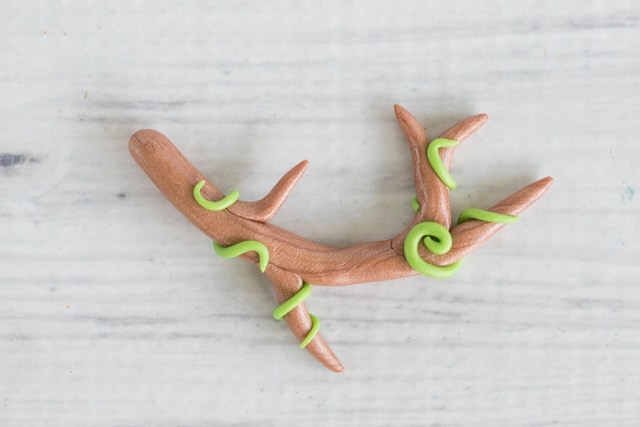
To make decorative vines, roll out thin pieces of green clay and add them to your antler.
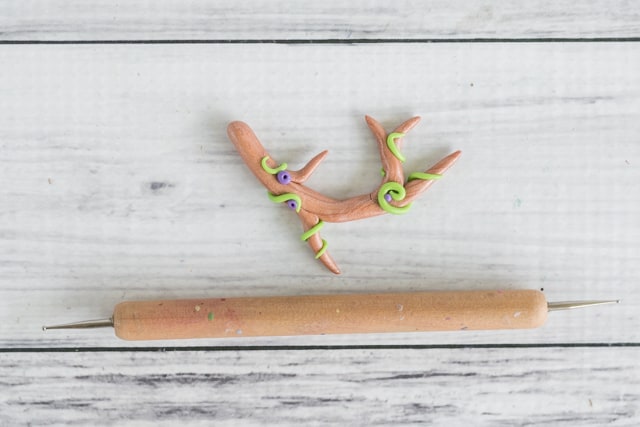
If you want to add berries, simply make small balls and press them in place with a ball point tool or colored pencil.
Keep adding berries until you're satisfied! For a bit of variety, try mixing in a small amount of white to lighten the color for a few of the berries.
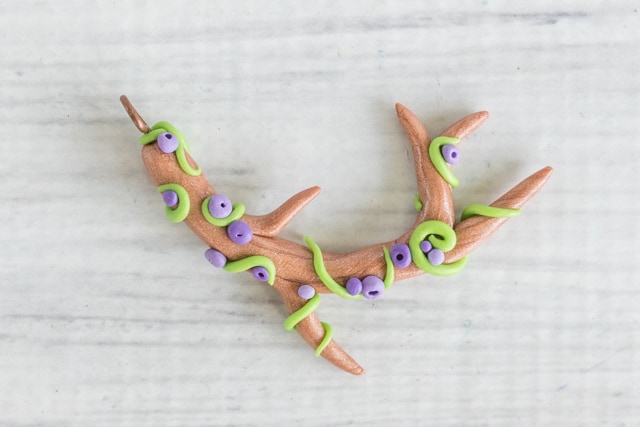
Carefully insert your eye pin into the antler's 'base,' as shown in the photo above. If you'd like, you can then remove the pin, add a drop of Bake and Bond or liquid clay, and reinsert. You can also glue it in place after baking if it comes loose.
Bake your clay according to the package's instructions. Premo! bakes at 275ºF for 30 minutes per ¼" of thickness.
Once your decorated antler is out of the oven and cool to the touch, string it on a cord or chain and enjoy your awesome new polymer clay antler necklace!
More polymer clay tutorials!
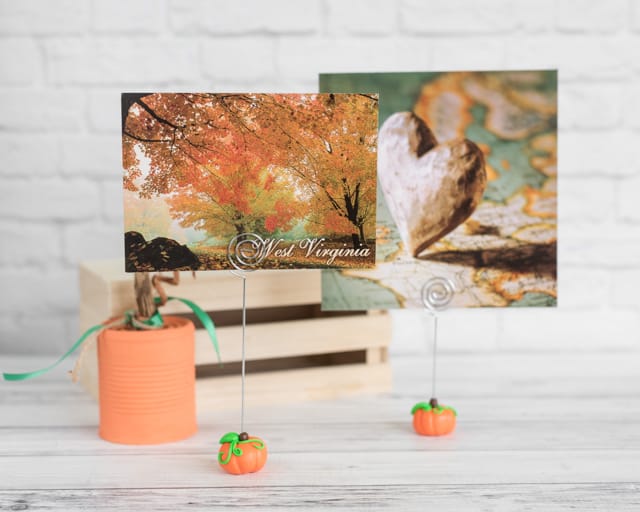
Polymer clay pumpkin photo holders
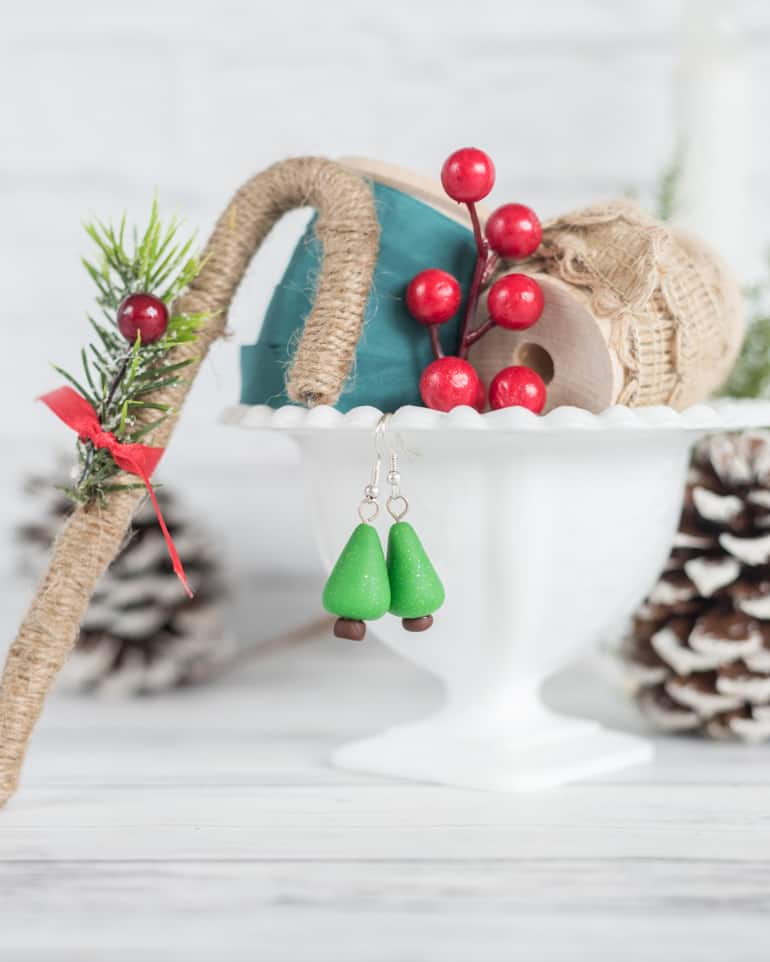
Polymer clay Christmas tree earrings
Are there deer in your area? Have you ever found shed antler?
More Related Posts


Pamela Baker
I have been saving this article - I wanted to take time to read it. Love the adorable antler plus the info on the life of antlers!
Since one my desires for quite a while is to work with polymer clay making some of my own designs. Thanks for all the details of the many items needed. Didn't know about the liquid Polymer Clay. You make it all seem to simple, even adding the eye pin before baking!
Thanks for sharing!!!!
Natashalh
Liquid polymer clay can also be handy for adding accents! You can get it in colors or add in some colored clay. People frequently use it for drippy icing on clay doughnut and cake charms, for example. I hope you're able to start playing with clay soon! It's so much fun.
Sarah
These are so adorable. You obviously are so much more patient than me with these kinds of things.
Natashalh
No way - your layered art pieces must take so much more patience! Thank you, though. =)