This post may include affiliate links, which means I may make a commission on purchases made through these links at no additional cost to you.
Like most mixed media crafting supplies, spray inks are difficult for me to come by in Hawaii. They're also not something I like to purchase on the Mainland and bring home in my luggage because I don't want to accidentally tie-dye my everything when my bag gets thrown around!
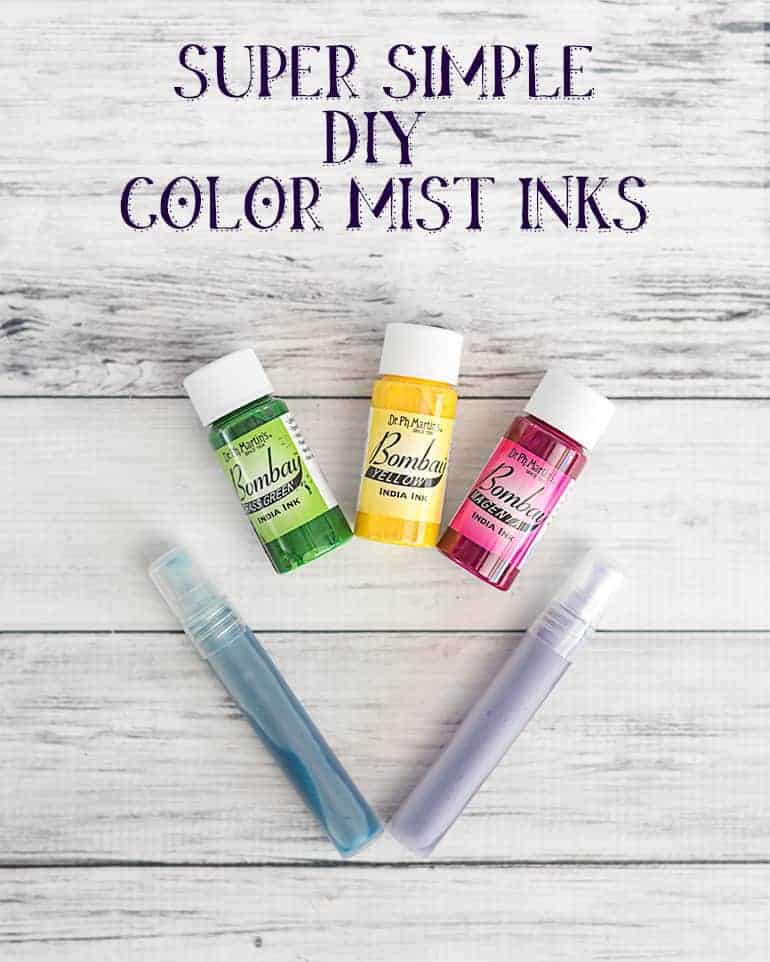
I've made a couple different color mists before (once using food coloring and another time with gelatos), but I wanted a permanent spray ink for some projects. Since I couldn't buy it, I decided to DIY it! These DIY color mist with India inks are super simple to mix up in a flash and a great way to use the same crafting supplies for more than one purpose!
What do I need to make my own spray ink?
- India inks - I used Dr. Ph Martin's Bombay India Ink
- Small spray/spritz bottles
- Droppers or pipettes, if your bottles don't have built-in droppers
- Water
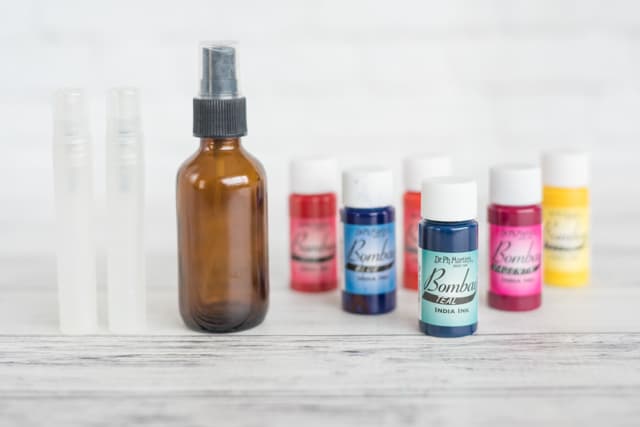
I tested this spray inks with both atomizer-type bottles (the little plastic ones) and 2 oz glass misters. I really expected to like the glass bottles more for this project, but I didn't! The atomizer bottles worked far, far better for me because they had a finer mist and more even spray. I have two Faber Castell spritz bottles from their gelato "mist makers" set and wish I had a dozen more!
How to make your own color mist inks
Are you ready? Don't blink - you might miss the tutorial! It is so super easy:
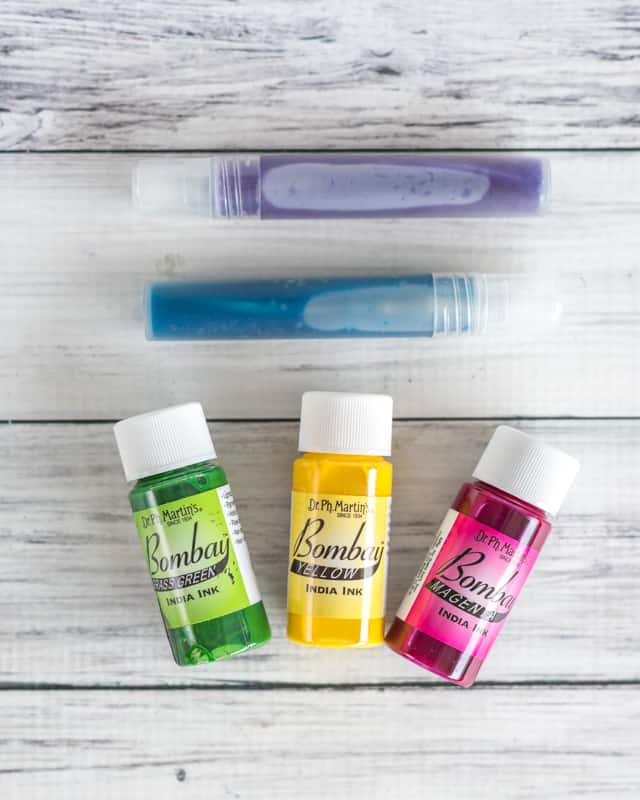
Transfer some ink to your bottle using a dropper. (You can try to pour it if you feel very confident, but India ink stains!) The exact amount of ink needed depends on the size of your bottle and your desired outcome - I used about 10 drops of ink in my smaller bottles.
Add water, but leave a little space in the bottle. Test out your ink. If the color is too light, add more ink. If it's too bright, add more water.
Done!
Your waterproof, lightfast color mist inks are now ready to use. They're great for mixed media projects, textiles, and much more! Here's a little preview of what I've been using them for:
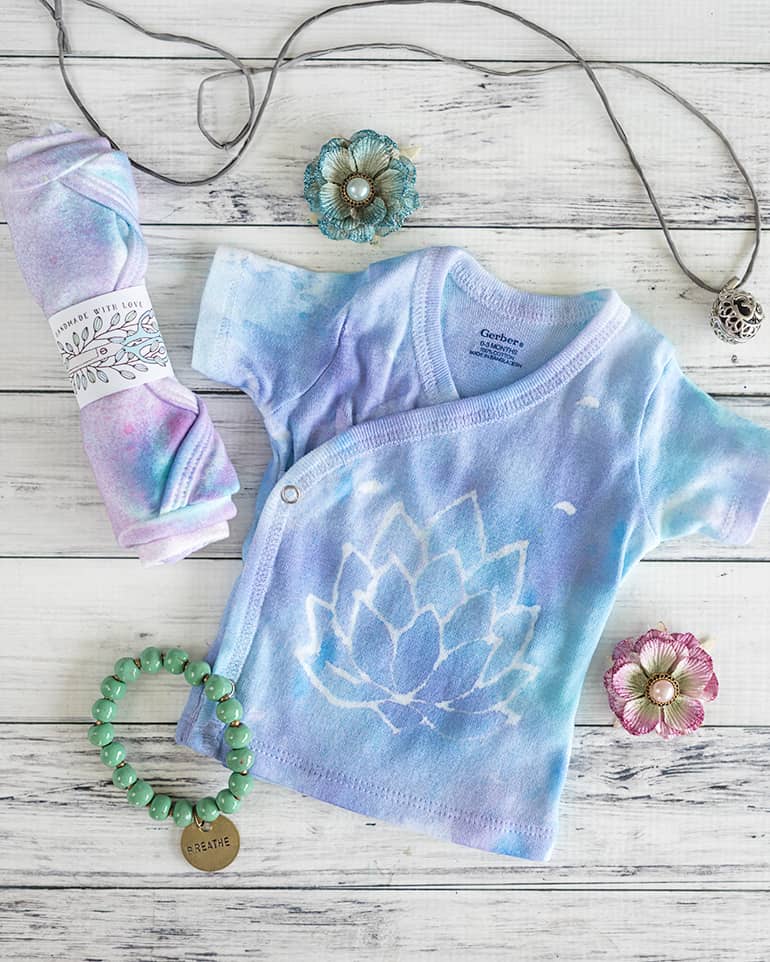
The pictured shirt was created using a homemade hot glue "stencil" that I'll be sharing in baby and adult sizes soon!
What crafting supplies do you like to DIY or multitask?
![]()
More Related Posts
[pt_view id=“15d429e15n"]
[catlist search="tutorial" numberposts=4 orderby=rand excludeposts=this]


BeadedTail
I haven't heard of india inks before but looks like much fun can be had with them! That baby shirt is adorable! Your little one is going to have the cutest clothes!
Natashalh
They're permanent inks that people use for calligraphy, painting, and a lot of other things. I definitely didn't protect my backdrop well enough while I was taking photos for this post and now there are spaces of green and magenta ink on my vinyl background! I've had a lot of fun making clothes like loose-fitting pants and kimono tops out of fabric scraps, too. It's been a great excuse to clean out my fabric stash!
Pamela Baker
Can't wait to try your "color mist" inks. I have made my own alcohol inks - using the insides of markers and rubbing alcohol - a lot cheaper than buying it in the craft stores!
Now you can make some adorable "onsies"!
Natashalh
I've seen the suggestion to use markers and alcohol before, but I've never tried it. Because I needed something a bit more durable, I'd have wanted to use alcohol markers and they're super expensive here! I had a lot of fun painting side snap shirts and bodysuits in a couple different sizes and variety of colors. =)