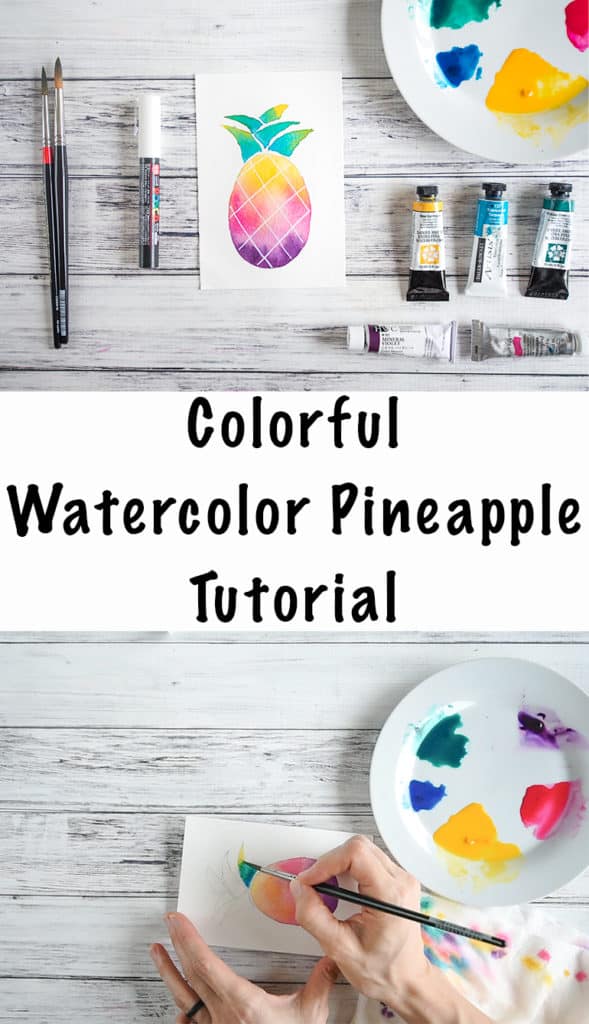
This tutorial for a watercolor pineapple is so easy to follow with a full-length video!
This post may include affiliate links, which means I may make a commission on purchases made through these links at no additional cost to you.
I painted this pineapple on a postcard to help make the project more accessible, but you can absolutely use something else. These watercolor postcards are inexpensive, easy to find, and an easy, small size. Please use something else if you'd prefer. You can also use whatever colors you'd like, but I love the colorful, tropical vibe this pineapple has!
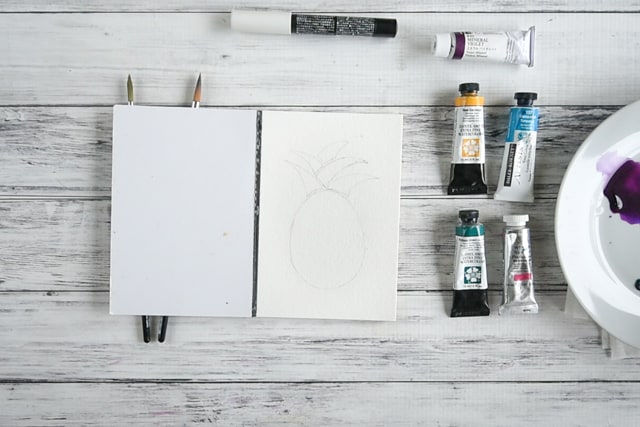
Materials needed to paint a colorful watercolor pineapple
- Watercolor paper. Please use at least 140 lb paper if you want to enjoy the process and your results! I demonstrated using 4x6 watercolor postcards. (For my 'normal' paintings I typically use Arches cold press paper.)
- Watercolor paints in your chosen colors. I recommend, at minimum, a pink, a yellow, and a green. I also used a purple and a blue for added interest.
- You can use whatever watercolor paints you have on hand, but I used my artist quality paints. I use primarily tube watercolor paints, but the colors I use should all be available in pans (dry cakes) if that's what you prefer. My first watercolor teacher liked the pans, so that's what I ended up with!
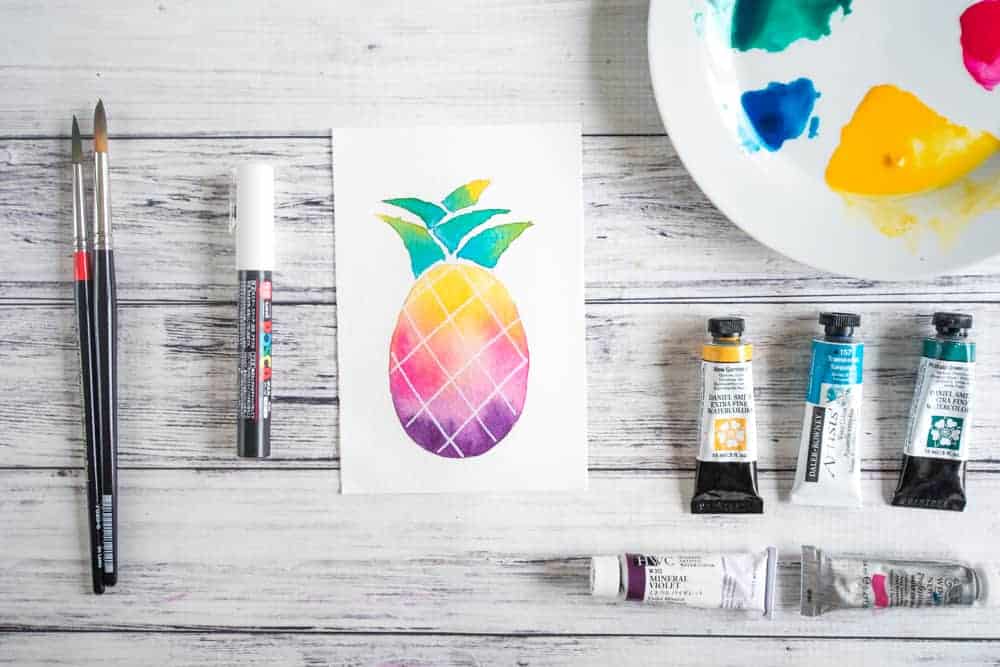
- Daler-Rowney Transparent Turquoise (at the time of writing, I could not find this one on Amazon to give you a link)
- Holbein Mineral Violet (a lovely purple that 'granulates' and spreads/mixes well)
- Winsor & Newton Permanent Rose
- Daniel Smith New Gamboge (this is a warm yellow)
- Daniel Smith Pthalo Green Blue Shade
- I've used more of this paint than any other color and after several years I have loads of it left. Watercolor paints are expensive per milliliter, but they last a very long time.
- If you're not looking to invest in artist quality paints but want something a bit nicer than Crayola, the Sakura Koi watercolor field set is a popular choice.
- The Prima watercolor set in Tropical would also be a good choice for this project.
- You can use whatever watercolor paints you have on hand, but I used my artist quality paints. I use primarily tube watercolor paints, but the colors I use should all be available in pans (dry cakes) if that's what you prefer. My first watercolor teacher liked the pans, so that's what I ended up with!
- A pencil for sketching your pineapple. I always sketch with my .9mm Sakura Sumo pencil.
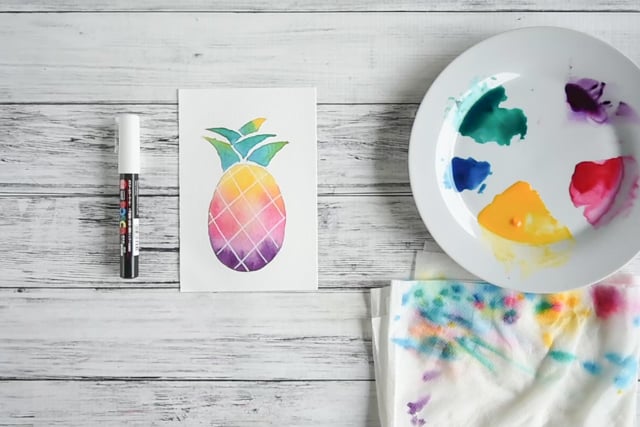
- A fine tipped white paint pen. I used an ultra fine Posca Pen, but a Sharpie paint pen or some other brand would work fine.
- Watercolor paint brushes. I used a #6 and a #8 round.
- Paper towels for wiping your brush
- Water and a container. Using a too small water container is a huge mistake! I use a 2.5 quart paint mixing bucket from the hardware store. You don't have to go quite that large, but please use something sizable (large yogurt container, plastic ice cream/sorbet container, etc.)
- Something to use as a palette. A disposable plastic plate is fine. I'm demonstrating using a cheap ceramic plate from a discount store.
Although I've provided Amazon links above, and I've purchased most of my art supplies from Amazon recently because of the shipping to Hawaii, my favorite online art retailer is Cheap Joe's. They have a great selection and discount prices. I'm not a Cheap Joe's affiliate, just a fan who can't wait to visit their physical stores in North Carolina one day soonish.
Tropical watercolor pineapple tutorial
As I mentioned above, this is primarily a video tutorial because it's such easier to demonstrate watercolors in video than with still images. If video isn't your thing, the basic steps are listed below the video.
Sketch our your pineapple. Draw an oval, refine it into an egg shape if you'd like, then add spiky bits on top for the leaves.
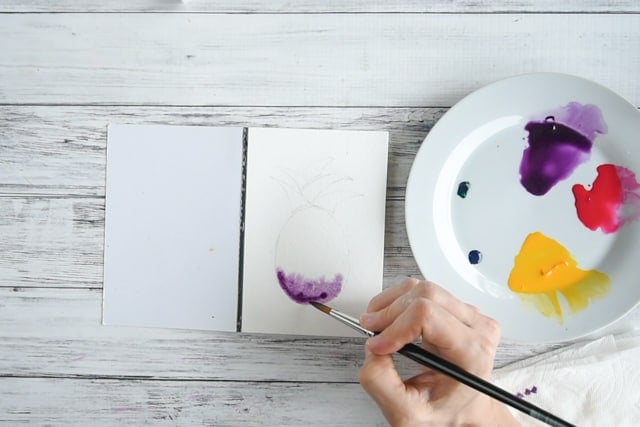
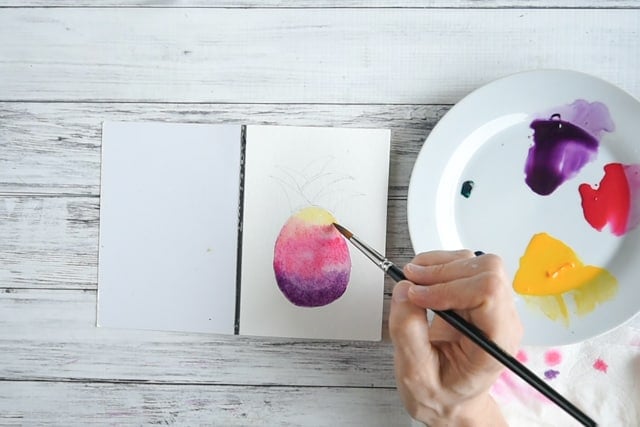
Get your purple, pink, and yellow paints mixed up so they're wet, but also nice and juicy with plenty of pigment.
Lightly wet the pineapple, but not the leaves.
Paint the bottom of the pineapple purple.
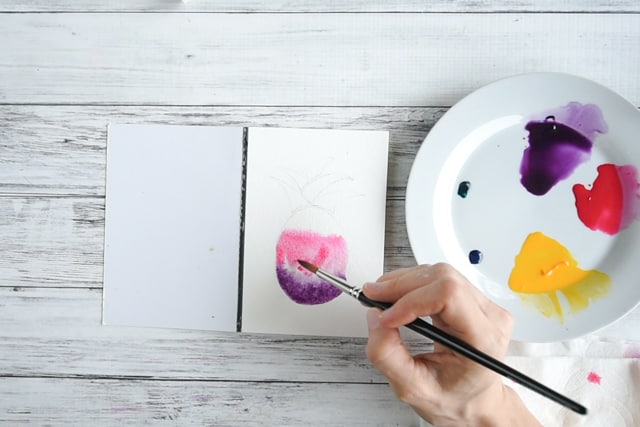
Clean your brush, then add pink in the middle third-ish of the pineapple. Start from the top and then pull the paint down into the purple. I like to dab the tip of my brush on the paper towels before heading to my paper so I don't get a sudden blob of water/pigment because this can mess up your painting.
Clean your brush and add yellow to the top of the pineapple. Bring some down into the pink so it can mix and make an orange shade, but do not let the purple and yellow mix. They are complements, which means they look well next to each other but turn to mud when mixed.
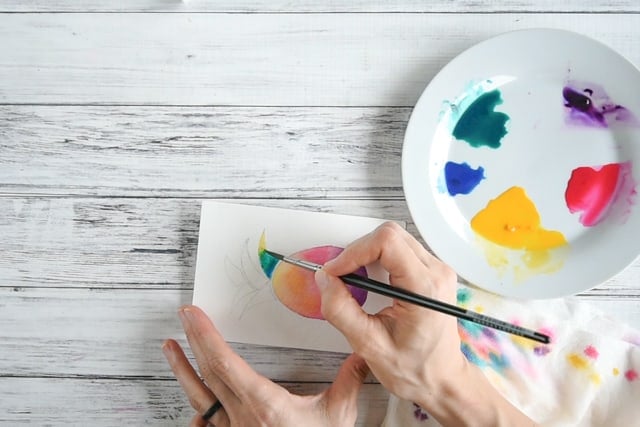
Allow the pineapple's body to fully dry, then wet your green and blue paints. Add more water to the yellow, if needed.
Working on one leaf at a time, lightly wet the leaf, then add blue to the bottom, green to the middle, and a touch of yellow on the end/top. Always make sure to wash your brush well between colors and dab off extra water so you don't dilute your paint more and more as time goes on.
Once everything is dry, add crosshatching with your paint pen.
Voila! A cute, colorful watercolor pineapple. If you'd like to actually mail your postcard, I recommend using an envelope and sealing the postcard with a protectant (like the Krylon matte clear spray, for example).
I had so much fun making this watercolor pineapple tutorial that I can't wait to share more watercolor tutorials in the future! It was very enjoyable to do a quick and easy project. These days, even small paintings can take me a couple of weeks to complete because of LG. This luna moth, for example, sat around for at least two weeks partially finished. Yikes! It was great to have a painting I could quickly finish in under an hour.
I really hope you enjoyed this watercolor pineapple tutorial as much as I did. Is there anything in particular you'd like to see as a watercolor tutorial in the future?
More Related Posts
[pt_view id=“15d429e15n"]
[catlist search="tutorial" numberposts=4 orderby=rand excludeposts=this]



Marieken
That's a happy looking pineapple! I always enjoy your tutorials. There are so many floating around the internet, but yours always stand out.
Natasha
Thank you!