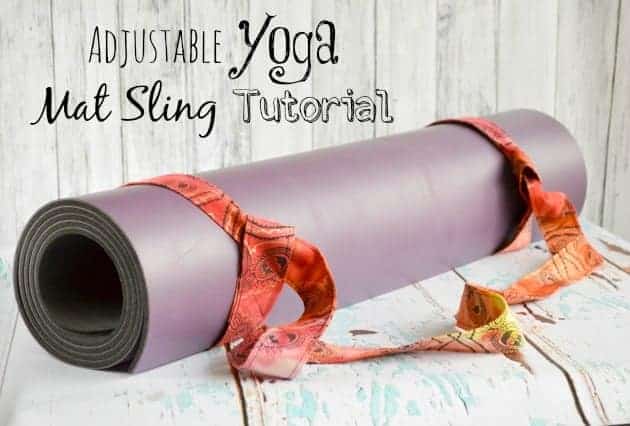
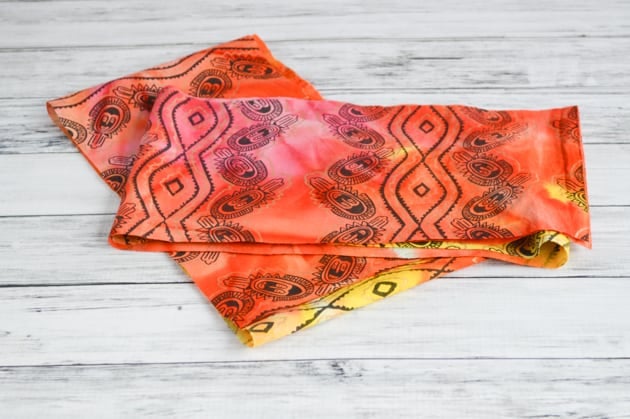
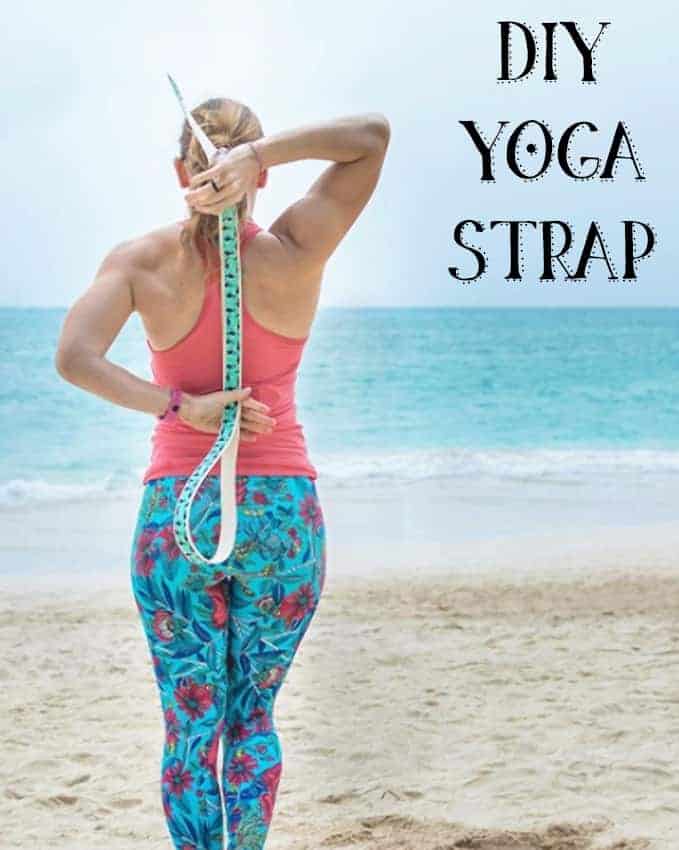
Learn how to make your own yoga mat sling/carrier strap with this simple tutorial!
Today's tutorial is how to make an adjustable yoga mat carrier sling strap. That's a lot of words, but I think it's the most accurate description!
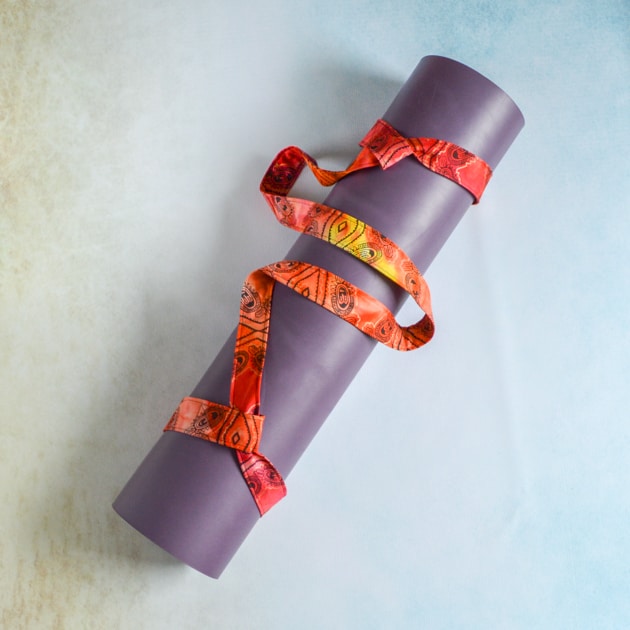
This strap is totally adjustable, giving it a near universal fit.
You can use a wide variety of fabrics, but very lightweight quilting cottons won't work unless your yoga mat is very light.
I use medium/heavy cotton prints because they're fun, but if you use canvas or duck, your mat sling can double as a yoga strap to help you with those poses that make your legs seem too long. 😉
This post may include affiliate links, which means I may make a commission on purchases made through these links at no additional cost to you.
What fabric to use
If your chosen fabric is less than 36" wide, you'll need to get a full yard, but if it's wider than that, you can just get half a yard.
I prefer finished straps that are about 6' long, so I like to use 45" fabrics, cut two 45" long pieces, and then trim them down a little.
When I've tried to make straps with two yard-long pieces, they've ended up a little short for my taste. It's up to you, though - if you want a shorter strap that's easier to use across your back, go for it!
Medium-weight cottons work best for heavier mats. You can get away with lightweight cottons if you have a lighter mat!
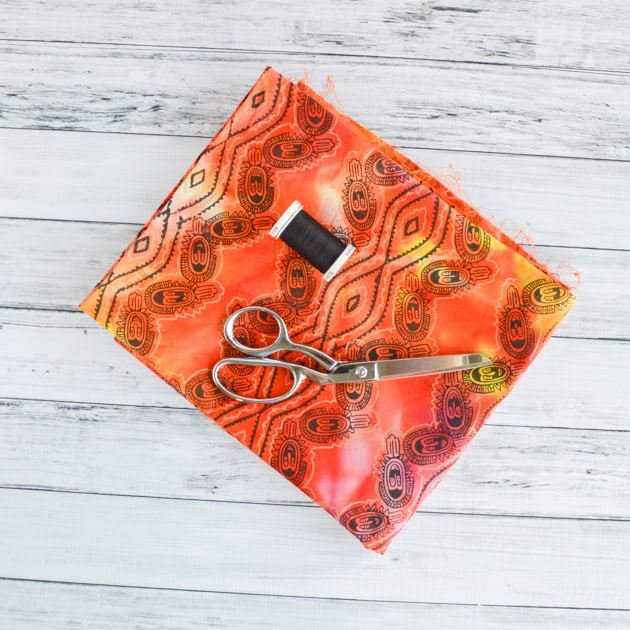
Materials for making your own yoga mat carrier sling
- Fabric
- Sharp scissors. I love the Gingher shears so much I own two pairs.
- Iron/ironing board (this is the brand I use and love!)
- A fabric cutting board
- Straight pins
- Matching or contrasting thread - whatever you like with your fabric!
- Sewing machine - you could sew this by hand, but it would take you a little while and be a sort of boring project

- Designed by Willow Creek for Elizabeth's Studio, this fabric is perfect for quilting, apparel and home decor accents. Colors include black, brown...
- Washing Instructions: Machine Wash Cold/Remove Promptly
- 44'' Wide. Fabric is sold by Washing Instructions: The yard and cut to order. For example, order of 1 yard (Qty=1) is 44" x 36''. Order of 3 yards...
You could do this project without a fabric cutting board (one of those large, folding cardboard ones, not a little self-healing mat), but it is more time consuming.
They're available at most craft stores, but I got this one on Amazon because everything costs a lot in Hawaii! That isn't really true, but it feels like it sometimes.
How to make an adjustable yoga mat strap
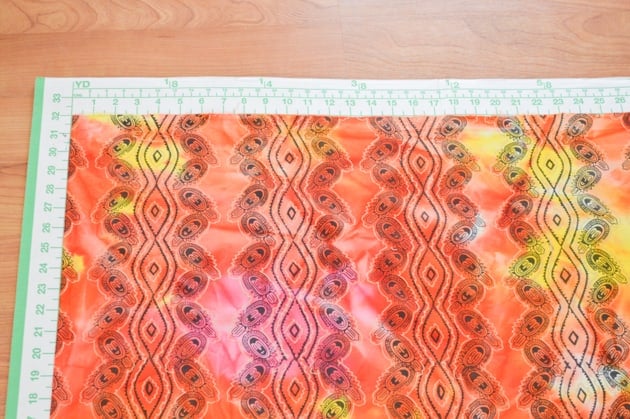
1. Wash and dry your fabric after purchasing it. Then, right before you're ready to make your sling, iron the entire piece.
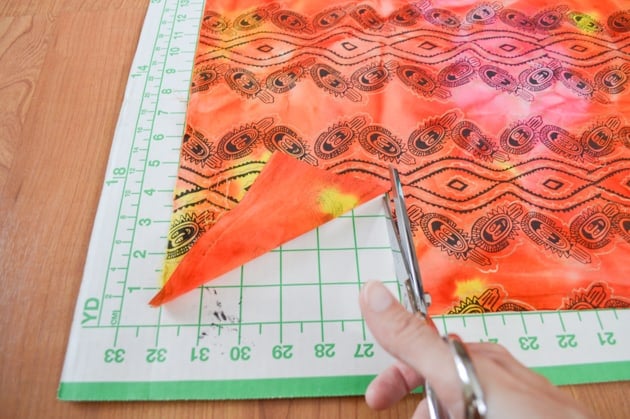
2. Lay your fabric out on your cutting mat, lining it up along the side and top or bottom.
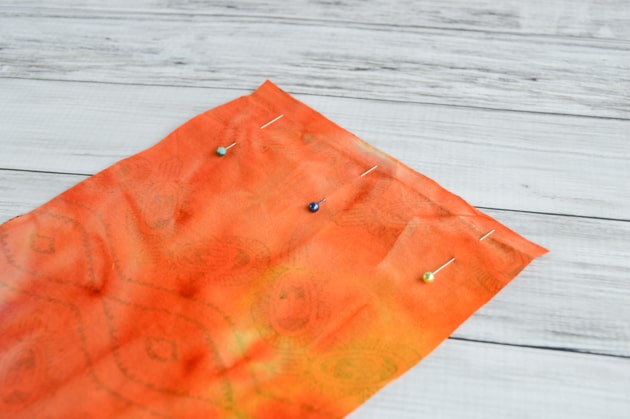
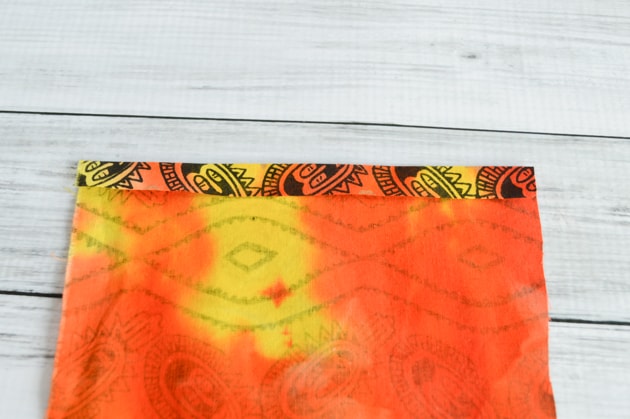
5. Lay the two strips on top of one another, right sides together. If you have a directional pattern, make sure it's oriented so that both sides will match after they're stitched together! Pin the two strips together along one short edge.
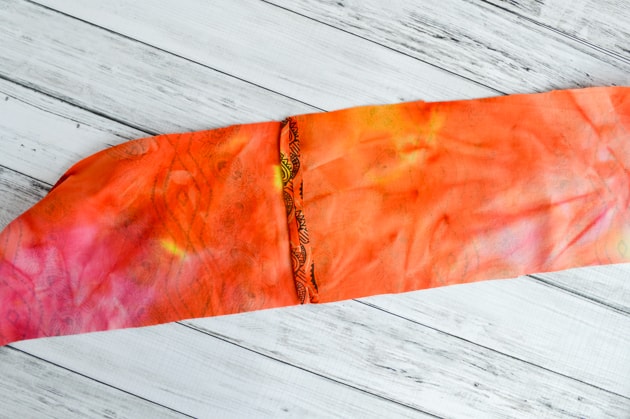
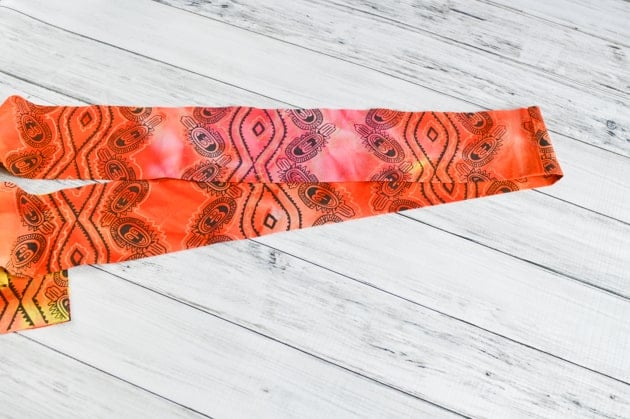
7. Press the stitched seam open.
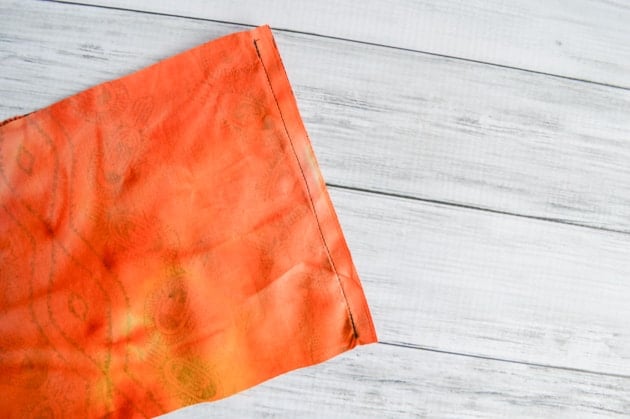
9. Once your strap is trimmed down, press ¼" - ½" up on each end. I stitch close to the edge, so I turn up a smaller amount. If you feel more comfortable stitching further away from the edge, turn up more. Make sure the edge is turned "in" on the wrong side, as shown!
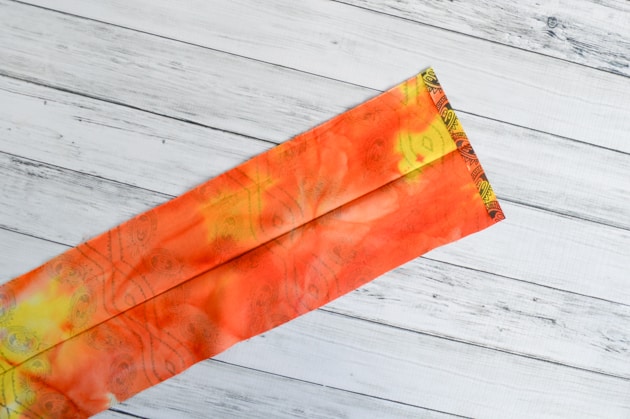
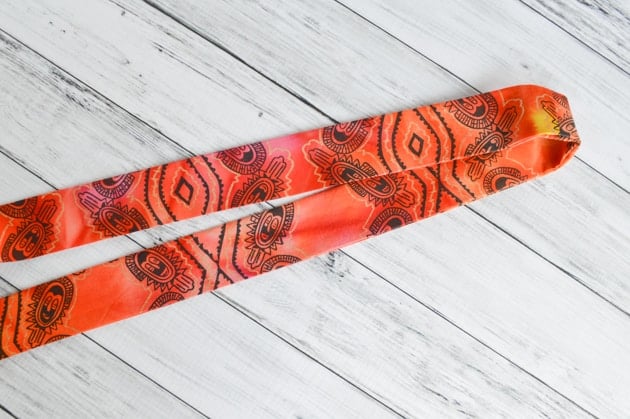
10. Now it's time for a lot of ironing! Working in sections (unless you haven't the world's longest ironing board), fold the fabric in half hotdog style (length-ways), wrong sides together, and iron to make a nice crease right down the middle of the entire length of fabric.
11. Unfold the strip and place it wrong side up on the ironing board. Time for more ironing! Fold each side to the center line and press. Do this the entire length for both sides.
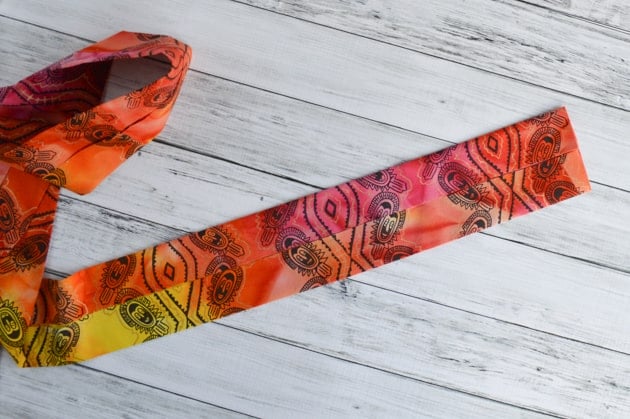
12. Once again, fold the strap along the center line, encasing the raw edges. Iron again, if needed. I usually have to fiddle wit the turned under needs a little bit to make sure everything lines up, but rarely have to re-iron the center crease.
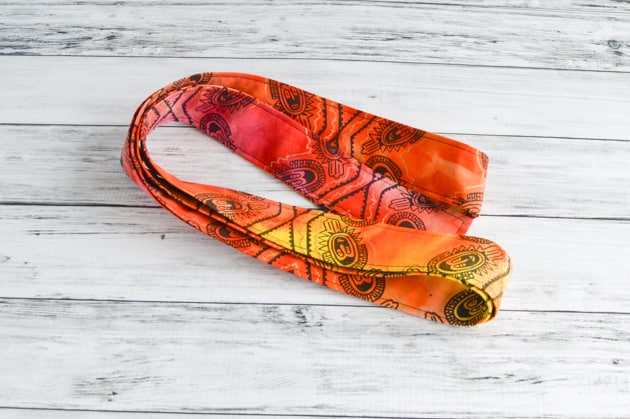
13. Stitch all the way around the entire strap. All four sides. Keep your seam allowance narrow and even - I usually just line the fabric up with the outside of the presser foot.
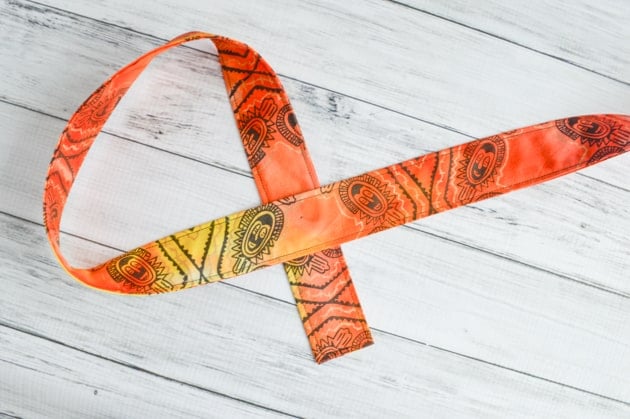
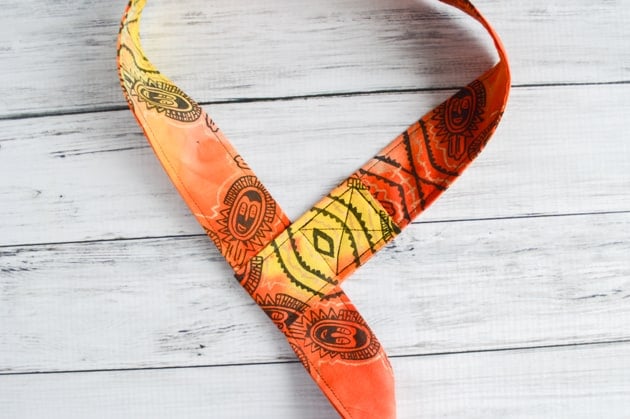
14. Now it's time to make the loops! You can just sew the loops and then wrangle the strap through them to form the sling, but I find it's easiest to just fold the fabric over itself and have at it. Lay the fabric strip out and then loop it around so that a short end sticks out from under the main portion of the strap. Just look below. =)
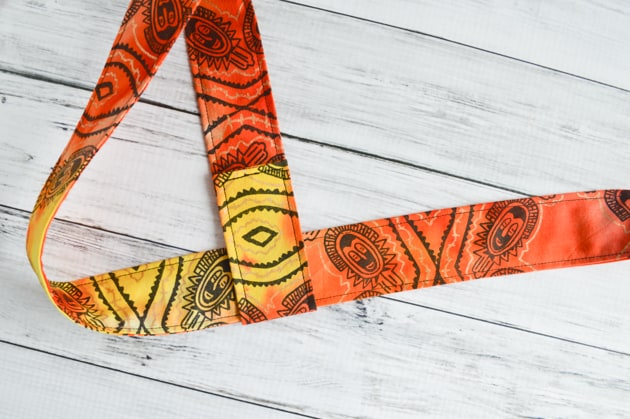
14. Fold the tab up over the strap. You'll need the tab to come up past the strap by at least an inch. Once you're satisfied, pin, as needed.
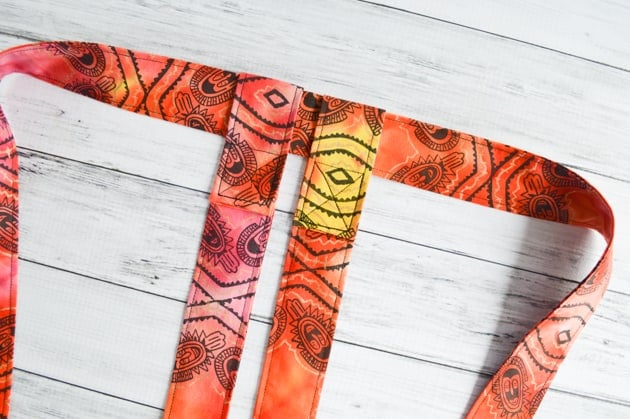
15. Stitch the tab in place. Make sure you don't accidentally sew through the other portion of the strap, though! It needs to move freely. I don't have an exact order I make the stitches in each time, but I always sew all four edges and a reinforcing X. What you do is up to you and how heavy your yoga mat is, but I do recommend making it look like this:
16. Repeat steps 14-16 with the other side. You may want to lay the strap out and make sure sew the second loop so that it faces the same was as the first loop. Not that it really matters, I guess, but I think it's nicer.
17. Use and enjoy!
Even if you're not into yoga, this would be a thoughtful homemade gift idea for someone who is.
Plus, don't forget that lot's of people who don't do yoga do take a "yoga mat" to other fitness classes! We always use one at my favorite ab class, and my husband uses ours with the TRX.
It seems like there are a lot of steps, but it's actually a very easy project. For me, the trickiest part is not burning myself while ironing!
Do you use a yoga mat for yoga? Or for something else?
More yoga resources
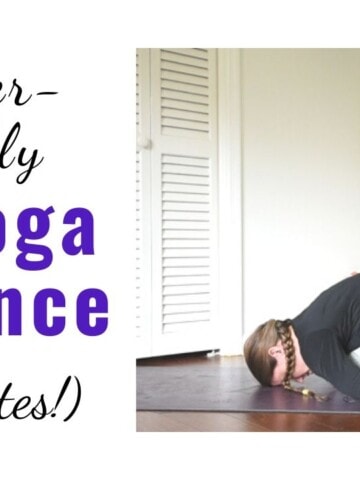
How to make a custom yoga strap
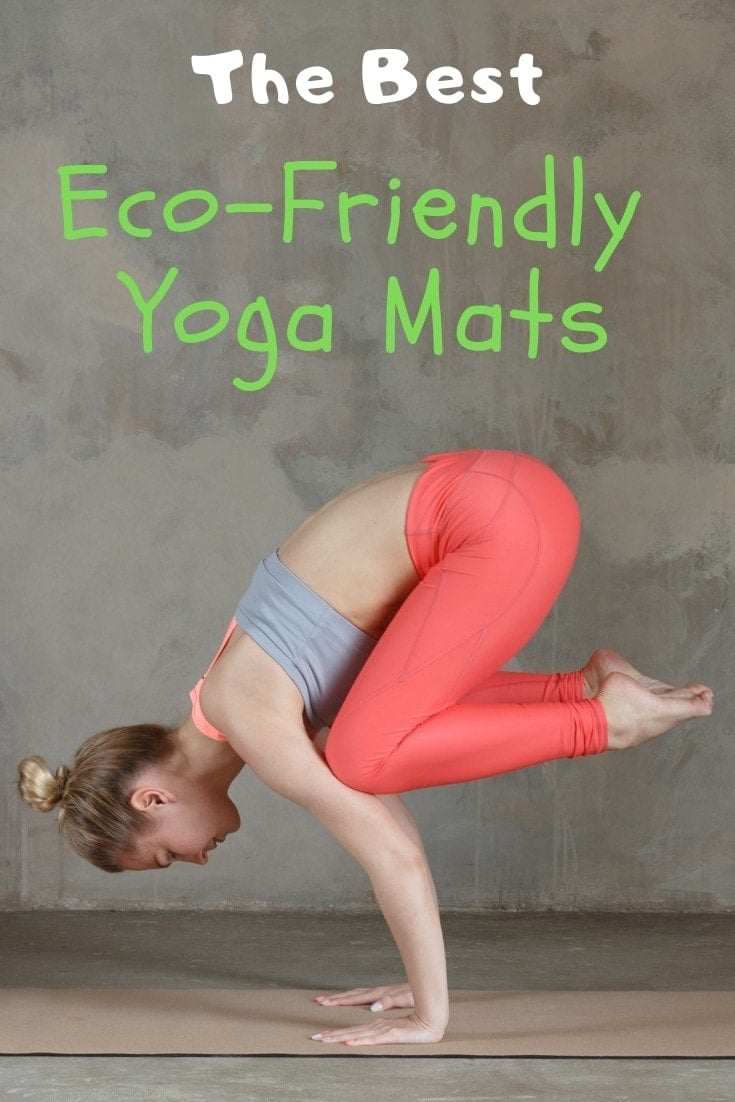
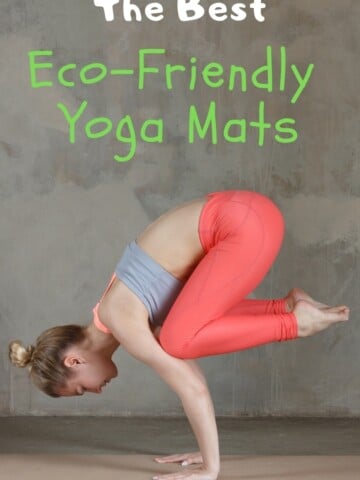
The best eco-friendly yoga mats
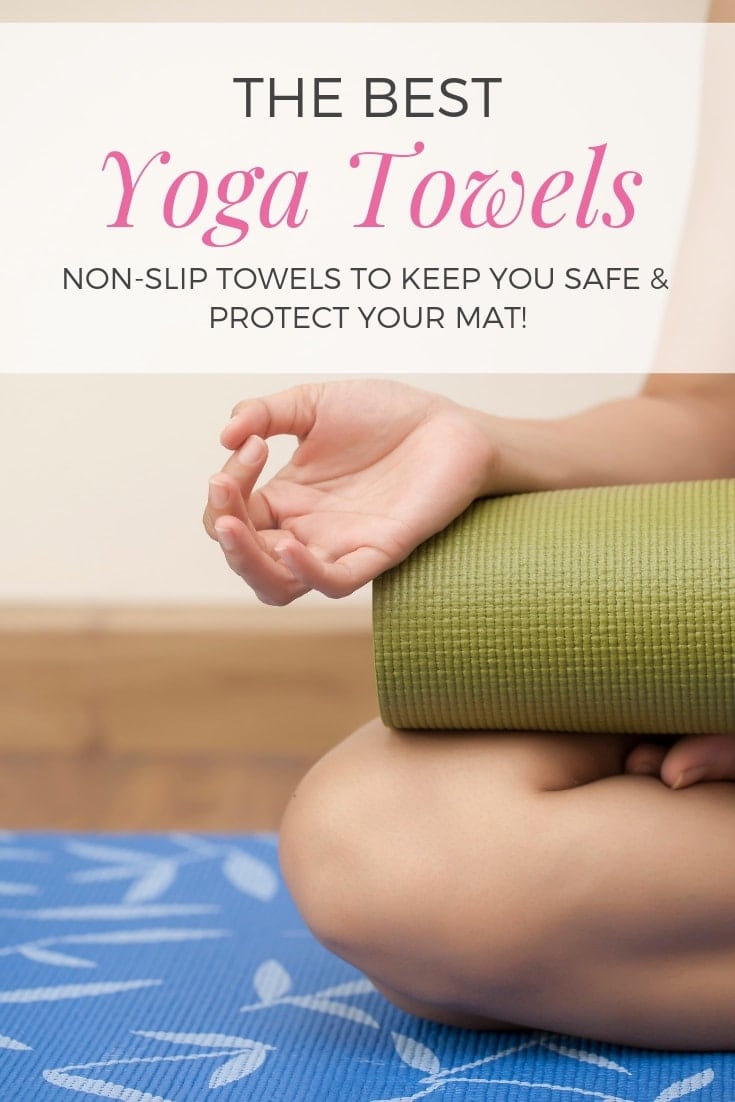
The best yoga towels for hot yoga & yin yoga
Anne
Thanks for this tutorial! I got a new cork yoga mat for Christmas and wanted a new strap. A fun print remnant for less than $5 and a few minutes and I have a wonderful new strap.
Natasha
I'm planning to get a cork mat when my current mat wears out! I hope you enjoy your new mat and strap!
MG
About what length is your strap before you fold and sew the loops on the end? I am making a simplar strap but with nylon webbing so that it will be sturdy for using to carry roller skates. (i haven't decided yet if i will cover the webbing with fabric or just sew ribbon to it.) Thanks. 🙂
Natasha
It's about 6' long before I fold things over and make the loops. If your skates will take less space than a rolled yoga mat, I'd shorten the strap accordingly. Hope that's helpful!