This post may include affiliate links, which means I may make a commission on purchases made through these links at no additional cost to you.
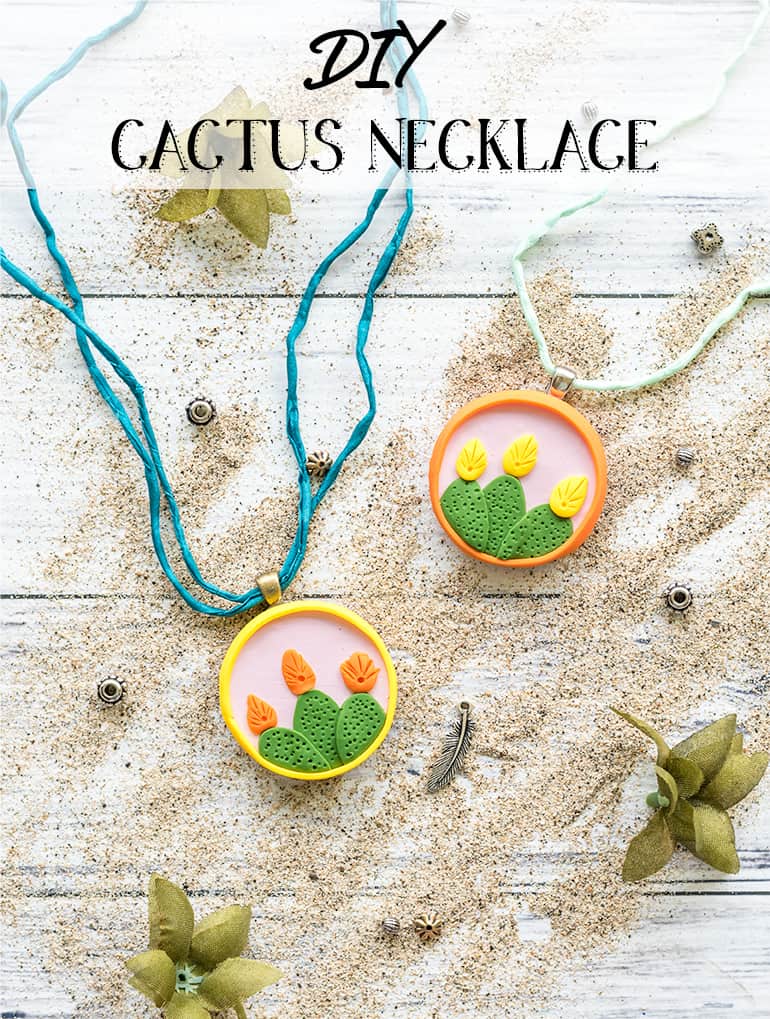
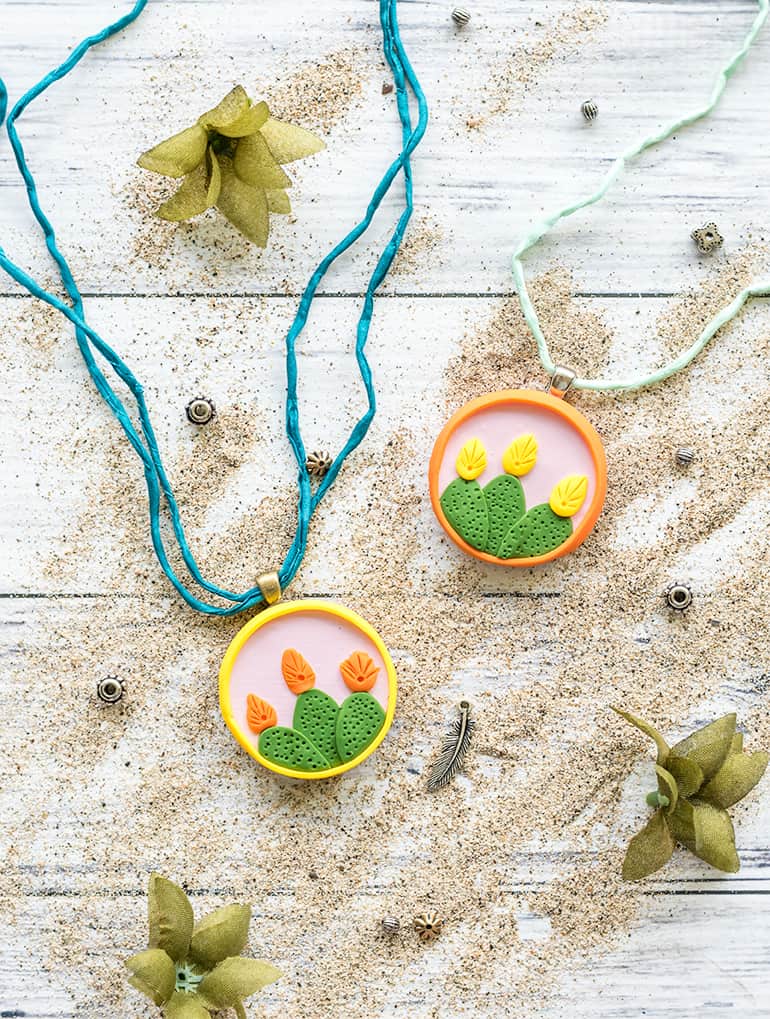
This DIY cactus necklace is so cute and easy to make from polymer clay!
Weirdly enough, I see a lot of cacti in Hawaii. Parts of the islands are very dry, especially when it isn't the rainy season. One of our favorite botanical gardens is in an arid environment inside a volcanic crater! A recent trip to this botanical garden inspired today's post, a cactus necklace tutorial. Making this polymer clay cactus necklace is surprisingly easy - you don't need any prior polymer clay experience or many tools.
This cactus necklace tutorial is a fantastic way to get started with polymer clay, or to improve your skills if you're just starting out. The techniques are simple and you don't need many specialized tools, so it's a really great place to start your polymer clay journey! Watch out, though: polymer clay can be totally addictive!
Materials for making a polymer clay cactus necklace:
- Polymer clay! I recommend finding a sampler pack of Premo! Sculpey like this one for a wide variety of fun colors. Premo! is more durable than "regular" Sculpey, so I think it's with a few extra cents.
- A pasta machine for polymer clay use (optional) or an acrylic clay roller
- A circular cutter about 1" to 1 1/'2" wide. I used a 1 ¼" cookie/biscuit cutter.
- A small oval or tear-drop shaped clay or fondant cutter - optional. The cutter pictured below is from this set.
- A small ball head tool like one of these. If you don't have a ball head tool, use a slightly dull colored pencil.
- A hobby knife
- An extruder (completely optional, but useful!)
- A piece of printer paper or cardstock
- A jewelry bail
- Glue or liquid polymer clay/Bake and Bond
- Ribbon, cord, chain, etc. to string the pendant on.
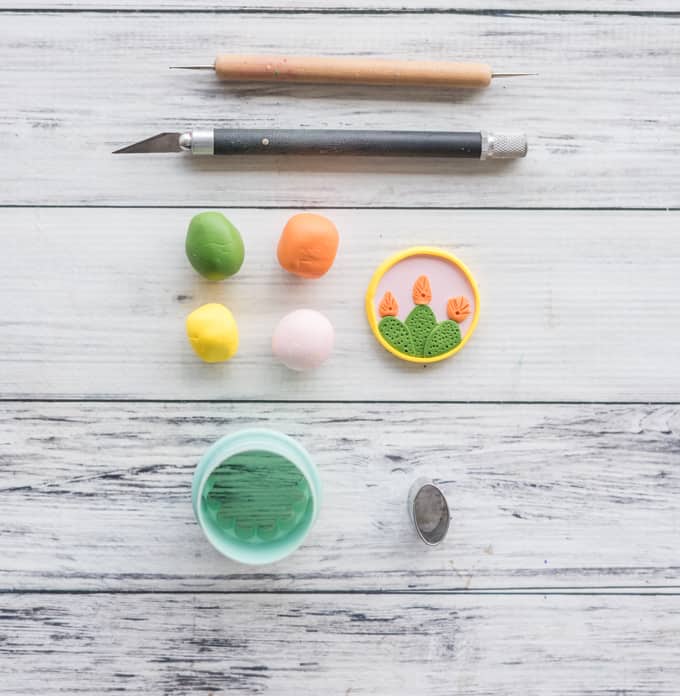
Clay cactus necklace tutorial
Select your color pallet! I recommend deciding what color you'd like for each portion of the design before starting your necklace.
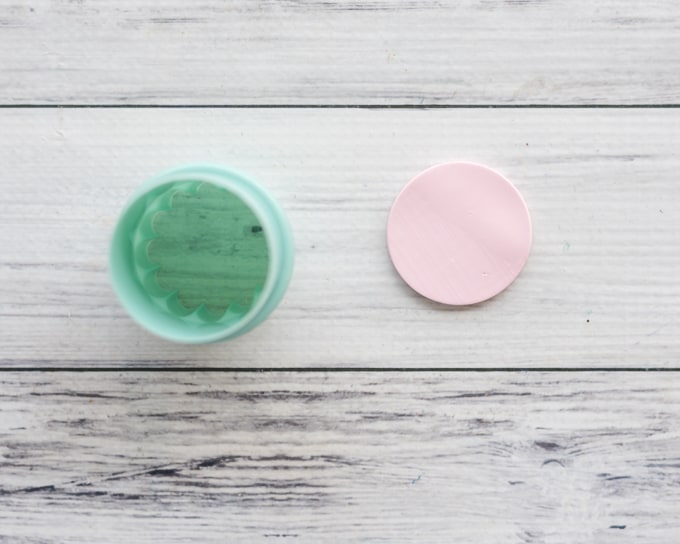
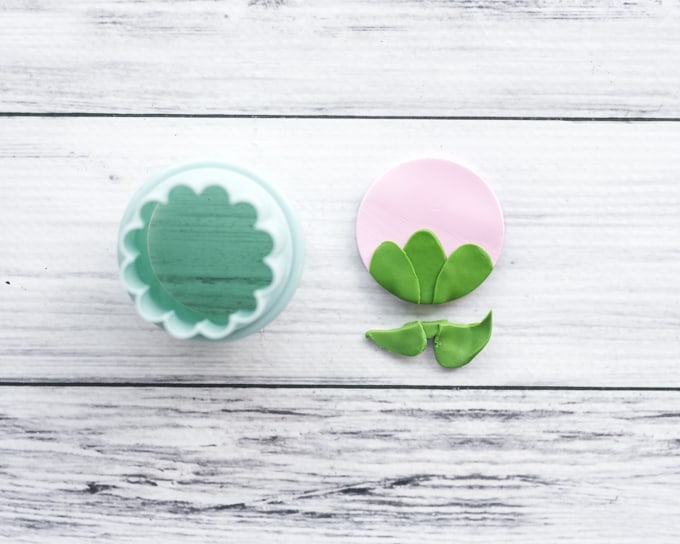
Condition and roll out a piece of clay for your background. "Condition" just means knead and work with it until it becomes more malleable. I used a medium setting on my pasta machine to roll the clay out to just under ⅛" thick, but you can also use an acrylic roller. Use your circular cutter to cut the background piece for your necklace.
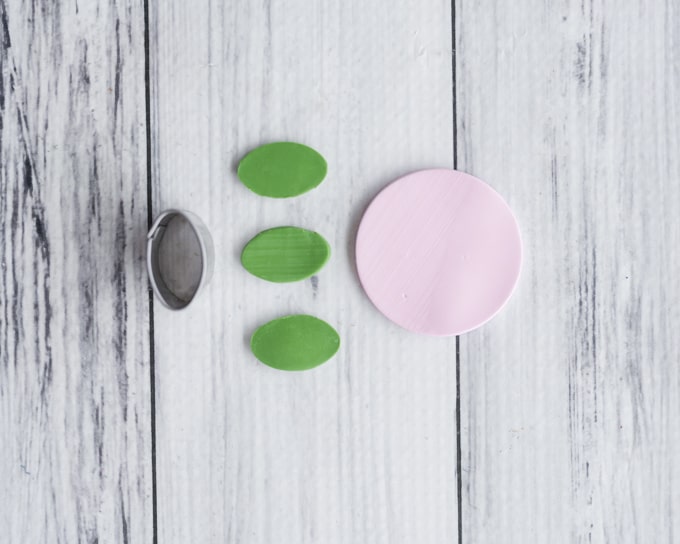
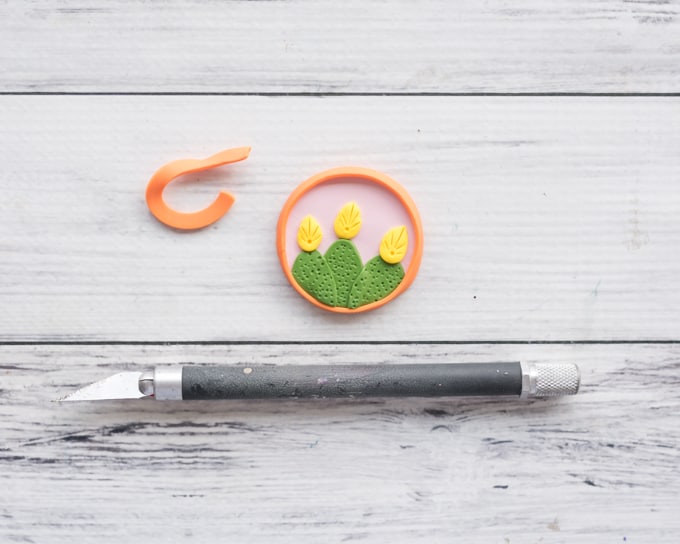
Either roll out a piece of clay for your cacti and cut them with a mini cutter or make three balls of clay. Shape each ball into a "teardrop," then roll out to flatten. I used my oval mini cutter and then rolled each cut-out lightly to make each one a slightly different shape before adding them to the pendant.
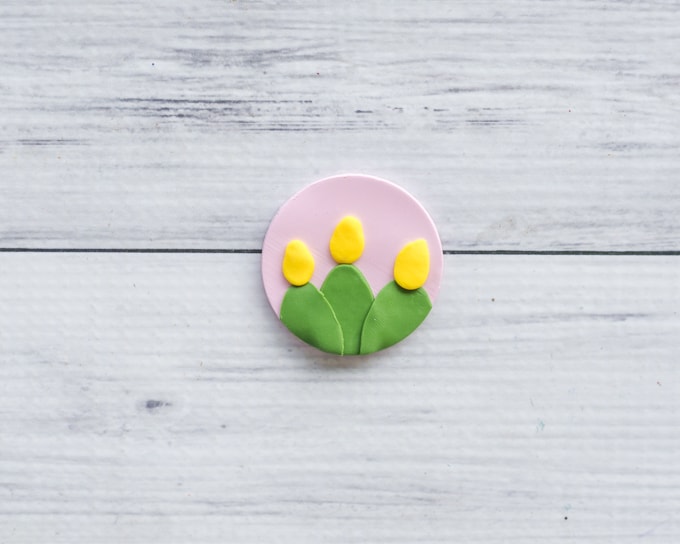
Position your cacti however you'd like. Once you're satisfied, carefully line your circle cutter up with your pendant and "re-cut" to remove the excess clay from the cacti.
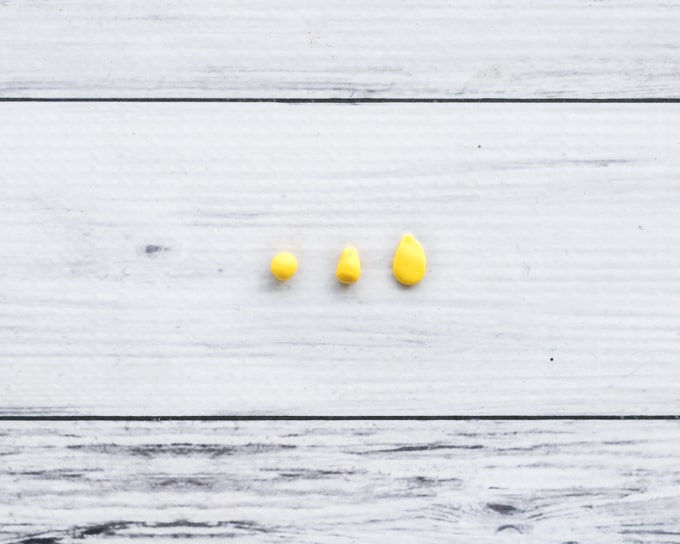
To make the cactus flowers, create three small balls of clay. Roll each into a teardrop shape, then flatten with your finger or roller. You can see all three steps in this process here:
Place your flowers:
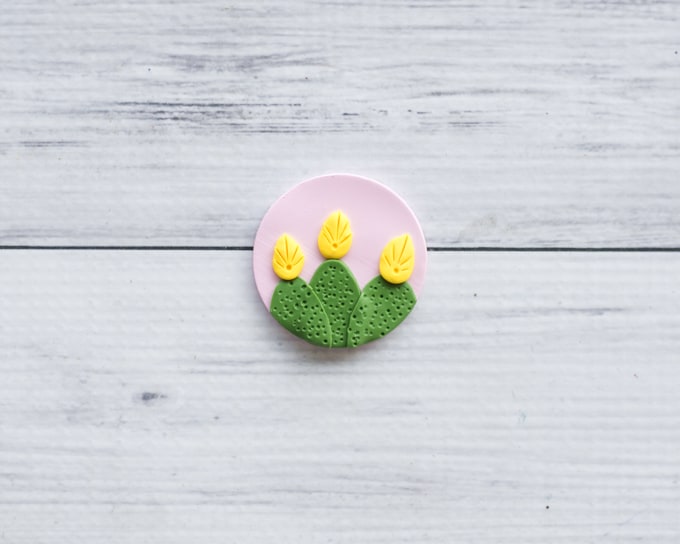
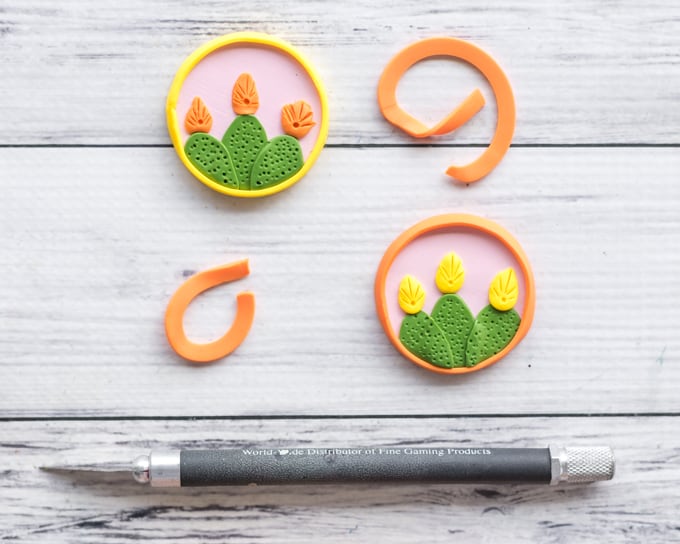
Then decorate! I used the small ball head tool to poke holes in the cacti for texture, then the back of my hobby knife blade to decorate the flowers. If you don't have a ball head tool, use a slightly dull (not super freshly sharpened and extra pointy) colored pencil. A graphite pencil will discolor your clay, but a colored pencil won't.
If you like the way the pendant looks at this point, you can absolutely just add a bail and bake! You can also take it one step further and add a frame, like I did. I used a rectangular disk with my extruder to make a long, narrow strip of clay, wrapped it around the outside of the pendant, and then cut it to length with my hobby knife. You can also make a long, narrow "snake" of clay and either roll it out or attach it as-is if you don't have an extruder:
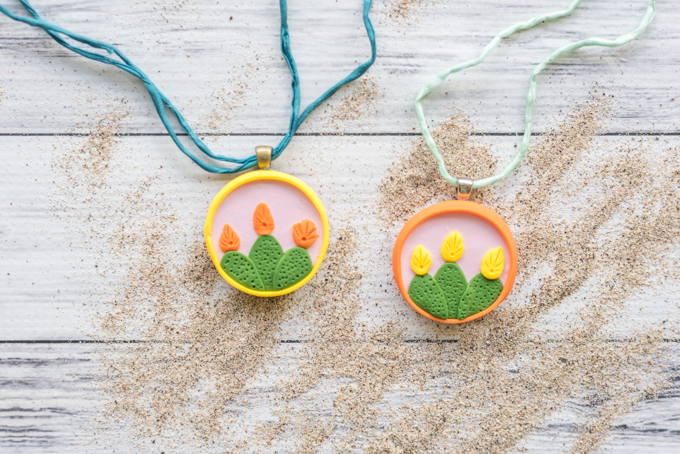
You can either attach your bail before or after baking. To attach before baking, apply liquid polymer clay to the bail's pad and press into place, then bake your pendant on the sheet of paper or cardstock according to directions. To attach after baking, simply go ahead and bake you pendant then adhere the bail later with an adhesive. I like Original Tacky Glue because it's nontoxic, but E6000 is a popular choice for jewelry. For Premo! clay the bake temperature is 275º for 30 minutes per ¼" of clay.
Add ribbon, cord, or chain and enjoy your awesome new cactus necklace! I used hand-dyed silk cord from Etsy seller Jamnglass.
I really hope you enjoy this polymer clay cactus necklace tutorial! It may seem like an unlikely candidate for a project inspired by Hawaii, but if you've ever been on the Leeward side of the islands in summer you've probably seen some very dry conditions!
When this post goes live I'll be in a completely different environment - the ancient Appalachian Mountains with their deciduous forests. I can't wait to see what projects and tutorials are inspired by my current trip!

More polymer clay necklace tutorials
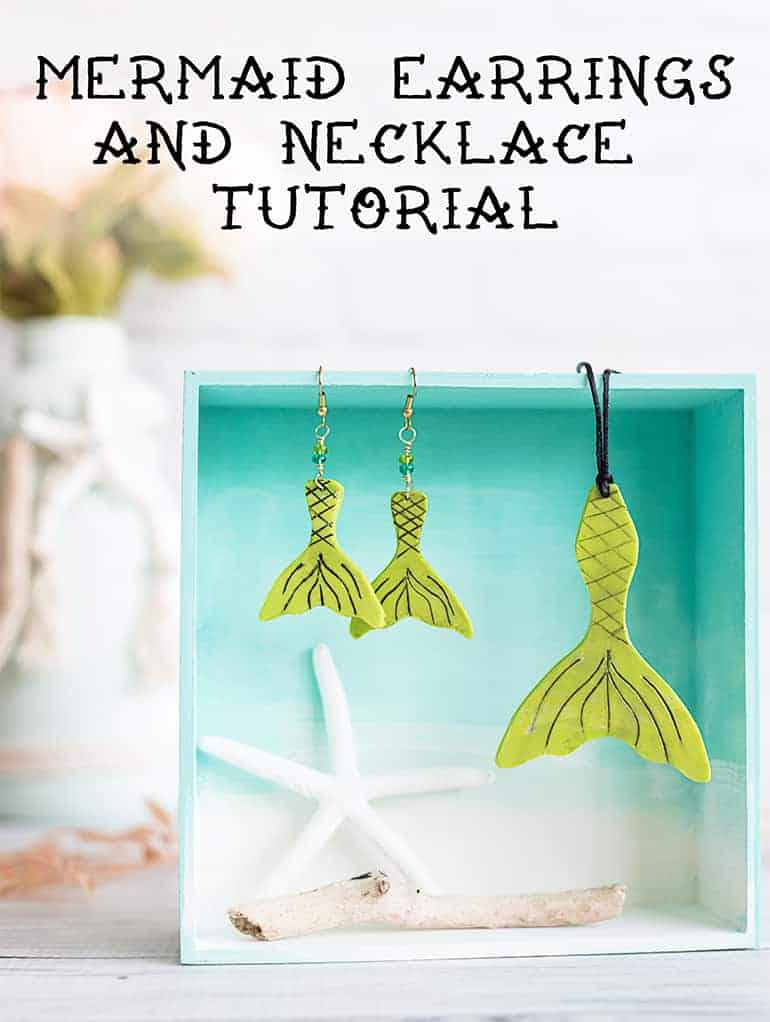
Polymer clay mermaid tail necklace
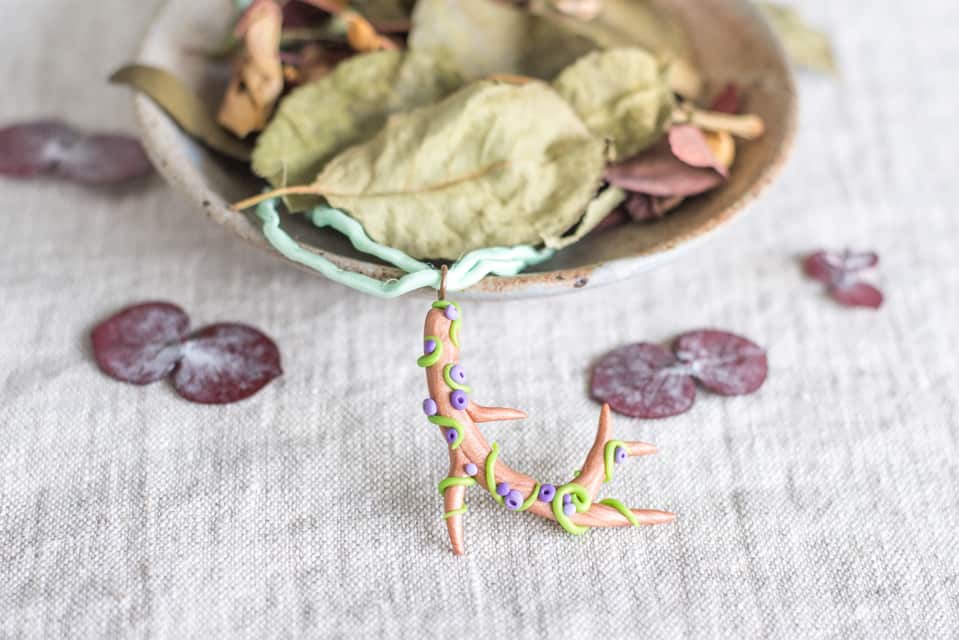
Polymer clay rainbow necklace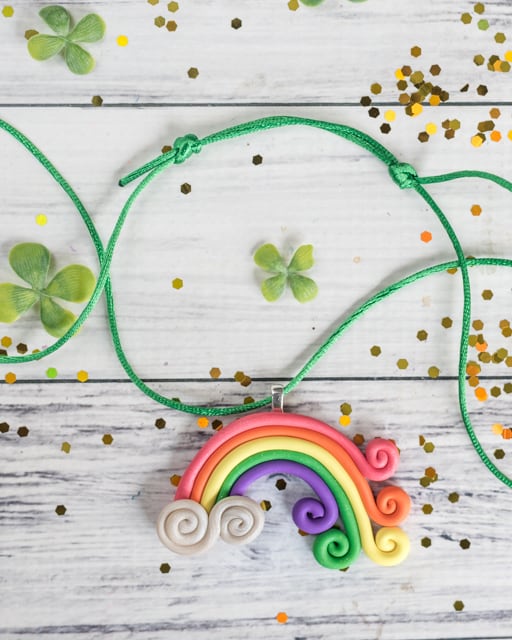 Polymer clay antler necklace
Are you planning any summer trips? Have you seen cacti in Hawaii?

More Related Posts
[pt_view id=“15d429e15n"]
[catlist search="tutorial" numberposts=4 orderby=rand excludeposts=this]
Duni
Those are fun and perfect for summertime! Cacti always remind me of my maternal grandma - her favorite plant. I still haven't tried the polymer clay - hopefully soon 🙂
Natashalh
Spider plants remind me of my grandmother! It's interesting which things we associate with people.
We've been going crazy with polymer clay! We just stocked up on some difficult to find at home varieties to bring back with us.