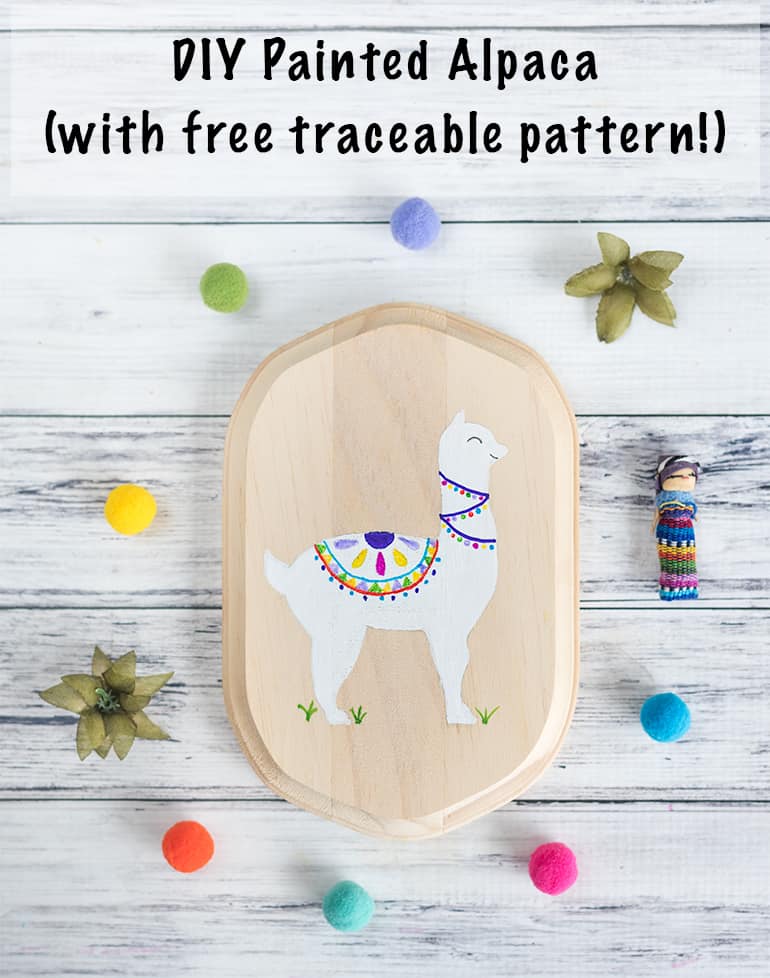
This DIY alpaca painting is so easy with a traceable free printable pattern!
Today I'm sharing how to use an easy pattern transfer technique and a free traceable alpaca pattern to make this cute DIY alpaca painting! It's super easy and you don't need special tools or materials. You don't even really need a wood plaque - you could easily do this painting on a canvas or even a sheet of art paper. Let's get started!
This post may include affiliate links, which means I may make a commission on purchases made through these links at no additional cost to you.
If this llama/alpaca silhouette looks familiar, that's because it's a resized version of the pattern from these upcycled llama ornaments. I wanted to draw a whole new critter, but I just didn't have the time because I was so busy with Baby and packing. I added a tail...then I removed it because I couldn't decide what kind of tail I wanted this alpaca to have. Alert? Down? Cute and fluffy? I really couldn't make up my mind. Please just add on a tail if you'd like and make it however you'd like!
Materials needed for a DIY alpaca painting on a wood plaque
- An unfinished wood plaque. As I mentioned above, anything else that you can use acrylic paints on will work for this project.
- My plaque was about 7"x5" and the printable pattern is sized accordingly.
- A pencil. I prefer a non-mechanical pencil with soft lead, but any 'normal' pencil will work, & a ball point pen. It does need to be ball point, not gel, rollerball, etc. -or- Scissors & a pencil. My favorite for drawing and tracing is always my SumoGrip .9mm pencil. You can either transfer the image using the technique I demonstrate or cut around the alpaca silhouette and trace around it. Cutting takes more time, but I thought I'd offer it as an option.
- Paint. I used various acrylic craft and hobby paints.
- Paintbrushes. Smaller brushes are better for this project than big flat brushes or foam brushes.
- Paint pens/markers - optional but a good way to add embellishments. Ultra fine Posca pens, Sharpies, etc. would work well. The paint pen Sharpies would also be a good choice.
- A hanger or easel. It's very easy to add a sawtooth hanger to your plaque so you can hang it on your wall. There are obviously other types of hangers available, but I have a box of 100 sawtooth hangers so they're what I like to use.
- And, of course, your
free traceable alpaca pattern! Grab it from Google Drive right here.
- For a smaller or larger plaque, simply print the pattern at a different scale (for example, 80% for a smaller plaque, 120% for a larger plaque)
How to trace and paint your alpaca
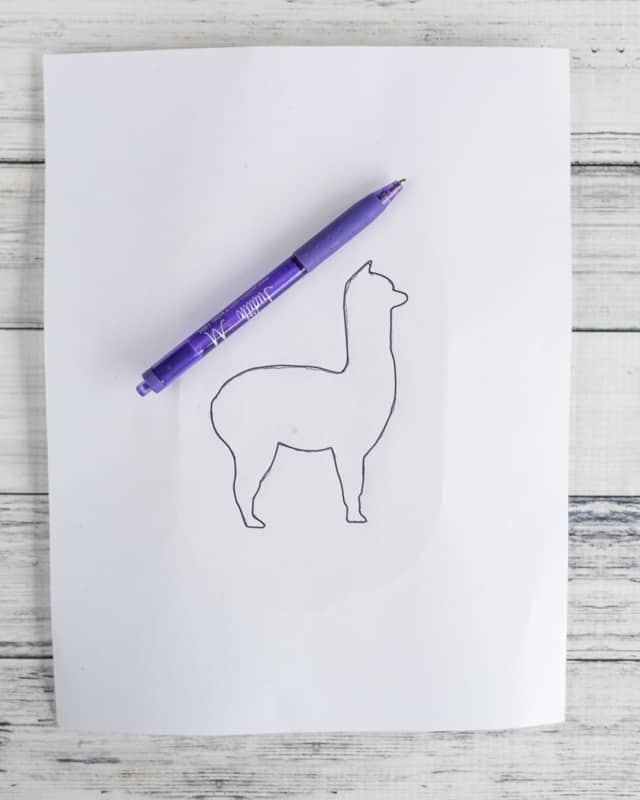
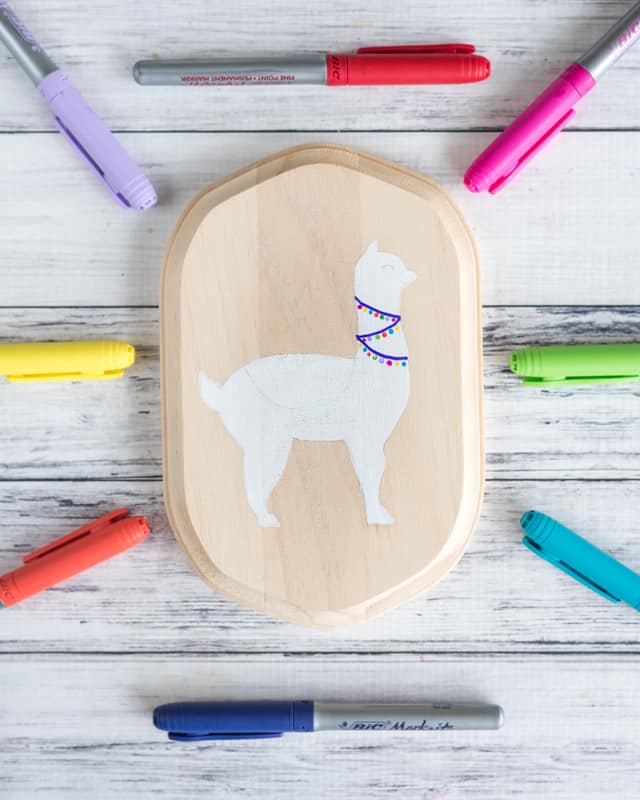
Print your alpaca pattern. You can either cut it out or flip it over and scribble graphite on the back. To 'transfer' the pattern instead of tracing a cut out, hold your pencil at an angle and cover the area with the printout, as shown. You do not need to cover the whole page or even the whole alpaca - just the lines.
![]()
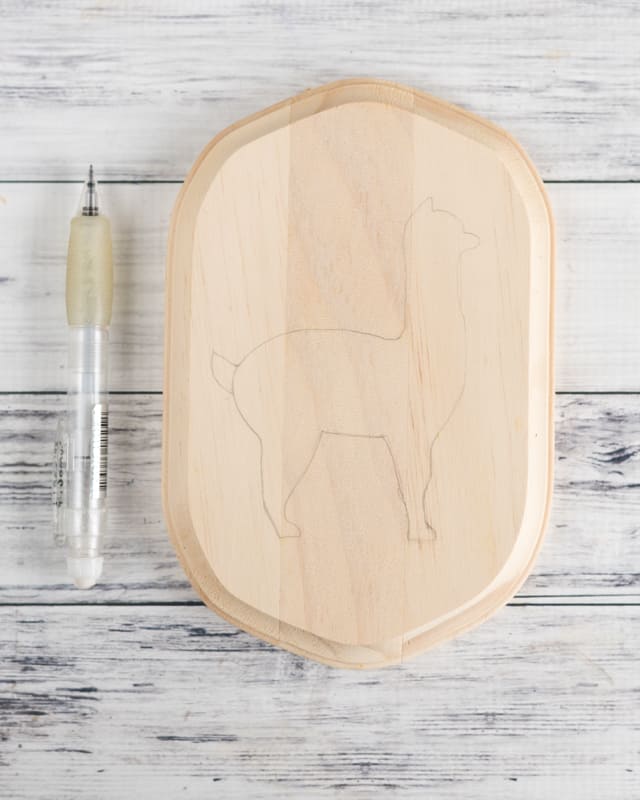
 Position the pattern face up on your plaque. If you're using a cutout, trace around with a pencil while holding firmly in place. If you're using the graphite transfer method, draw over the pattern firmly with your ballpoint pen. Don't press so hard that you gouge the wood, though! I darkened my lines with a pencil to make them more visible in the photo, but this also makes them harder to cover with paint. They do not need to be as dark as what's shown - they only need to be visible enough for you to paint in the alpaca.
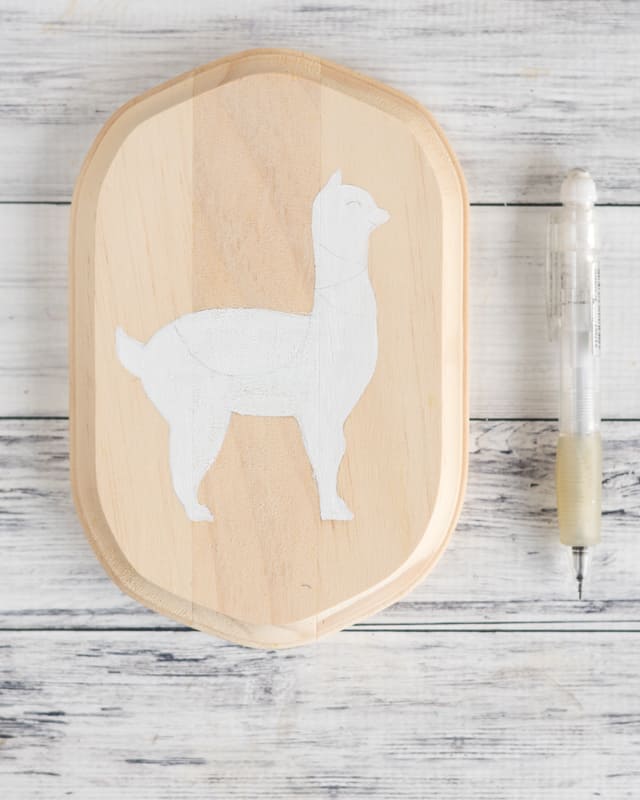
Paint in the silhouette. I used white paint so it would stand out on the natural wood background, but use whatever color you'd like.
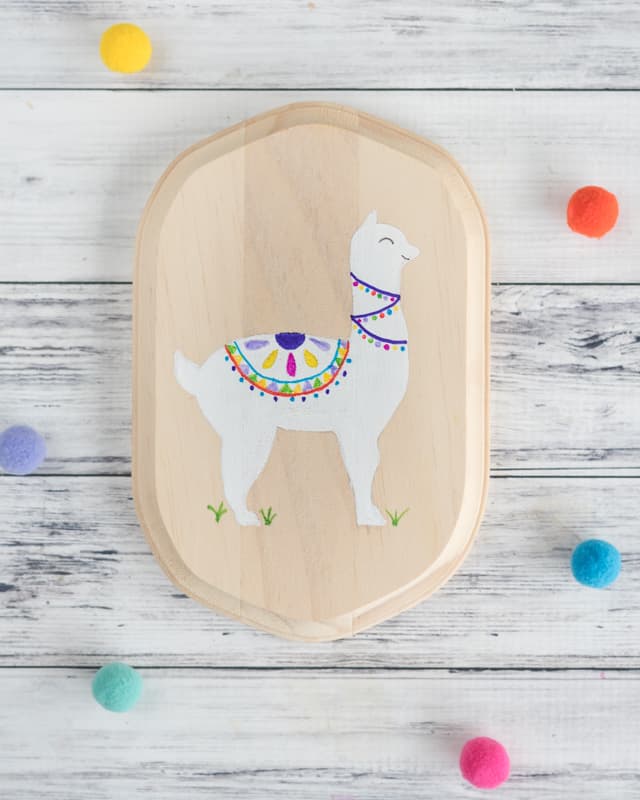
Once your alpaca is completely dry, you can lightly pencil in your decorative details. I made some basic lines but didn't draw every single thing I wanted to add.
Go crazy embellishing your alpaca! They get dressed up in all sorts of things - blankets, pompoms, tassels, etc., so you can get as colorful and creative as you'd like. I used Sharpie markers for my embellishments. You can use a paintbrush and paints, but markers are easier to work with in this instance. As long as you're coloring over previously painted areas, you'll be fine - markers tend to bleed and feather on unpainted wood. If you're using paint pens, they may or may not feather so you might want to check on the back or something before you start drawing on unfinished portions of your wood.
Add more decorative elements to the wood plaque, if you'd like. For example, you could add bunting, cacti, or text. As I mentioned above, markers will feather on the wood, so this is a good place to use paint. I only added a few sprigs of grass to keep it simple. (Also because, let's face it, I don't have all that much free time!)
Add a hanger to the plaque's back, if you'd like. Sawtooth hangers are typically quite easy to attach to soft wood with just a screwdriver.
My husband asked me to take a photo of this alpaca plaque with his latest knitting project - an Andean-style chullo hat. He's very proud of it, and rightly so.
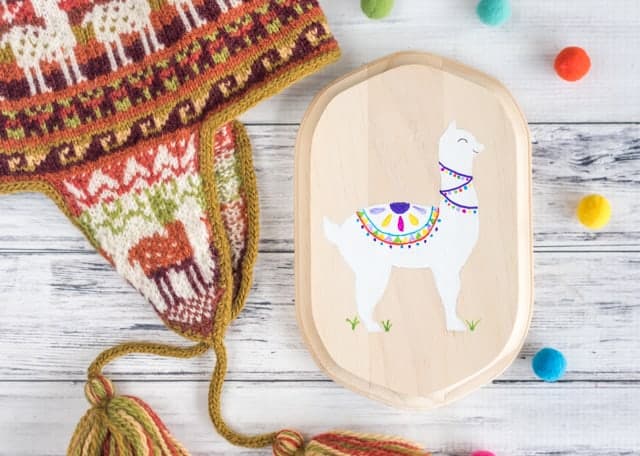
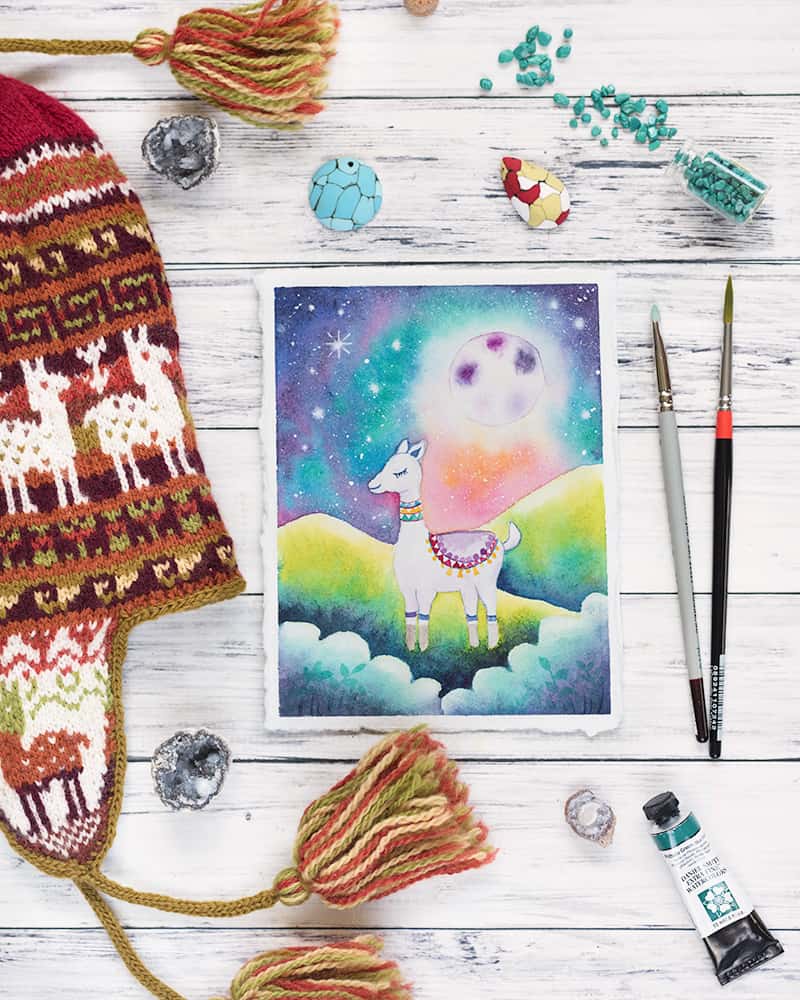
He made the hat from a Knitpicks kit. It came with enough yarn to make at least two more hats - he's already planning what he'll do differently next time! You can see more of the hat in this photo of it posing with a watercolor of an alpaca I did this spring. (I guess I've had camelids on the mind quite a bit recently!)
Are you feeling the llama/alpaca craze?
More Related Posts
[pt_view id=“15d429e15n"]
[catlist search="tutorial" numberposts=4 orderby=rand excludeposts=this]
https://natashalh.com/wp-admin/profile.php
Darlene
I want to thank you for your tutorial and the pattern. It is hard to find artisans that want to share their creative secrets with others. I will give you credit for the pattern and craft Idea if I use this anywhere.
Thank you again.
P.S. I subscribed as well.