This post may include affiliate links, which means I may make a commission on purchases made through these links at no additional cost to you.
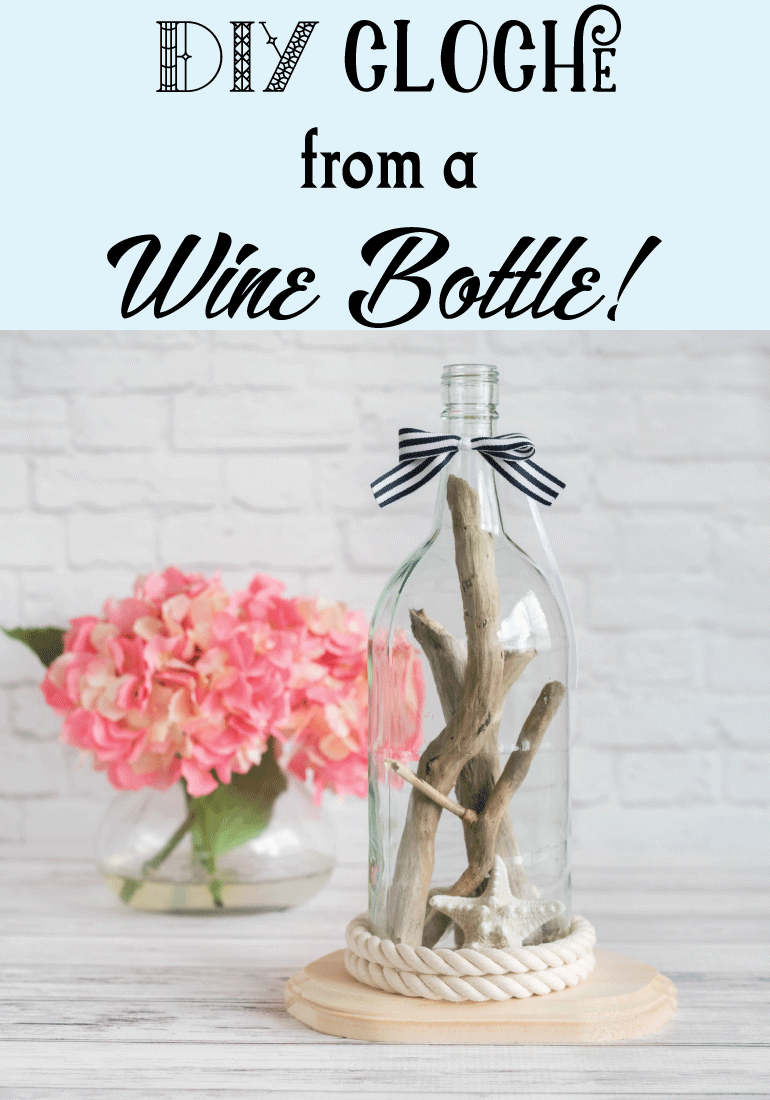
I recently decided to give one of my oldest, most popular tutorials a much-needed makeover. How to cut a glass bottle (the best way) received long overdue new photos, and I was left with a beautifully cut, large bottle begging to be turned into something cool. This beachy cloche from a wine bottle project is what what I came up with! It's super easy and really cute, so I hope you enjoy. You don't even need to cut a glass bottle - you can just use a vase, if you'd prefer, so don't let not having a glass cutter keep you from this project! {{You also totally don't have to make your wine bottle cloche "beachy" at all - the exact same steps work wonderfully for other themes, too,}}
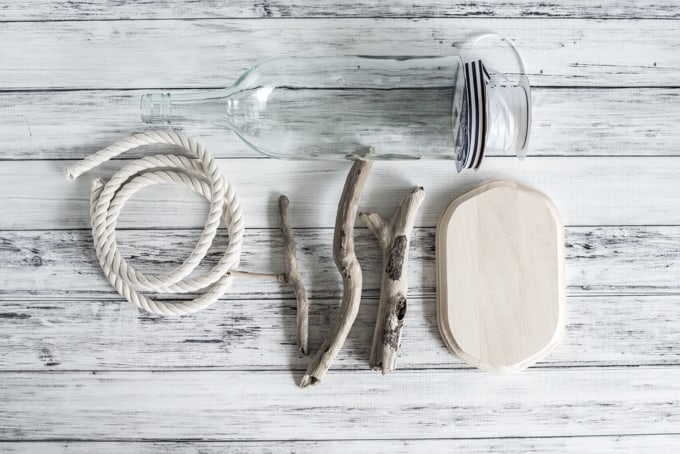
For this project you will need:
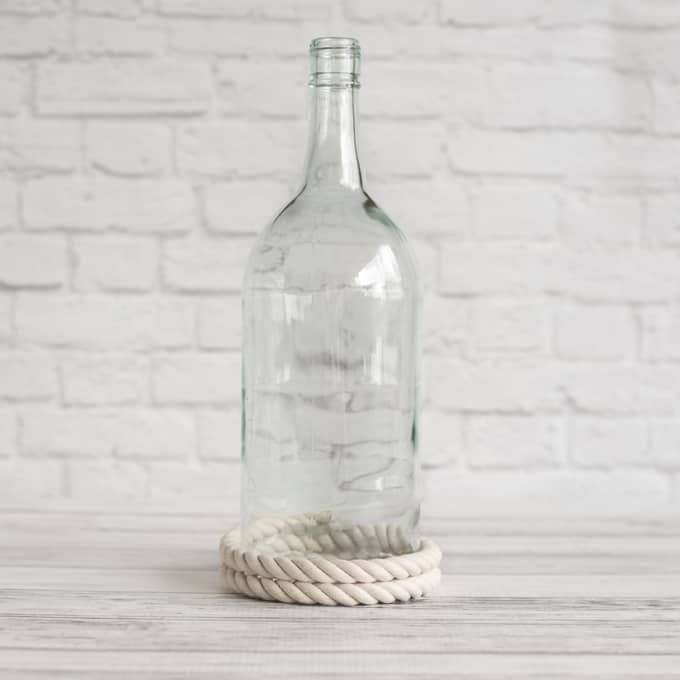
- A vase or a larger wine bottle, cut as near to the bottom as possible. Use the technique in this tutorial for the best results!
- A board, pre-cut wood plaque, or tray
- A couple feet of rope (I used ⅝" cotton in the tutorial, but any rope will work)
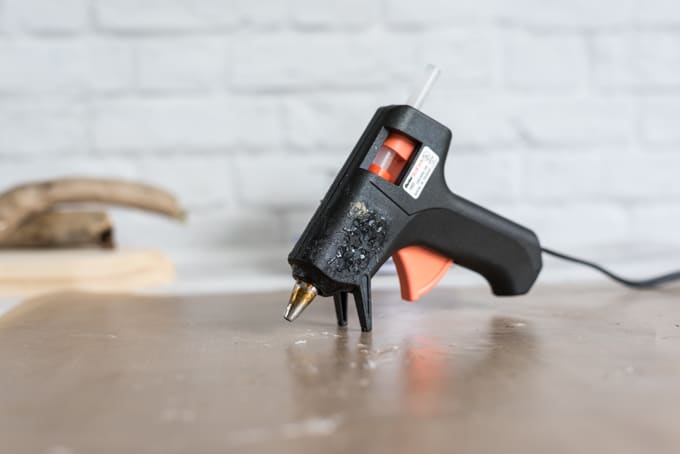
- Hot glue
- Packing tape (optional, but helps keep the rope from fraying)
- Driftwood, starfish, shells, and/or other decorative objects
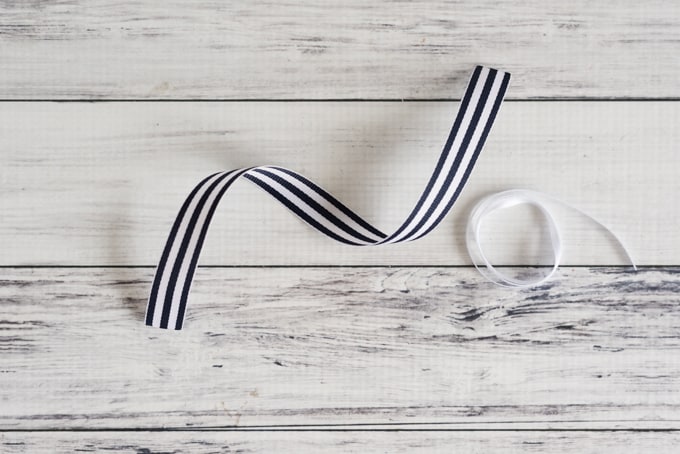
- Ribbons for adding a bow, if you're using a bottle and not a broad-topped vase (I used a nautical ⅝" grosgrain like this one and a narrow white ribbon)
- Something to protect your work surface from the hot glue. You can use a cutting mat, silicone baking mat, or teflon sheet.
I didn't learn about nonstick teflon craft sheets until earlier this year, but I wish I'd purchased one earlier! They are pretty inexpensive and they're fantastic for hot gluing. The hot glue comes off the mat easily, and it provides a layer of protection from the heat, too. (A totally clean teflon mat is also fantastic for woking with polymer clay!)
How to make a Cloche from a Bottle
Plug in your glue gun! While it heats, cut your rope to size. Because I used a thicker rope, I wrapped it twice around my bottle, but play around with your rope to determine how many wraps you want. Once you figure it out, cut the rope so there is a slight overlap and, if you'd like, wrap the rope's ends tightly with a piece of clear tape. If your rope is prone to fraying, this will prevent unraveling and the tape will be at the cloche's "back" and not visible from the front.
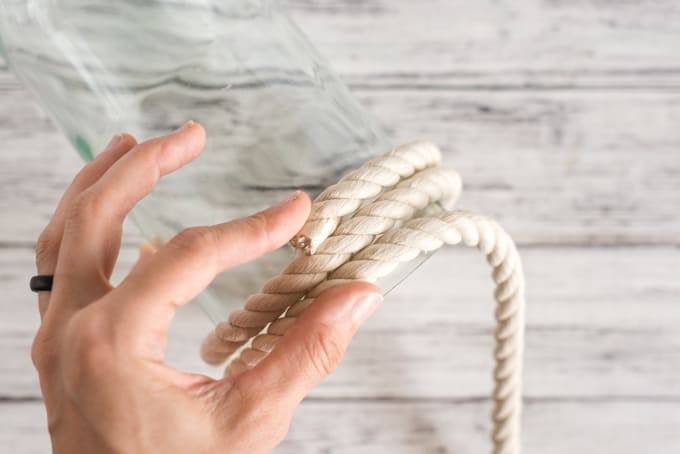
Protect your work surface and carefully glue the rope in place, working from the bottom up. It works best to only lay down a couple of inches of glue at at time, then press/hold the rope in place for at a solid 10 count to help ensure it stays put.
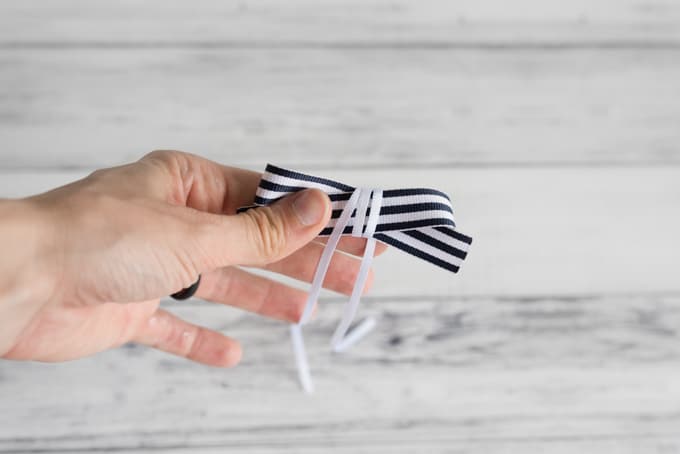
Now it's time to add the bow! It's easier to do this before adding the decorative elements. Cut a 10" piece of your wider ribbon and a similar amount of the narrower one:
Fold your wider ribbon as shown:
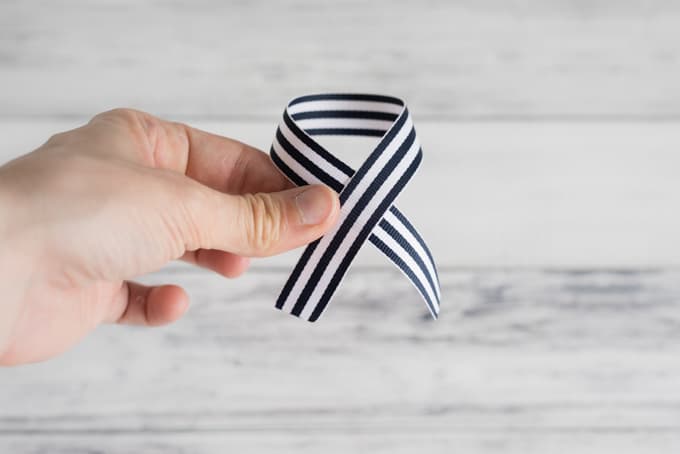
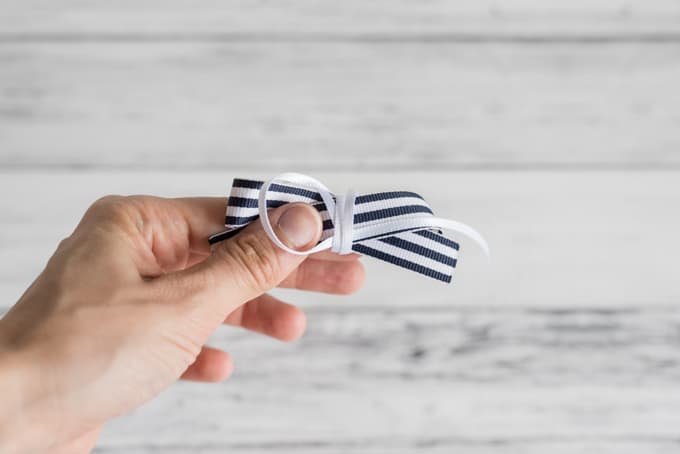
Then sort of flatten the loop, like this:
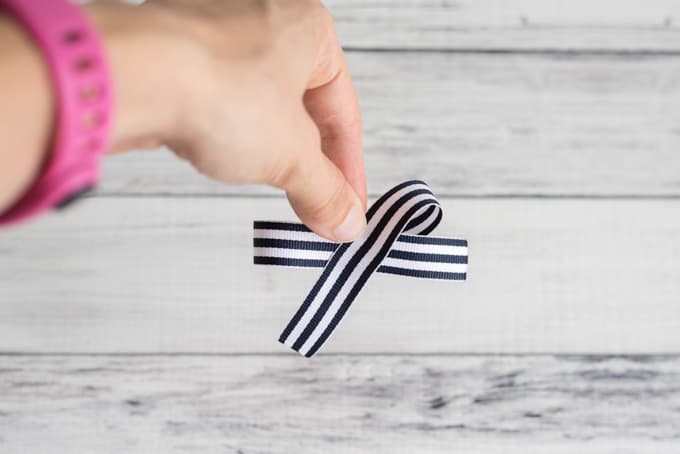
Find the middle of your narrow piece of ribbon, line it up with the crossed-over portion of the thicker ribbon, then wrap it around 2-3 times. It makes a lot more sense if you look at the photo:
Now take the tail end from the right side, insert it under the loops, and pull it out on the left side. Pull the left tail under the loops and out the right side, like this:
Finally, pull on the ends to cinch everything down, then play around with the loops and tail ends of the larger ribbon to make your beautiful bow. =)

Tie the bow in place around the bottle's neck, and trim the ribbon ends, if you'd like.
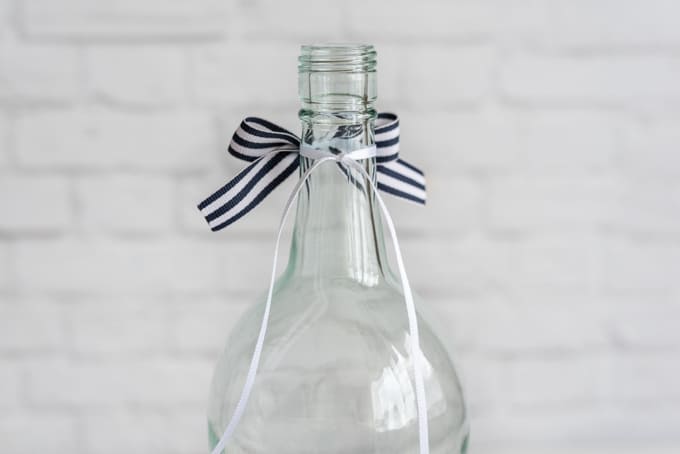
Make sure you line the bow up so the knot, shown above, is over where the ends of rope meet on the "back" of the cloche.
Now it's time to add embellishments! I like to play around with pieces of driftwood to see how they fit. If you have tall elements (driftwood, feathers, etc.), I suggest placing the bottle on its side while you add the items. Now is also a great time to tuck in any extras, like the starfish I used.
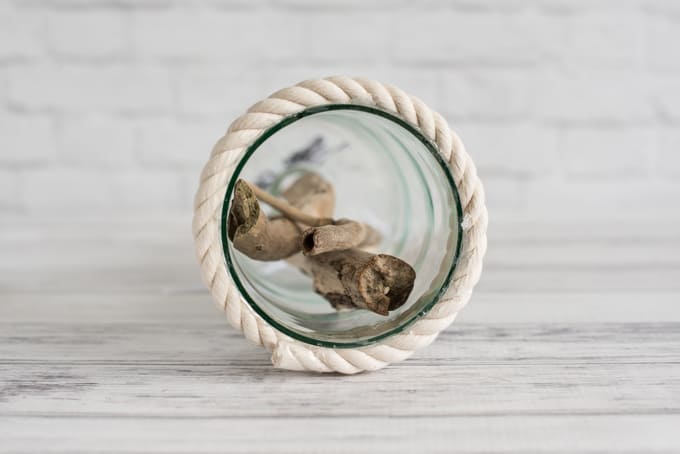
Place the wooden plaque against the bottle's bottom,
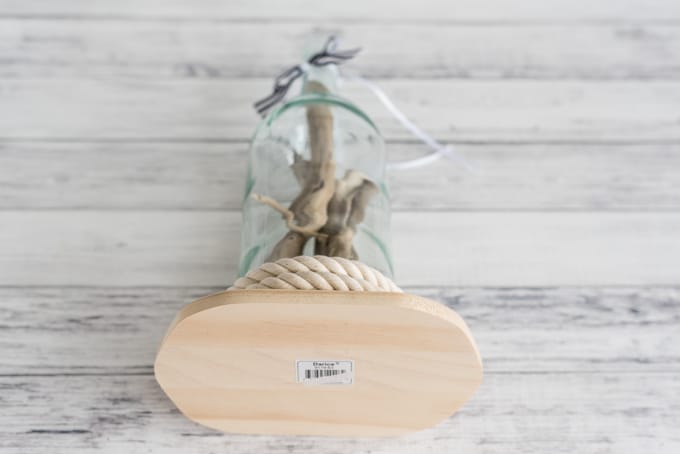
Then hold it in place as you tilt the bottle up to standing. This is a handy way to keep everything from falling out!
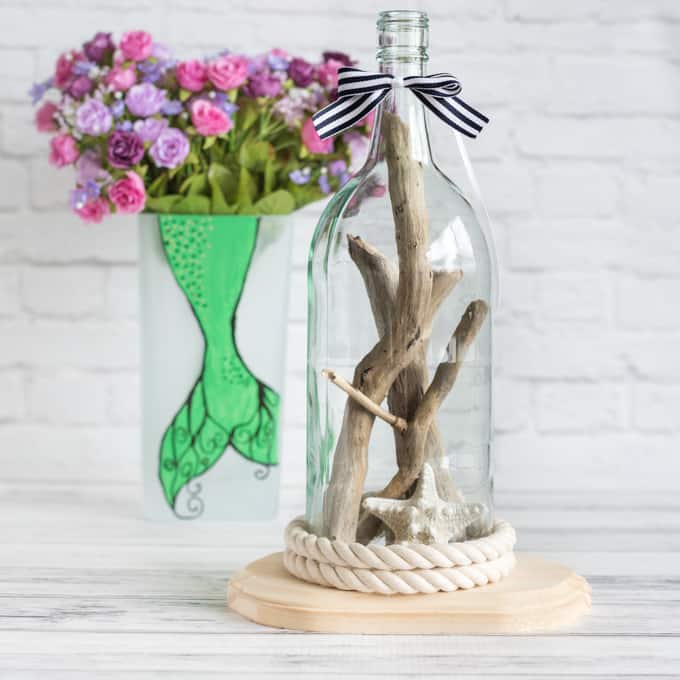
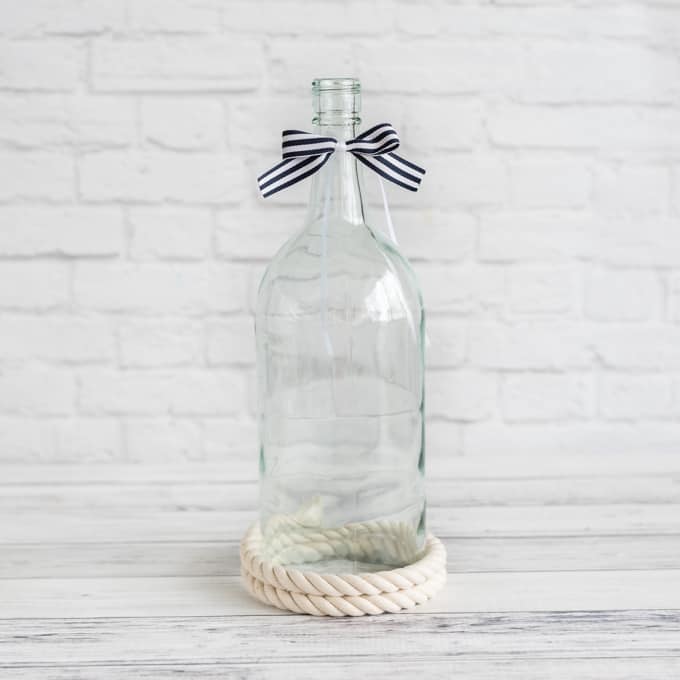
And there you have it! Your very own beachy cloche from a wine bottle. This exactly same technique can be used to make a cloche from any vase or jar, or you can change up the theme and follow the basic steps to create a different style of cloche using a cut wine bottle.
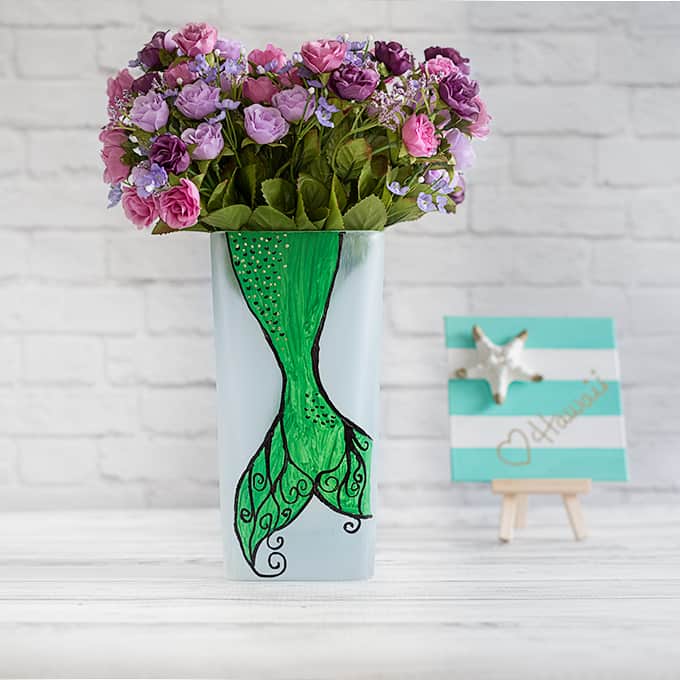
If you like the look of that mermaid vase in the background, you can see its tutorial right here! The post even includes a pattern and tips on how to replicate the design, even if you don't feel comfortable drawing or painting free-hand.
What theme would you choose if you made a decorative cloche?


Julie
Ooh, I really like this! Although I looked at the how to cut glass tutorial and um, well... I'm useless!! I like the beachy theme!!
Natashalh
Explaining things in words always makes them seem so much more difficult than they really are! This week I have a tutorial planned that isn't beachy at all, so it's being hard for me to write about. =p