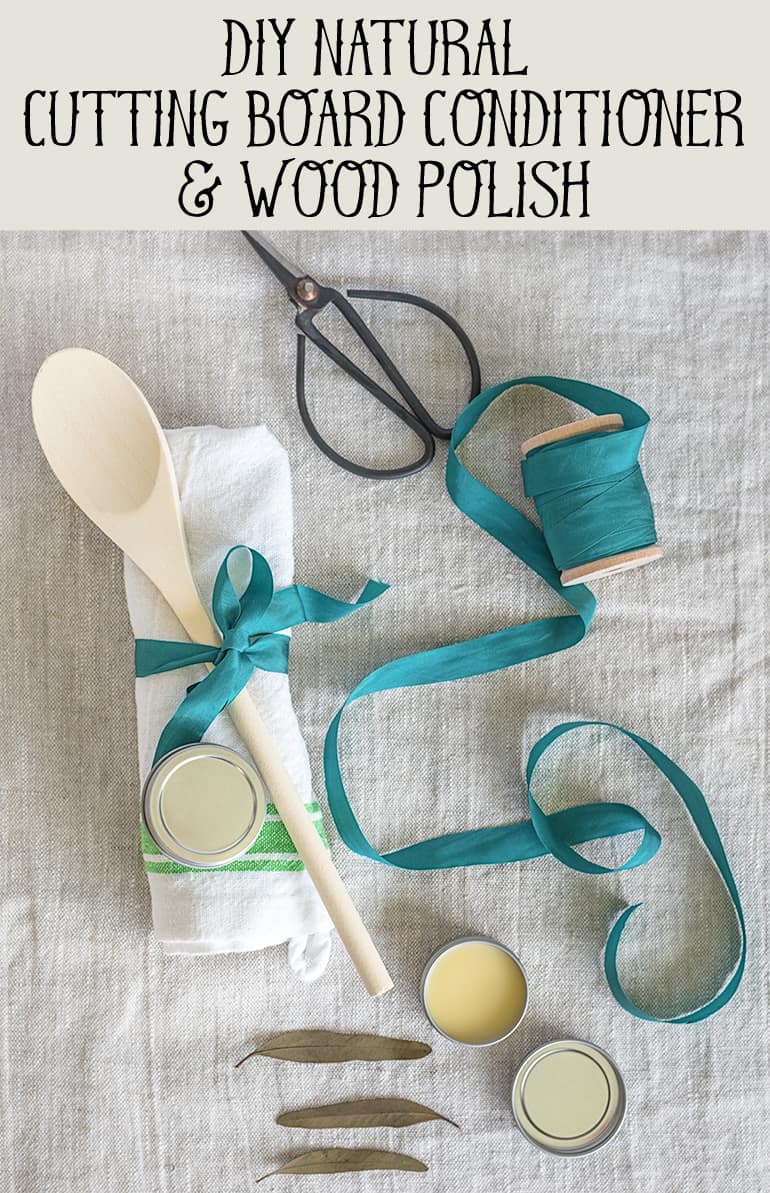
This natural, DIY cutting board conditioner is perfect for your wood bowls, spoons, and cutting boards!
Although I will admit to making my own things sometimes even when gathering all the needed supplies together actually cost more, especially once you consider "labor," than buying a ready-made product, this homemade cutting board conditioner is a clear money saver and super easy to whip up.
Unfinished wood items, like butcher block tables, cutting boards, and wood spoons, dry out and need some TLC - this all-natural cutting board conditioner is the perfect way to show them some love!
It's great for personal use and for gifting; a tin of this cutting board conditioner would go well with wooden spoons and a kitchen towel as a sweet gift. I hope you enjoy this DIY natural wood polish recipe. 🙂
This post may include affiliate links, which means I may make a commission on purchases made through these links at no additional cost to you.
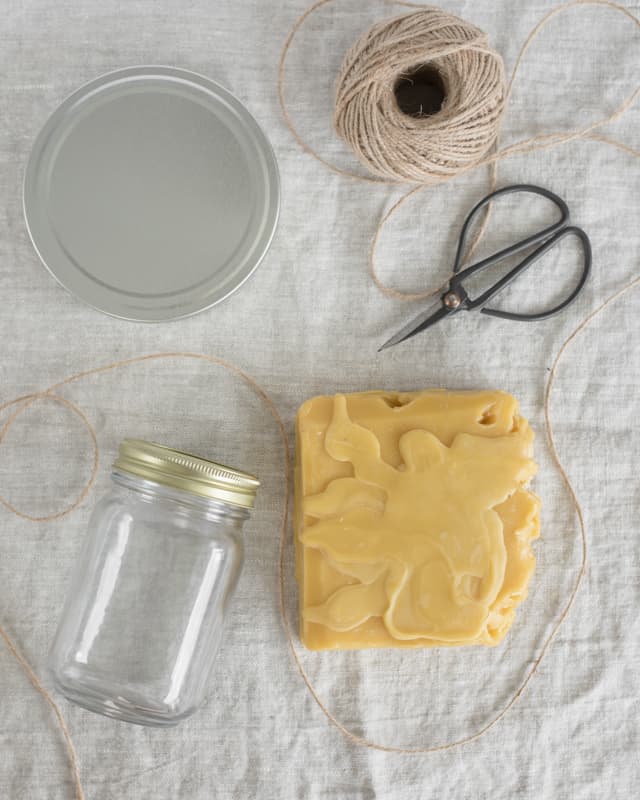
Materials for DIY natural wood polish/homemade cutting board conditioner
- 2 oz beeswax. I highly, highly recommend getting beeswax pastilles or pellets, not a block like what you see in my photos! The block is a huge pain to work with.
- 8 oz oil
- Mineral oil is a food safe and economical choice if you don't mind using it (it's a petroleum product). Walnut oil and almond oil also work well. Avoid olive oil, sunflower oil, and most other food oils because they will go rancid pretty quickly.
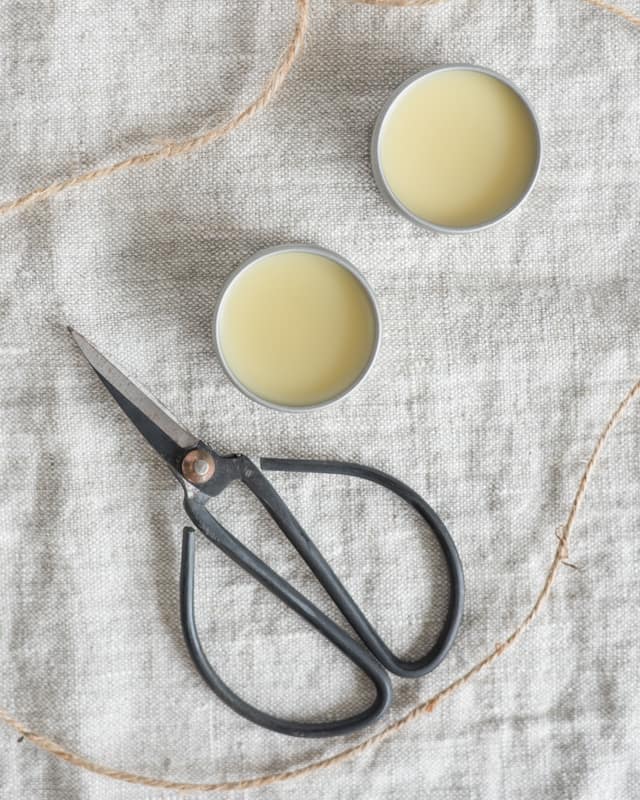
- A glass jar (widemouth is best) and/or metal tins (I got the pictured tin from The Shoppe at Somerset)
- Pots to make a double boiler or a wax melter (I used a small pot and my glass jar to melt the wax)
- A kitchen scale
- A bamboo skewer for stirring (optional but very convenient!)
How to make your own cutting board conditioner/DIY natural wood polish
Measure out 2 ounces of beeswax. If you have a giant block, like I did, you can place it on a piece of parchment paper and microwave in 20 second intervals until it is soft enough to cut or twist pieces off of.
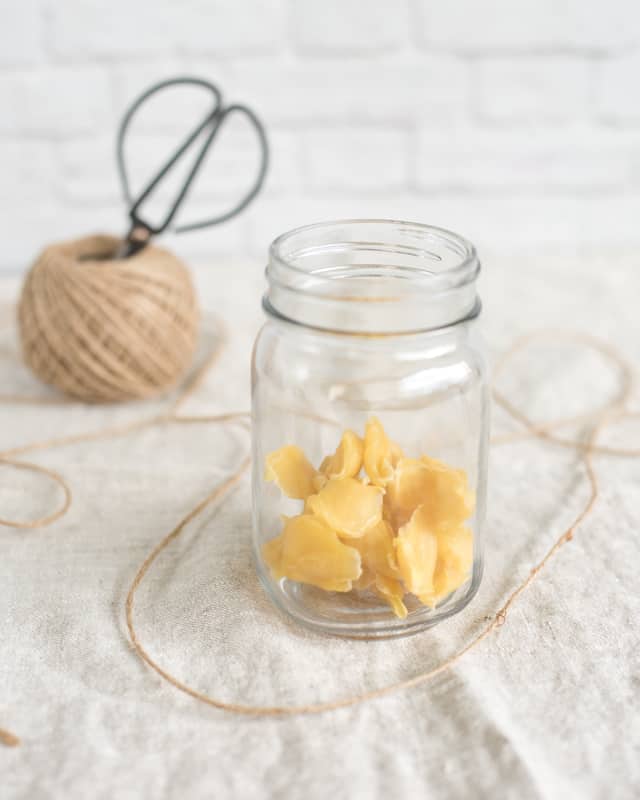
Set up a double boiler or ready your wax maker and add your oil and wax to the inner pot/bowl. I used a glass jar instead of an inner bowl.
If you've never melted wax before, this WikiHow article has several suggestions.
Wax can catch on fire, so it's important to keep a close eye on your melting wax and never leave it unattended. (Don't let that startle you too much - beeswax melts at about 150ºF and doesn't catch on fire until near 400ºF, but it is something to keep in mind.)
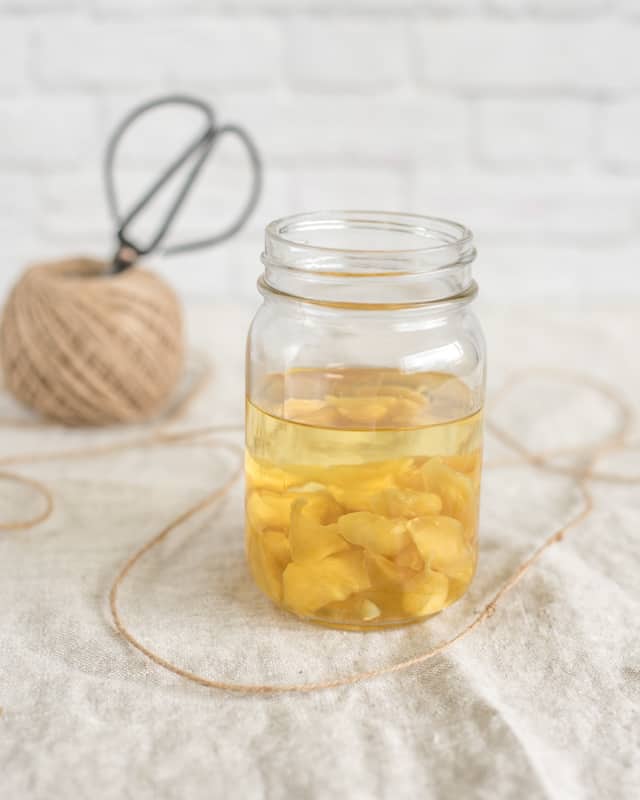
Stir your wax/oil mixture frequently as it heats. You can use a metal spoon, but I find a bamboo skewer to be very convenient for stirring something in a jar!
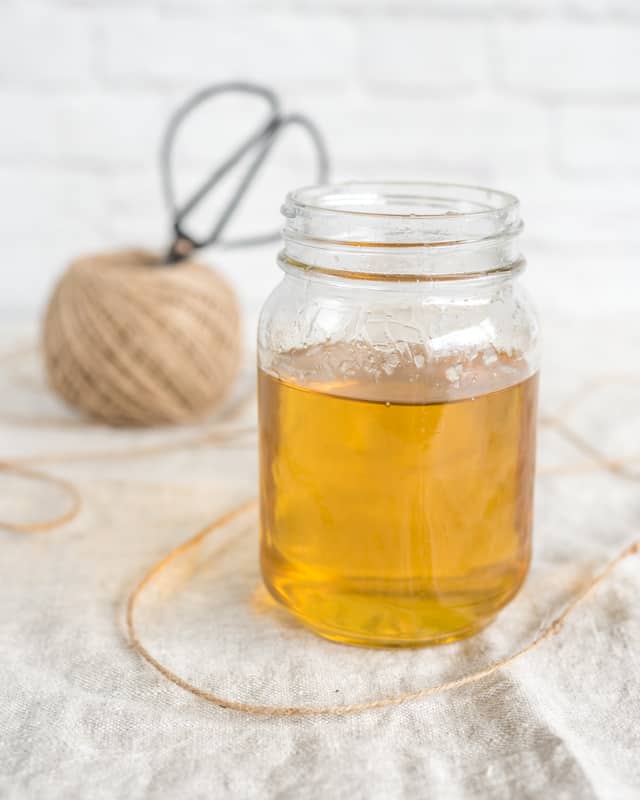
Once the wax has completely melted, remove it from the heat.
If you're transferring the mixture to a different container, carefully pour it immediately into its new home. The container(s) will probably be quite hot, so please use caution and wear oven mitts, if needed.
![]()
Allow the wood polish to cool completely before putting the lid on your container. It's now ready to gift or use! To use your natural wood polish, simply rub on with a soft, lint free cloth.
In spite of using something very similar on our wood kitchen goods at home, I didn't make this batch of natural wood polish for use on spoons or cutting boards. I made it to use as wood furniture polish!
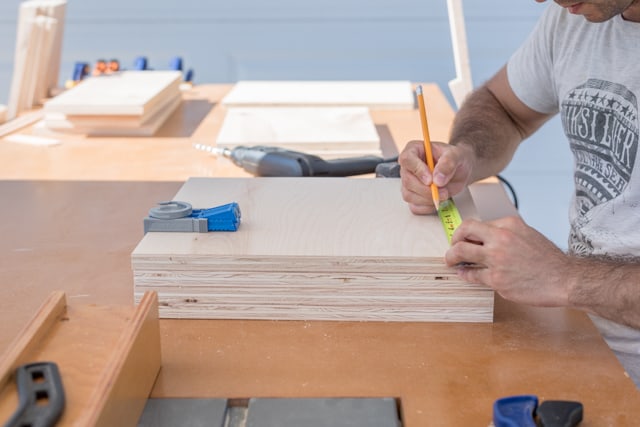
My husband and I spent most of Labor Day weekend using a friend's woodworking setup! We made a couple new pieces of furniture that I'll be sharing on the blog soon.
Have you made homemade cutting board conditioner before? Are you ready to give it a try now?
![]()
More Related Posts
[pt_view id=“15d429e15n"]
[catlist search="tutorial" numberposts=4 orderby=rand excludeposts=this]


Kimberley
How often should this be used?
Natasha
As often as your wood piece needs it. =)