This post may include affiliate links, which means I may make a commission on purchases made through these links at no additional cost to you.
If you've visited my blog before, you probably know I love t-shirt reconstruction projects.
As a fairly small person, I've spent years trying to make literally cut my clothes down to size.
Even if a shirt isn't too big, cutting it up and restructuring it is a great way to add a personal touch to an over worn (or never worn!) tee.
Several of my previous t-shirt projects product tops ideal for a workout of day at the beach, so I though I'd show you how to make something that doesn't have holes, revealing slits or a backless design. This side laced tank top is totally decent and something you could wear to the store when you aren't on the way home from the gym!
You can use pretty much anything to lace the sides. In the example I used t-shirt yarn, but I've made similar shirts with spare shoestrings and ribbons. If you don't know how to make it, you can check out my t-shirt yarn tutorial here. It's pretty easy and can be used for all sorts of things!

Materials for No-Sew Side Laced Tank Top
- A tee you're bored with
- A sharp pair of scissors
- An awl, small pair of scissors, pair of needle nosed pliers, or something similar
- T-shirt yarn, (or a second shirt to turn into yarn), shoe laces, ribbons, etc. for lacing
How to Make the Tank Top
1. If necessary, make your t-shirt yarn using your favorite method or by following the instructions here.
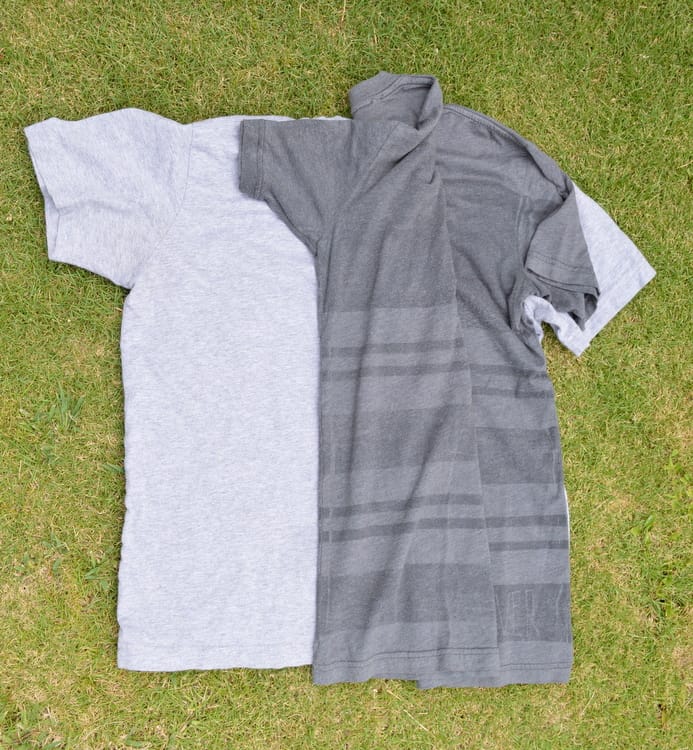
2. Cut the sleeves off your t-shirt. Make sure to cut them away from the body so that you remove the seam, as shown below. Cut off and discard the bottom hem.
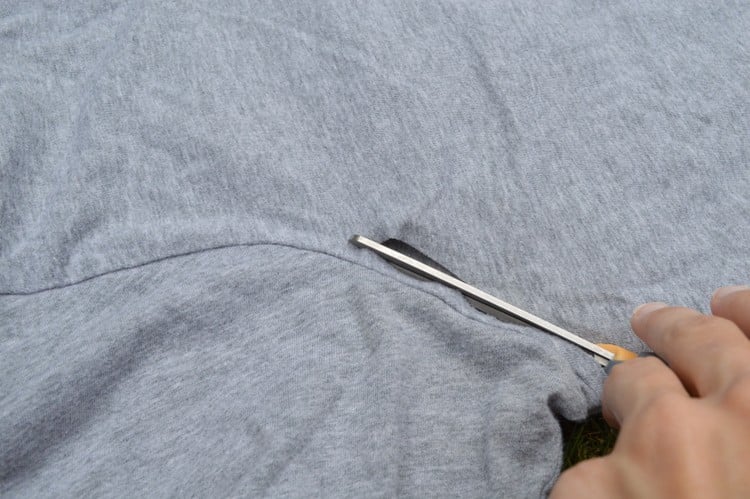
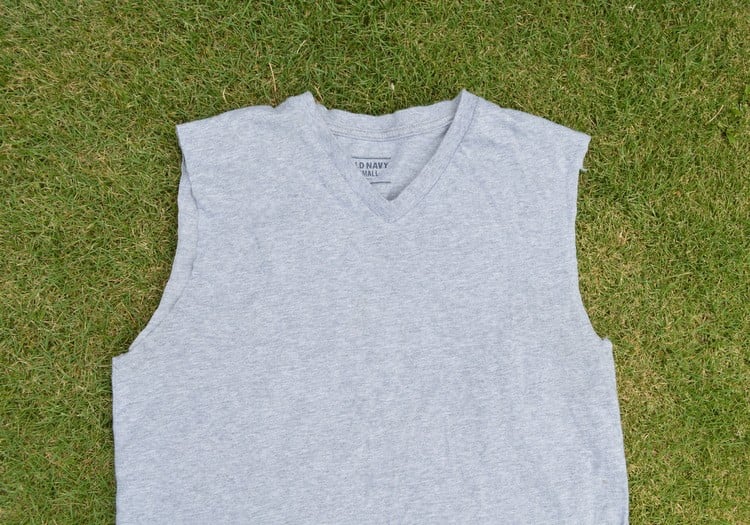
3. If your shirt is too big, cut straight up each side to remove as much fabric as necessary from the shirt. Cut through both thicknesses at once and try to cut each side the same amount so that one shoulder doesn't end up massive and the other tiny. I advise cutting a way a little bit, testing the fit, and then cutting away more, as needed. You can always cut off extra, but you can't add it back on! If your shirt already pretty much fits simply cut the side seam out and discard it.
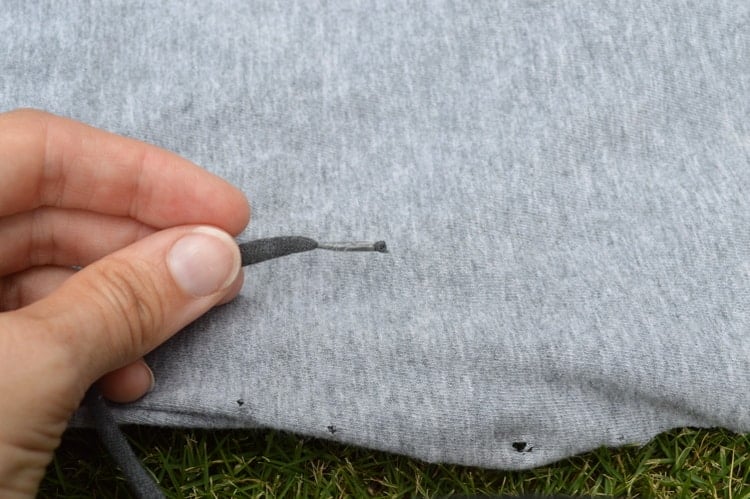
4. After the shirt's body is the appropriate size, it's time to poke little holes in it! A small awl is best, but a pair of needle nosed pliers, the tip of a small pair of scissors, or probably even a nail will work. I like to space the holes about an inch apart. Making the holes through both thicknesses at once is a little more tricky, but it ensures the holes match up. Poke holes all the way from under the sleeve to the bottom.
6. If you're using t-shirt yarn or ribbon without a convenient point for lacing, simply wrap each end of the yarn with a small piece of tape, as shown. This will allow you to lace the shirt quickly and keeps the yarn from fraying while you lace.
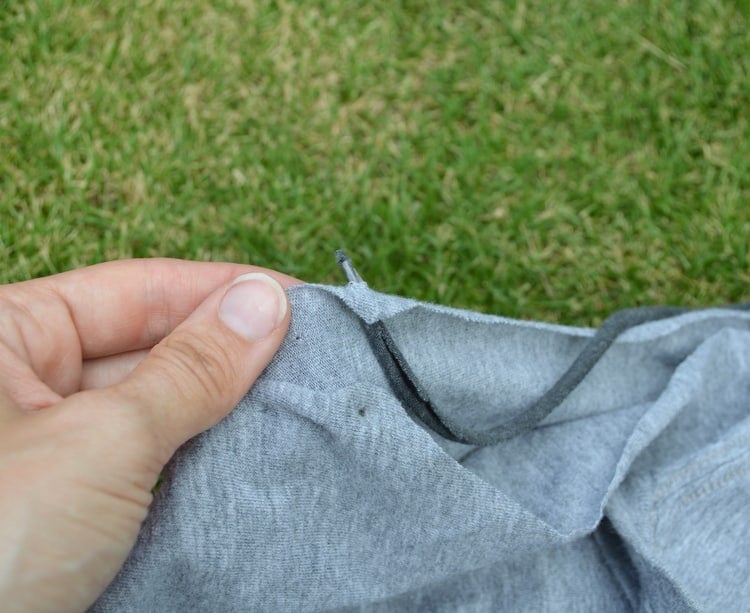
7. Find the middle point of one piece of lacing. Then, find the top pair of holes on one side of the shirt. Insert one end of the yarn through a hole from back to front, pulling it through until the yarn's midpoint. Then, bring the other end of the yarn through the other top hole, pulling it through until the shirt's two sides meet.
8.Cross the right lace under the left, as shown below.
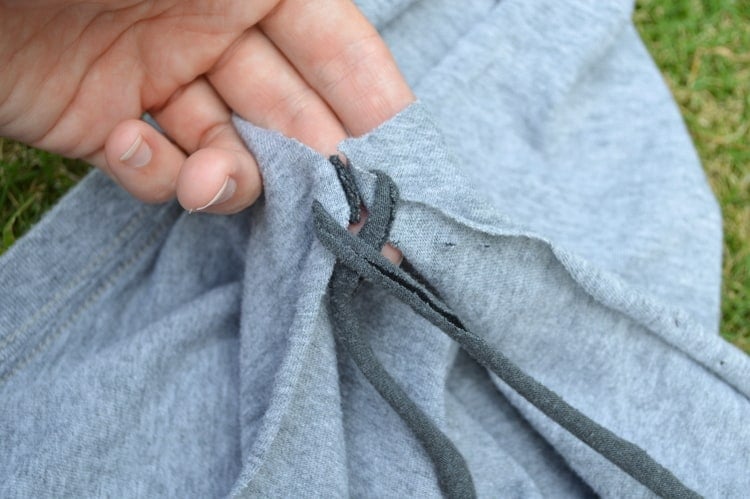
9. Bring the laces through the next available holes, from back to front, as shown below.
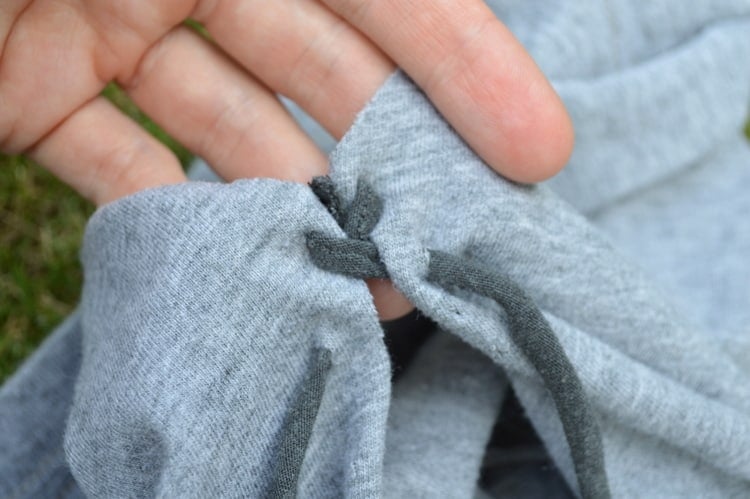
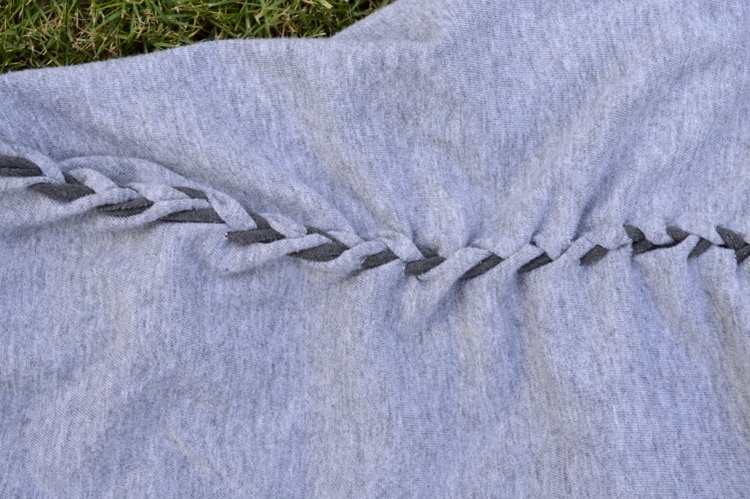
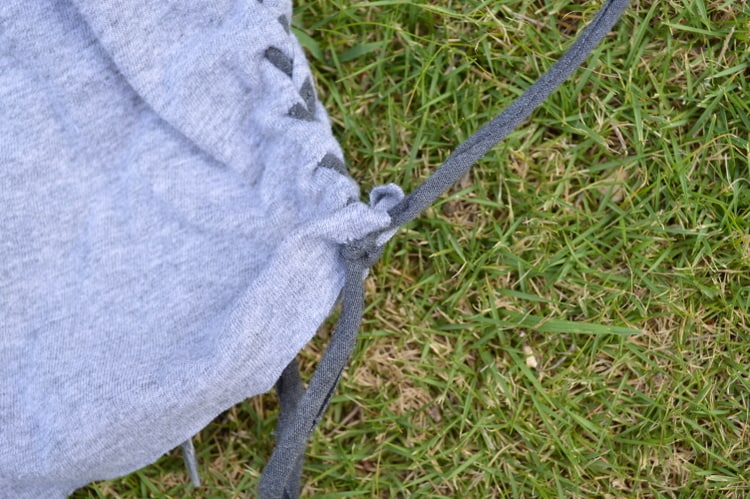
9. Continue lacing, always passing the right end behind and the left in front. You can lace it differently if you'd like, but lacing this way ensures the two laces are used up at the same rate and gives the cool herringbone pattern.
10. Once you reach the bottom, rouche the shirt a little, if you'd like, but pulling gently on the laces. When you're satisfied, tie the two lace ends in a tight square knot. You can tie the leftover laces in a bow or leave them hanging - you just might want to snip off those makeshift tape lacing points!
11. Repeat steps 7-10 on the other side.
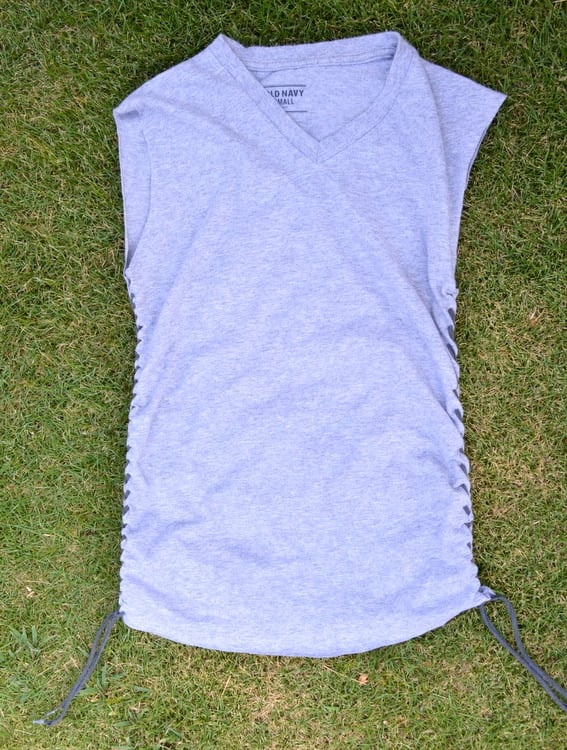
12. Wear and enjoy!

Do you upcycle t-shirts? Other clothing? What do you like to make? Are you ready to take your t-shirt reconstruction to the next level? (By that I mean "Are you willing to sew a little?") If so, I recommend these cool books!


Mandy
This is a cool project and super cute top! Thanks for sharing on Small Fine Print!
Mandy
Small Fine Print
Natashalh
Thank you and thanks for stopping by!
Linda
PINNED!! Thanks so much.
Linda craftsalamode.com
Natashalh
Thank you for pinning!! I appreciate it.