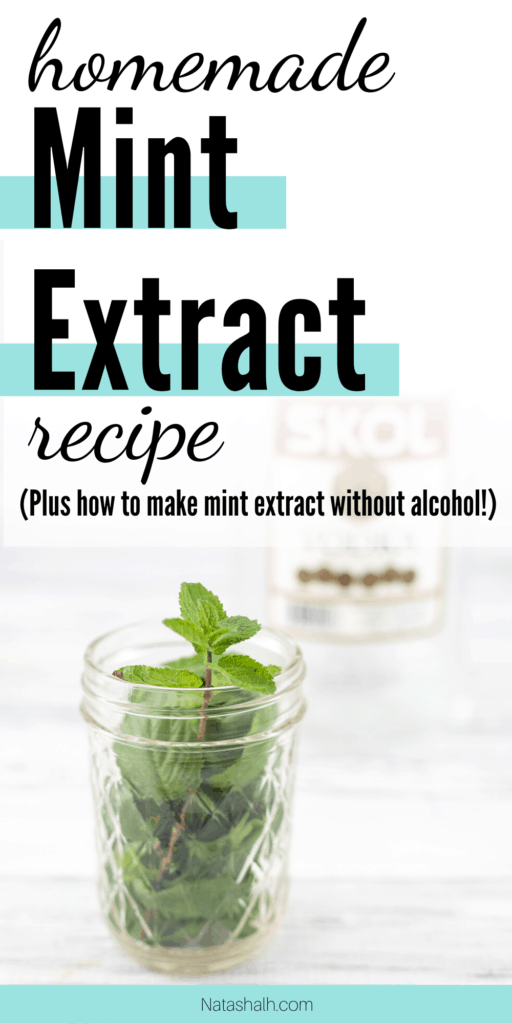
Discover how to make your own mint extract three easy ways with these recipes! Mint is so delicious, easy to grow, and also super easy to turn into your own mint extract
As I wrote recently in this homemade goo remover post, my DIY side has tamed down a bit since having a child simply because I don't have much time. Luckily, there is very little active time involved in making mint extract! Homemade mint extract also cost far, far less than store-bought, and you have complete control over the ingredients.
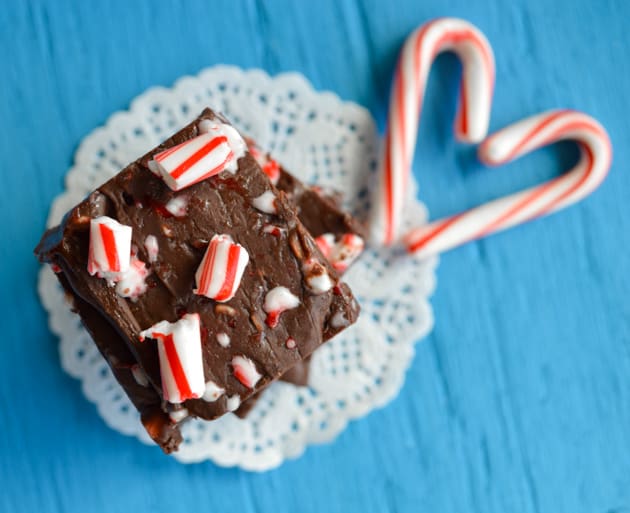
Small bottles of mint extract make extract Christmas gifts and stocking stuffers, too!
This post includes affiliate links, which means I may earn a commission on purchases made through links at no additional cost to you.
How do you make mint extract?
Mint extract is very easy to make as long as you have a little patience.
Traditionally, you place mint leaves in alcohol and wait several weeks.
Running short on time or patience? That's okay - I have a recipe for quick mint extract, too!
Make sure to scroll down below the quick recipe for a printable recipe card for the classic mint extract.
If you're looking for a mint extract without alcohol, I also have you covered. You can make your own mint extract with vegetable glycerine!
How to extract mint oil - easy DIY mint oil recipe
Ingredients & supplies:
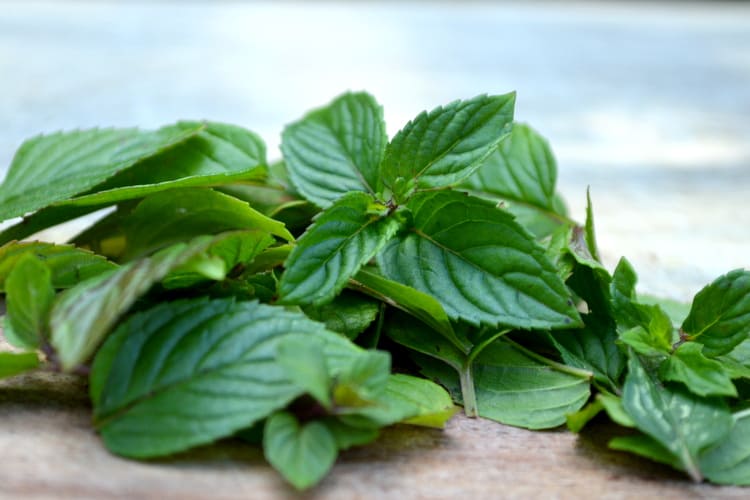
- 1 cup of fresh mint leaves
- Don't have fresh mint? Use ½ cup of organic dried peppermint leaves!
- ~ 1 ⅕ cups of Vodka or Everclear
- You can also use other high proof alcohols like rum or bourbon, but remember that the spirit's taste will influence the way the mint extract tastes.
- Make sure the alcohol is at least 80 proof.
- A muddler or a pair of herb scissors (optional but highly recommended)
- A salad spinner (optional but makes things so much easier!)
- A glass pint jar with a metal lid
- I recommend sanitizing your jar and lid before using them. It's very easy to sterilize your glass jars at home with water.


If you don't have herb scissors or a muddler, you can chiffonade your mint.
Stack several mint leaves:
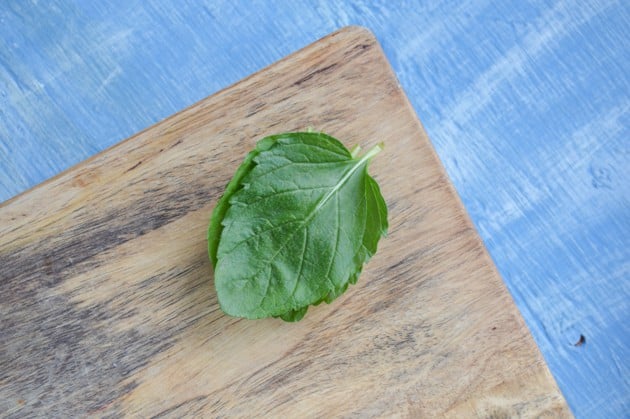
Then roll them up:
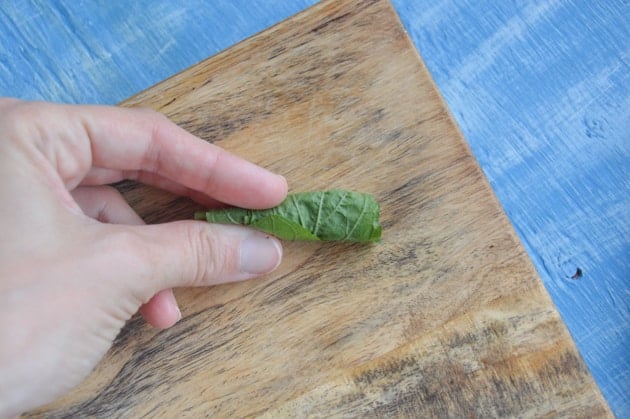
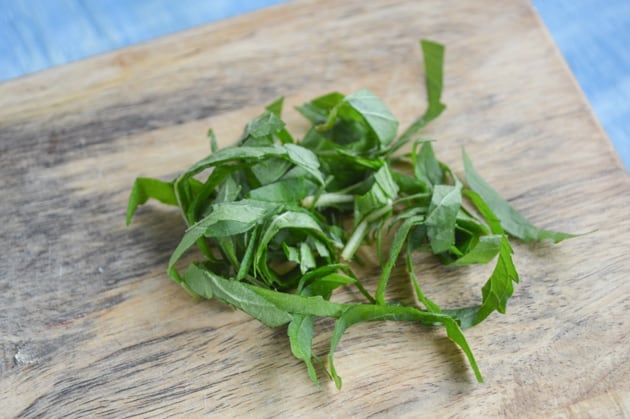
Cut through the rolls to make thin strips of mint!
How to make mint extract
- Wash your mint leaves and pat them dry with a towel or toss them in your salad spinner. I started drying herbs off in a salad spinner last year and have never looked back!
- Cut your mint with herb scissors or place it in the jar and crush it using a muddler.
- Place your crushed mint leaves in a clean glass jar (if they're not already in the jar!) and add alcohol. Pour enough to cover the leaves, about 1.5 cups.
- Place in a cool, dark location for 4-6. Every week or so, or as often as you remember, shake up the jar.
The mint leaves may start to turn brown (the liquid may also turn amber). This is absolutely ok and nothing to worry about as long as there is no mold in your jar.
After 4-6 weeks, strain out the mint leaves by pouring the extract through a mesh strainer or cheesecloth. Transfer the extract to your storage containers and gift or enjoy!
Alcohol tinctures (this mint extract is technically a tincture) can last for several years. As long as there's no mold, you should be good!
If you are using spearmint/want a stronger mint extract:
- In 1-2 weeks, do a second infusion.
- Pick and prepare an additional cup of mint and place it in a fresh, clean jar.
- Pour your extract through a mesh strainer into the new jar. Discard the old leaves.
- If you'd like, repeat this process a third time for even stronger mint extract!
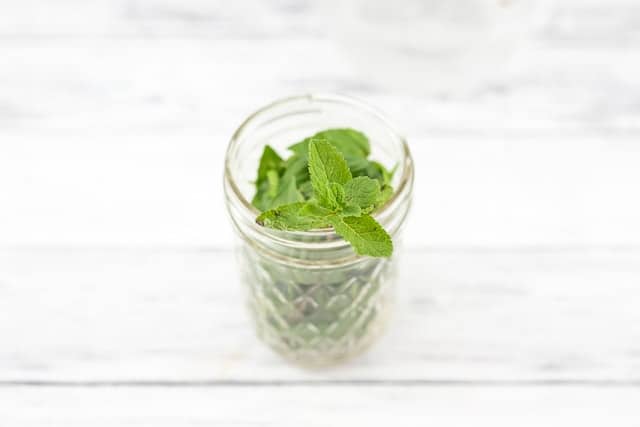
How to store your mint extract
If you have leftover extract bottles, you can clean and reuse them!
Amber glass bottles are great for storing extracts because they block damaging light.
Homemade mint extract makes a fantastic Christmas gift or stocking stuffer. If you want to gift your peppermint extract, get 1 oz amber glass bottles. (Blue glass bottles work well, too, and are actually what I have!)
For storing your extract and personal use, several 2 ounce bottles or three 4 ounce bottles work well.


Fast mint extract recipe
Sometimes you don't want to wait several weeks to make mint extract. That's where this fast recipe comes in!
I adore my sous vide cooker and use it several times a week. It's great for making alcohol infusions quickly (although I don't really drink so I don't actually use this technique for making flavored liquors).
Ingredients and materials for quick mint extract:
- 1 cup of fresh mint leaves or ½ cup dry mint leaves
- ~1.5 cups of vodka or Everclear
- A clean glass mason jar
- Scissors or a muddler
- Paper towels or a salad spinner
- Sous vide cooker. (I own an Anova but there's also a popular Instant Pot immersion cooker)
How to make mint extract in one day
- Heat your sous vide water bath to 135ºF.
- As in the traditional recipe, wash and dry your mint leaves. You can leave them to dry on paper towels or just use a small salad spinner.
- Place your mint leaves in a clean mason jar and muddle to crush (or cut with herb scissors).
- Pour alcohol over the mint leaves, leaving ½ an inch of headspace in the jar.
- Place the lid on the jar and tighten loosely.
- Place in the water bath for three hours.
- Remove your extract from the water bath, chill, strain through a mesh strainer to remove the mint leaves, and rebottle for storage.
If you'd like, you can also do a second or third infusion for stronger mint extract. Simply skip the chilling, strain out the mint leaves, add fresh mint, and cook again for three more hours!
Homemade Mint Extract Recipe

This homemade mint extract is easy to make and great for gifting!
Ingredients
- 1 cup of fresh mint leaves or ½ cup dried mint leaves
- ~ 1 ⅕ cups of Vodka or Everclear
- A muddler or a pair of herb scissors
- A salad spinner (optional but makes things so much easier!)
- A glass pint jar with a metal lid
Instructions
1. Wash your mint leaves and pat them dry with a towel or toss them in your salad spinner.
2. Cut your mint with herb scissors or place it in the jar and crush it using a muddler.
3. Place your crushed mint leaves in a clean glass jar (if they're not already in the jar!) and add alcohol. Pour enough to cover the leaves, about 1.5 cups.
4. Place in a cool, dark location for 4-6. Every week or so, or as often as you remember, shake up the jar.
5. Strain the extract through cheesecloth or a mesh strainer and bottle for storage.
Notes
The leaves and/or extract may turn brown. This is completely okay as long as you don't see any mold!
How do you make mint extract without alcohol?
Many people are curious about how to extract mint oil from leaves without alcohol.
The good news is you can make your own mint extract without alcohol! It isn't exactly the same because the texture is much more syrupy, but it is possible to make mint extract using food grade vegetable glycerine.
Non-alcoholic mint extract ingredients:
- 1 cup fresh mint leaves (glycerine does not work as well with dry mint)
- 1 ½ cups of food grade vegetable glycerine
- ½ cup distilled water
- Paper towels or salad spinner
- Muddler or herb scissors
- A clean glass pint jar
How to make mint extract with glycerine:
- Wash and dry your mint leaves, either on paper towels or in a salad spinner
- Cut the leaves and place them in your clean jar or muddle them in the jar.
- In a separate container, mix the vegetable glycerine and distilled water.
- Pour the glycerine mixture over the mint leaves until the jar is full. You may have a little left over.
- Close the jar lid and shake. Store in a cool, dark place for 4-6 weeks. Shake it whenever you remember!
- Strain through cheesecloth or a mesh strainer and transfer to bottles or a jar for storage.
Glycerine extracts, also known as glycerites, typically last for 14-24 months in a cool, dark place. You can can read more about glycerites on the Herbal Academy if you're interested.
Why doesn't my mint extract taste good?
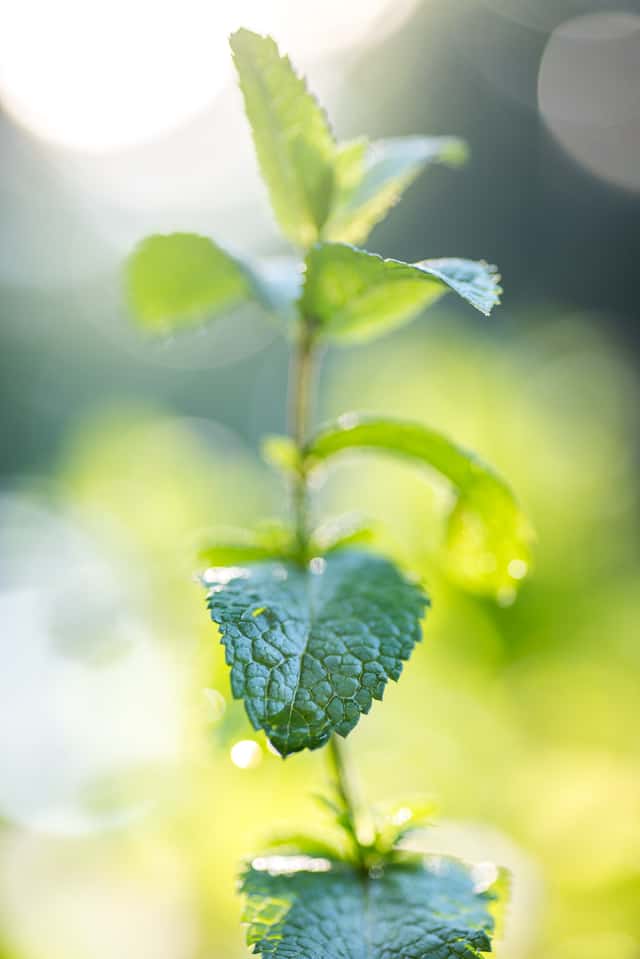
If you've made your own mint extract before and thought the results were bland, boring, or otherwise not that great, the problem is probably the mint you used.
Most mint available at grocery stores and garden stores is spearmint, not peppermint. (Yes, even sometimes if it's labeled peppermint!)
Spearmint is milder than peppermint, which makes it great for garnishes and most cooking, but peppermint makes a much stronger, brighter tasing extract.
Chances are good that, if you've made mint extract before and it doesn't taste that great, you were using spearmint instead of peppermint.
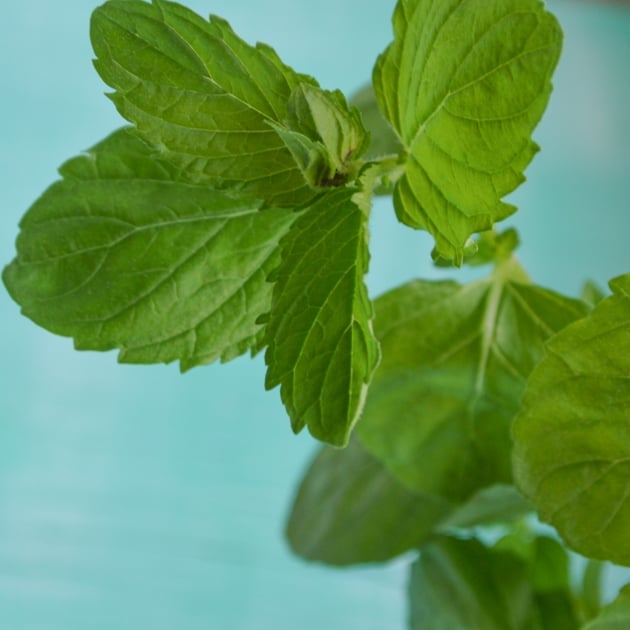
What is the difference between spearmint and peppermint?
Most mint you buy at the store or find at gardening stores is spearmint, not peppermint.
There's nothing "wrong" with spearmint. Most people prefer it for garnishes and beverages! It just doesn't have nearly as much menthol.
Spearmint typically has about 1% menthol (what makes it taste "minty"), which peppermint can has about 40% menthol.
If you have a mint plant and you're not sure which it is, you can do a simple taste test. If it tastes minty and sweet, then it's probably spearmint. If it tastes like WOAH! Mint! And has a very strong minty aftertaste, it may be peppermint.
There are also some visual differences between the two types of mint.
This video from The Practical Herbalist explains how to tell the difference between spearmint and peppermint. (I've lined the video up to start where she's taking a close look at the leaves, but watch from the beginning to learn even more!)
I hope you've enjoyed learning how to make your own mint extract! Please let me know in the comments below if you have any questions.
Don't forget to Pin this recipe now so you can find it again later!
More mint recipes


Aaron
If you don't use the extract for baking purposes, does the alcohol still linger in the extract? I make juices for kids and don't want to give them something that has alcohol in it if I'm using everclear haha.
Natasha
Yes, the alcohol is the basis of the extract. If you don't cook it off, it will remain. This is the case for commercial extracts, too - if you look at the label, you'll see the amount of alcohol. For example, pure vanilla extract is at least 35% alcohol!
If I were making a child's drink, I'd just use fresh mint. My daughter loves chewing mint leaves and drinking mint water!