This post may include affiliate links, which means I may make a commission on purchases made through these links at no additional cost to you.
The first thing I notice when I walk in a building is how it smells. Restaurants, stores, homes - my first opinion of anywhere is based on its scent. I'm sure I'm not the only one who's walked out of a restaurant that smells 'funny!'
Various incenses, plug-ins, scent sticks, candles, etc. are popular ways to 'freshen up' a home, but a lot of these air fresheners contain loads of chemicals. Some studies say many air fresheners have harmful ingredients and others say any negative effects are conjectural. All I know is that a lot of them make me sneeze! Some of them even make my eyes literally water.
I still like my place to smell nice, though, so I did some research into making your own reed diffusers with essential oils. This quick recipe shows you how to make your own reed diffuser for essential oils and scent your home without the chemicals!
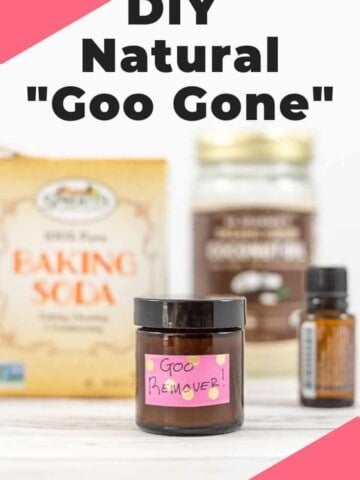
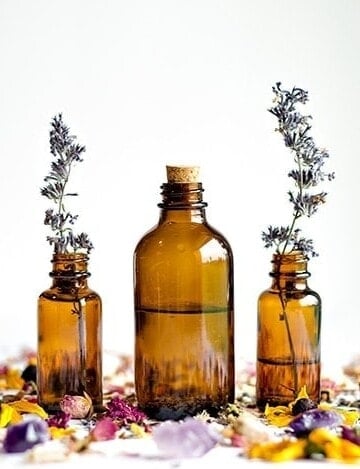
 Materials for DIY essential oil diffuser
 Materials for DIY essential oil diffuser
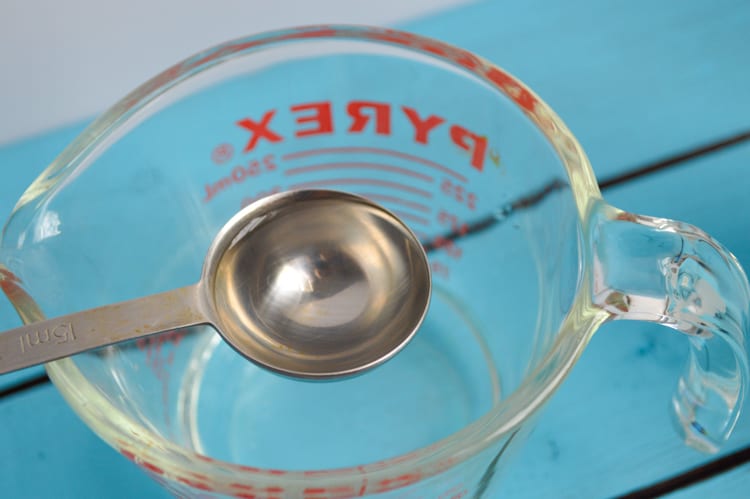
- ½ cup of water mineral oil, or other clear carrier oil
- 2 tablespoons of vodka
- About 20 drops of essential oil(s)
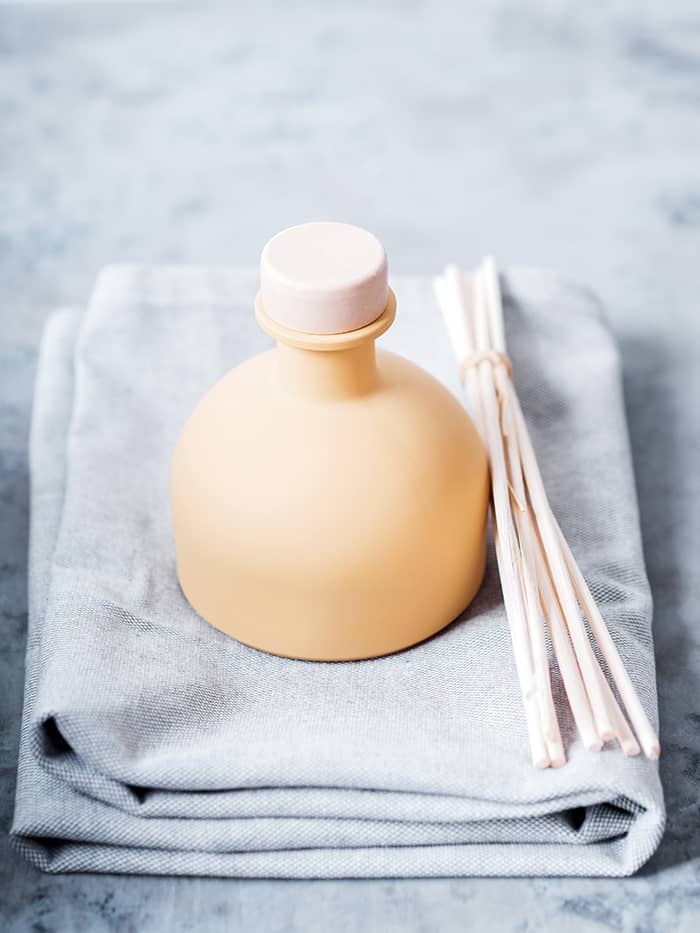
- A small jar or vase
- A package of diffuser reeds
- You can also find decorative reeds, and even sets with empty bottles that come with reeds
- A measuring cup & measuring spoon
Note: You can double, triple, etc. the recipe for a larger batch. This is for a smaller batch because the vase I originally used was quite small!
Using oil makes your diffuser last longer
Many recipes call for using a carrier oil, such as mineral oil or almond oil. Oils do not evaporate the way water does, so this can make your diffuser go longer between fill ups. Personally, I hate accidentally knocking a diffuser over and getting oil everywhere, but my experiments revealed that (just as I suspected) water doesn't work as well. Oil just doesn't like to mix with water! The essential oil tends to coagulate into a single blob that doesn't carry up the reeds. It may still smell like lavender or what have you, but only because the scent is emanating from the container. It's your choice, but mineral oil is inexpensive and it does work better than water. Alternatively, you can use a natural clear oil, like an almond oil or fractionated coconut oil.
Use vodka, not rubbing alcohol
I used to recommend using 91% rubbing alcohol, but I've since learned that vodka is the healthier choice. (Only time you'll read that phrase, right?!) The alcohol is important because it helps bind everything together and dilutes the oil to allow it to flow more freely up the reeds.
You will need 10-20 drops of essential oil. It depends on what brand of essential oils you're using, how pure they are, and how strong the particular oil happens to be.
This is probably where you expect a dogmatic piece about which essential oils are absolutely the best. I've used Now Foods single oils for projects like this with total success. I was a DoTerra Wellness Advocate for several years just for the discount, but now there are so many affordable, high quality oils available that I'm no longer a WA. I just get the occasional DoTerra oil on Amazon if there's anything I'm dying to have.
No matter what oils you're using, it's a good idea to add it a few drops at a time the first time you make a reed diffuser to get a feel for how much you need. Of course, you can mix your favorite oils to create your own custom scents!
How to make a reed diffuser
1. Measure your oil or water water into a glass measuring cup, or pour the measured water into a small bowl.
2. Add the rubbing alcohol and stir vigorously to combine. This will be difficult if you're using oil and fairly easy with water.
3. Slowly add the essential oil(s), stirring to mix.
4. Carefully pour the mixture into your chosen vase or jar, making sure you don't fill it to the brim.
5. Insert the diffuser reeds.
6. Flip the reeds in a few hours and then continue flipping them at least once a week. This helps the scent disperse more evenly.
7. Enjoy your new diffuser!
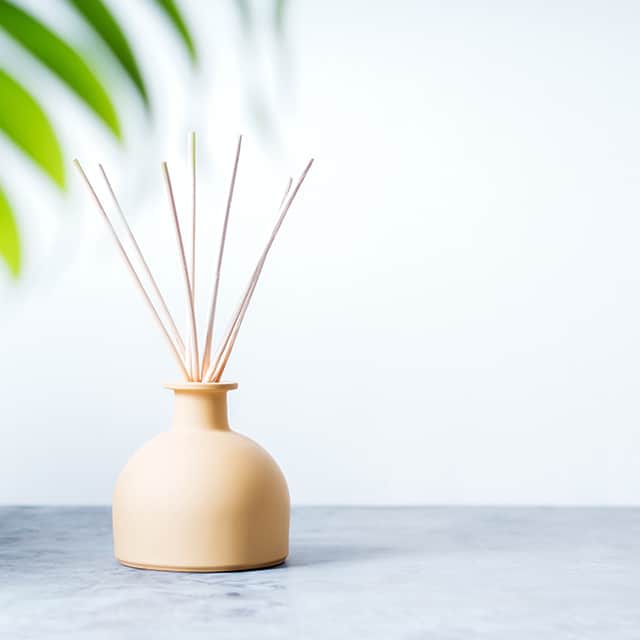
You could use any jar or vase you'd like, but, ideally, you should use one with a narrow neck because wide, open necks encourage fast evaporation. If you already have a jar from a previously purchased diffuser, why not reuse it? As a last word of advise, make sure you buy diffuser reeds, not bamboo skewers. I've heard you can use the bamboo skewers and they just don't work as well, but I got my diffuser reeds for $2 at Pier One Imports. Since I already had everything else I needed to make the reed diffuser, that means this project cost me a meager $2! Now that's pretty awesome, especially since purchased diffusers usually cost $14-$18 in stores near me.
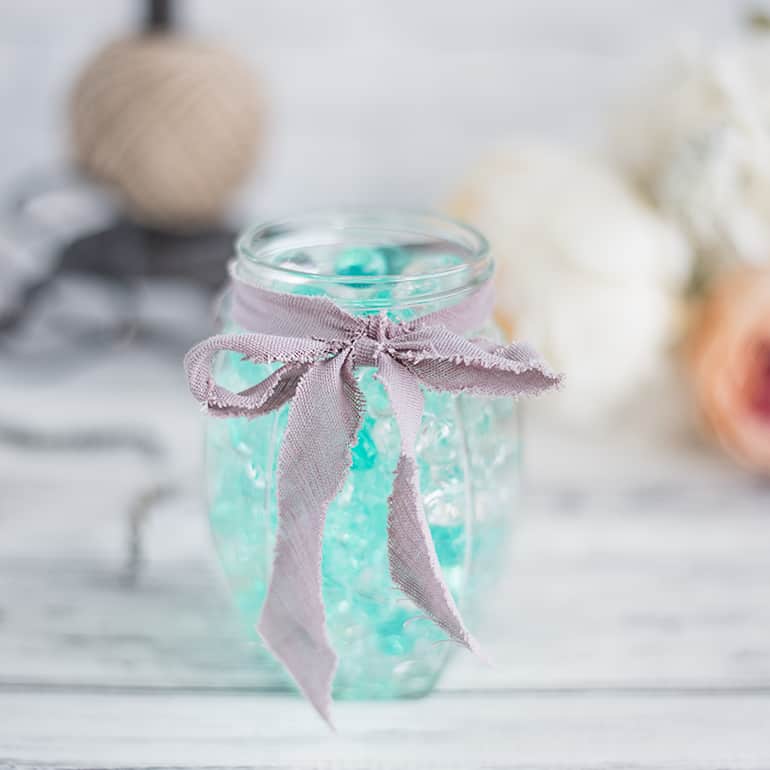
If a reed diffuser isn't your style, it's easy to make your own diffuser with water beads, too!
Do you make your own air fresheners? I know there are lots of natural ways to deodorize a home. What's your favorite?
More Related Posts
[pt_view id=“15d429e15n"]
[catlist search="tutorial" numberposts=4 orderby=rand excludeposts=this]
Aromachology
This DIY reed diffuser guide is just what I needed!
I've been wanting to add a touch of natural fragrance to my home, and your step-by-step instructions make it seem so easy and fun. Plus, I appreciate the cost-effective approach compared to store-bought air fresheners.
I'm thinking of trying this with some calming lavender essential oil, but I'm open to suggestions.
Lisa
Thanks this sounds wonderful and easy to make for Christmas gifts thank you.
Natashalh
Thanks so much! What a nice comment to find in the morning. =)