Discover how to make a homemade lotion bars without beeswax with this easy recipe! These DIY vegan lotion bars are beneficial for your skin and make a great handmade gift idea.
When I was a kid, I thought lotion as a birthday or Christmas present was kind of neat because of all the interesting scents. As an adult, I've realized that a bit of nice lotion as a fall or winter present is so much more than something nice to smell - it's exactly what your hands and body need!
Today's tutorial is a recipe for scrumptious, beeswax free lotion bar. Because high quality beeswax can be difficult to find and/or expensive, this recipe is beeswax free. Making these lotions bars without beeswax also means these are vegan-friendly.
They use very few ingredients, are easy to customize and, perhaps most wonderfully, it smells like chocolate. What's not to love?
This post may include affiliate links, which means I may make a commission on purchases made through these links at no additional cost to you.
Ingredients for beeswax free lotion bars
- 70 grams cocoa butter (I use organic food grade cocoa butter and also use it to make homemade chocolate!)
- 30 grams organic shea butter
- Jojoba oil or sweet almond oil (please see the note below!)
- Essential oils, optional, about 10 drops total
- Molds (Plastic or silicone candy/soap molds work perfectly)


Because this recipe is built around a base of 100 grams, it is easy to scale up! You can create a large batch and then have some amazing, unique handmade gifts for friends and family.
You will need either jojoba oil or sweet almond oil, but only a small amount.
- If you plan to use your lotion bar somewhere hot, consider omitting the oil entirely.
- If it's cold out, add just a drop or two of oil.
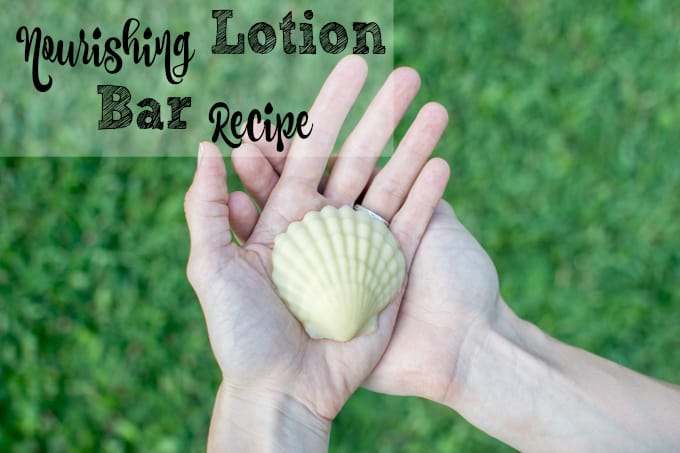
- Both cocoa butter and shea butter are solid at room temperature, but have low melting points. When it's cool, the added oil helps the lotion bar melt slightly in your hands for easy application.
- As regular readers know, we live in Hawaii and don't have air conditioning. When I make these lotion bars with a couple drops of oil, they will not melt sitting there at room temperature but will visibly start to melt in my hands.
You have a lot of choices when it comes to molds for your lotion bars.
I like to use candy molds and they work really well, especially silicone molds, but you can also use ice cube trays or cupcake liners.
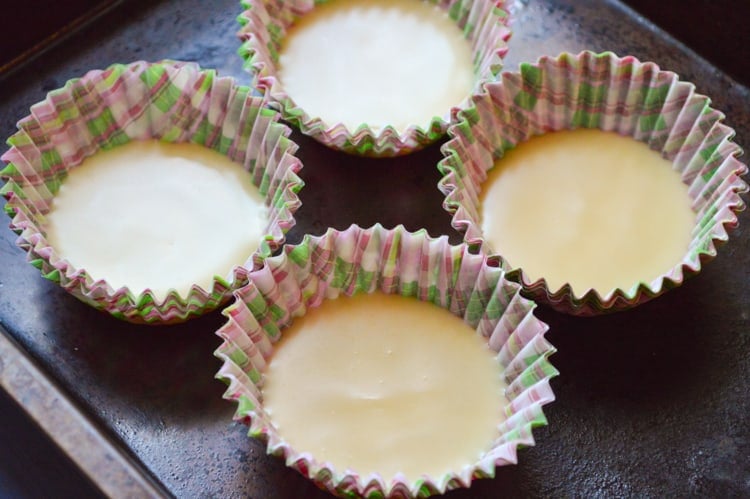
Silicone cupcake liners are better than paper liners because the oil tends to leak through paper. If you need to use paper cupcake liners, make sure to double (or triple) them up like in the photo below.
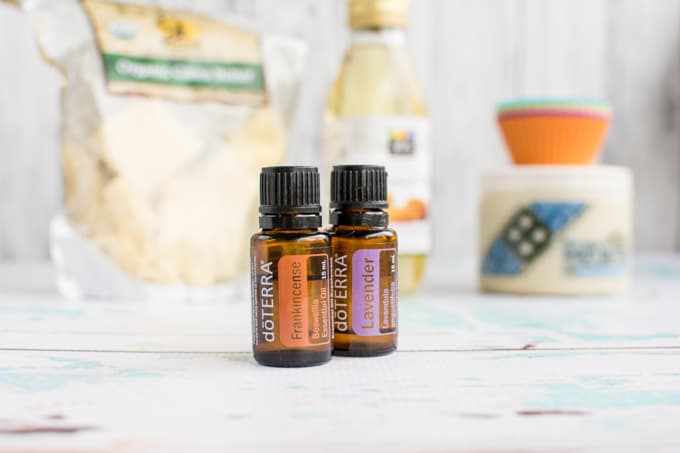
I used lavender and frankincense essential oils because the combination smells amazing and because they're both beneficial for skin.
Feel free to use whatever scents you'd like or omit the essential oils entirely. Whichever oils you choose, please make sure they're safe for topical application.
Good essential oils for skin include:
- Lavender
- Frankensense
- Geranium
- Rose
- Ylang ylang


How to make beeswax free lotion bars
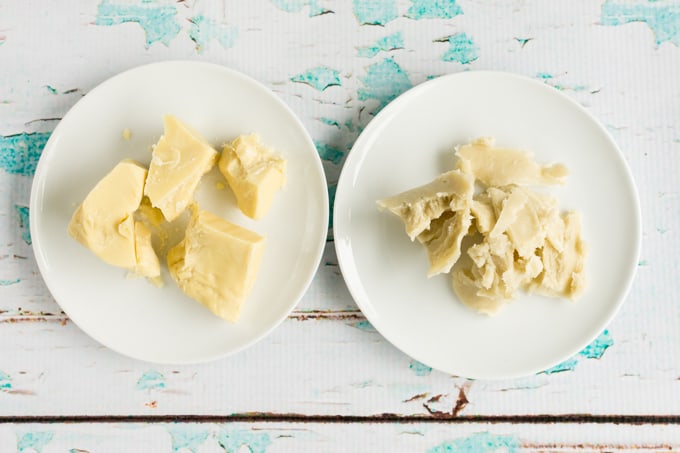
1. If you haven't already, weigh out the cocoa butter and shea butter. Cocoa butter smells like chocolate!
Even though the weights are different, the actual volumes of cocoa butter and shea butter won't be that different so don't be surprised when the two amounts look pretty similar. The cocoa butter is on the left in the photo below.
2. Set up a double boiler and add the cocoa butter, shea butter, and oil to the inner pot. Gently heat, stirring occasionally, until the butters are melted. This should only take about 5 minutes.
3. Remove the inner pot from the double boiler and stir in your essential oils, if using. I used 7 drops of lavender and 3 of frankincense.
4. Carefully pour the melted mixture into your molds. To make cleaning your pot easier, wipe the inside clean with a paper towel while the pot is still warm then wash away the last residual film with hot water and soap.
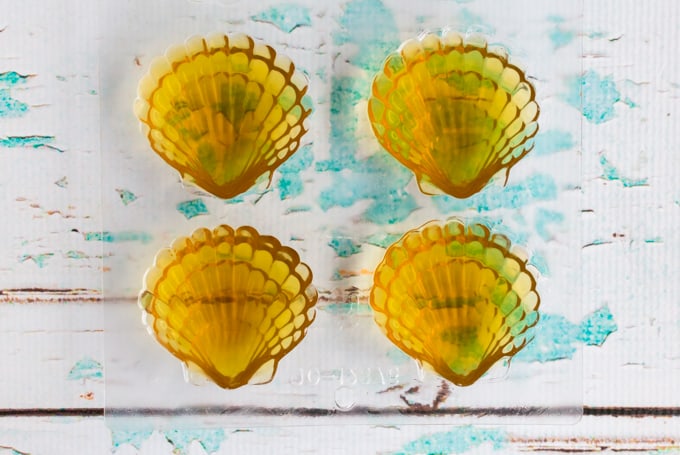
5. To speed along the solidification process, you can place your filled molds in the fridge! Just be careful when moving the filled molds.
6. It will be easy to tell when the bars are solid because they'll go from amber-colored and transparent to solid and milky-yellow. When they're ready, pop them out of their molds and enjoy! Store the extras in an air titght container or ziplock bag until you're to use them.
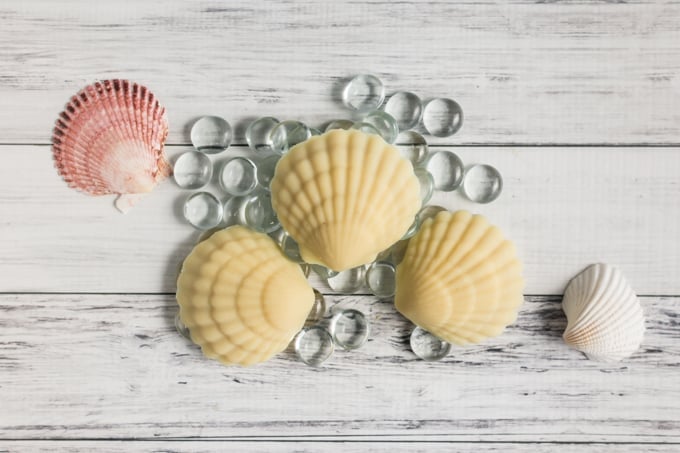
Even with the essential oils, you can barely smell them in the finished lotion bar because of the yummy scent of cocoa! It's both awesome to have you hands smell like chocolate and a little bit maddening.
Lotion Bar Without Beeswax Recipe
These beeswax free lotion bars are vegan friendly and easy to make!
Materials
- 70 grams cocoa butter
- 30 grams unscented shea butter
- Jojoba oil or sweet almond oil, a few drops
- Essential oils, optional, about 10 drops total
- Molds (Plastic or silicone candy/soap molds work perfectly)
Tools
- Kitchen scale
Instructions
1. If you haven’t already, weigh out the cocoa butter and shea butter. Cocoa butter smells like chocolate!
Even though the weights are different, the actual volumes of cocoa butter and shea butter won’t be that different so don’t be surprised when the two amounts look pretty similar. The cocoa butter is on the left in the photo below.
2. Set up a double boiler and add the cocoa butter, shea butter, and oil to the inner pot. Gently heat, stirring occasionally, until the butters are melted. This should only take about 5 minutes.
3. Remove the inner pot from the double boiler and stir in your essential oils, if using. I used 7 drops of lavender and 3 of frankincense.
4. Carefully pour the melted mixture into your molds. To make cleaning your pot easier, wipe the inside clean with a paper towel while the pot is still warm then wash away the last residual film with hot water and soap.
5. To speed along the solidification process, you can place your filled molds in the fridge! Just be careful when moving the filled molds.
6. It will be easy to tell when the bars are solid because they’ll go from amber-colored and transparent to solid and milky-yellow. When they’re ready, pop them out of their molds and enjoy! Store the extras in an air titght container or ziplock bag until you’re to use them.
More DIY bath & body recipes
DIY body products on The Artisan Life
Take the guesswork out of creating safe, healthy, homemade body products for your family with these tutorials!
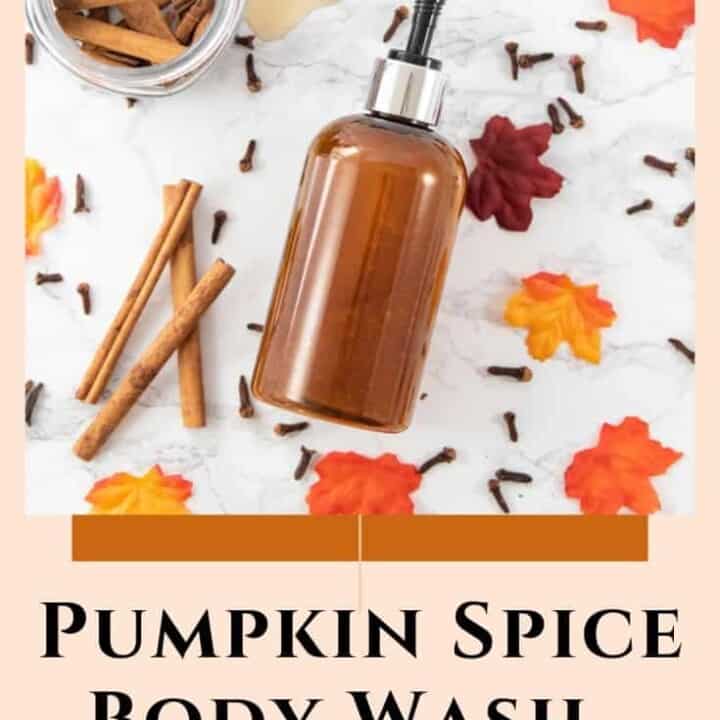
DIY Pumpkin Spice Body Wash
This pumpkin spice body wash is so creamy and smells like fall!
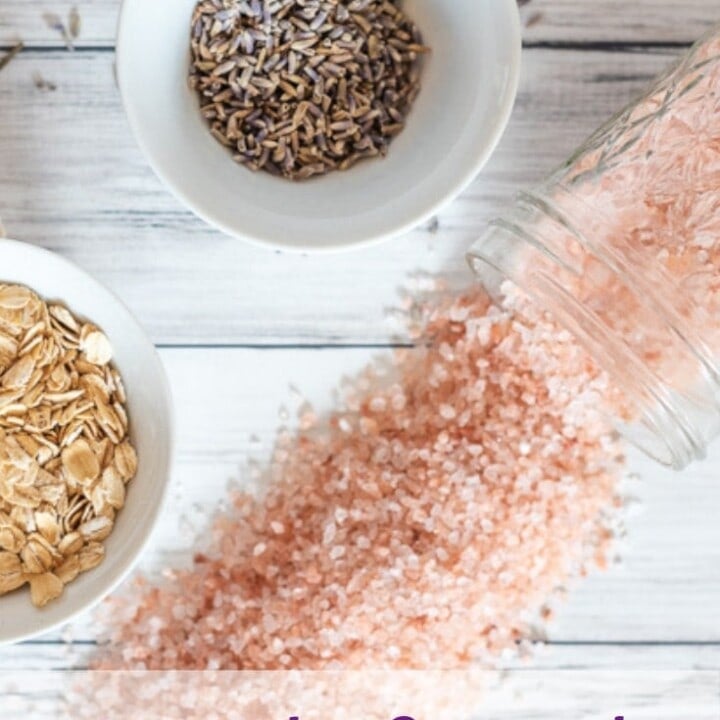
3 Nourishing Oatmeal Bath Salts Recipes for Dry Skin
3 nourishing oatmeal bath salts recipes to heal your dry skin.
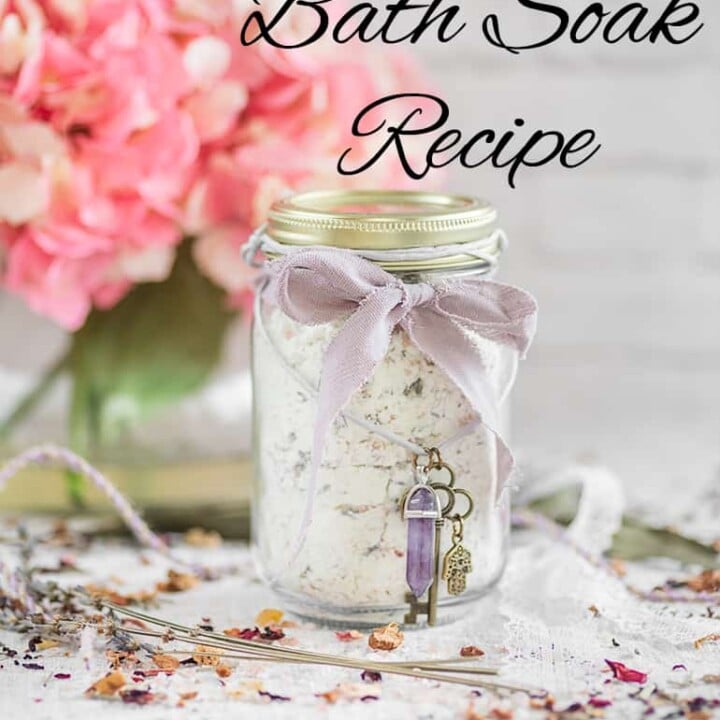
Goat Milk Bath Soak Recipe
This lavender and goat milk bath soak recipe makes a great homemade gift idea.
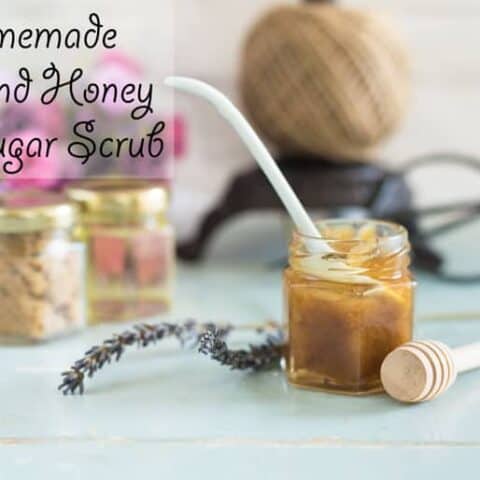
Homemade Honey Almond Lip Sugar Scrub
This honey almond lip scrub is food safe and delicious!
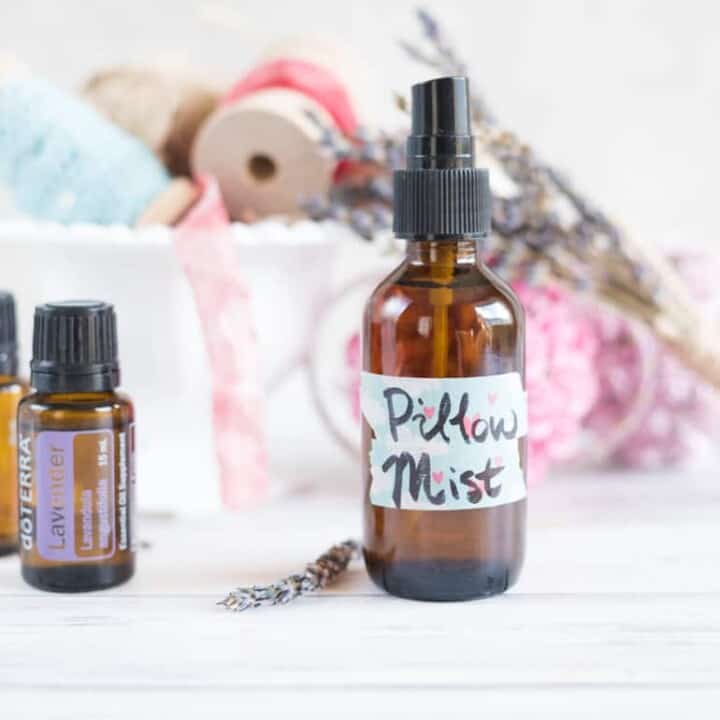
Lavender Frankincense Pillow Mist Recipe
Drift off to dreamland with this pillow mist recipe.
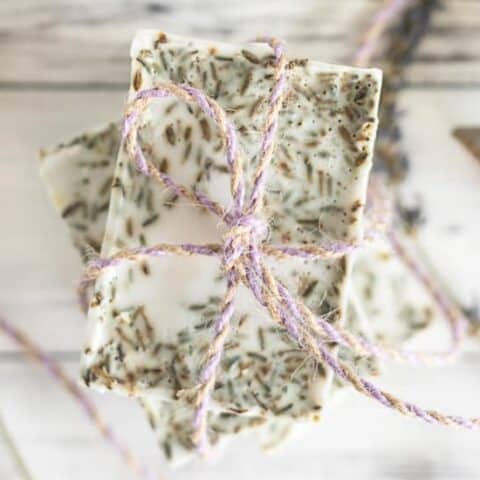
Easy Melt & Pour Lavender Soap Recipe with Frankincense
This easy melt and pour lavender soap is a joy to use or gift!

Moisturizing Oatmeal Honey Soap for Dry Skin - The Artisan Life
This moisturizing honey oatmeal soap for dry skin is easy to make with a melt and pour soap base!
Lavender Mint Cooling After Sun Spray
This soothing after sun spray is perfect for wind or sun burned skin.

Pumpkin Face Mask for Dry Skin Recipe
This pumpkin and clay face mask rejuvinates dry skin.

Elena
About how many lotion bars would this make (if using the muffin silicone mold or a standard soap size mold)? Thanks!
Natasha
I made these so long ago I can't remember for sure, but I believe the overall volume of liquid was about 1 cup. If you know the volume of your molds you can scale the recipe up to make as many as you'd like! I hope that's helpful.
Theany
Hey so I made these and it looks like the cocoa butter and Shea Butter are separate. Like the centers are the crumbly cocoa and not uniform throughout. Anything to help with this?
Natasha
I haven't encountered that, so my best guess is that either your shea butter or cocoa butter may be grainy. It happens from time to time but it's relatively easy to fix. Have you ever opened up chocolates, particularly ones that have gotten cold, and seen these funny 'blossoms' or like a powder on top? It's the same sort of process that can affect the butters. I found a couple of links for you to check out that may help. This one is on fixing grainy shea butter: https://bettersheabutter.com/grainy-shea-butter-heres-fix/ and this one is on tempering cocoa butter: https://www.saffireblue.ca/blog/why-are-my-butters-grainy-how-can-i-fix-them/
I hope that's helpful!