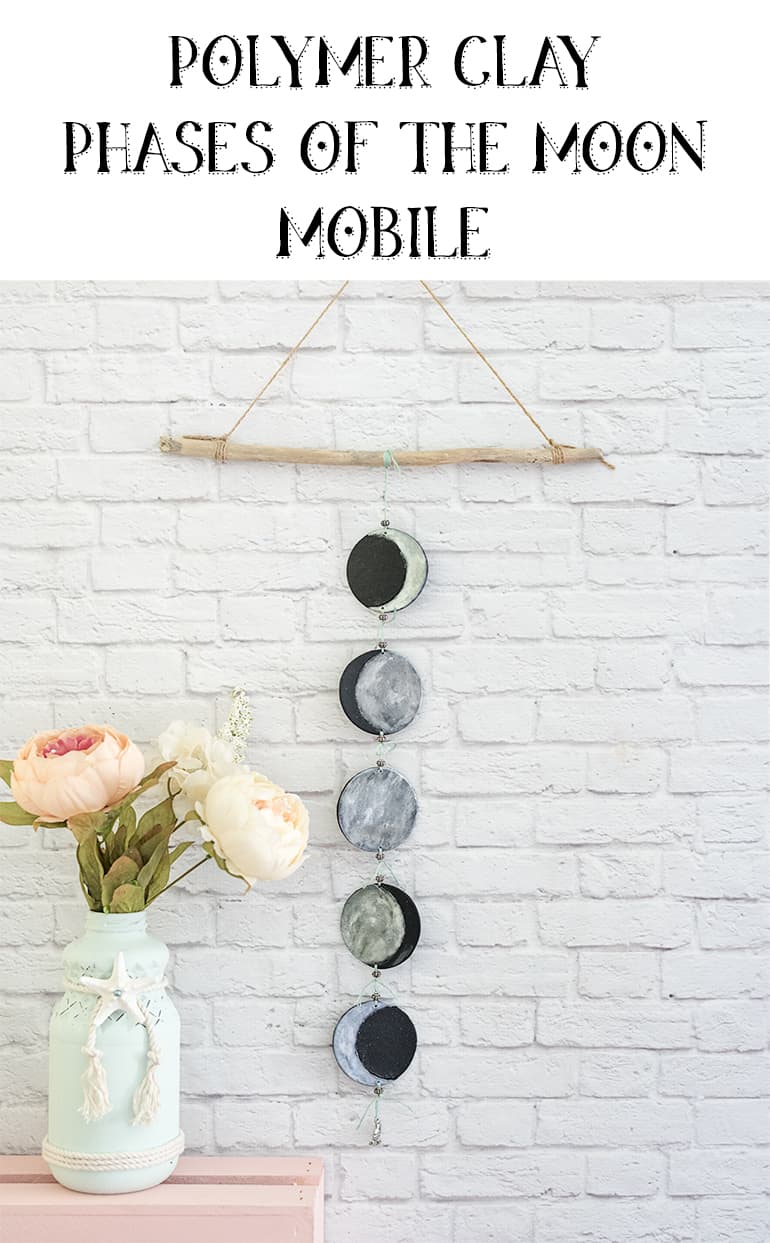
This phases of the moon mobile is easy to make from polymer clay. You don't need any experience with polymer clay to make this project! No polymer clay on hand? No problem. Just break out some air dry clay, or even homemade salt dough, and some craft paint.
While walking the beach a while back I found an absolutely lovely piece of driftwood. It was perfect for a mobile or wall hanging! I brought it home, even though I wasn't sure what I wanted to make with it at the time. A couple months later, I came up with this idea for a polymer clay phases of the moon wall hanging and I knew my carefully saved piece of driftwood would be perfect.
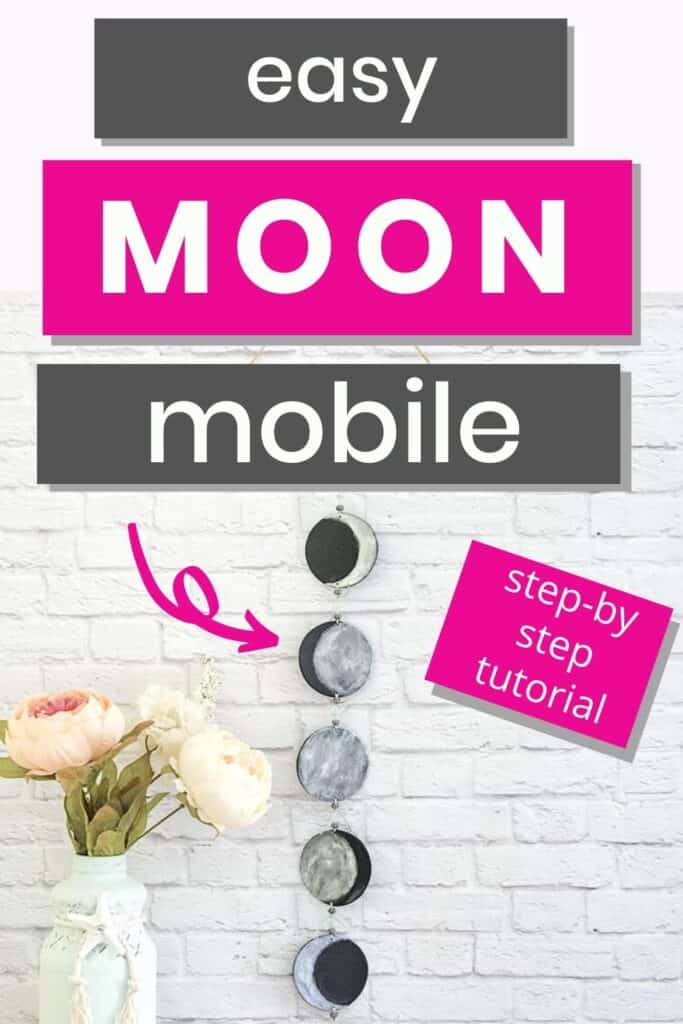
This phases of the moon mobile tutorial requires no prior polymer clay knowledge and is surprisingly simple to make - I hope you enjoy!
If you don't have a handy piece of driftwood, don't worry. You can easily use a 'normal' stick or even a plain dowel for your wall hanging! Also, don't let the materials list worry you - most of the items are very basic and easy to find at home. There are no complicated techniques involved and if you don't have cookie cutters, just download my free printable circle templates!
This post may include affiliate links, which means I may make a commission on purchases made through these links at no additional cost to you.
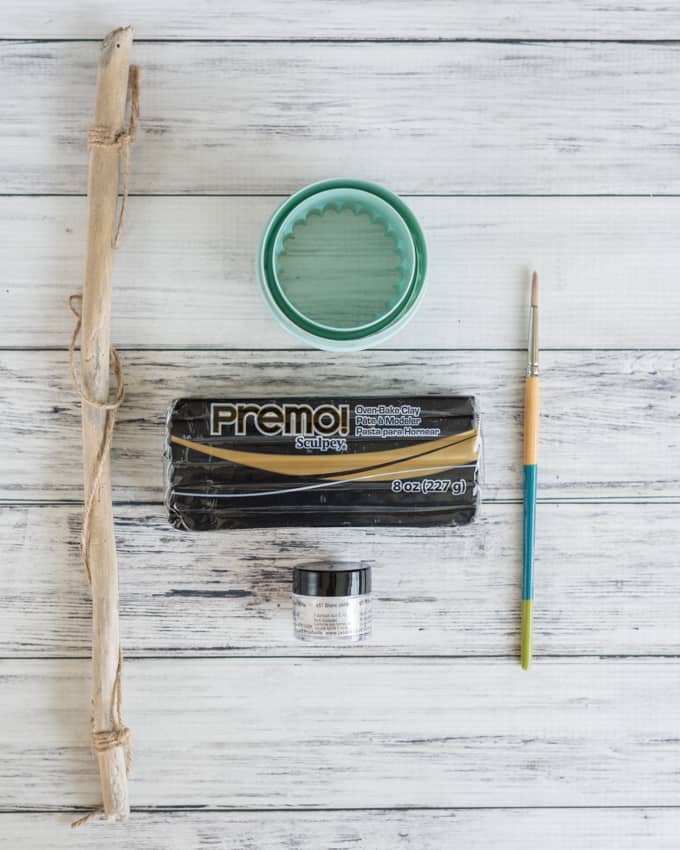
Materials needed for a moon mobile:
- 2 ounces of black polymer clay. I highly, highly recommend going with Premo! Sculpey. (As a note - the photo shows 8 ounces because it's less expensive to buy in bulk, but you only need about 2 ounces, the size of a 'standard' bar)
- If you don't have polymer clay, you can use an air dry clay or make your own salt dough. Just grab some craft paint to paint the circles after they're baked.
- A pasta machine for use with polymer clay or an acrylic roller and a deck of cards
- You can make a makeshift roller with a large-diameter round marker (like a big Crayola marker)
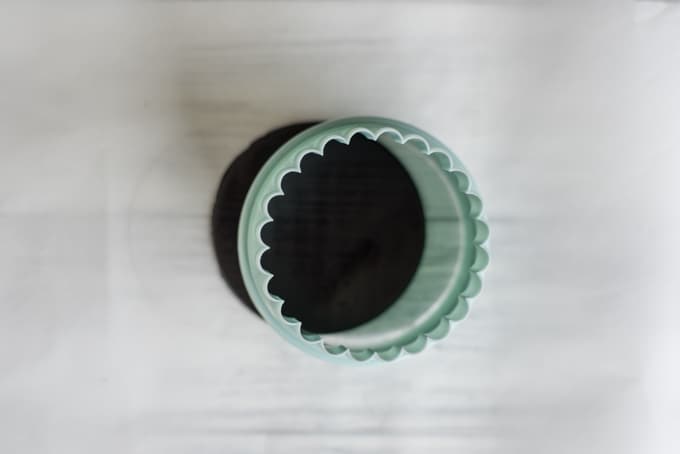
- Two circular cookie/biscuit cutters or these paper templates. I used a 3 1/16" cutter and a 2 ¾" inch cutter. You can use different diameters if you'd like, but find two that are very close in size
- A hobby knife - only needed if you don't have circular cutters
- A toothpick, small awl, darning needle, or small ball head tool. If you can't get your hands on any of these, you can also substitute a colored pencil, but one of the aforementioned tools is better
- A piece of paper + a pen or pencil
- Scissors
- Mica powder or eyeshadow. I used "pearl white" mica powder from this set. Most shimmery eyeshadows do not show as well on clay, but if you have a silver, white, or gold with large flakes you can use it instead of mica powder.
- If you don't have eyeshadow or mica, you can use acrylic paint on the clay after it's baked. Do not use nail polish because it makes polymer clay tacky.
- A small paintbrush, optional but helpful
- A stick, dowel, or piece of driftwood
- Embroidery floss, twine, or whatever else you'd like to hold your moon pieces together with
- Beads and charms, if desired, for decoration
- Parchment paper, a clean crafting mat, or a sheet of printer paper to protect your work surface and bake your clay on


Polymer clay phases of the moon tutorial:
Begin by conditioning and rolling out 2 ounces of black polymer clay.
Conditioning simply means working it with your hands or your pasta machine until it becomes more malleable - if you're using basic Sculpey, the current formula hardly needs conditioning. Premo! does require some conditioning and is much stronger and more durable, which is why I recommend it.
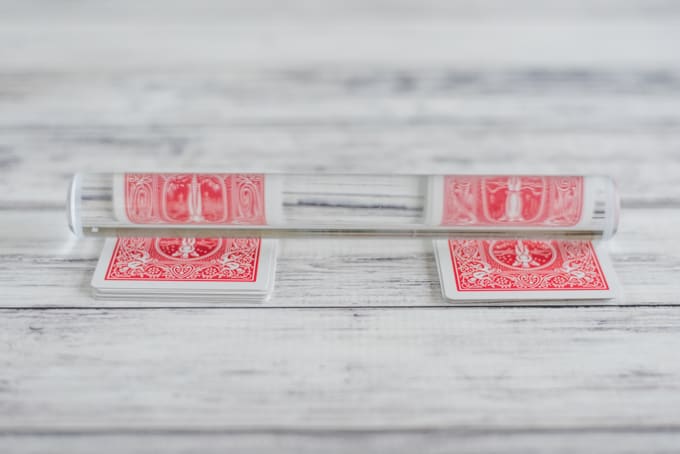
Roll your clay out to about ⅛" thick. This is the thickest setting on my made specifically for crafting 'pasta machine.' If you're using an acrylic roller, simply make two even stacks of playing cards, as shown below, to roll your clay to a uniform thickness.
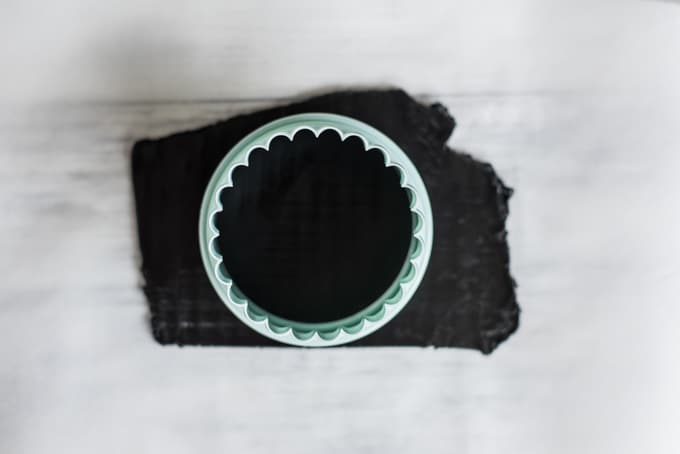
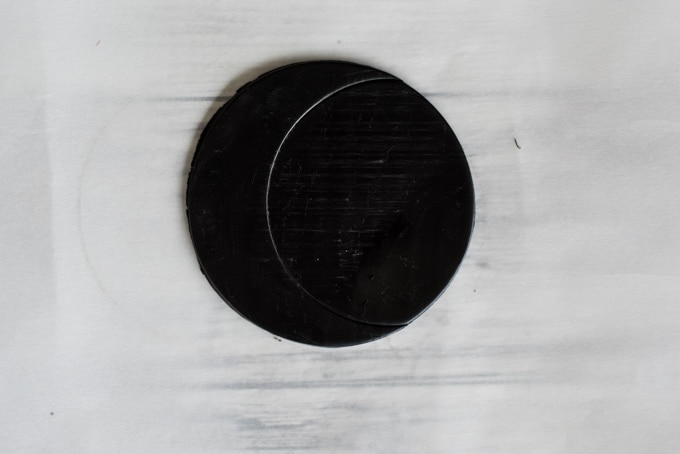
Cut out 5 of the larger, 3 1/16" circles. Reroll the scraps, just like you're making cookies, as necessary.
If you do not have circular cutters, trace your larger paper template onto the clay with a toothpick, darning needle, or small ball head tool. You're not trying to cut the clay, just score it. Move the pattern then cut the circle with your hobby knife. If you missed the download for the paper templates above, you can download them from Google Drive right here.
Using the smaller, 2 ¾" cutter or template, mark two of your cut out circles as crescent moons and two more as gibbous moons. Position the cutter to form a crescent shape and push down lightly - enough to leave a line but not enough to cut through. With the paper template, place it down and trace along with your tool from the previous step. Again, make sure not to cut through!
If you are using cutters, trace the large cutter onto a piece of paper and cut it out, then fold this circle in half.
If you've already been using paper templates, simply fold the larger circle in half. Using this pattern as a guide to ensure the holes are centered, make a hole through the top and bottom of each moon piece.
Simply poke through with your toothpick, needle, etc. Make sure you go all the way through so the hole is large enough on the back, too!
Also, make sure the hole is large enough to accommodate the twine or thread you plan to use to construct your mobile. If you don't want anything dangling from the bottom, do not put a hole on one of the crescent moons.
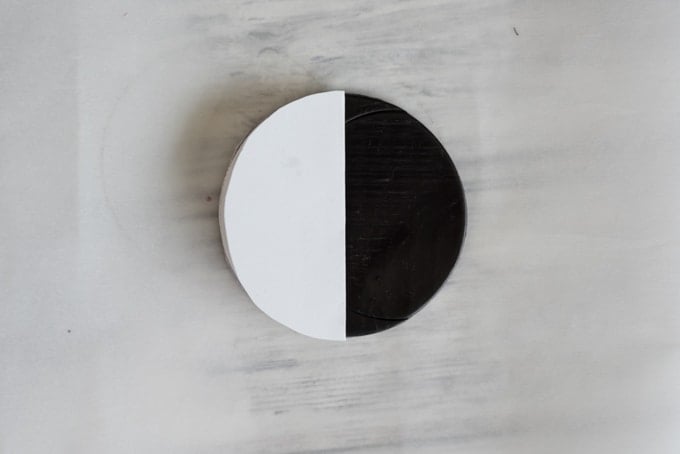
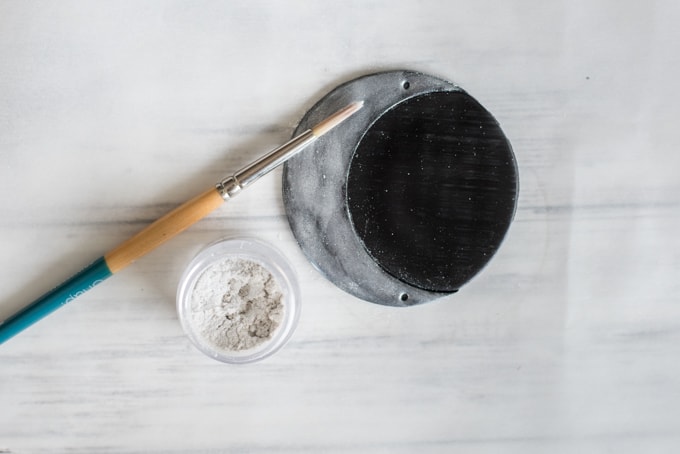
Using either mica powder or eyeshadow and your finger or a paint brush, make your moons sparkle! "Paint" the moons, leaving the appropriate areas dark. Of course, you'll cover one entire cut out with powder for the full moon! When you apply mica powder or eyeshadow to the unbaked clay, it will stick on its own and doesn't require glue - neat!
Place your moons on a piece of paper or cardstock and bake according to your clay's directions.
For Premo! the bake time is 30 minutes per ¼" at 275ºF, so your moons will only need to bake 15-20 minutes if they're roughly ⅛". Basic Sculpey bakes more quickly, and other brands also have different requirements so please check your packaging.
As a note - when the polymer clay is still warm, it will be quite flexible. If you've baked it according to directions, don't worry! Even when cool, it retains some flexibility, especially if you used Premo! This means it's resilient, not that it wasn't baked enough.
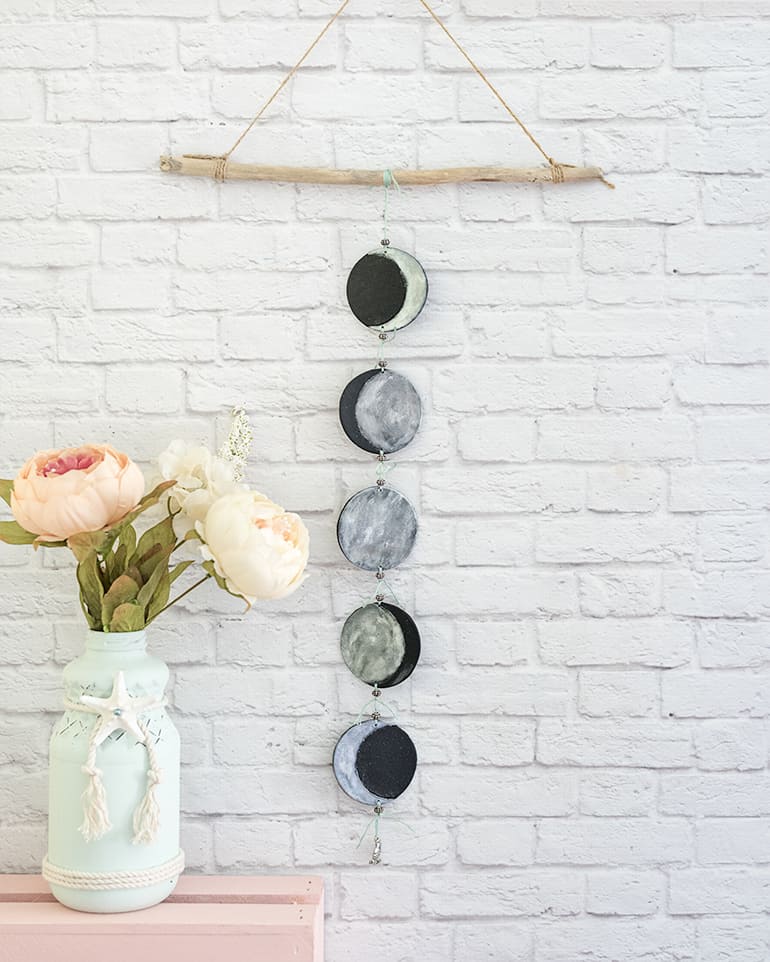
While your clay is baking, prepare your stick for use as a hanger. Simply tie some embroidery floss or twine around your stick or dowel to make a loop for hanging.
Once your moons are baked and cool, it's time to finish off your mobile!
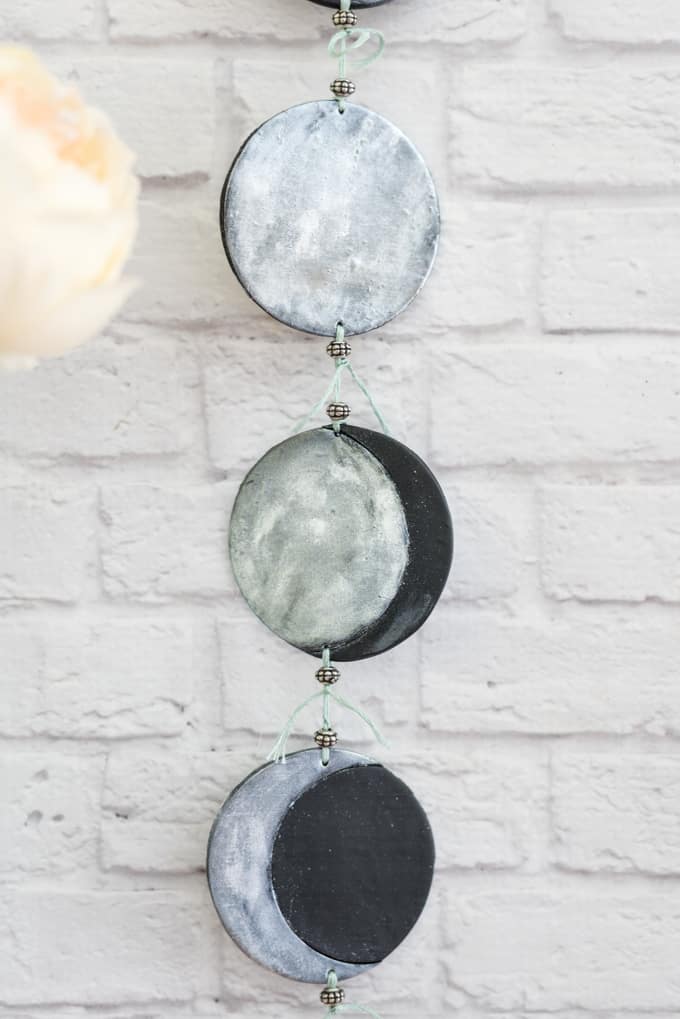
I used pieces of sea foam embroidery floss and silver-toned beads to tie my moons together and added an owl charm to the bottom. Play around and design your mobile however you'd like! Make sure you string your moons together in the correct order - the moon should start on the right hand side, build to full, then recede to the left, as shown below.
When you're satisfied, tie the strand of moons to your prepared stick et voila! Your very own phases of the moon mobile. 🙂
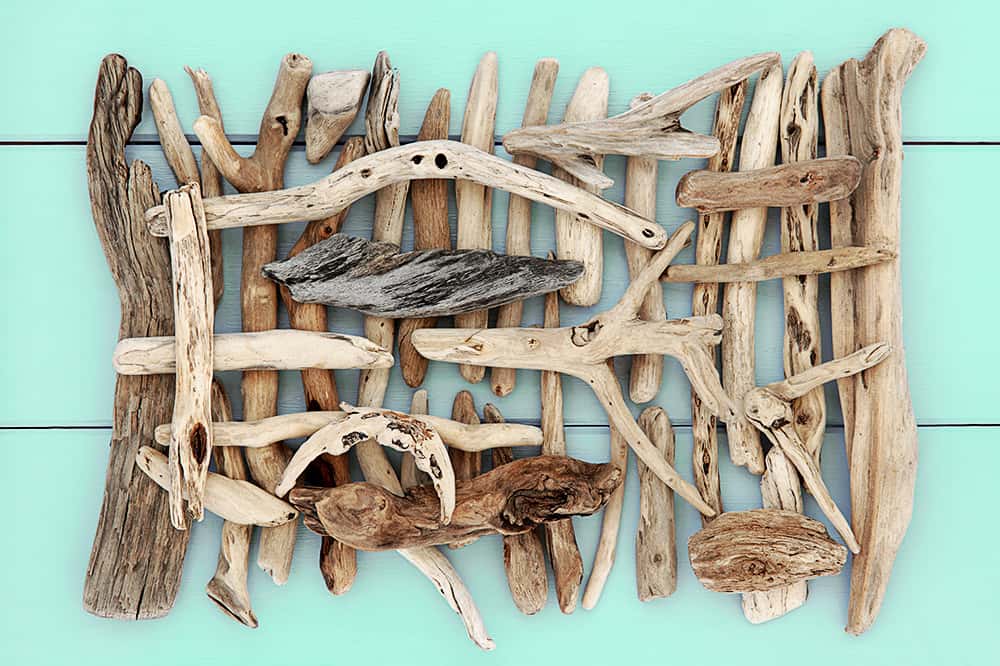
If you also have a bit of a driftwood collection, you may enjoy my roundup of driftwood crafts to DIY! It's so easy to pick up interesting pieces as you go along without any real plan for them - hopefully these ideas can help you put your treasures to use:
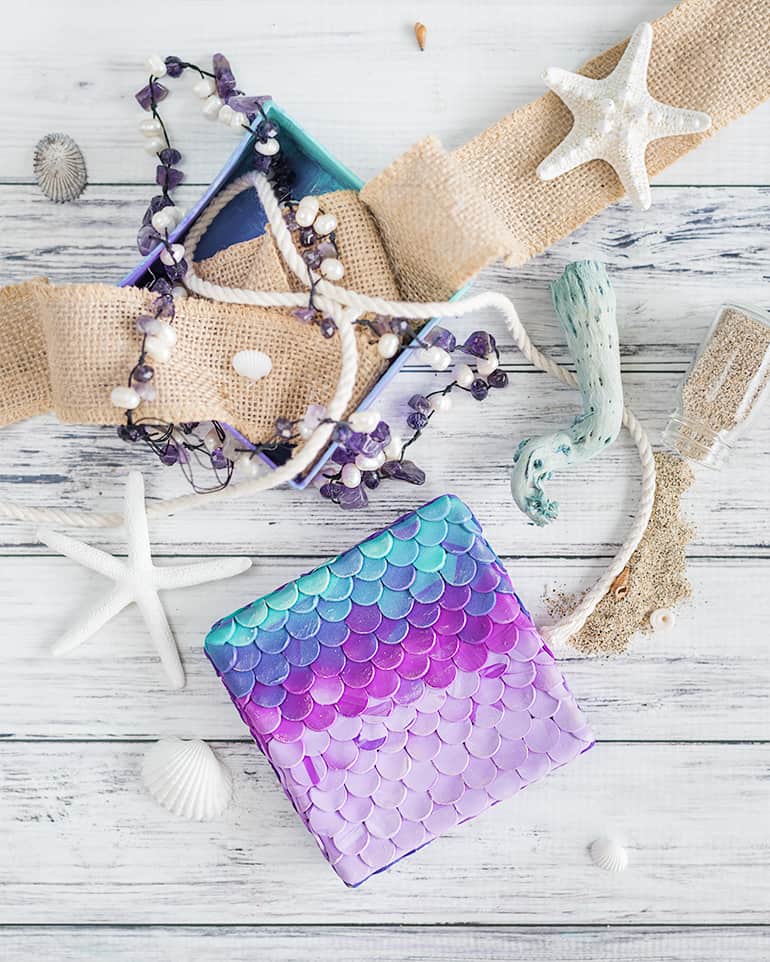
On the other hand, if you're here for the polymer clay and not the crafting with found objects, you'll like this polymer clay mermaid box tutorial:


Sarah Leonard
This is gorgeous Natasha! I love all things moon related <3
Natashalh
Thank you! It's currently on the right side of my desk and I'm really enjoying it!