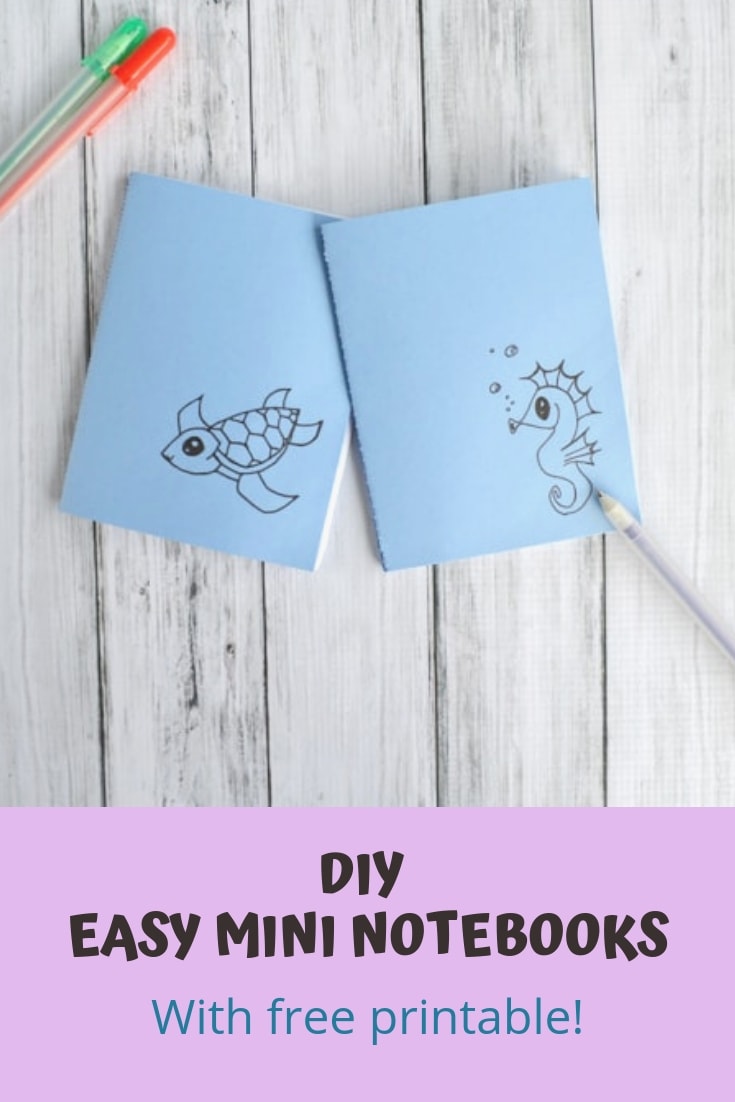
This DIY jotter notebook is so easy to make and super cute with a free printable cover!
I'll admit that this isn't the most sophisticated way to create a little notebook (or the most sewing machine friendly...), but it's a lot of fun and a great way to make custom little notebooks for doodling, notes, and reminders.
I don't know about y'all, but I love carrying a little notebook around in my purse to jot down ideas and lists!
This tutorial for a DIY jotter notebook shows you how to quickly and easily make your own custom notebook.
This post may include affiliate links, which means I may make a commission on purchases made through these links at no additional cost to you.
For simplicity's sake, these notebooks have a finished size of ¼ of a sheet of 8.5"x11" printer paper.
You can make them smaller if you'd like to do more cutting! I used regular, plain printer paper, but nicer paper would make the notebooks, well, nicer. With some resume paper, for example, these little guys could make a great homemade gift idea!
Supplies for DIY mini notebooks
- A piece of cardstock
- Regular printer paper (I recommend using 8 sheets)
- Paper trimmer. This is my favorite because the wire guide shows you where you're cutting!
- Sewing machine with thread and a needle you're willing to dull
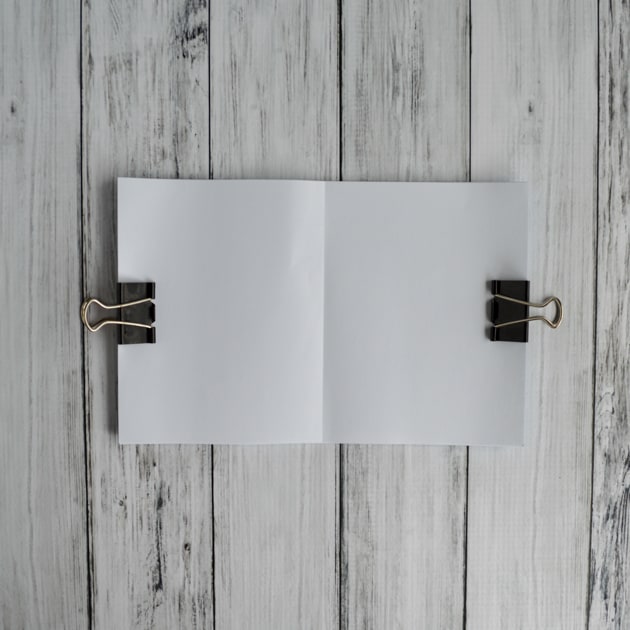
- A couple binder clips
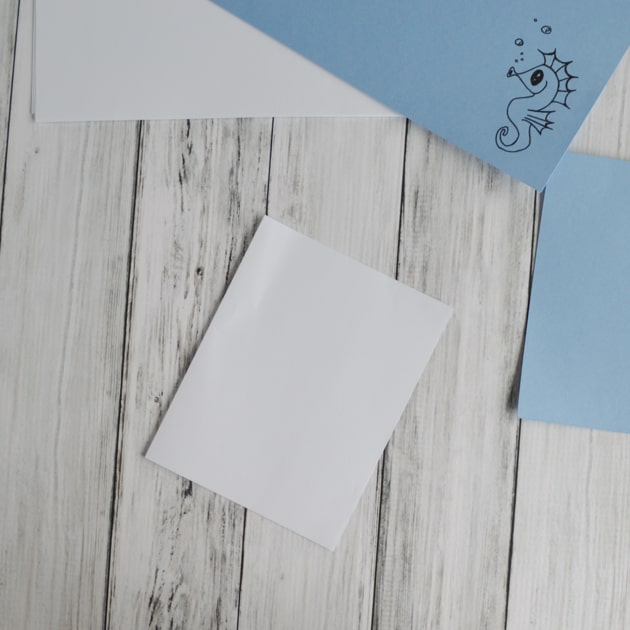
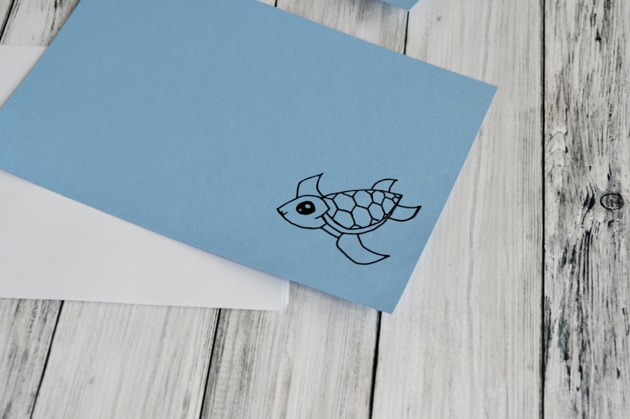
- Sea Friends Notebook Covers free printable
How to make your own simple notebooks
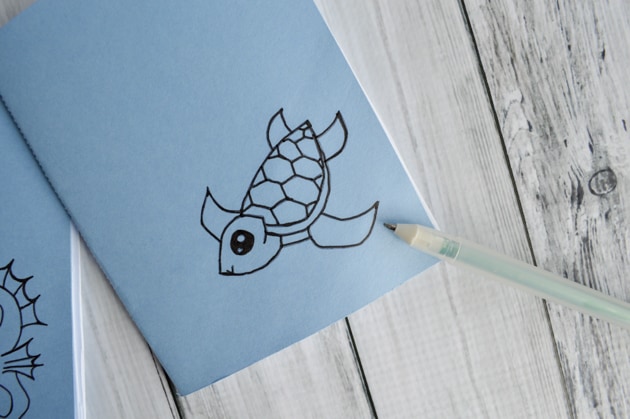
1. If you're using the printable, go ahead and print it out on a sheet of cardstock. The images are already lined up so they'll be placed correctly! If you're drawing your own pictures, I advise cutting the cardstock in half and drawing before assembling the notebooks. It makes drawing so much easier and you don't have to start the project over if you make a mistake!
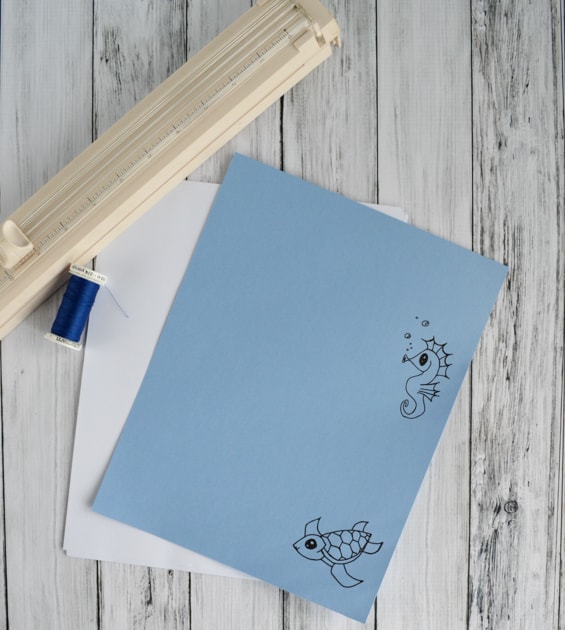
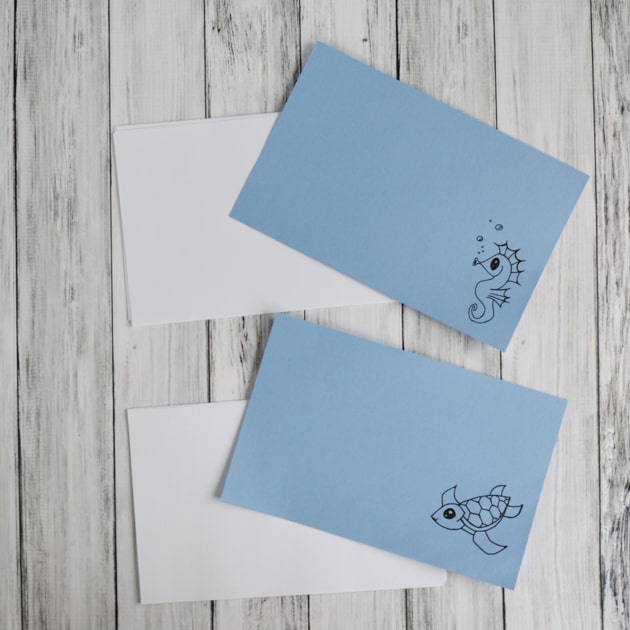
2. Cut you paper and cover in half to make pages that are 8.5"x5.5". I've tried notebooks with 8 and with 10 sheets, and I think 8 is easier to work with.
3. Fold one sheet of paper in half for each notebook. If you're making two notebooks, for example, fold two sheets in half.
4. Clip the cover, image facing out, to eight of the half-sheets you prepared in step #2, making sure a folded sheet is the top one on the stack.
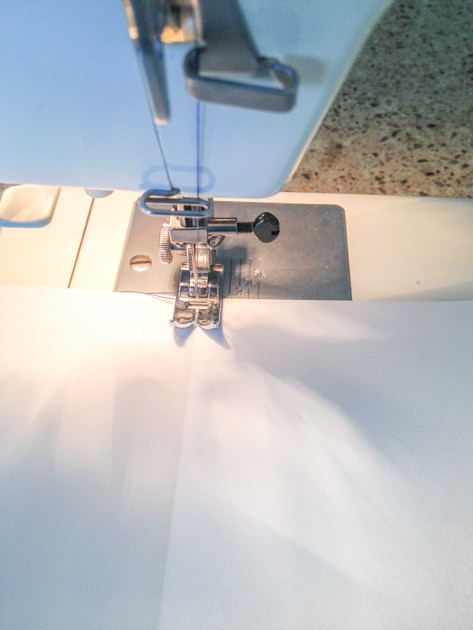
5. Using a needle (that you will probably never be able to sew fabric with again...) and a sewing machine, carefully stitch down the folded center
line. I recommend using a stitch length of 3 or 4 - smaller stitches can basically perforate the pages and make them rip out easily.
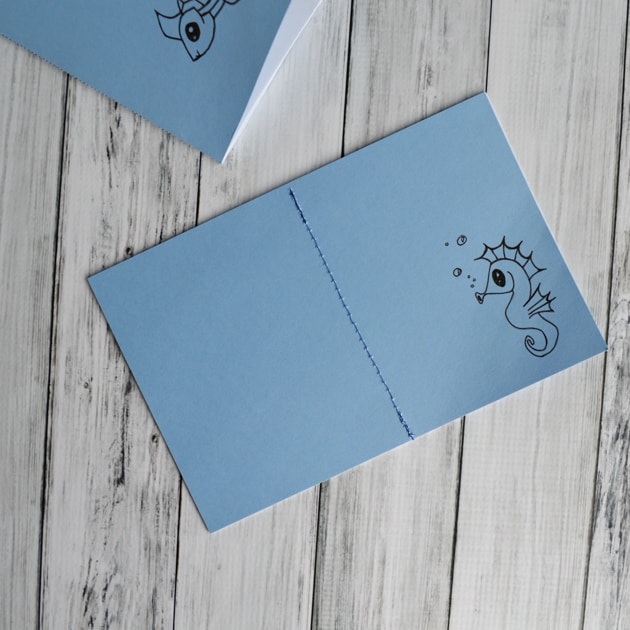
6. Carefully fold your notebook in half along the stitched line. Some of the pages will probably stick out a little - this is normal! You can trim the edges if you'd like.
7. Enjoy your awesome new notebooks!
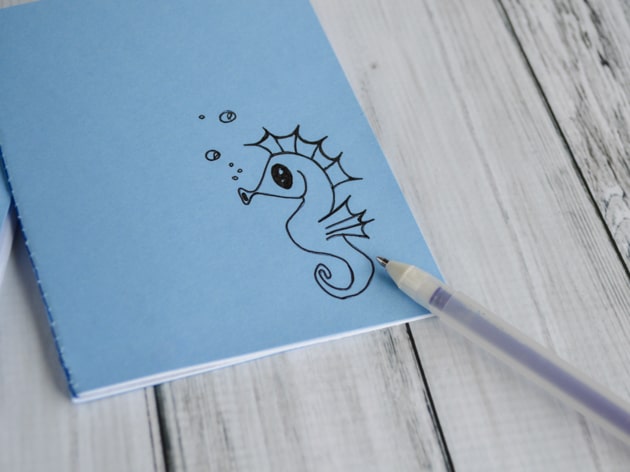
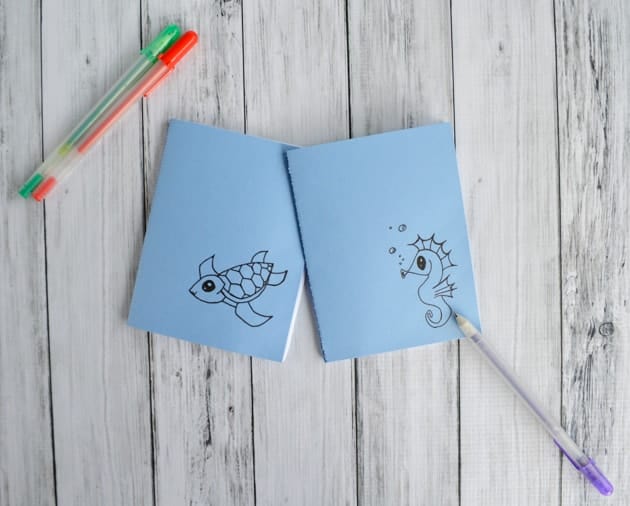
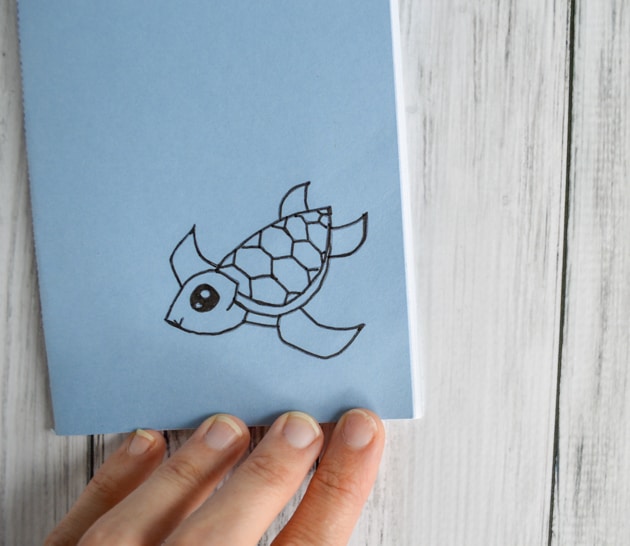
I have to admit that I feel a little cool for drawing these two sea critters. I've never thought of myself as someone who can draw, but I've had lots of fun doodling recently. I've realized that not being able to draw realistically doesn't mean I can't enjoy drawing! Plus, it's really nice that Papi Chulo encourages me and always acts impressed by whatever I've managed to get on paper. =)
Do you enjoy carrying a little notebook around? What do you use it for?
Remember to save this mini notebook tutorial to your favorite Pinterest board!

julie
I have a notebook in my handbag, in my work bag (which is much bigger to fit all my stuff in) in my desk drawer and by my bed. I love notebooks! The cuter and prettier the better! I learnt the hard way that if you have a great idea you should write it down asap otherwise it just disappears into the ether!
Your little books are so cute, I'm thinking I could personalise them for all my little nieces. I'd better write that idea down quickly!
Natashalh
I know exactly what you mean! I frequently find myself thinking "Now what was that idea I had?" Thanks so much for stopping by!
Duni
Aww...your sea creatures are so CUTE! I'm impressed!
I probably need to get a proper paper cutter in order to make notebooks 🙂
Natashalh
Yes, a paper cutter really helps! Mine is only okay. It has a fold out arm, which is handy for space saving, but it also means that you can easily mess up and make cuts that are at an angle because the top bar wasn't perfectly extended. It's funny - the sea turtle worked out so well and quickly for me, but I drew about two pages of seahorses before I got one I liked!