I really love cheese. My family still laughs about how I made up my own mealtime blessing as a small child - "Cheese, that's all!"
These baked garlic cheese crisps are just one of the fun new ways I've found to use cheese! I hope you enjoy them as much as I do.
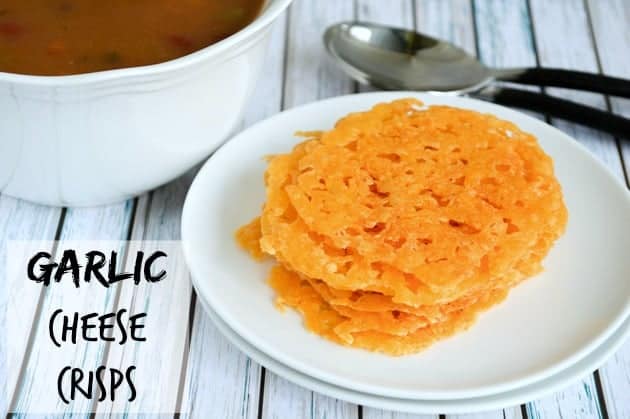
I'll admit they're not the world's most photogenic items, but they are tasty!
This post may include affiliate links, which means I may make a commission on purchases made through these links at no additional cost to you.
I made these guys on my new Silpat baking mat. I'm so excited to own it and very thankful to the wonderful person who gave it to us as a wedding gift! But I digress.
I know these work well on a silicone mat, but if you don't have one, I recommend trying a sheet of parchment paper, instead.
I get about nine large cheese crisps from a cup of cheese.
Those nine crisps take up my entire baking sheet! I used about a tablespoon for each one, but you can use less to create smaller, more plentiful crisps from the same cup of cheese. Or, of course, you can just shred more cheese and do several batches!
Speaking of shredding cheese, I think it's really important to freshly grate your cheese instead of using the pre-shredded stuff. Pre-shredded cheese contains anti-caking agents that tend to make the texture funny when the cheese is melted!
Baked cheese crisps ingredients
1 cup freshly shredded cheddar
⅛ - ¼ teaspoon granulated garlic (not garlic salt)
How to make baked garlic cheese crisps
Preheat your oven to 350 degrees Fahrenheit.
Line a cookie sheet with a silicone baking mat.
Use a tablespoon to make mounds of cheese spaced at least 2" apart. They're going to spread!
Bake until the cheese has melted, about 5 minutes.
Remove the sheet from the oven and, working quickly, carefully blot up extra oil from around the pools of cheese (optional), and then sprinkle a pinch or two of granulated garlic across each one.
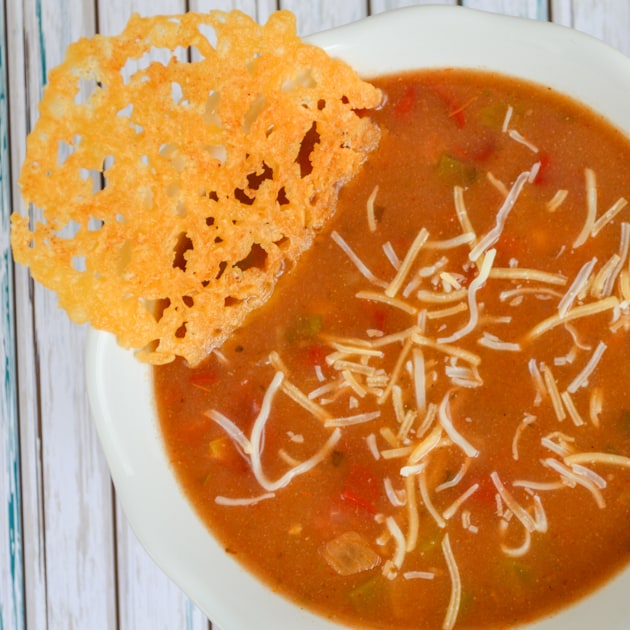
Return the sheet to the oven and bake until the cheese has taken on a lacy appearance and has browned slightly, about 10-15 minutes longer.
Remove the sheet from the oven, blot additional oil if you want to, and wait for the cheese to cool and crisp.
This usually only takes a few minutes!Enjoy fresh and store cooled leftovers on a paper towel in an airtight container.
See? Super easy. Obviously, blotting away the extra oil is optional. Be careful when you're doing it, though, especially if you have a go while adding the garlic
. Do not lay the paper towel on top of the melted cheese at this point. It is too melty and will stick to the towel! It's very sad to see delicious cheese go to waste. Of course, the granulated garlic is also optional (but highly recommended).
I think the garlic had something to do with my hsuabnd's response after eating one of these: "Can I have six more?"
If you don't want to add garlic, you can just bake the cheese plain or try adding in your other favorite seasonings. It could be fun to experiment!
Baked Garlic Cheese Crisps
Ingredients
- 1 cup freshly shredded cheddar
- ⅛ - ¼ teaspoon granulated garlic (not garlic salt)


Linda @ Mixed Kreations
This look yummy! I love grilled cheese sandwiches with tomato soup. Will have to try these next time. Thanks for the tip about using fresh grated cheese. Pinning to try later with my big bowl of tomato soup (-;
natashalh
I'm so sorry - I thought I'd already 'approved' your comment! Thank you for pinning. =) I hope you enjoy them as a fun way to mix up your tomato soup experience!
fred
I'm thinking it might be fun to try other combinations too, such as a jack cheese with chili powder, or an Italian blend with oregano.
natashalh
As long as the cheese melts, this should work. I thought about doing some other flavors and just haven't had the chance yet!